

In my work, I often have to write code, write the documentation that goes with that code, create Web pages, and work on text restoration projects, and have written several formal papers while I was in school. I can include class notes here, too; I needed to write them for nearly every class.
I use Markdown for nearly all of my writing and it is a major time-saver for me.
In this article, I am going to share my experience with Markdown. You’ll be learning the following:
- What is Markdown?
- How does it work?
- Markdown basic syntax and how to use them
What is Markdown?
If you are new to Markdown, it is a text-to-HTML conversion tool for web writers. Markdown files follow a specific syntax that is easy to read and just as easy to write. They are plain text files so they can be created using any text editor on any computer. These files can then be turned into Web pages – and Web pages are built using a markup called HTML.
Markdown then, is just a way to create Web pages without the need (or even know how) to write HTML code. Actually, Markdown is an great way to format plain text even if you don’t have to convert to HTML. Someone once described Markdown to me this way:
It isn’t what you see is what you get, but what you see is what you mean
Markdown, however, is more than an easy formatting scheme, it is also a software tool that converts plain text formatting to HTML.
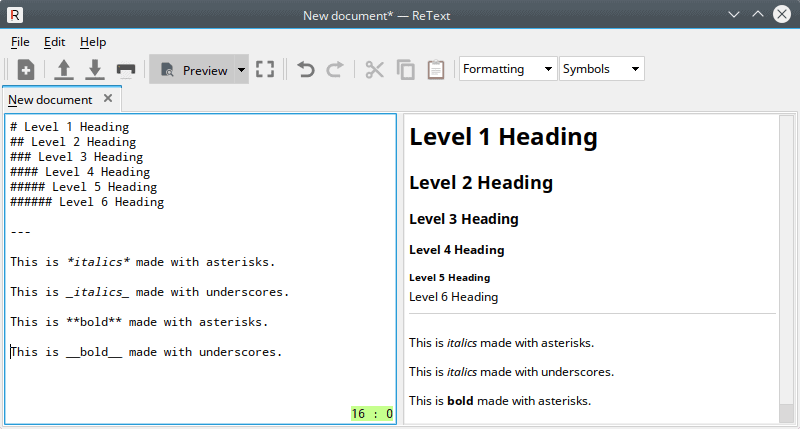
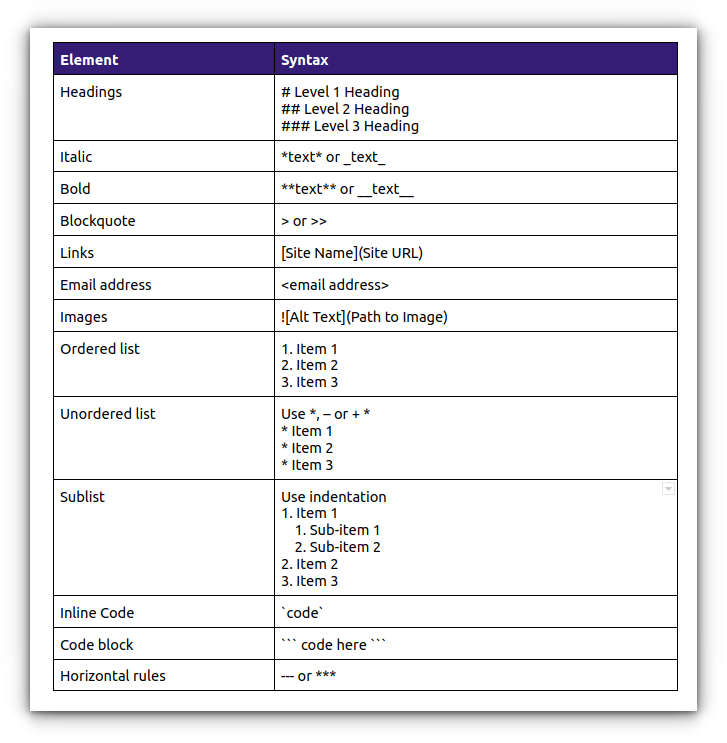
This is why the syntax is important. If you want a title on your Web page, Markdown will create one based on the character(s) you use in front of your title. A sampling of some of Markdown’s syntax is shown this screenshot:
So how do I make this plain text to HTML conversion?
John Gruber’s Markdown is a Perl script that is run on the command line. Basically, it reads the Markdown text that you create and builds a Web page from it.
I will avoid the command line here since there are many outstanding Markdown editors that can do this conversion for you. Not only that, many of these editors will let you write your text and show you what the Web page will look like (called rendering) at the same time.
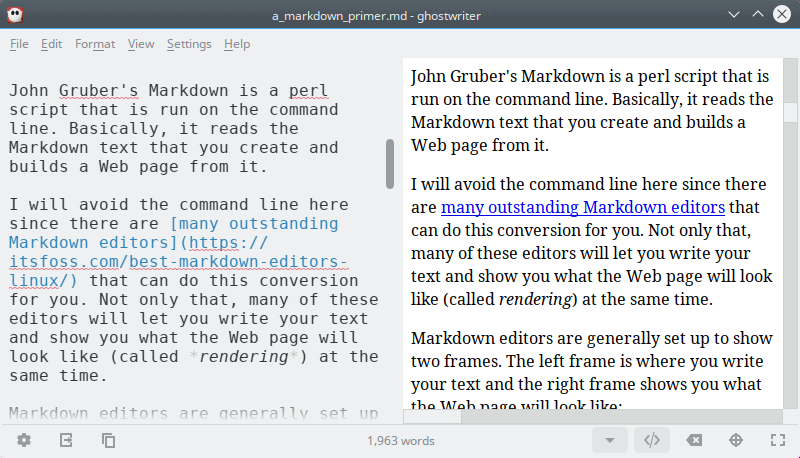
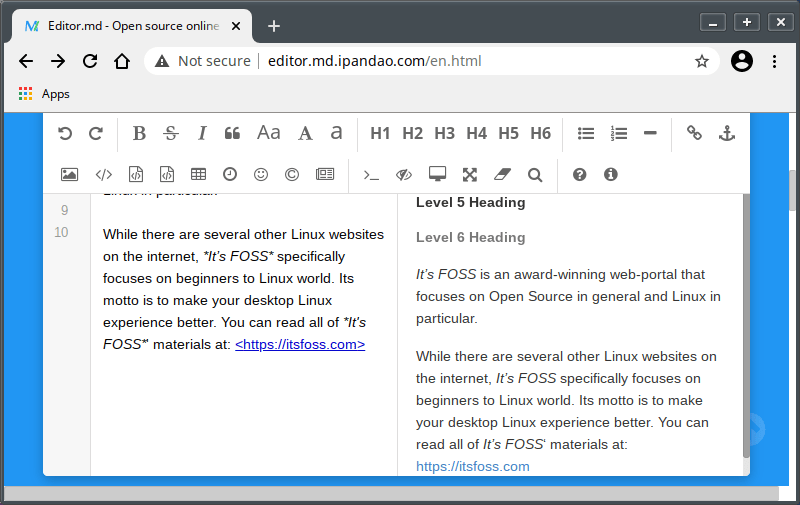
Markdown editors are generally set up to show two frames. The left frame is where you write your text and the right frame shows you what the formatted text will look like in HTML:
When you are finished with your text and are happy with it, simply save the Markdown file. This way, you’ll always have it in case you need to edit or rewrite later. Once the file is saved, you can have the editor export the markdown file to HTML.
The editor will create the Web page, using your Markdown as a reference. Your Markdown file will not be changed during an export – you will still have it – along with a separate, newly created HTML (Web page) file that you can put on a Web server.
Note: Many Markdown editors can also export your Markdown files to other formats, such as .doc, .docx, and .pdf. You can learn about those advanced setups, and extra software you might need, later on.
 Munif Tanjim
Basic Markdown Syntax
To get the new Markdown user up to speed quickly, I will limit this to cover the syntax I use most often. These, I believe will be the most helpful – you can be productive now while you learn more about what Markdown can do for you later on.
Write Headings
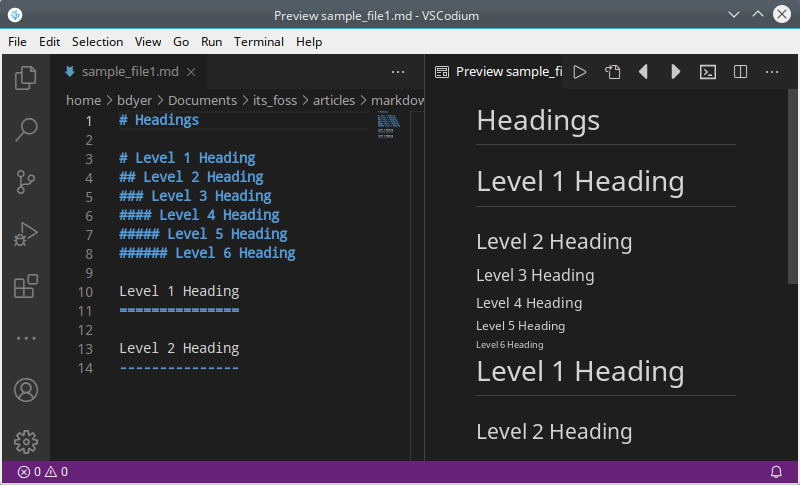
I normally use # characters to denote headings. There are six levels:
# Level 1 Heading
## Level 2 Heading
### Level 3 Heading
#### Level 4 Heading
##### Level 5 Heading
###### Level 6 Heading
There is another heading style that uses lines underneath the text. I rarely use this type of heading since I am limited to only two. A double line, which is made with the = character, makes a H1 heading. A single line, made with the - character, makes a H2 heading:
Level 1 Heading
===============

Level 2 Heading
---------------
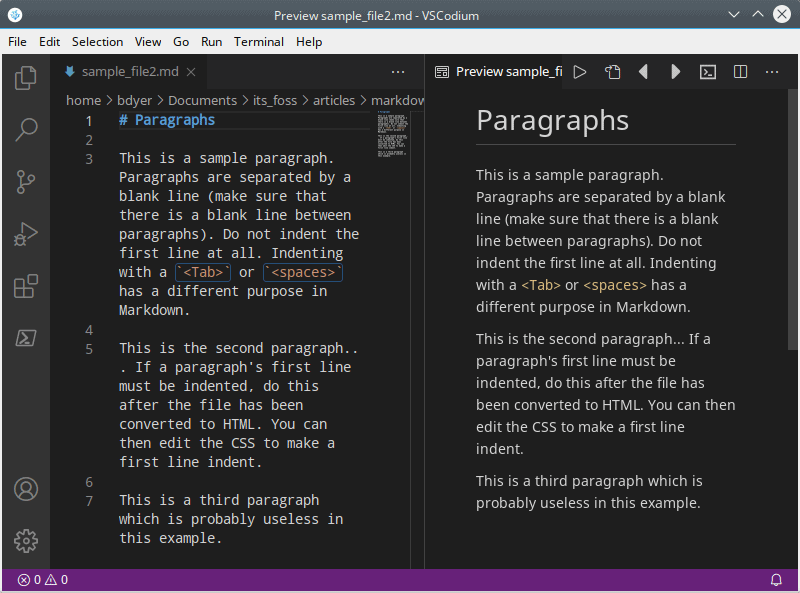
Paragraphs
Paragraphs are separated by a blank line (make sure that there is a blank line between paragraphs). Do not indent the first line at all. Indenting with a <Tab> or <spaces> has a different purpose in Markdown.
A paragraph is a block of text and should not be indented with spaces or tabs. It can have one line or many lines. To end a paragraph and start a new one, the <Enter> key is hit twice; paragraphs are separated by a blank line.
Line Breaks
Remember that with paragraphs, a blank line has to separate them and this is done by pressing twice on the <Enter> key. Markdown is strict about it.
Markdown does not support “hard-wrapped” or “fixed-line-length” paragraphs. That is, hitting the <Enter> key once will not force text to a new line. It may appear so in the editing window, but the HTML won’t show it.
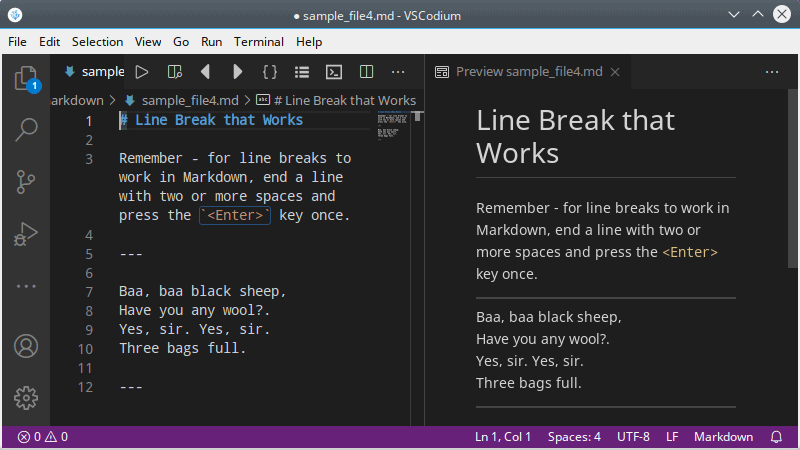
Yet, there will be times when you may need to break up paragraphs with some way to break up a line. Markdown does have a way to add new lines and it may seem a little strange at first: a line break is made by ending a line with two or more spaces and then hitting the <Enter> key once.
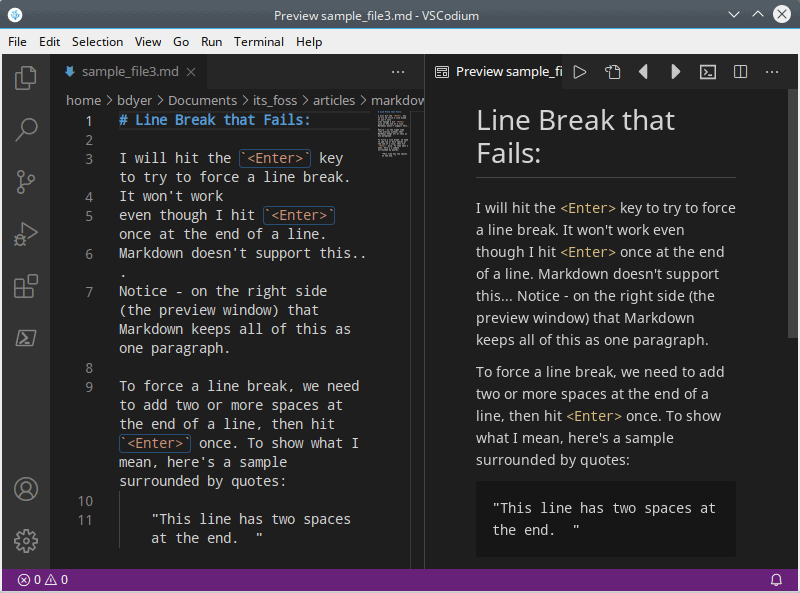
Here is a working example of a short verse. Each line has two spaces at the end. The last line, since it’s the end of the verse, doesn’t have the extra spaces. Since it’s the end of the verse (paragraph), I hit the <Enter> key twice:
Baa, baa black sheep,
Have you any wool?.
Yes, sir. Yes, sir.
Three bags full.
Adding two spaces at the end of a line, to create a line break, can take some getting used to.
Horizontal Rules
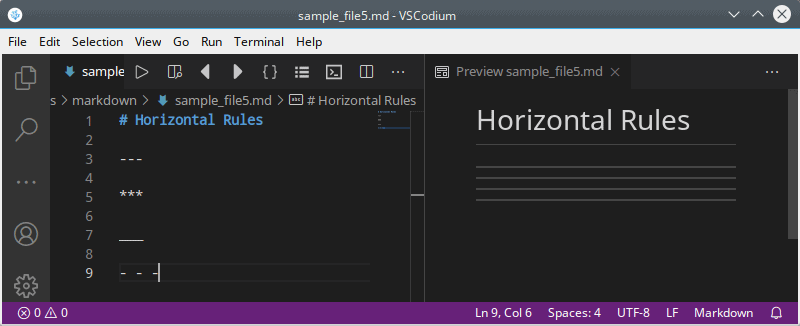
Horizontal rules are great for splitting up text into sections.
Use three or more dashes -, underscores _, or asterisks * for horizontal rules, like so:
`---`

`***`

`___`
You can even put spaces between the characters:
`- - -`I do not use horizontal rules very often in articles or papers, but they come in handy for me in journal entries, system logs, and class notes.
Emphasis on text with bold and italics
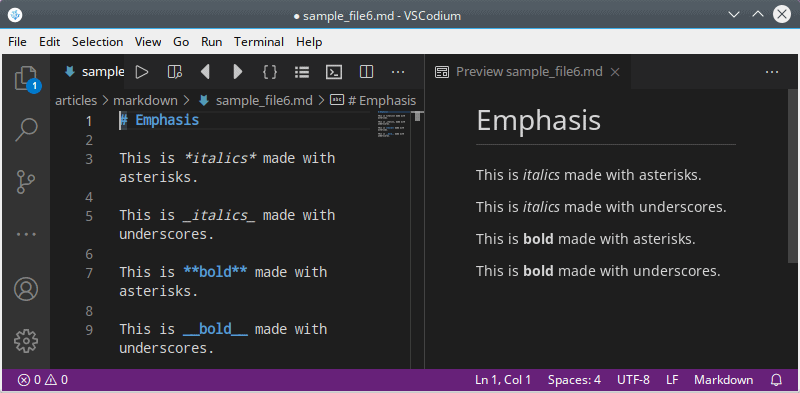
When you want a word or phrase to stand out and be noticed, you can either make it bold or italicized. Italics and bold text can be made on one of two ways. The first is by surrounding the text with asterisks *, while the second is to use underscores _.
To italicize a word or phrase in Markdonw, surround the text with one underscore or asterisk. To make a word or phrase bold, surround it with two underscores or asterisks:
This is *italics* made with asterisks.

This is _italics_ made with underscores.

This is **bold** made with asterisks.

This is __bold__ made with underscores.
Remember to use the same character. An asterisk on one side of a word or phrase, and an underscore on the side, will not work. The same character has to be on both sides of the word or phrase.
Block quotes
Block quotes are used for direct quotes. If you were writing a blog entry and you wanted to repeat something that Benjamin Franklin said, you could use a block quote.
A right angle bracket is used to specify a block quote in Markdonw:
> This is a block quote.

>> Use two right angle brackets if you want a block quote that is further indented.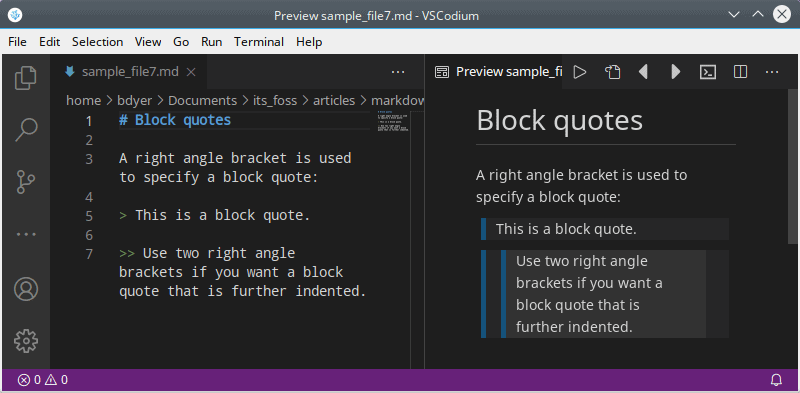
Adding links in Markdown
Links are just plain cool. There are three ways to create links on basic Markdown, but I will only cover two here: regular links and automatic links.
The third type of links, called reference links, are supported in basic Markdown and more advanced flavors. I want to get to started quickly. You can look up reference links when you are ready for that.
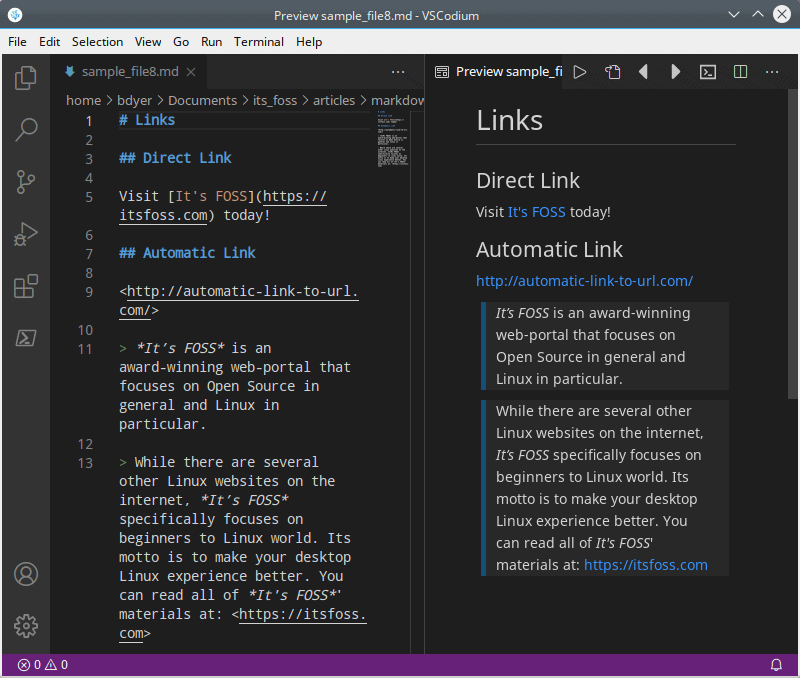
Regular links let you link to various websites. The name of the site, or a phrase you want to use, is placed in square brackets []. The actual link is inside parentheses ().
Visit [It's FOSS](https://itsfoss.com) today!Automatic links are made with angle brackets <> surrounding the link. The link is an actual address (either a Web or email address). The link is spelled out and, when it is converted to HTML, the spelled out link becomes a working link.
<http://automatic-link-to-url.com/>

<name@emailaddress.com>
This is useful for when you want to spell out the address in your text:
Adding images in Markdown
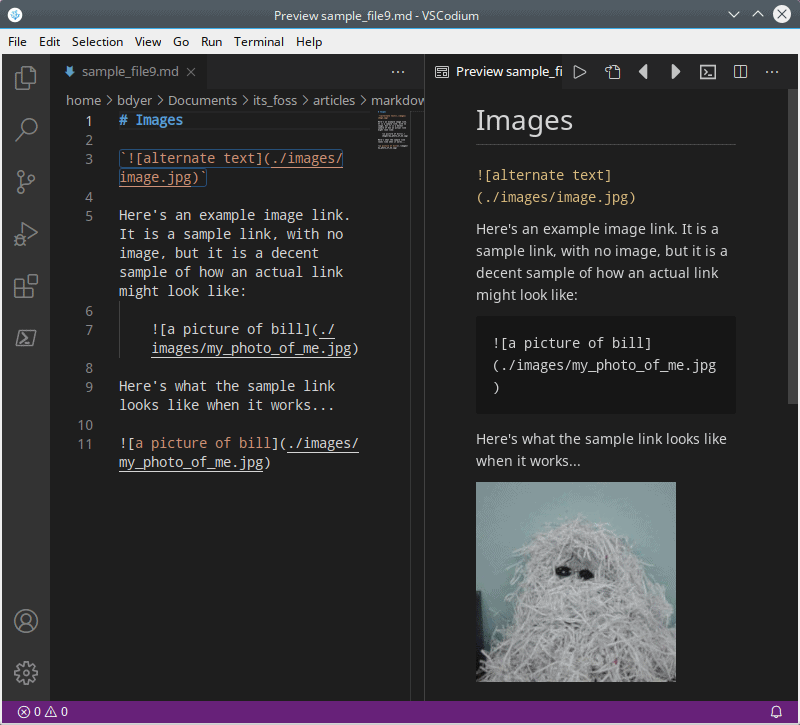
Links to images in Markdown are almost identical to links to Web sites. The small difference between site links and images, is that image links begin with a bang (exclamation point) !
The name of the image, or a descriptive phrase of the image, is placed in square brackets []. The actual link is inside parentheses ().
You can embed images like so:
Here’s an example image link. It is a sample link, with no image, but it is a decent sample of how an actual link might look like:
Lists
Lists are made for many reasons. They can be used as ‘things to do’ items, topic elements in an outline, parts lists in an assembly project, and so on. There are two main types of lists in Markdown: unordered and ordered.
Unordered lists are not numbered; these are the ‘bullet items’ we see in many documents. Ordered lists are numbered.
To create an ordered (numbered) list, just begin each line with a number, like so:
1. Item one.
2. Item two.
3. Item three.
Unordered lists are not numbered, but use either an asterisk *, a plus sign +, or a minus sign - at the beginning of each item on the list. I prefer to use either an asterisk or minus sign, but you get to choose:
* Item one.
+ Item two.
- Item three.
Sub-items can be added to both ordered and unordered lists by indenting, like so:
1. Item 1
    1. Sub-item 1
    2. Sub-item 2
2. Item 2
3. Item 3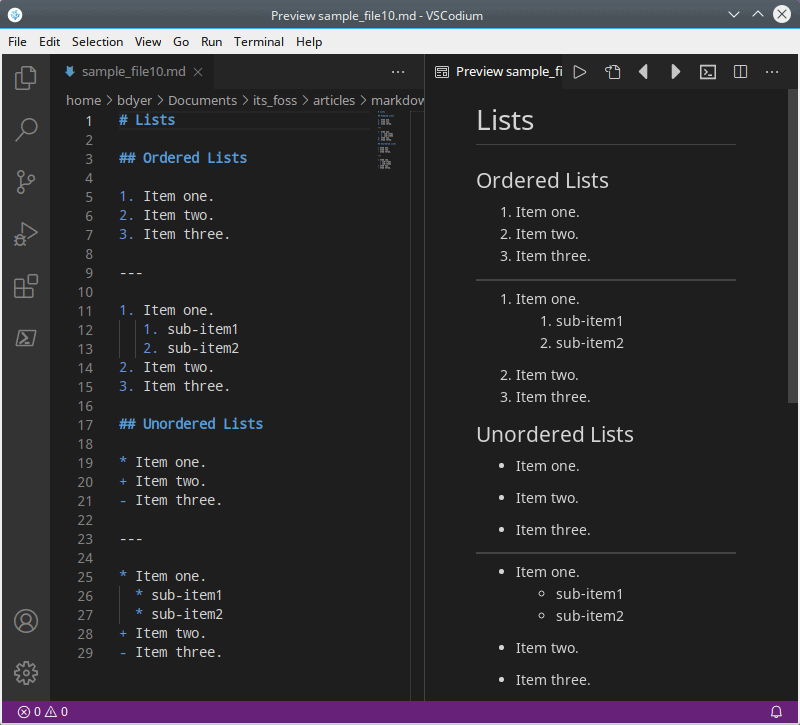 Abhishek Prakash
Markdown syntax cheat sheet
For your reference, here is a short listing of Markdown syntax that has been covered in this small introduction.
If you decide to adopt it as a writing tool, you’ll find that Markdown has the means to simplify writing even more.
Conclusion
Markdown can do more than what I have described here. A huge percentage of my writing can be accomplished with the Markdown syntax I have covered here – and these are the items I use most often even in more complex projects.
If all of this seems too simple, it really is that easy. Markdown was built to simply the writing task, but you don’t have to take my word for it. Try it out! There is no need to install a Markdown editor; you can do this online. There are several good online Markdown editors. Here are three that I prefer:
John Gruber’s Dingus, Editor.md, and Dillinger. Editor.md and Dillinger will let you see your Markdown rendered as HTML in real time. Dingus doesn’t preview in real time, but there is a Markdown syntax cheat sheet on the page for reference.
Try out some of the examples in this article on either of these online editors. Try out some of your own ideas, too. This will let you get used to Markdown before possibly committing to learn more about it.
And if you want to support It’s FOSS, you can buy our Markdown guide in PDF and EPUB format. It covers what you just learned with a bit more explanation and examples.
If this helped you, consider supporting It's FOSS
It's FOSS has been helping people use Linux for the past 14 years. Help us stay independent from big tech. Become a Plus member, enjoy ad-free reading and get 5 eBooks.
