
Ubuntu looks good but it can be tweaked to look better.
One of the reasons why I like using Linux is the flexibility of customization. Changing themes gives the system an entirely new look and feel. And the best thing is that there are tons of good themes for Ubuntu and other Linux at your disposal. You can play with them as you like.
In this tutorial, I’ll show you various types of theme customization and ways to install them. Of course, I’ll discuss how to change the themes in Ubuntu.
Let’s start with the type of theme elements.
Theme elements: Icon themes, GTK themes and GNOME Shell themes
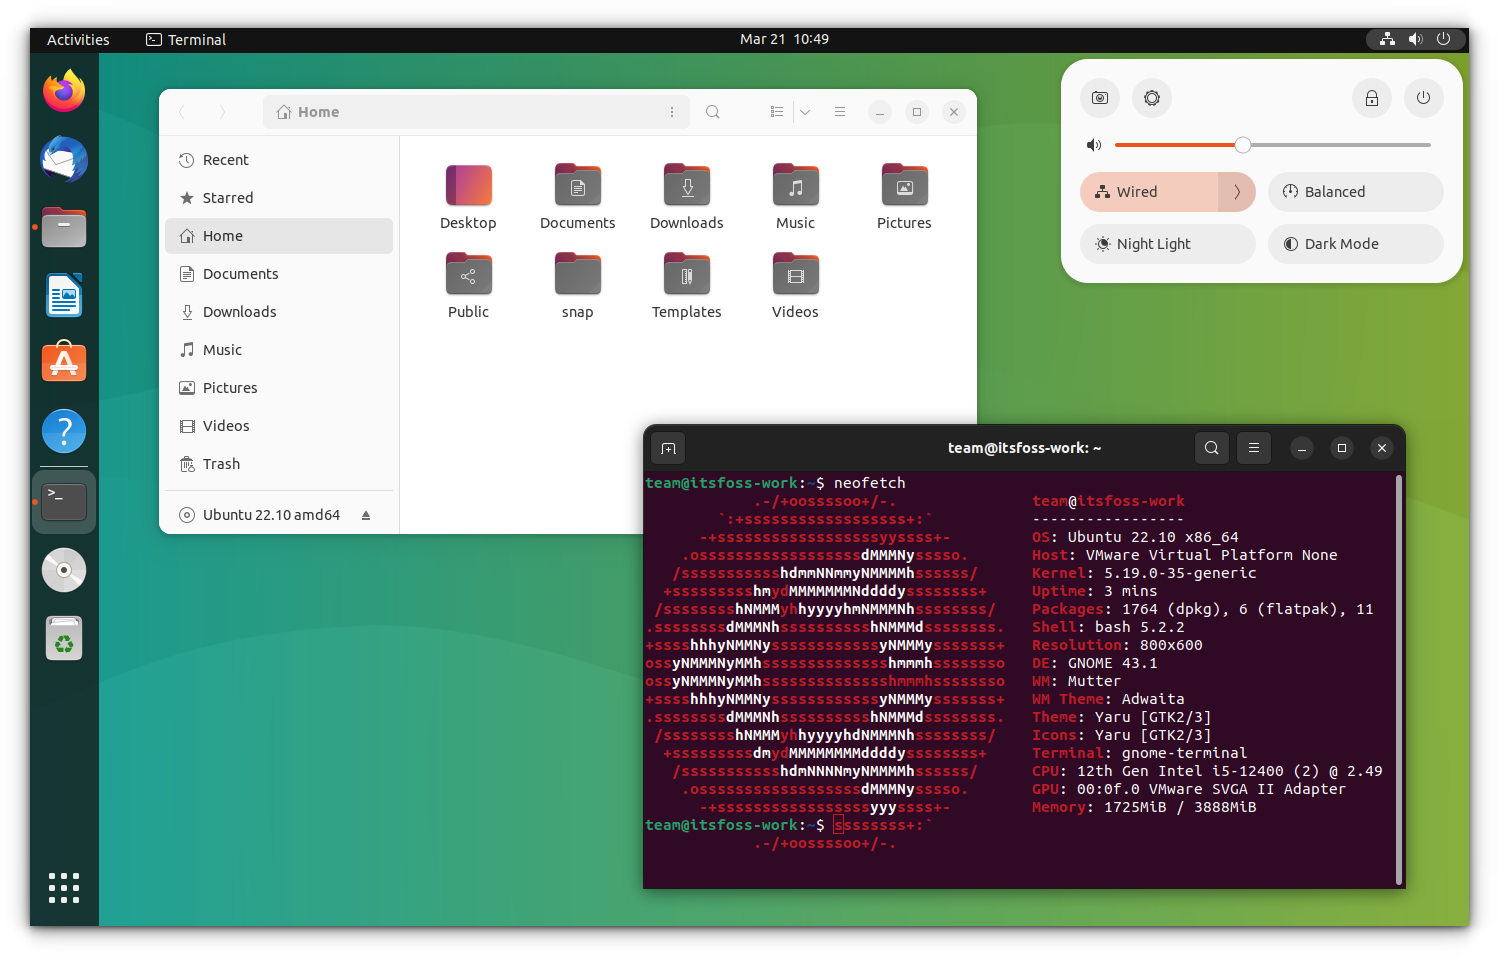
This is the default look of Ubuntu 22.10:
And if I change all three theme elements, the same may look like this:
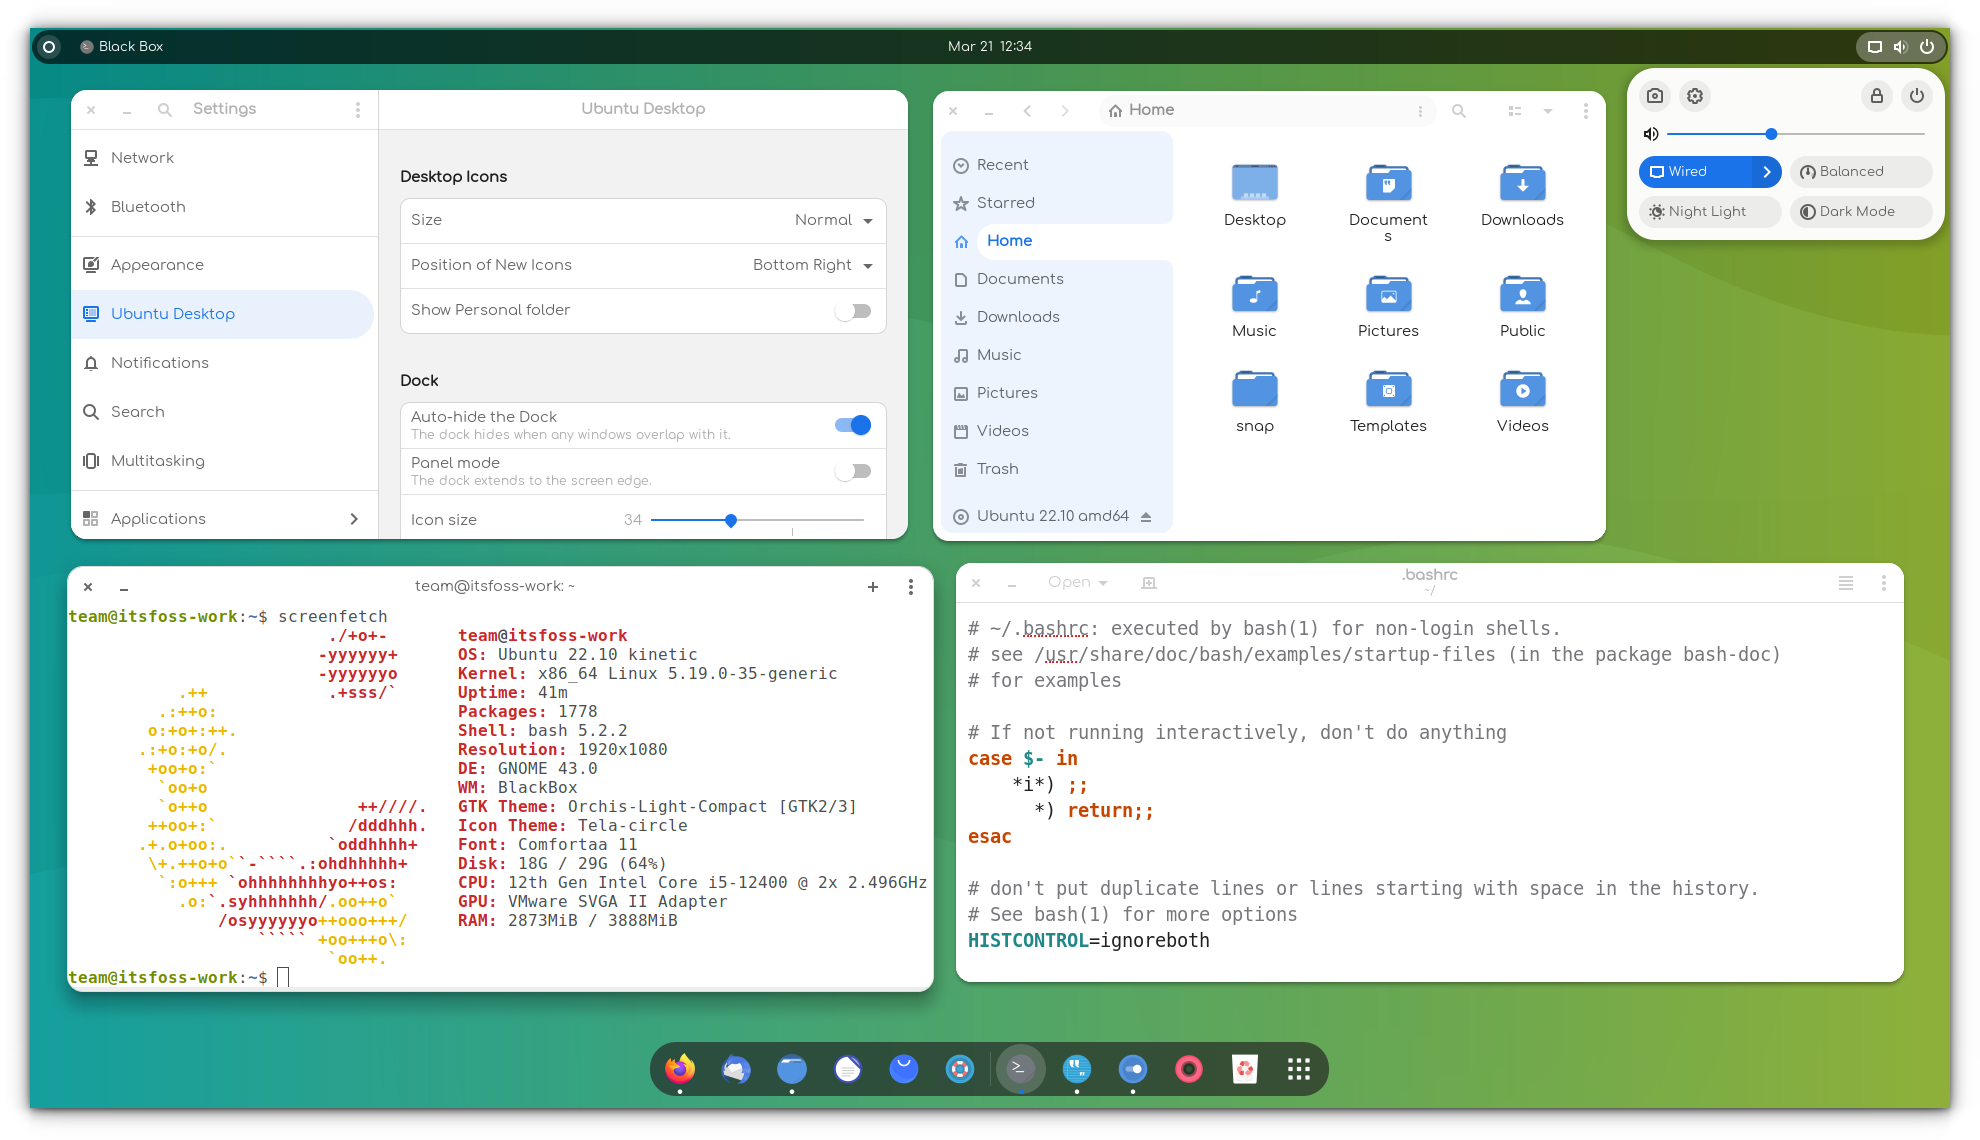
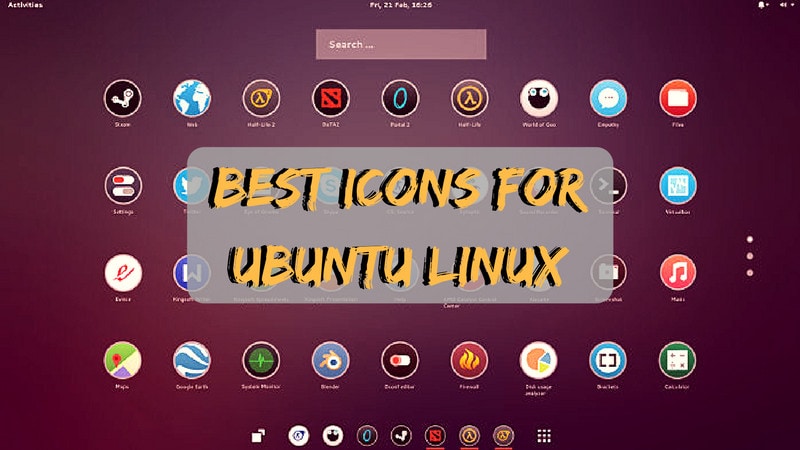
Icons: Icons are pretty straightforward. Changing the icon theme will change the looks of the icons of applications. You should opt for an icon theme with support for a wide range of applications; otherwise, some icons remain unchanged and look out of place. You can refer to this article to find the best icon themes for Ubuntu.
GTK theme: GTK is a framework used for building the graphical user interface of an application. Basically, it determines how an application interface will look (if it is a GTK application). At present, Ubuntu uses GTK3/4 so you should download GTK themes, with some additional tweaks manually for GTK4 apps, which will be explained here.
GNOME Shell theme: Changing the GNOME Shell theme will change the Shell elements such as the top panel, activity overview, desktop notifications etc.
Cursor theme: As evident from the name, you can change the cursor of Ubuntu to something that you like more.
Some theme packages provide all types of theme elements to give you a uniform experience. On the other hand, you’ll also find a standalone icon or GTK or Shell themes.
Of course, you can combine them to give your Ubuntu system an attractive look.
Now that you are familiar with the terms, let’s move further. There are two parts here:
- Get the themes on your system
- Changing the current theme through the GNOME Tweaks tool
Step 1: Install themes in Ubuntu
Just for your information, I’ll use the term ‘themes’ for all four i.e., icons, GTK, cursors and GNOME Shell themes, unless individually specified.
I have also made a video about installing themes in Ubuntu. You can watch the video to see the things in action.
There are three main ways you can install themes in Ubuntu:
1. Using PPA to install themes
My favourite way of installing themes is to use a PPA. This way, you get the themes updated automatically. All you have to do is to use three lines of code, one by one.
Let’s take Flat Remix for example. This is a beautiful theme package developed by Dani Ruiz. You can install the theme package using the command below:
sudo add-apt-repository ppa:daniruiz/flat-remix
sudo apt update
sudo apt install flat-remix-gnome
This will install the Flat Remix Shell theme. You don’t have to do anything else. You now have the new themes available in your system.
We’ll see how to change themes in Ubuntu slightly later in this article. Let’s move on to other ways of installing themes.
2. Using .deb packages to install themes
Some theme developers provide a .deb executable for their theme. You only need to download the .deb package and double-click on it to install the theme like any other software.
3. Using archive files to install themes (Most popular)
This is perhaps the most common way of providing themes. If you go to the GNOME Look website in search of themes, you’ll find that themes come in zip or tar archive form. Don’t worry; installing themes this way is also not a big deal.
Let’s download the Ant GTK theme or Orchis theme. You’ll have to go to the Files section. If you see more than one file, it’s because this theme has some variants. These variants are similar but varied a little in terms of looks. For example, there could be a dark variant of a theme.
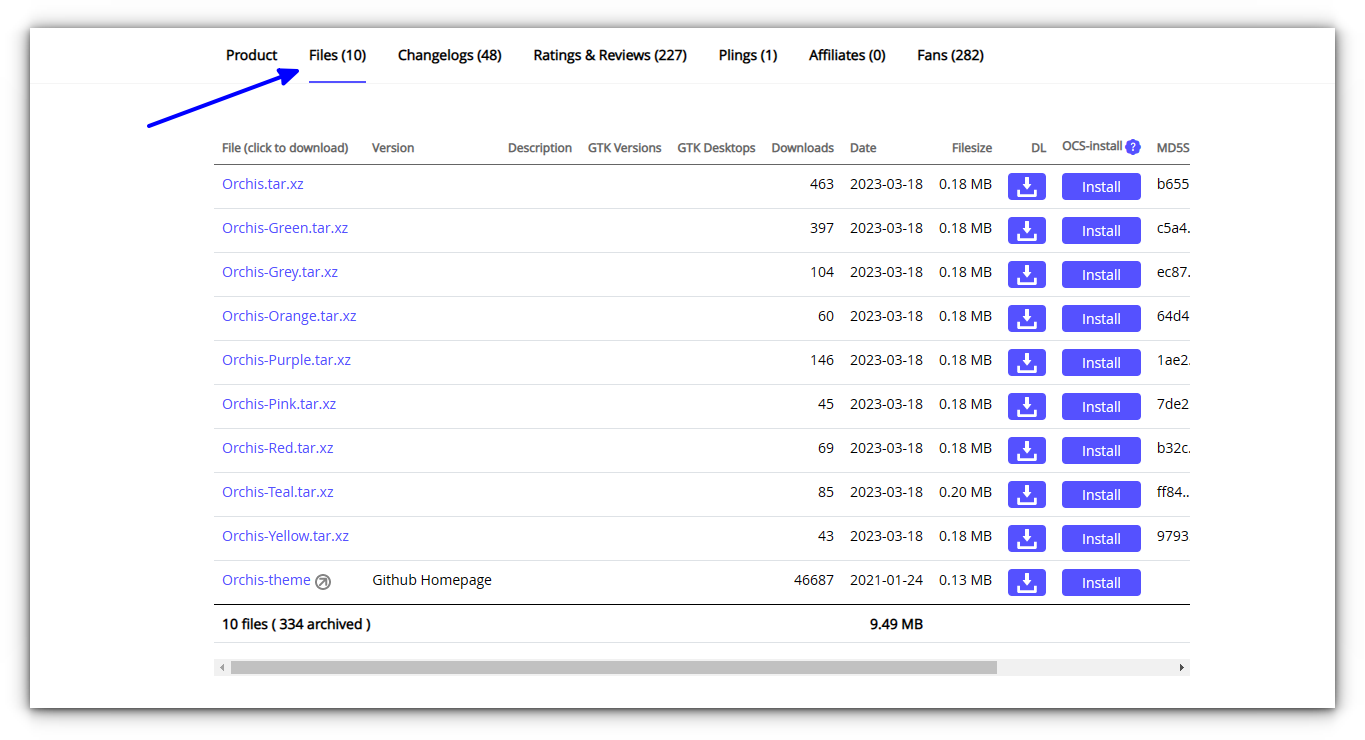
Once you have downloaded it, you’ll have to do one extra stuff here.
Go to your Home directory and press Ctrl+H to show hidden files and folders. If you see .themes and .icons folders, you are good. If not, create new folders named .themes and .icons.
You can use the command below if you want:
mkdir ~/.themes
mkdir ~/.icons
Now, remember that when you download the archived version of GTK or GNOME Shell theme, extract it and copy the extracted folder to the .themes folder in your home directory. If you download an archived version of an icon or cursor theme, extract it and copy the extracted folder to the .icons folder in your home directory.
To summarize:
- .themes – for GTK and GNOME Shell themes
- .icons – for icon and cursor themes
Well, you have just learned how to install themes in Ubuntu. It’s time to see how to change the themes here.
Step 2: Change themes in Ubuntu GNOME desktop
You’ll have to use the GNOME Tweaks and Extension manager app for this purpose. It is available in the software center. Just search for it and install it.
If you prefer using terminal, you can use the command below to install GNOME Tweaks:
sudo apt install gnome-tweaks gnome-shell-extension-managerOnce installed, just search for Extension manager and open it. Go to the Browse tab and install the user themes extension.
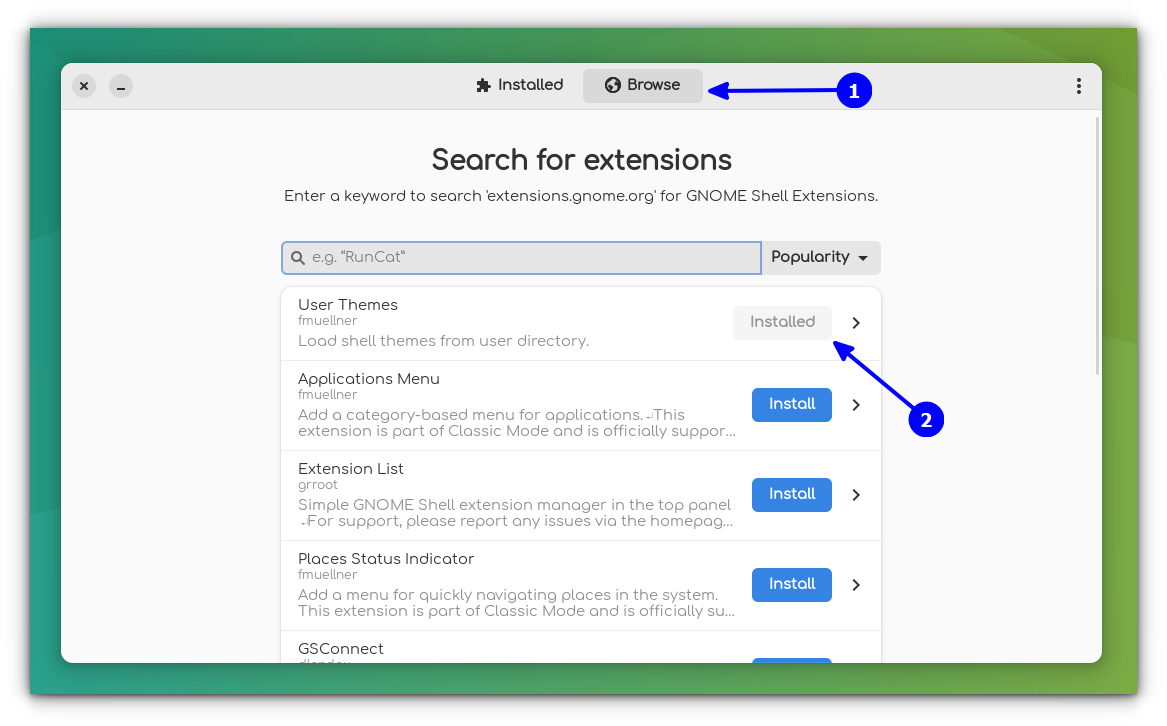
Now, open GNOME Tweaks.
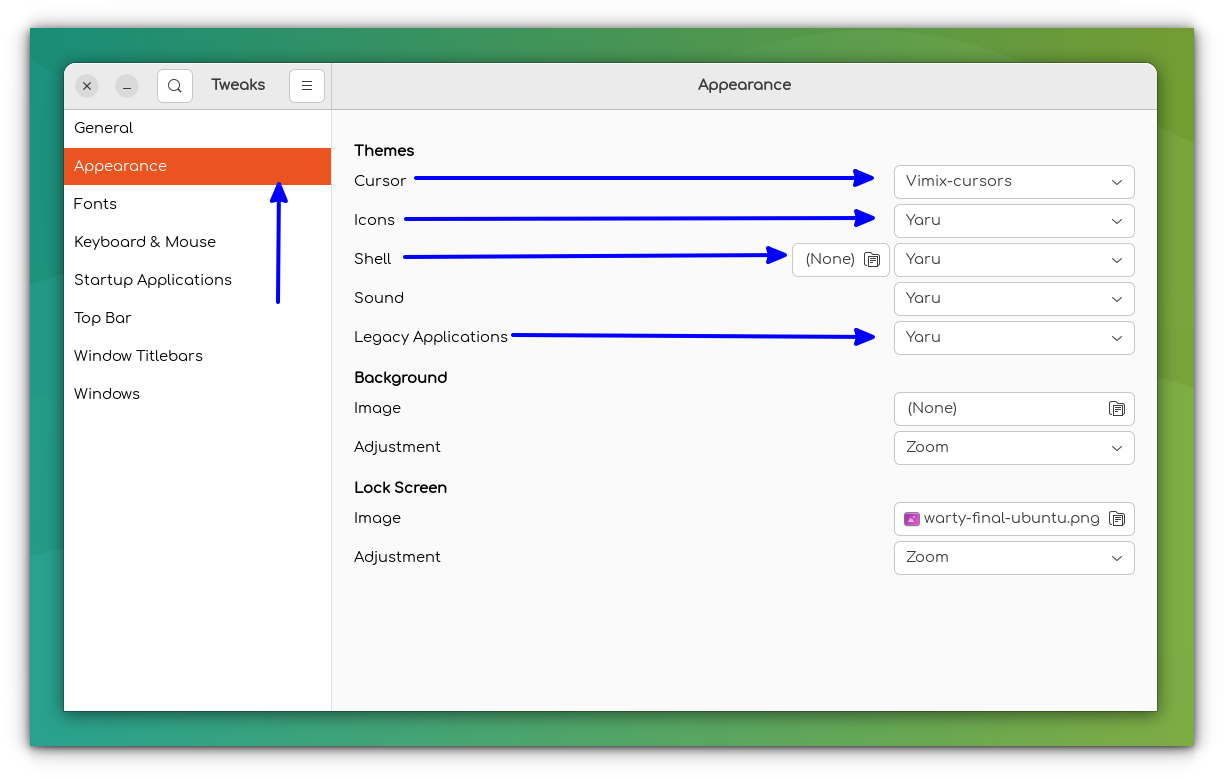
When you start Tweaks, you’ll see the options to change the icon, GTK and Shell theme under the Appearance section. GTK theme is changed from the Legacy Applications option and the shell theme is changed from the Shell option.
Troubleshooting: Theme doesn't change for GTK4 apps
When you change themes using the above method, you may sometimes notice that the themes of some apps are not changed, especially in Ubuntu 22.10 and later version, where GTK4 versions of the Nautilus file manager, system settings etc. are used.
You can apply your theme to these apps also. But for the moment, it needs manual intervention.
Firstly, you should ensure that the theme supports GTK4.
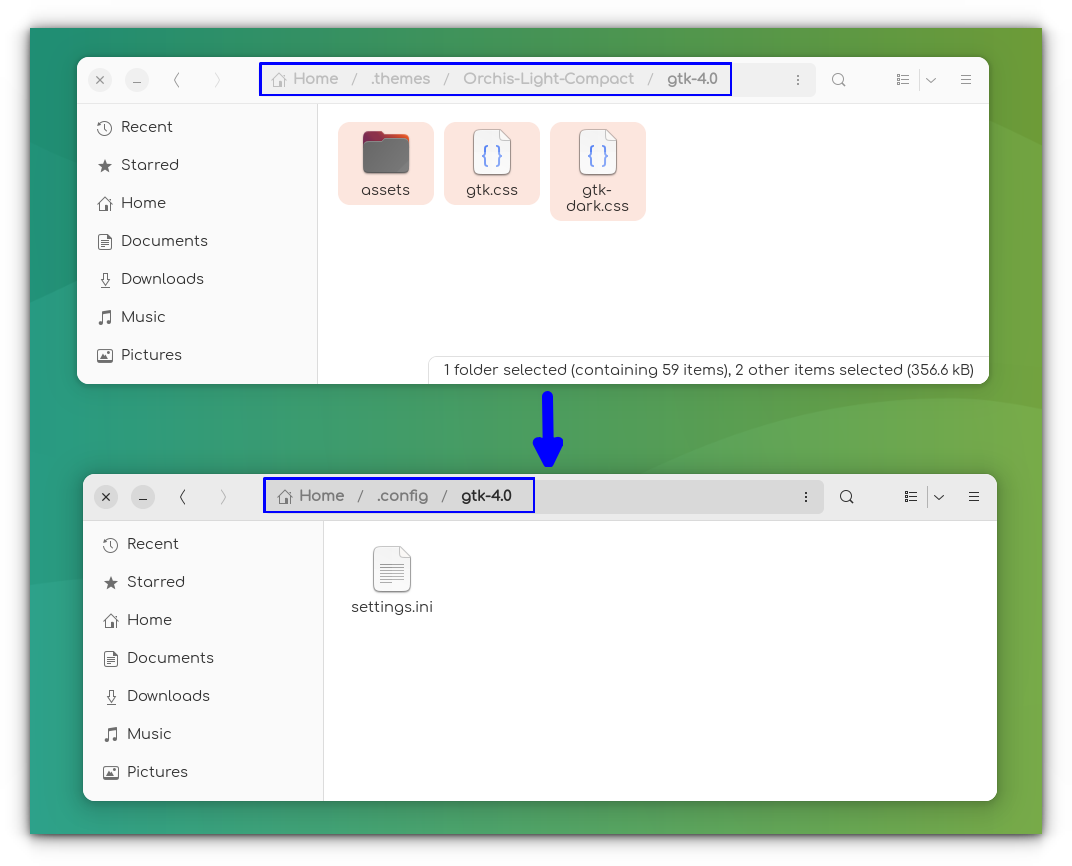
If it supports GTK 4, you may find a folder named gtk-4.0 inside the extracted theme folder.
Copy the contents of this folder to the ~/.config/gtk-4.0 directory.
Many themes that support the GTK4 libadwaita, provide a way to install their themes on their respective repositories. So, you can visit your favorite theme repo to learn more.
You may have to do special efforts for Flatpak applications as well if you want a completely changed look for all elements of your system.

Customize as much as you like
Changing the theme in Ubuntu is not a complicated process. You just have to download the icon and theme files and extract them to the designated locations.
Looking for some recommendation?
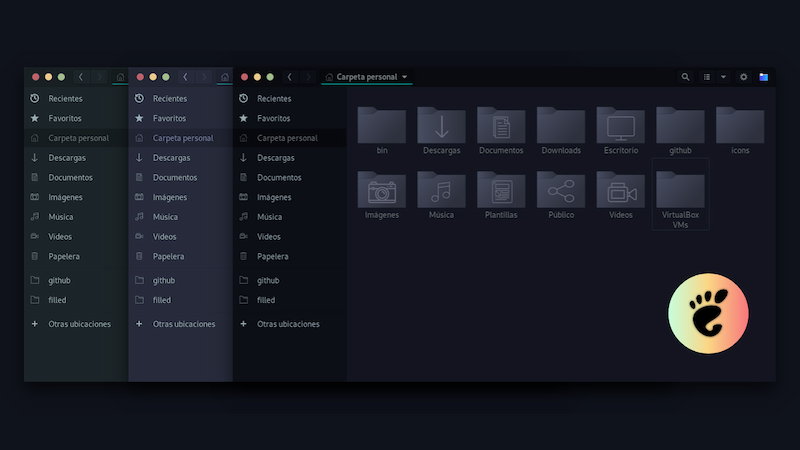
Here are some GTK themes you can try.
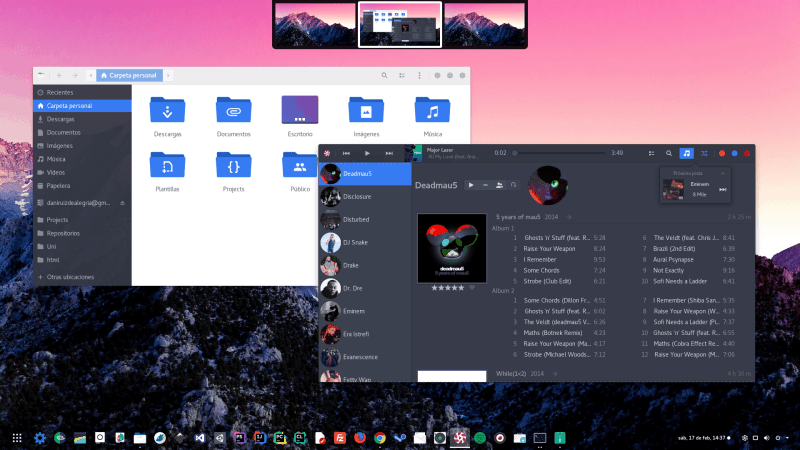
And if you are looking for dark themes, we've got a separate list for you:
Changing themes is just one way of customizing Ubuntu. There are several other ways you can try.

Furthermore, you can try installing GNOME extensions.
I hope you find this tutorial helpful. Let me know if you need any help.


