

When I last wrote about things to do after installing Ubuntu 22.04, I didn’t focus much on customizing GNOME. It’s because tweaking GNOME is a vast topic and it deserves an article of its own. And hence here I am with some basic and interesting GNOME tips.
While I have written this article focusing on Ubuntu 22.04, I am sure that most of these tweaks are applicable to any Linux distribution using the GNOME desktop.
Before you see how to customize GNOME, you should first get acquainted with this desktop environment.
Part 1: Get Familiar with GNOME
Most of the points in this section are obvious ones. I still included them so that it helps you if you are entirely new to GNOME desktop.
1. Activities
The Activities give you a quick glance at various (graphical) applications running on your system. You can also search for applications, and files or switch to other workspaces from here. You can access Activities either by pressing the Super key or clicking on the Activities option that is always displayed in the top left corner.

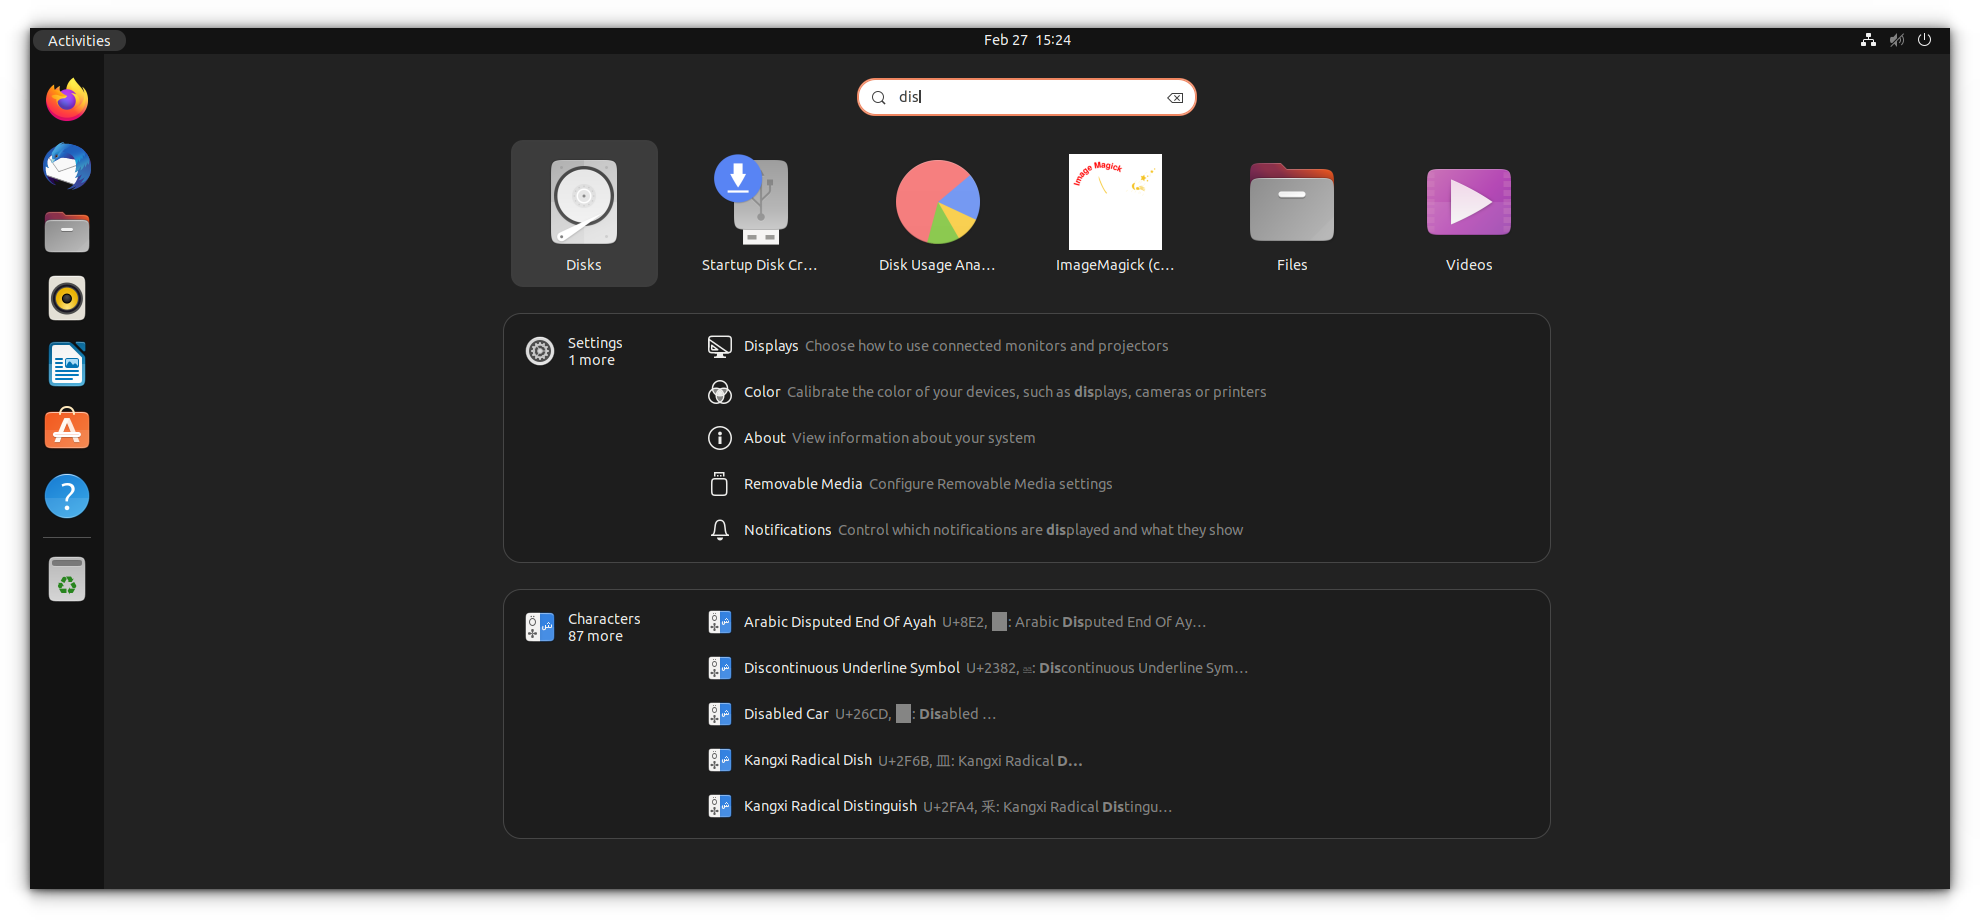
2. Application Display
You can see all the applications installed on your system using the Show Applications option at the bottom of the launcher. This is similar to Launchpad in macOS.
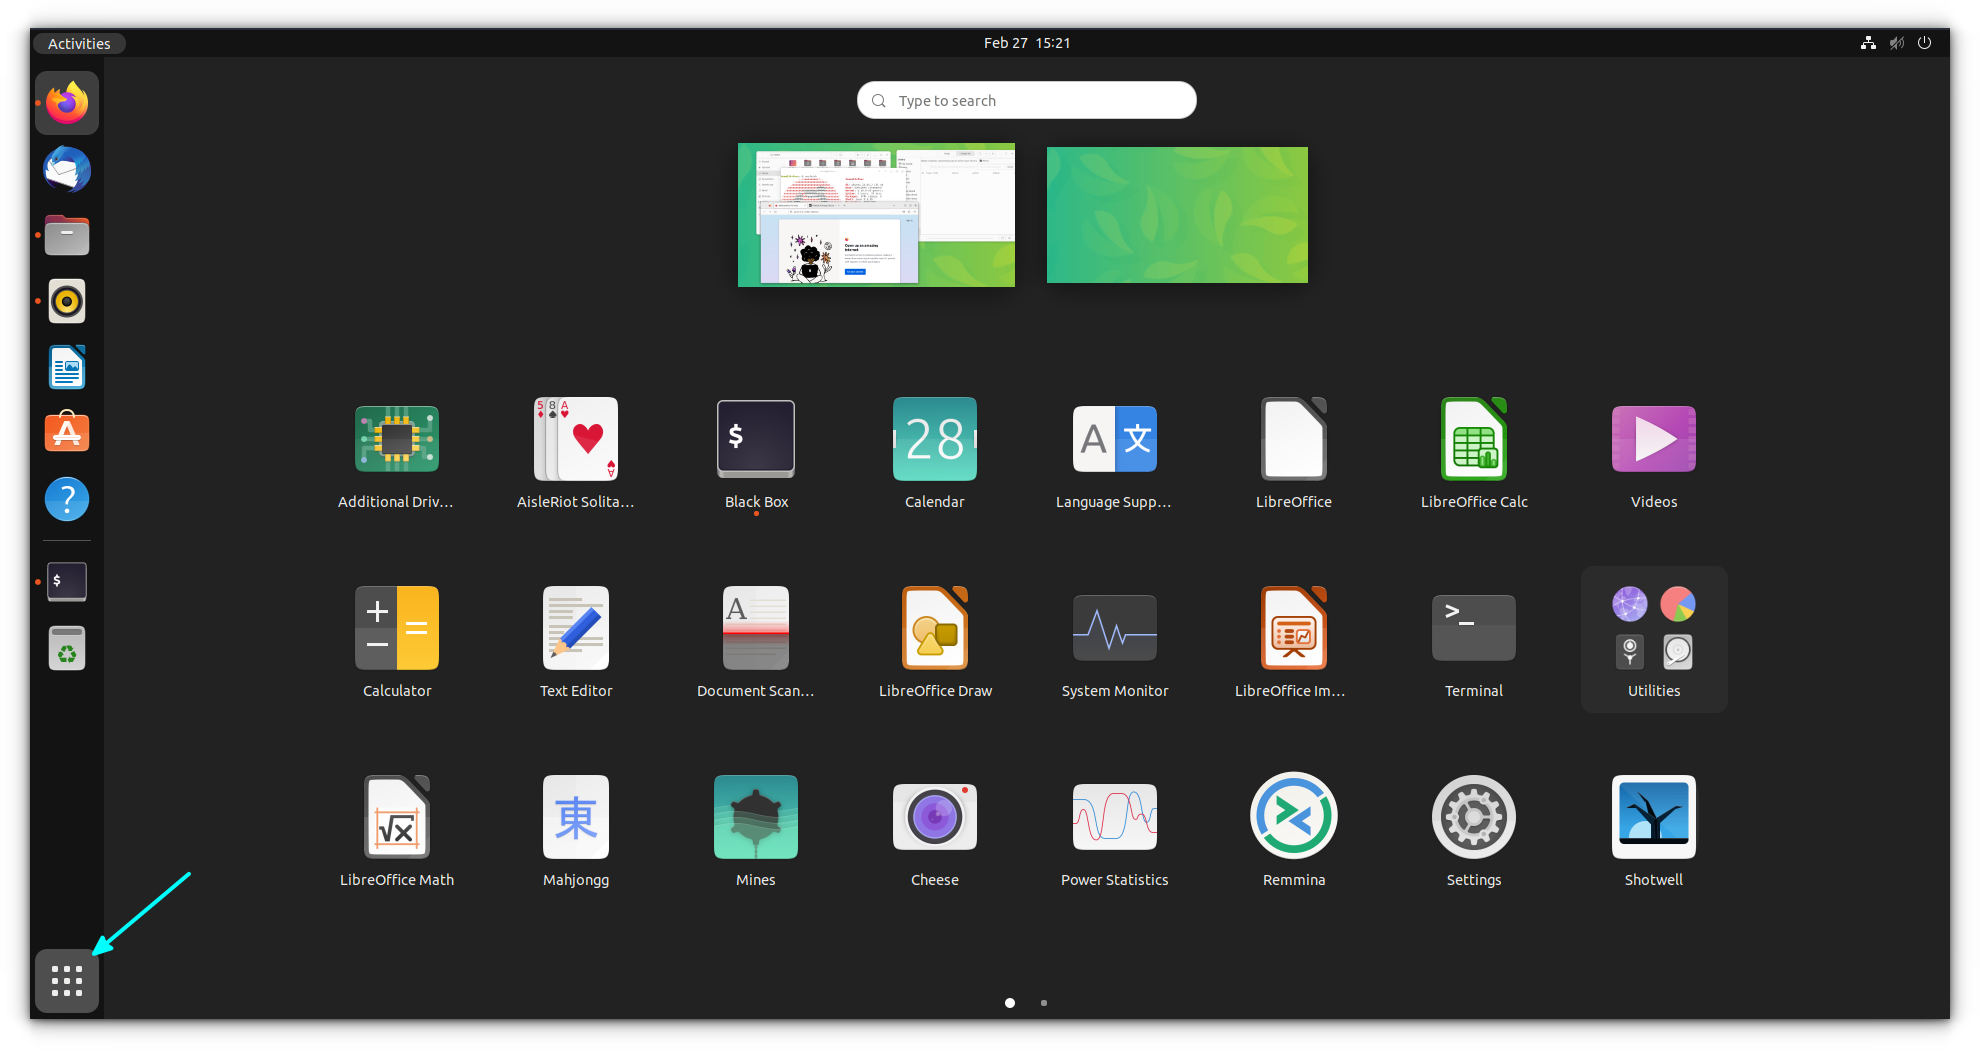
You can also search for applications if you cannot see them. If the application is not installed, it may even show the option to install it from Software Center.
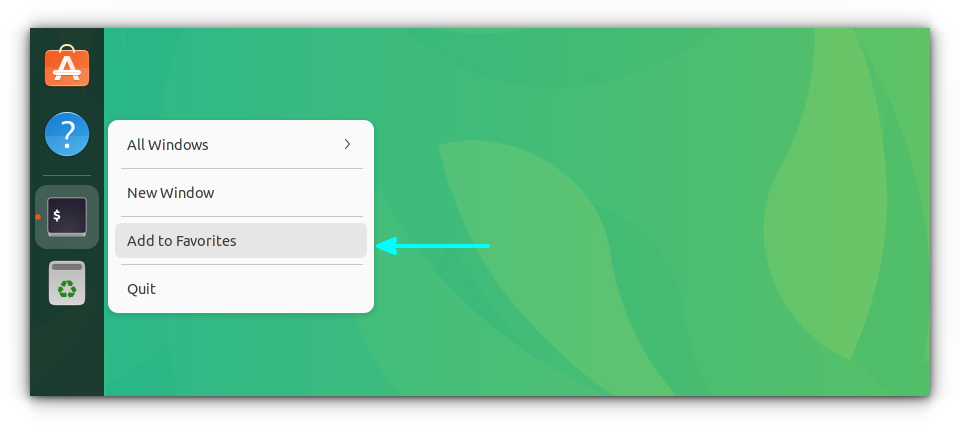
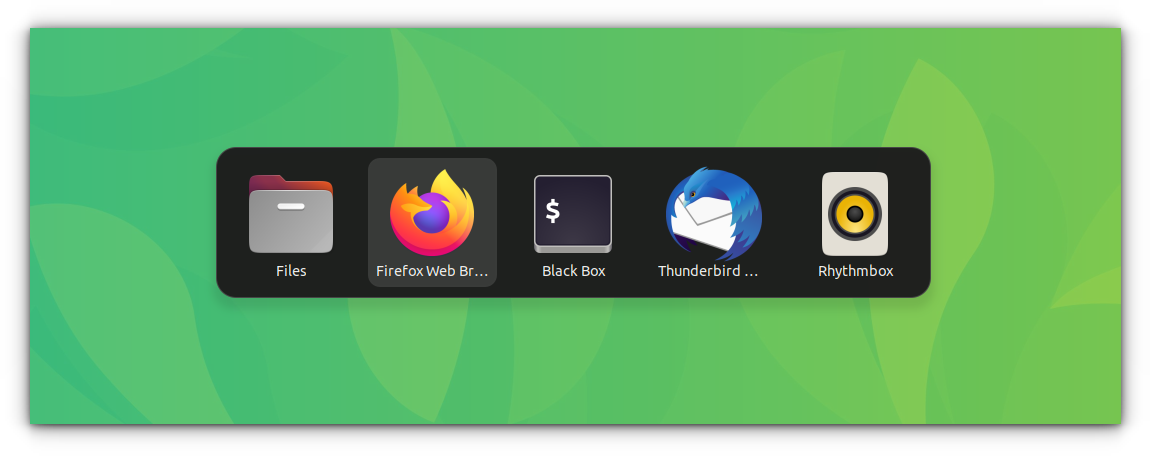
3. Add applications to the launcher
It is easy to search for an application and run it. It is even easier to run if it is available in the launcher.
To add a running application to the launcher, simply right-click on it and use the option “Add to favorites”.
4. Application switching
You can use either Alt+Tab or Super+Tab keys to display the application switcher. Once displayed, just keep holding the Alt or Super key and tap the tab key to move to the next application on the right side.
You can also Shift+Tab instead of Tab to move to the application on the left side. This helps when you have more than ten applications running and you don’t want to go through all of them.
If you have more than one instance of the same application running, just stopping at that application will open a drop-down showing all those instances. You can switch between these instances by using Alt+Tilde(~) or Super+Tilde keys. You can also use the arrow keys to navigate between them. To continue switching between different applications, just use Alt+Tab or Super+Tab again.
You are not forced to select one of the displayed applications in the app switcher. If you want the app switcher to go away without selecting any displayed application, just use Alt+Esc or Super+Esc.
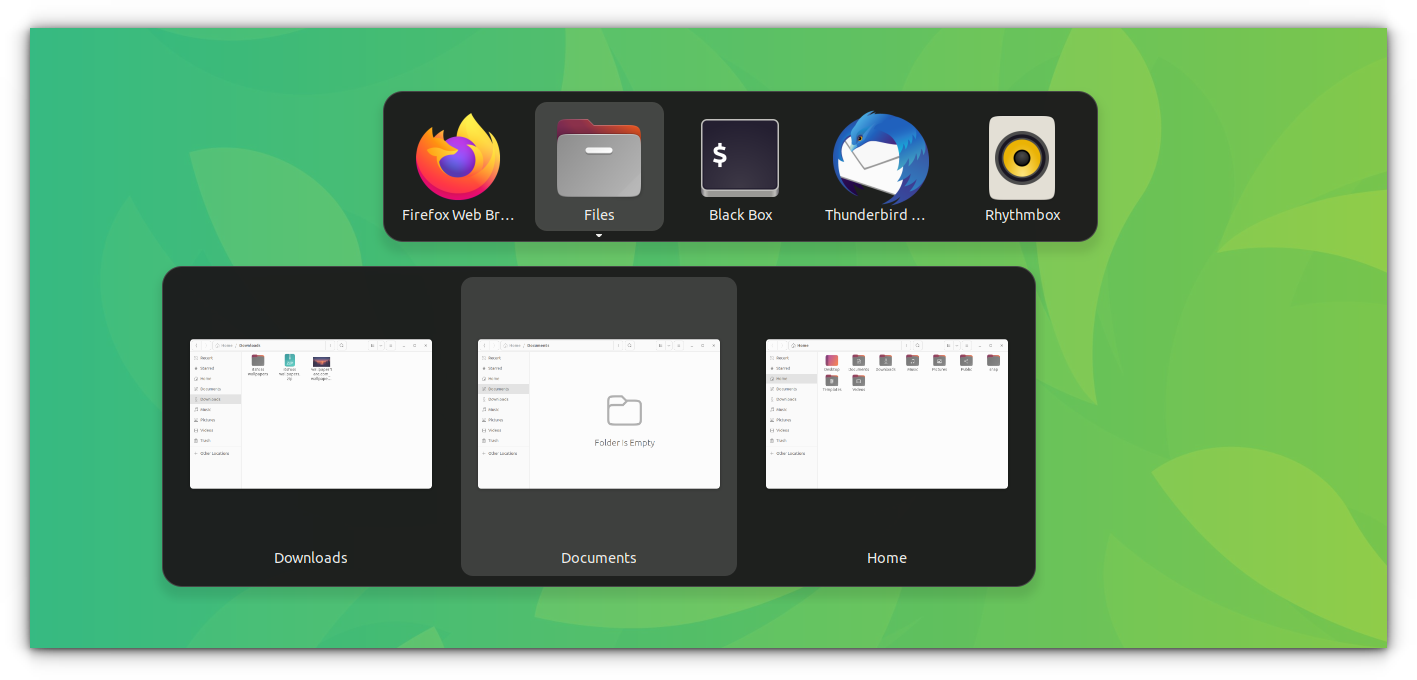
5. Split Screen to view two applications at a time
This is one of my favorite features. Viewing two applications side by side on a single screen. It allows you to switch and work between the two applications without minimizing either of them. It’s similar to having two monitors.
All you have to do is open the application. While the application is in focus, use the Super+Left arrow keys to move the application to the left half of the screen. Similarly, you can open another application and fix it to the right half of the screen using the Super+Right arrow key combination.
Another way to achieve it is to drag the application to the far left and far right of the screen. When your mouse pointer touches the left or right end of the display, you’ll see the screen flash. So, don’t stop until you see the indication that your application can be stick to half of the screen.
While we are discussing this, perhaps you already know that if you drag an application window to the upper end of the screen, it will maximize the window.
It’s not that you are forced to share the screen 50-50 between two applications. You can increase the size of either application horizontally, as per your needs.
And these applications are grouped together. So when you use alt+tab to switch between all the running apps, selecting either of the ‘grouped applications’ will bring out the split screen view showing both applications.
You can also have more than one application window stuck to either half of the screen.
To unstick i.e. to remove an application from this split view, you can drag them back to the center.
Alternatively, you can use Super+ arrow keys to bring the applications back to normal. Just use the arrow key in the same direction where the application windows are fixed. Meaning, if you have the application fixed to the right half of the screen, just use the Super+Right arrow key and it will be back to its normal shape.
Part 2: Minor Tweaks to customize GNOME
While a number of things are available in GNOME by default, you may have to tweak it here and there to get a better experience with it. There might be no end to such tweaks, so I am going to list my favorite ones.
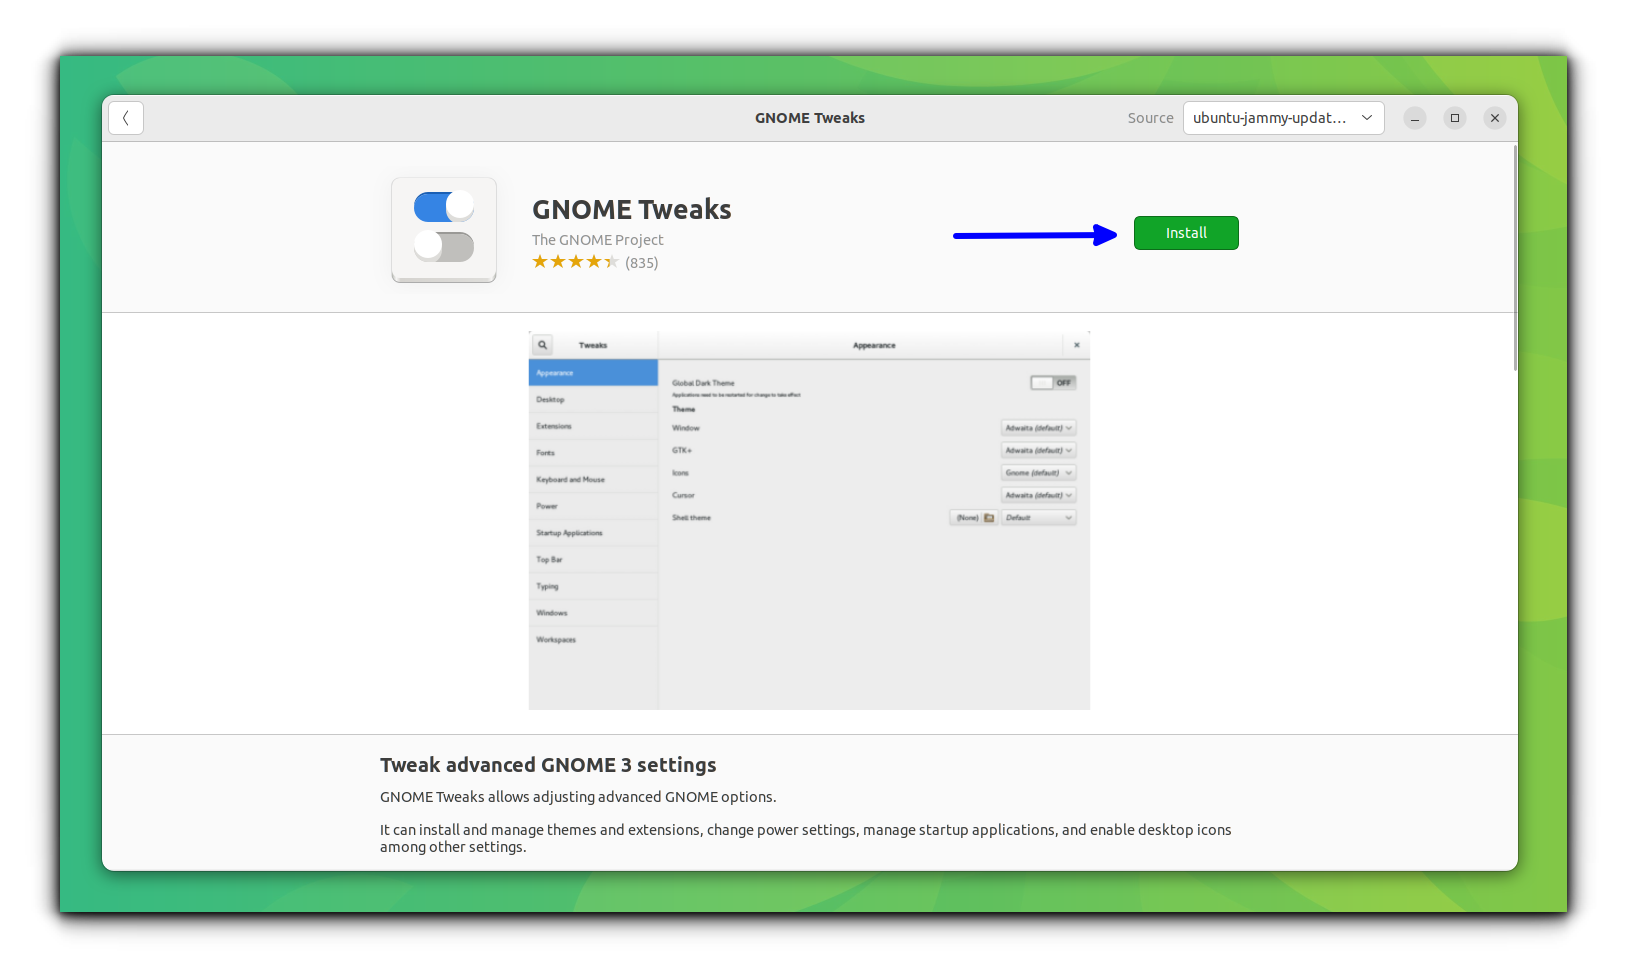
But before you could customize GNOME, you will have to install the GNOME Tweaks tool.
6. Install GNOME Tweaks and Extensions Manager
While the default system settings have plenty of options to configure your GNOME system as per your needs, I still recommend using GNOME Tweaks and Extensions Manager in order to do more customization to the GNOME desktop in Ubuntu 22.04 or other Linux distributions. Some of the tweaks which you’ll see in this article will be using this tool.
You can find GNOME Tweaks in the Software Center. Just search for it.
Alternatively, you can use the command below to install both:
sudo apt install gnome-tweaks gnome-shell-extension-manager
7. Enable minimize to click
If you click on an application icon in the launcher which is already running and is in focus, it stays up there. It’s of great convenience to be able to minimize the application window if you click on it for the second time.
This behavior cannot be changed from either Settings or GNOME Tweaks tool. But this doesn’t mean you cannot do it at all.
If you want to enable minimize to click in Ubuntu, use the command below:
gsettings set org.gnome.shell.extensions.dash-to-dock click-action 'minimize'
8. Change Accent Colors
This feature does not require GNOME Tweaks and you can access it from System Settings. Open Settings → Appearance.
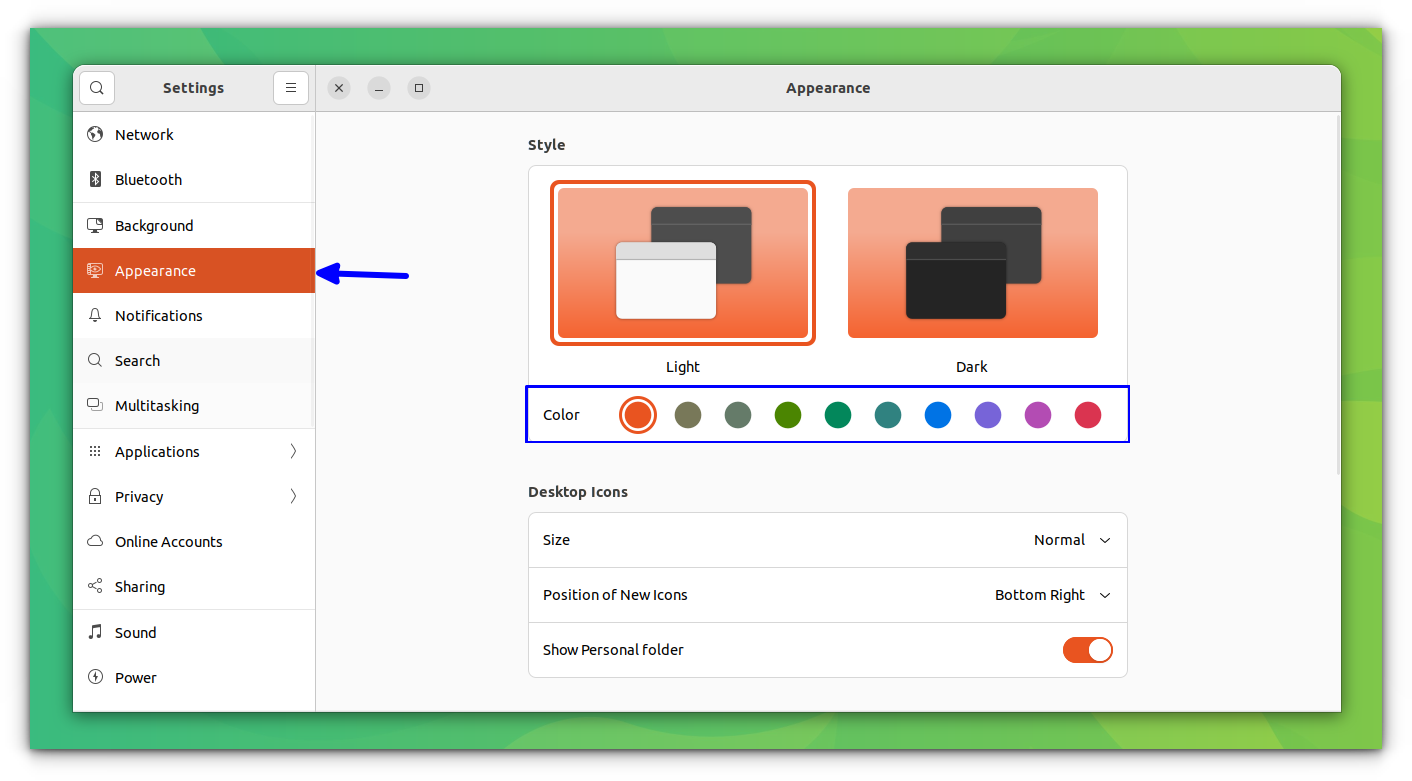
You can change the accent colors to any of the available options.
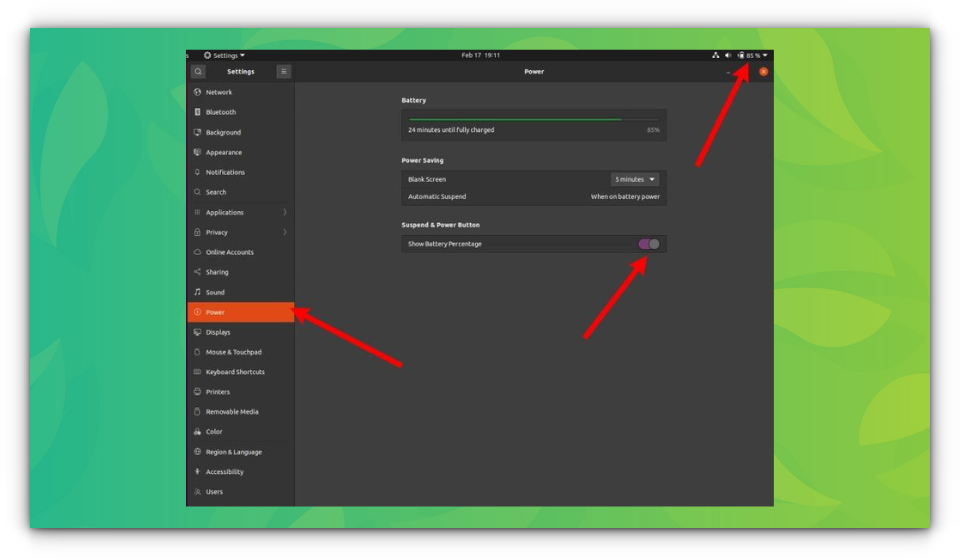
9. Display battery percentage
I have dedicated an entire article on how to display battery percentage in Ubuntu. Personally, I prefer to see how much battery is left in my laptop. The default battery icon on the top doesn’t do a good job of giving this information.
It’s a lot more helpful to display the battery percentage. You can easily do that using the GNOME System Settings.
Open GNOME System Settings and go to Power->Show Battery Percentage. Switch it on from here.
10. Change the looks and feel by changing the icons and themes
Ubuntu 22.04 may look good by default but it doesn’t mean you cannot make it look better. There are so many beautiful themes available out there for this purpose. I have written an entire article showing how to install themes in Ubuntu in detail. I recommend referring to this article.
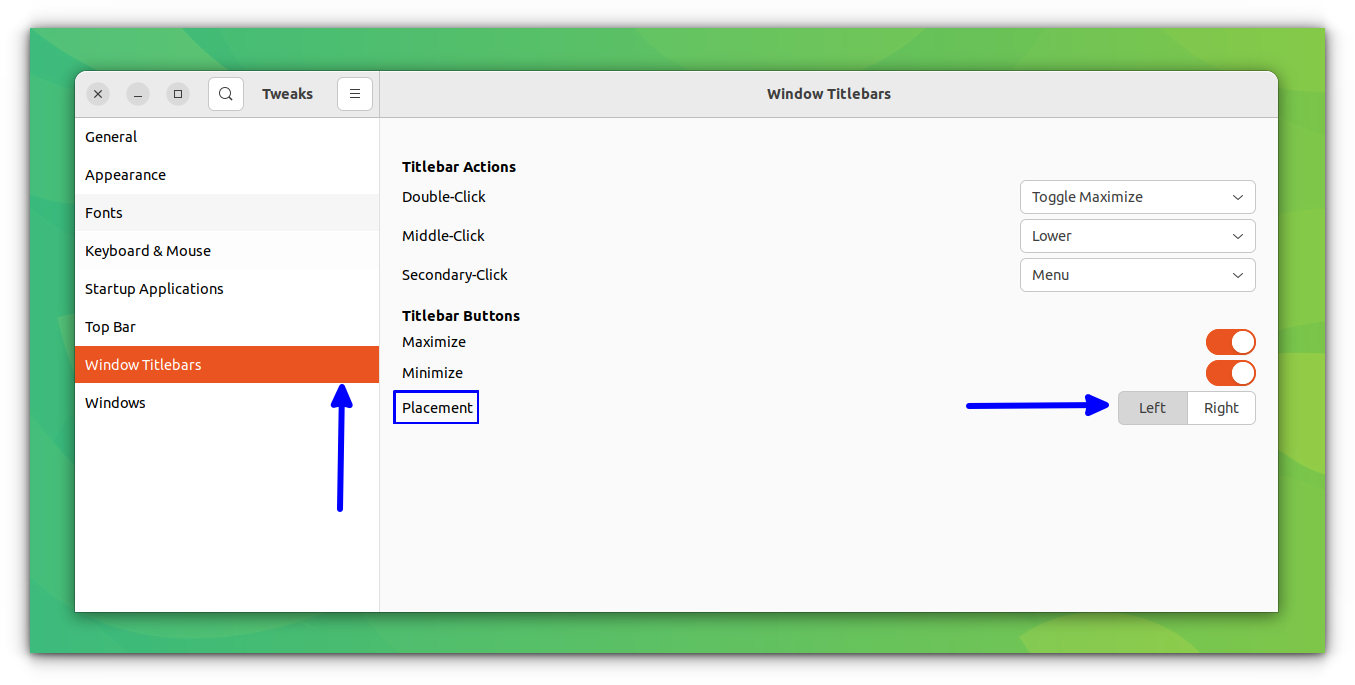
11. Change Windows Control Position
If you used Unity desktop previously, you might be used to having the windows control buttons on the left-hand side. But you’ll see the maximize, minimize, and close buttons on the right side instead.
While some people may like it, long-time Unity users might not find it convenient. If you are one of those, you can change this behavior and move the windows control buttons to the left side from the GNOME Tweaks tool.
Run GNOME Tweaks, go to Windows and select the Placement option to the left.
GNOME Tweaks is capable of doing a lot more. Here are a few more tweaks to explore.
 Abhishek Prakash
Part 3: Get more out of GNOME
GNOME provides several features of its own that can be used to enhance your desktop experience further.
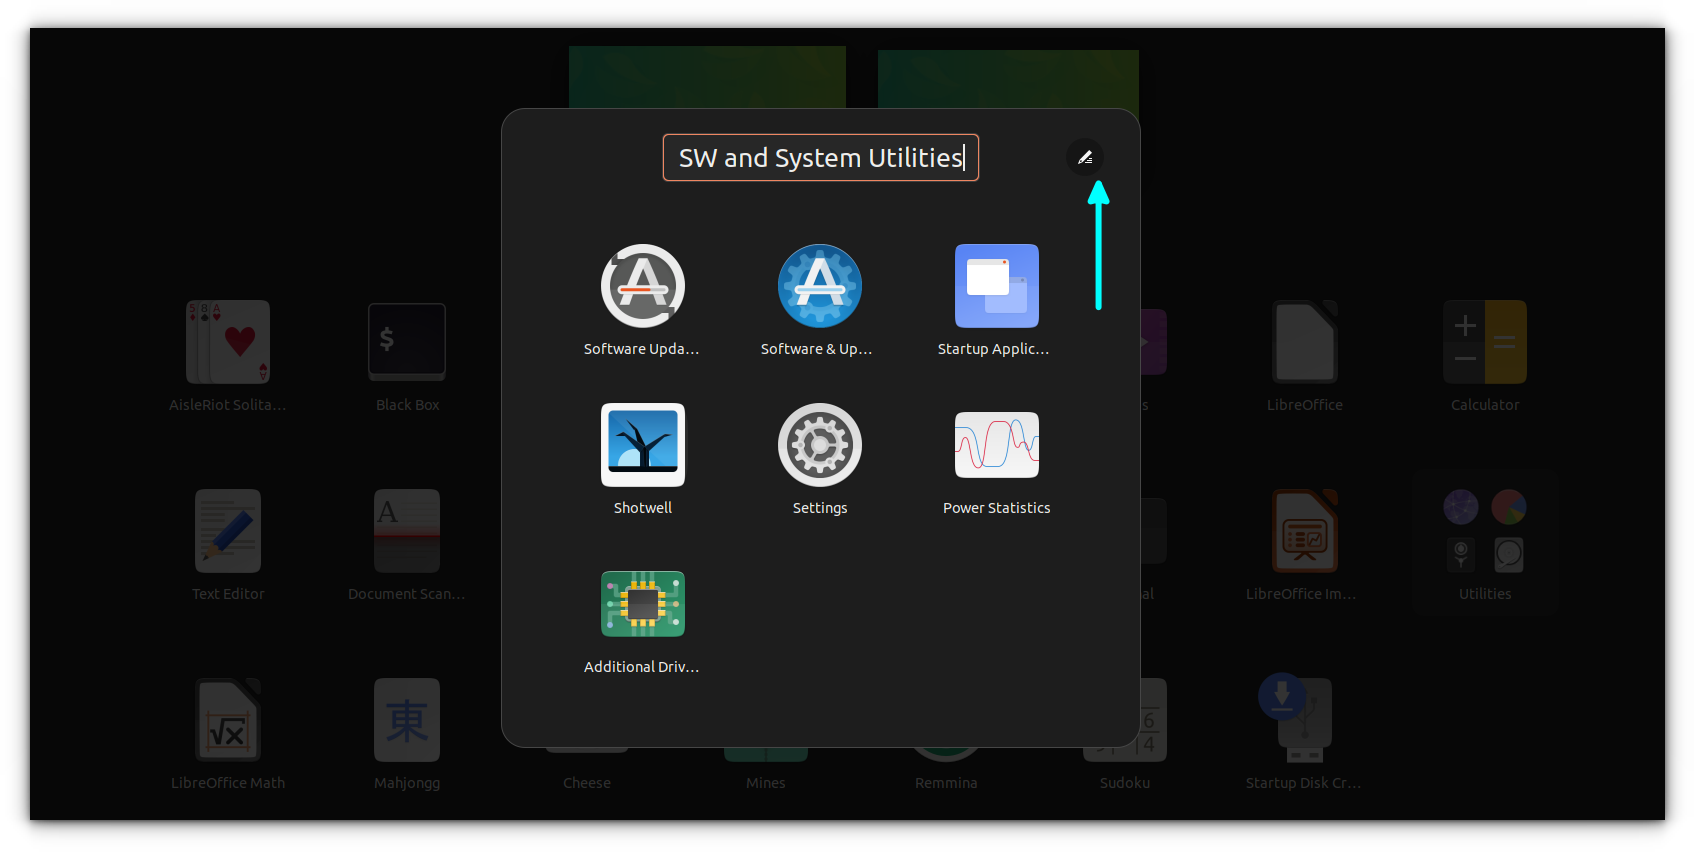
12. Group Applications in Grid View
On the latest Ubuntu versions, you can organize your apps in folders.
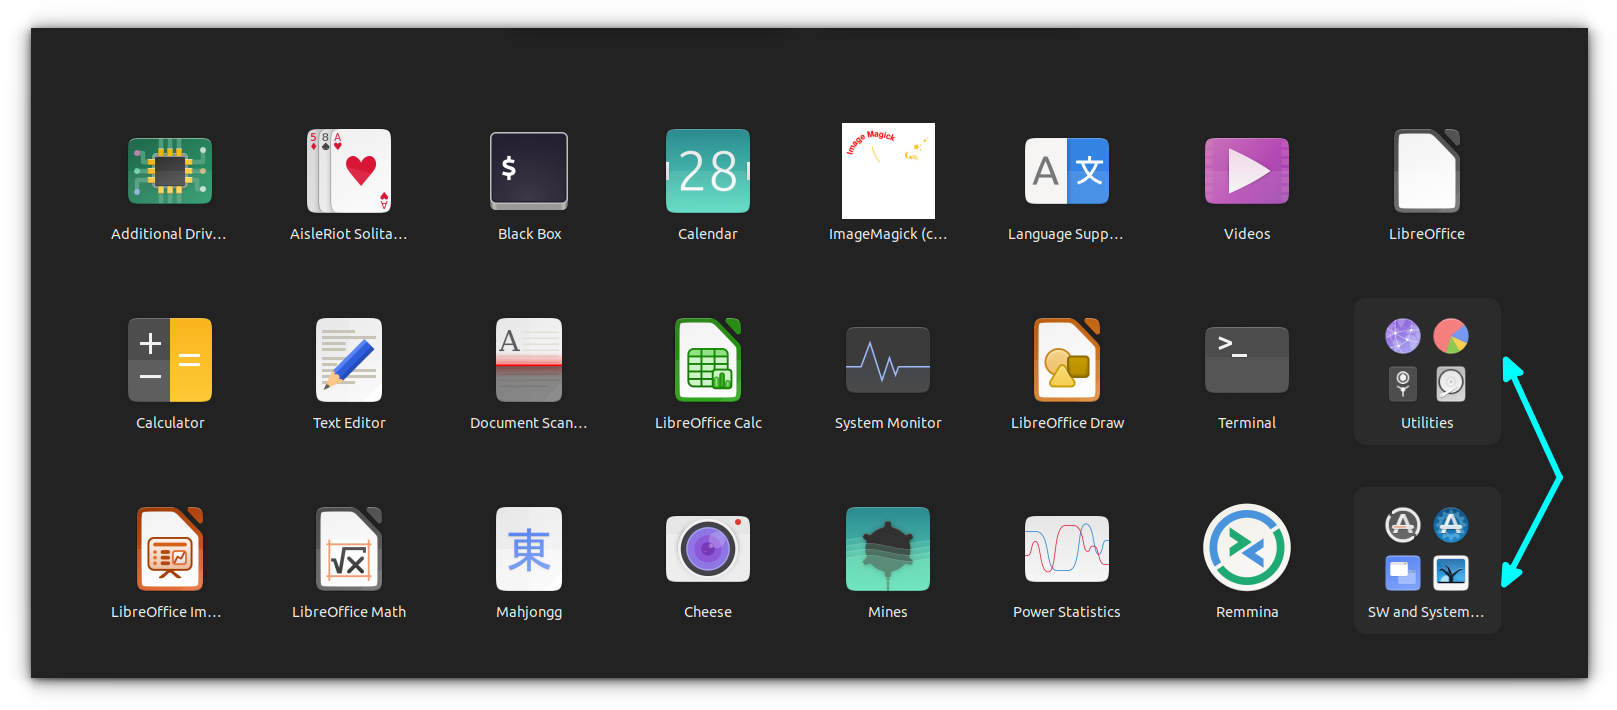
For this, you need to drag any icon in this view and place it on top of another. This creates a folder of two applications, which you can populate by dragging and dropping. More interesting is, you can change the name of the folders to your liking.
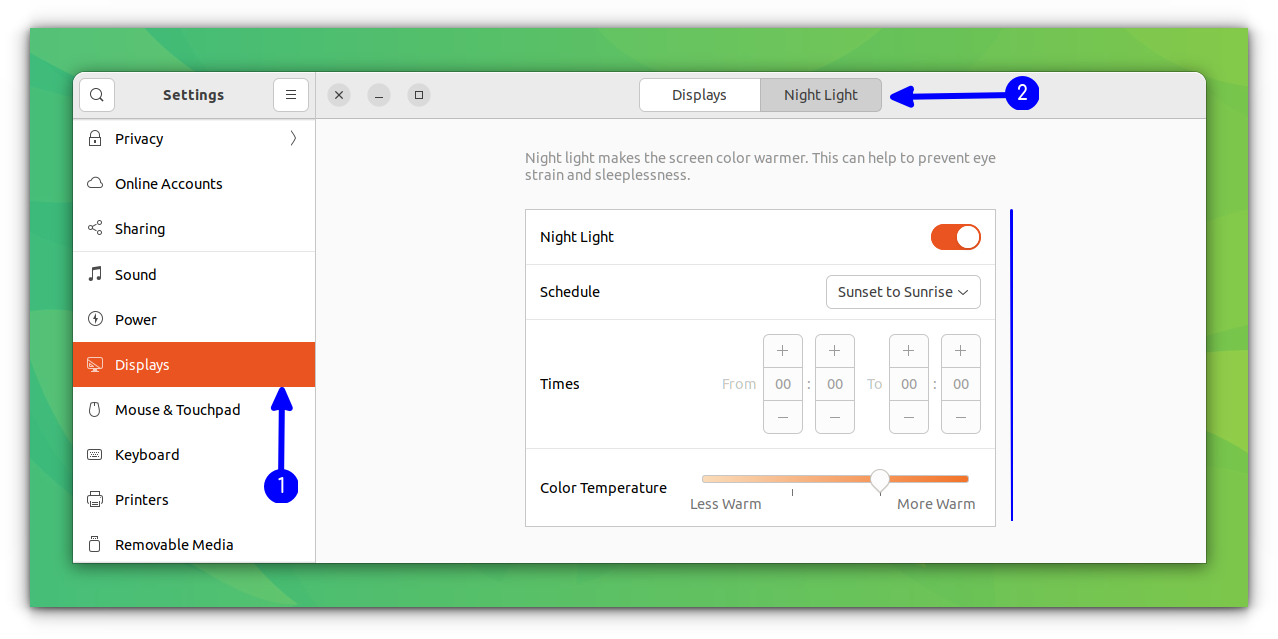
13. Enable Night Light
Nightlight apps have become popular lately. This feature filters blue light and turns your screen a dim yellow after sunset. This reduces strain on the eyes.
You may not need to install a night light application like flux in GNOME. It has this feature inbuilt. You can enable it from the system settings.
Just go to System Settings -> Displays and turn Nigh Light on.
14. Use Google Drive
Google Drive application is not available for Linux. Google simply doesn’t care about it. However, GNOME provides a limited way to natively use Google Drive in Linux.
I used the term ‘limited’ here because you can mount your Google Drive in the file manager, and browse them (albeit slowly) like other folders on the system. You make the changes to the file and the changes will be synced with the Google server.
But you don’t get to access the files offline. Unlike the regular cloud services application like Dropbox, the files are not stored on your system ever. You access it from Google servers directly. You turn the network off and you won’t be able to access it.
Even with the limitation, it could be useful if you don’t want to always access Google Drive from the browser.
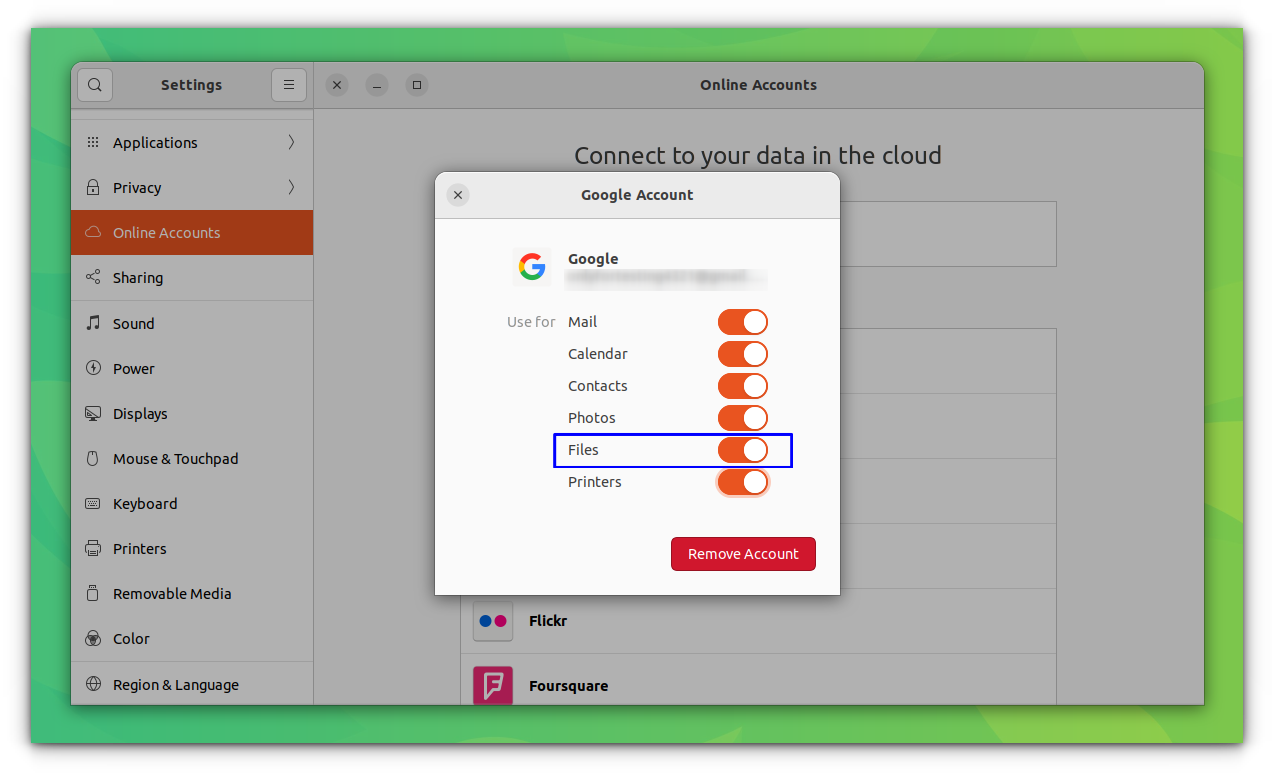
You can enable Google Drive by adding your Google account in the Online Accounts option in system settings.
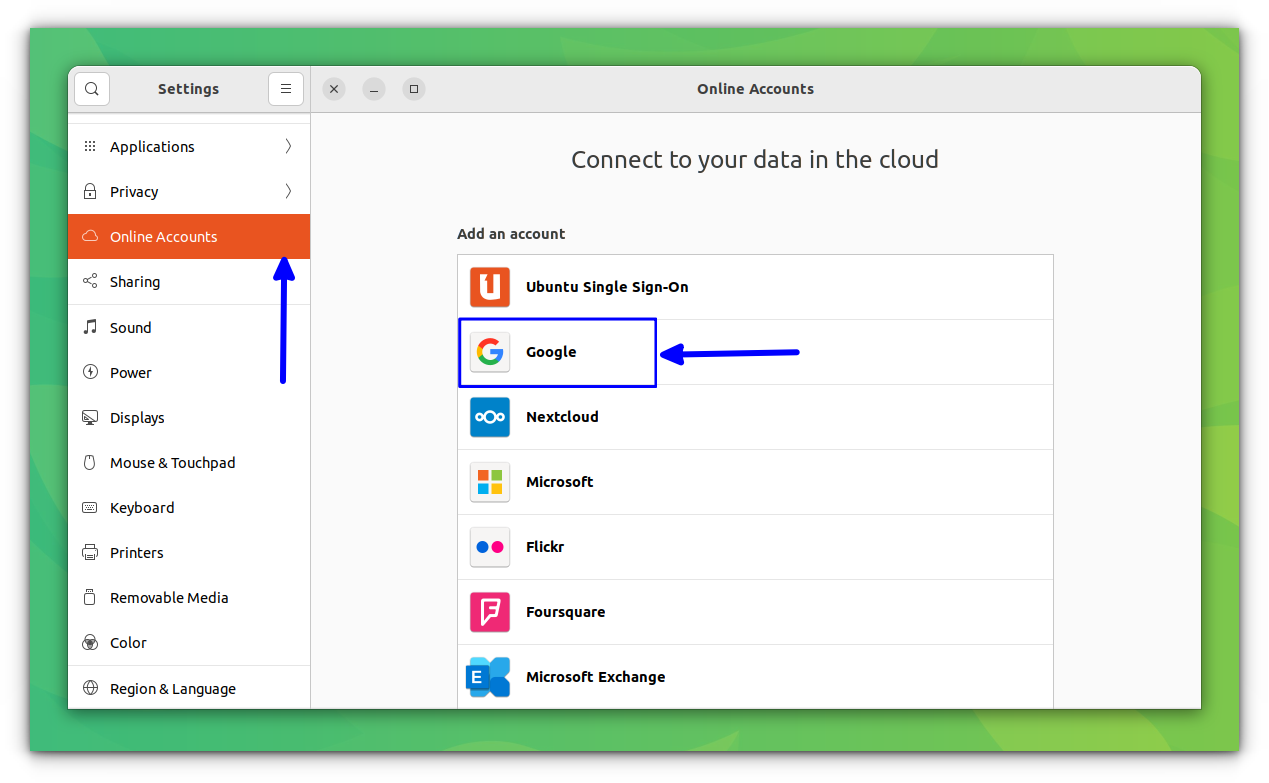
Just make sure that the Files option is on.
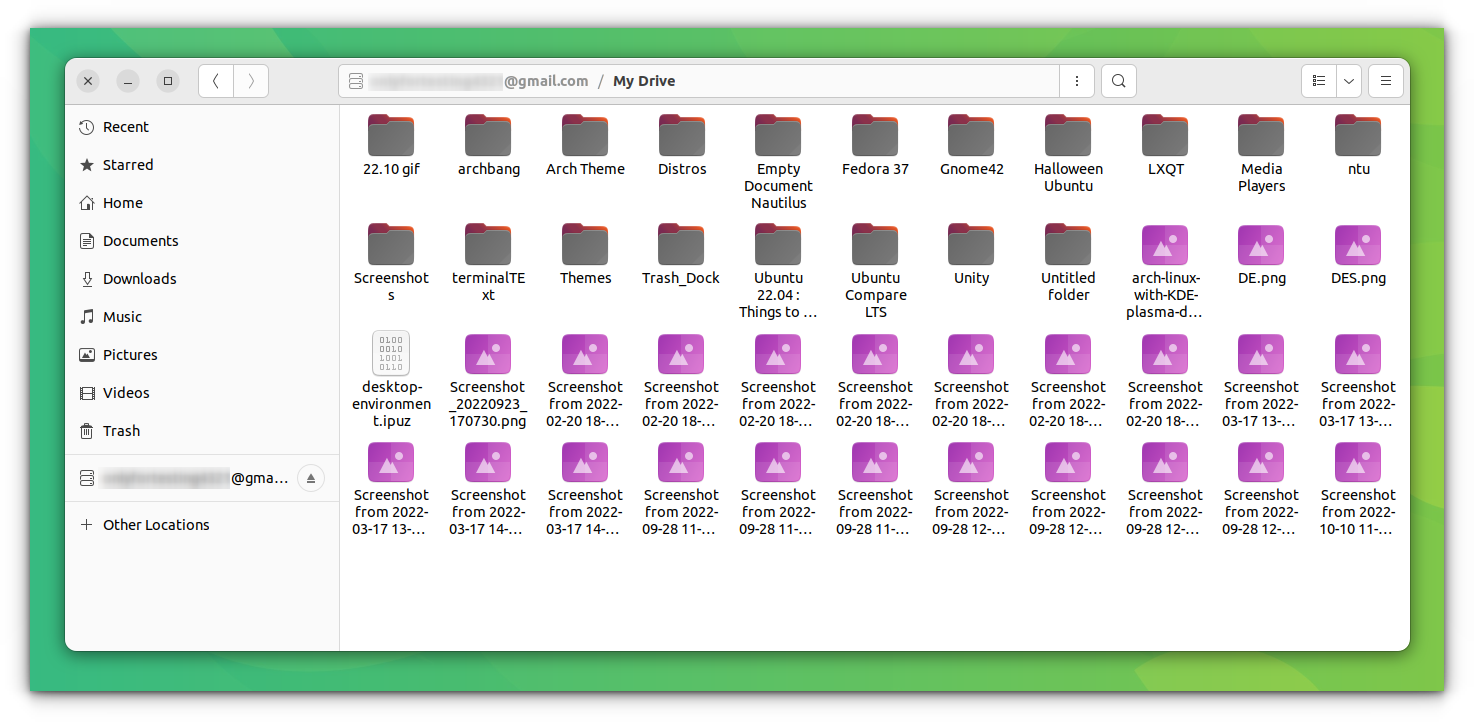
Once you do that, you’ll find your Google Drive mounted in the Nautilus file manager.
15. Use GNOME extensions
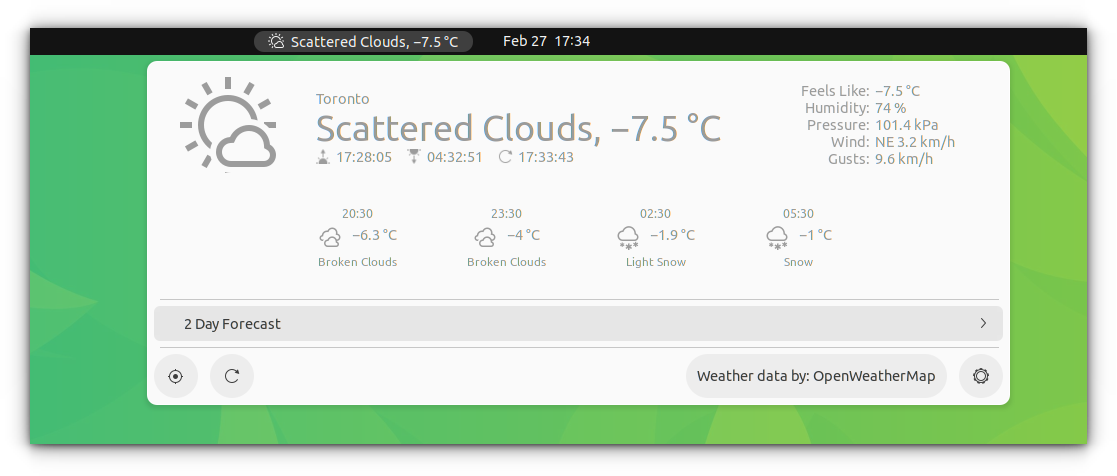
GNOME extensions are tiny plugins that enhance the capabilities of the GNOME desktop. Using GNOME extensions, you can display the weather in the top panel, add a radio, display internet speed, etc.
If you are looking for some recommendations, you can refer to this list of top GNOME extensions.
Bonus Tip: Use GNOME Shortcuts
I am a huge fan of shortcuts. I like to use them in all of my frequently used applications, be it in an editor, terminal, or the desktop itself. GNOME also has some predefined shortcuts.
While shortcuts might not be the same for all systems, you can still try some of the most common GNOME shortcuts:
| Function | Key |
|---|---|
| Brings Activity Overview | Super key |
| For quickly running commands | Alt + F2 |
| Switch between the running applications | Alt + Tab or Super + Tab |
| Show the list of applications | Super + A |
| Switch between workspaces | Super + Page Up or Down |
| Log Out | Ctrl+Alt+Delete |
| Lock the screen | Super + L |
| Bring down the notification tray | Super + M |
| Minimize all the windows and show desktop | Ctrl + Super + D |
You can find more GNOME shortcuts here.
Want more?
As I said earlier, there is simply no end to customization and tweaks. I have shared some essentials and some of my favorite GNOME tweaks.
Don't just stop here. There is so much more you can tweak here. Start with mastering the keyboard shortcuts.
Abhishek Prakash
And then explore the GNOME Extensions.
Phillip Prado
Install and explore themes to change the looks of your Ubuntu desktop.
Abhishek Prakash
How about you? Do you have some tricks up your sleeve as well? Why not share it with the rest of us here?
If this helped you, consider supporting It's FOSS
It's FOSS has been helping people use Linux for the past 14 years. Help us stay independent from big tech. Become a Plus member, enjoy ad-free reading and get 5 eBooks.
