
I still remember when I got my first Raspberry Pi Zero W. I was so excited to dive into the world of DIY computing that I never thought about shutting it down properly.
I would just flip the power switch, only to realize later that this often led to corrupted SD cards, wasted hours of reinstallation, and frustrating data losses.
If you’re a Raspberry Pi user, this scenario may sound familiar, especially if you’re new to the platform. Learning the proper ways to power down a Pi can save you from these headaches and ensure your projects stay intact.
Shutting down Raspberry Pi
Let’s dive into the various ways to safely shutdown the Raspberry Pi. You'll also learn a thing or two about powering on your Pi.
Method 1: Shutting down Raspberry Pi via desktop GUI
If your Raspberry Pi setup includes a graphical user interface (GUI), such as the Raspberry Pi OS with Desktop, shutting down safely is simple:
- Close open applications: Always start by closing any running applications to prevent accidental data loss.
- Click the Power menu: In the top-right corner, click the Raspberry Pi icon, then choose “Shutdown” from the options.
- Wait for Shutdown to complete: You’ll know the process is done once the green activity LED stops flashing. Only then is it safe to unplug the power.
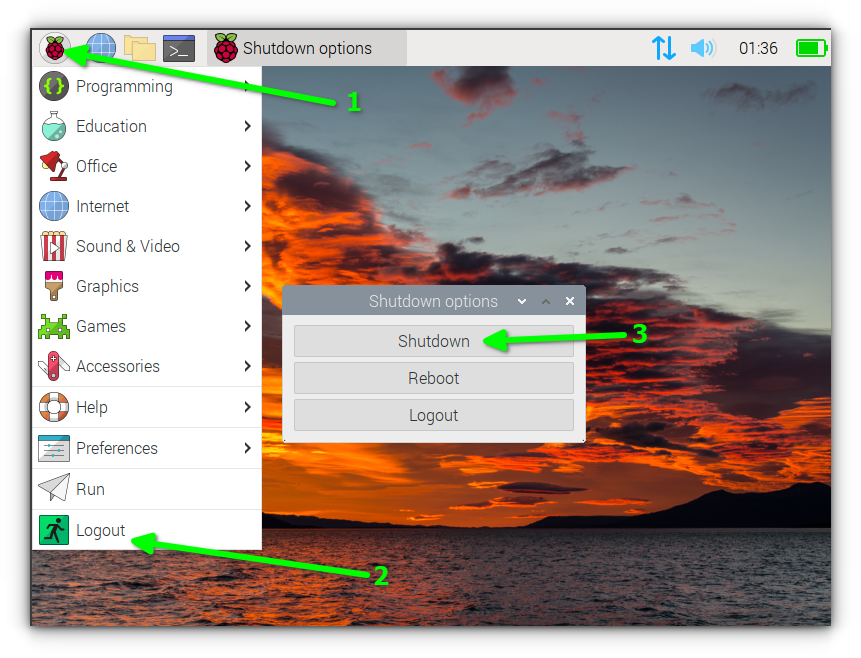
This method is quick, intuitive, and prevents data corruption. Just remember to be patient and wait for the activity light to stop blinking!
Method 2: Using the command line to shut down Raspberry Pi
For those who work with the command line or prefer a headless setup (no GUI), the Terminal is an efficient way to safely shut down:
To Shut Down: Open the Terminal and type:
sudo shutdown now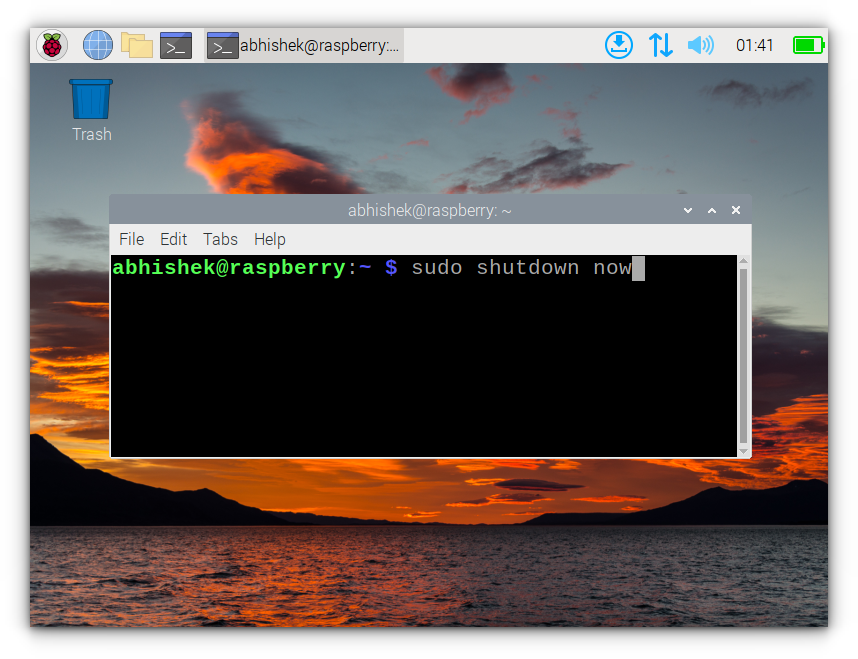
For a Reboot type:
sudo reboot now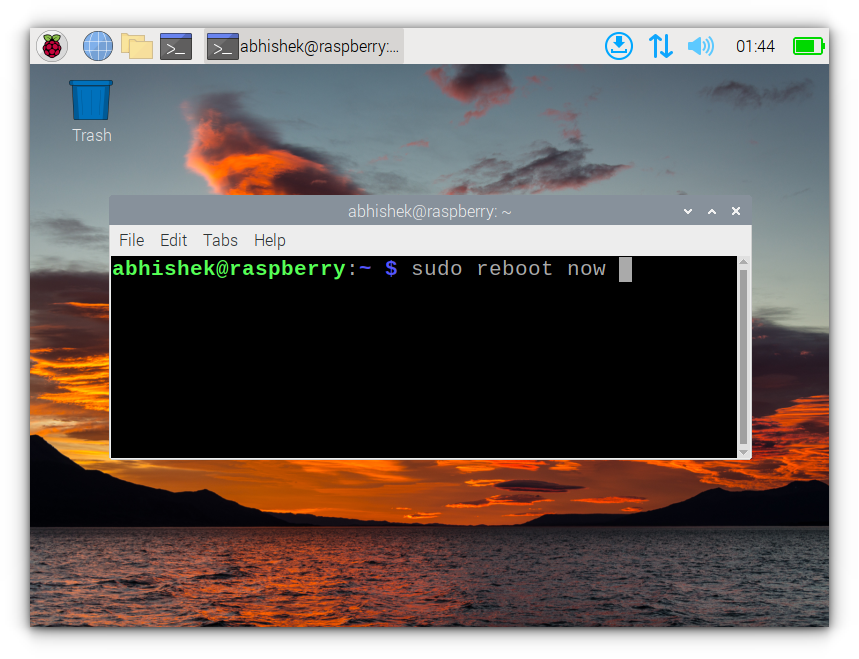
These commands make sure the Raspberry Pi completes all data operations before shutting down. This is especially handy for users who access their Pi remotely over SSH.
Turning on a Raspberry Pi
If you have never used Raspberry Pi like devices, you would probably search for the power button to turn on the Raspberry Pi. Unfortunately, that’s not always the case here.
Sometimes, physical access makes shutdown quicker, especially if you’ve set up your Pi for embedded projects.
First, check if you have Raspberry Pi 4 or 5. If you have Pi 5, you already have a power button. For other devices, please read the instructions below.
The micro USB port powers the Raspberry Pi and the way you turn it on is by plugging in the power cable into the micro USB port.
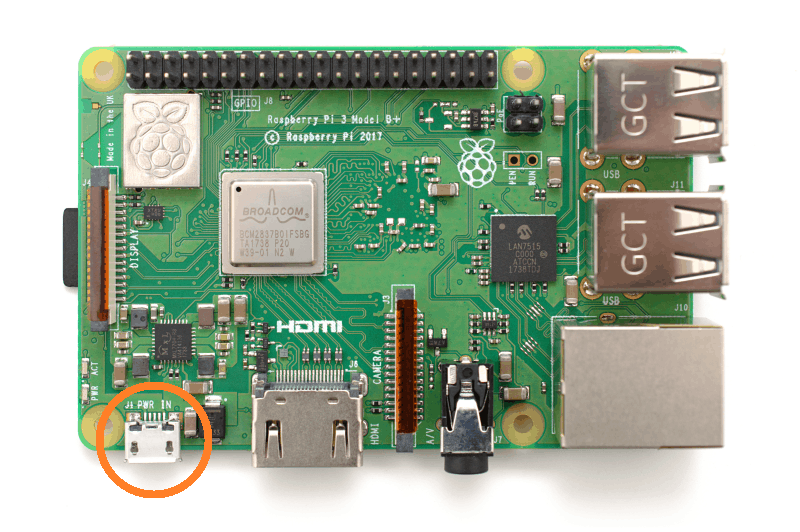
Of course, you should have an operating system on the device otherwise there is no point in turning it on.
Plug in the power cable. This turns on the Raspberry Pi and the display will light up and load the Operating System. You should see a green light blinking periodically.
Adding an external power button to your Pi 4 (if you really need to)
Sometimes, physical access makes shutdown quicker, especially if you’ve set up your Pi for embedded projects.
Adding a shutdown button to the GPIO (General Purpose Input/Output) pins can make the process much easier.
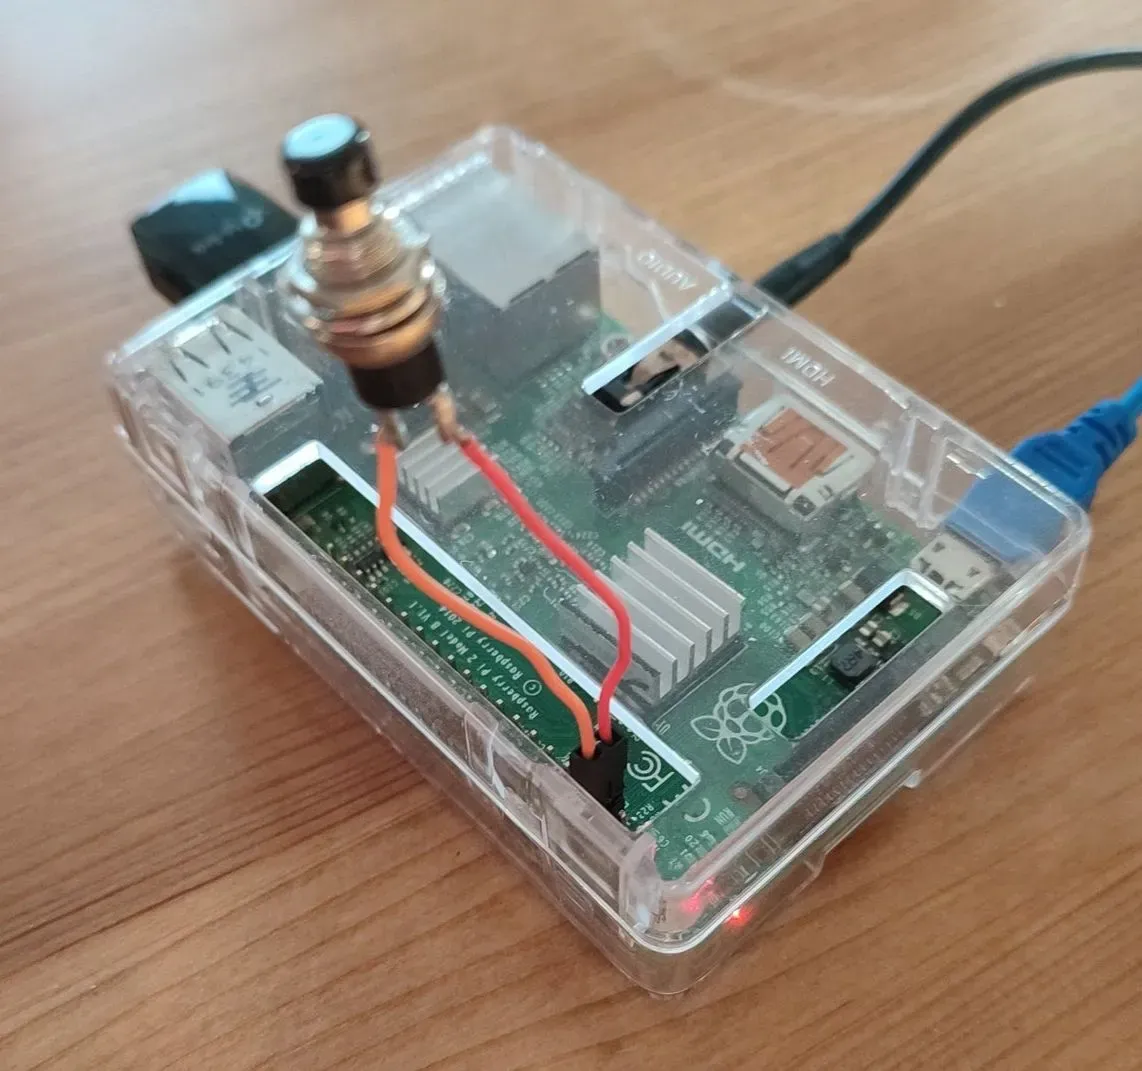
- Connect a momentary push button: Wire a momentary push button to the GPIO pin (e.g., GPIO 3 or 27) and ground. You'll have to purchase such a button.
- Set up the button in code: Use a Python script to monitor the button’s state. When pressed for a certain duration, the script initiates a safe shutdown.
You can follow this tutorial for detailed steps and the code.
Using Power over Ethernet (PoE) to remotely power your Pi
If you have a set-up that makes it difficult or inconvenient to reach the Pi device, you can take advantage of power over Ethernet. This way, you can power the device on remotely.
You'll need to ensure that your router has Ethernet ports that can supply power. Most routers don't have this feature. You can purchase a PoE injector (Amazon affiliate link) if your router doesn't support it.
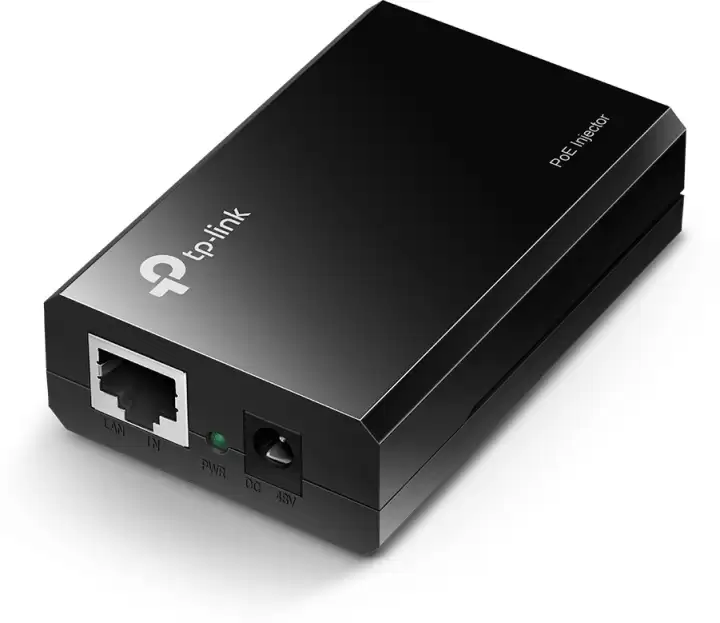
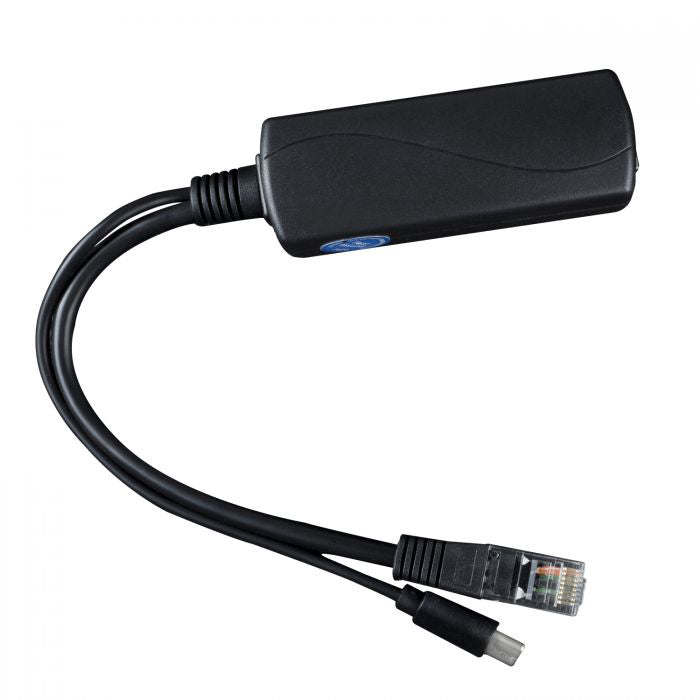
Alternatively, if your router has 802.3af, even if it doesn't support PoE natively, an adapter such as this could help you out.
Bonus: Handling power loss situations
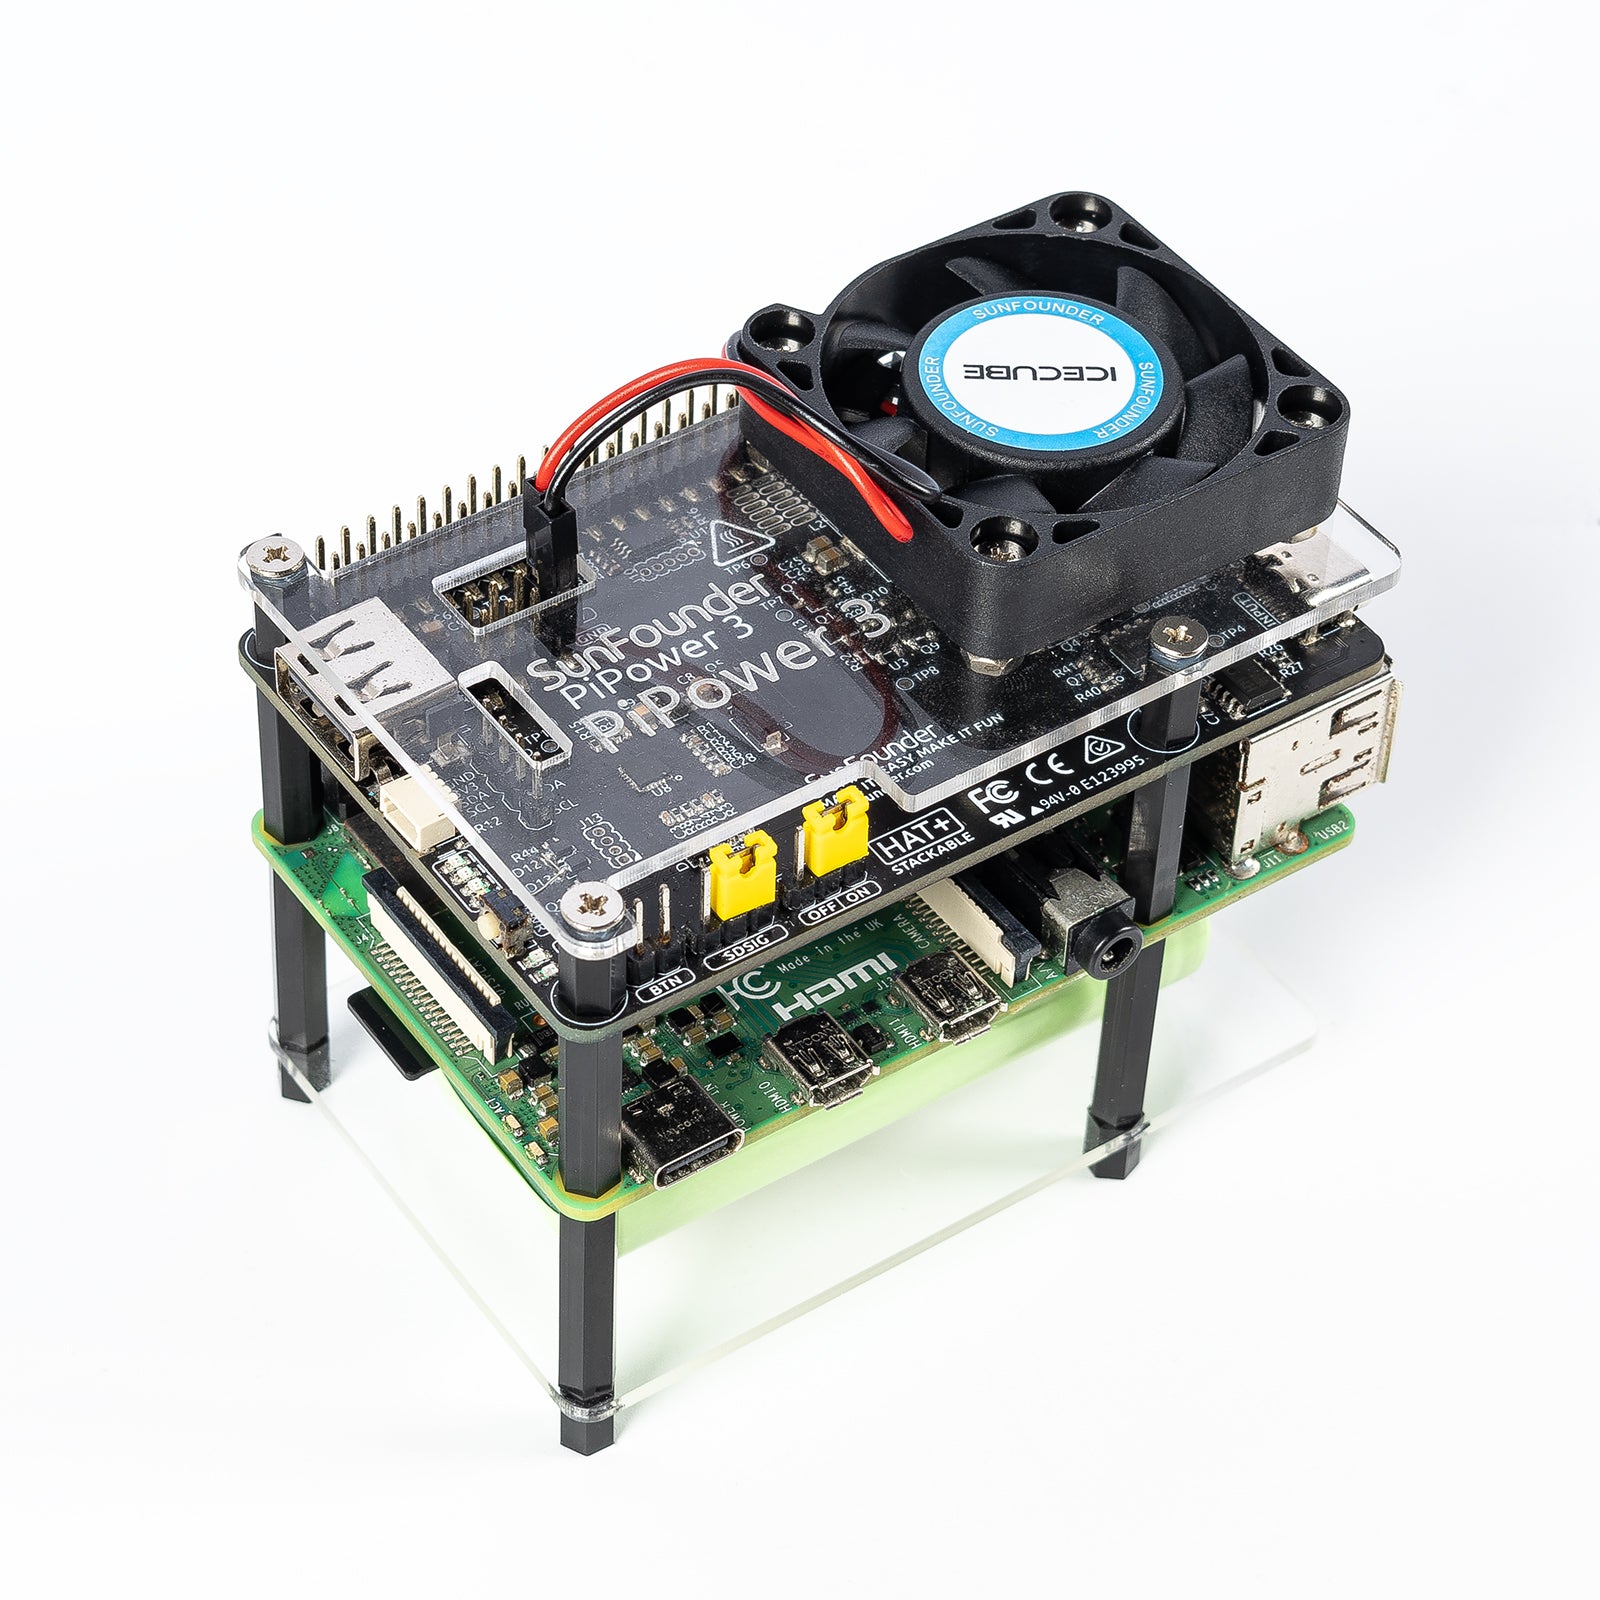
To avoid losing data due to power loss, you can add a mini UPS to your Pi device.
Final Thoughts
As tempting as it might be to just pull the plug, safely shutting down your Raspberry Pi will spare you the hassle of corrupted SD cards and lost data.
Whether it’s through the GUI, command line, SSH, or a custom button, these methods make shutting down as effortless as possible.
After my experience with corrupted cards on my first Raspberry Pi Zero, I made a habit of using the shutdown command every time.
So take it from me: a few extra seconds of shutdown time is well worth the protection it offers for your projects.


