

Linux Mint is easily one of the best Linux distributions out there and especially considering the features of Linux Mint 20, I’m sure you will agree with that.
In case you missed our coverage, Linux Mint 20 is finally available to download.
Of course, if you’ve been using Linux Mint for a while, you probably know what’s best for you. But, for new users, there are a few things that you need to do after installing Linux Mint 20 to make your experience better than ever.
Recommended things to do after installing Linux Mint 20
In this article, I’m going to list some of them for to help you improve your Linux Mint 20 experience.
1. Perform a System Update
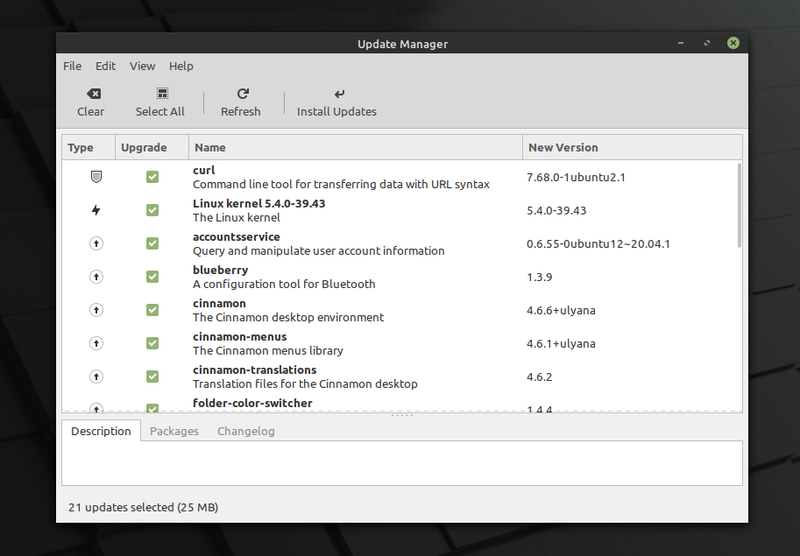
The first thing you should check right after installation is — system updates using the update manager as shown in the image above.
Why? Because you need to build the local cache of available software. It is also a good idea to update all the software updates.
If you prefer to use the terminal, simply type the following command to perform a system update:
sudo apt update && sudo apt upgrade -y2. Use Timeshift to Create System Snapshots
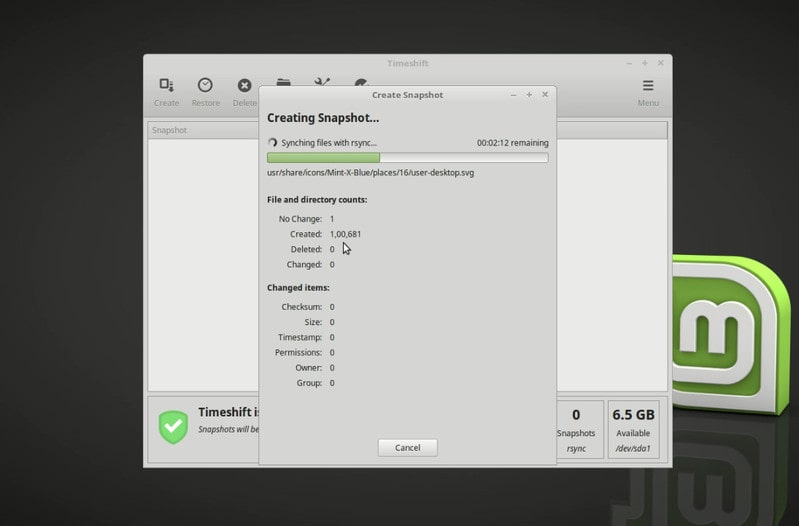
It’s always useful have system snapshots if you want to quickly restore your system state after an accidental change or maybe after a bad update.
Hence, it’s super important to configure and create system snapshots using Timeshift if you want the ability to have a backup of your system state from time to time.
You can follow our detailed guide on using Timeshift, if you didn’t know already.
3. Install Codecs
To make sure that you don’t have issues with playing a MP4 video file or any other file formats of media, you might want to install the media codecs to make sure that most of the media file formats work on your system.
You can just search for “mint-meta-codecs” on your software center or simply type in the following command in the terminal to install it:
sudo apt install mint-meta-codecs4. Install Useful Software
Even though you have a bunch of useful pre-installed applications on Linux Mint 20, you probably need to install some essential apps that do not come baked in.
You can simply utilize the software manager or the synaptic package manager to find and install software that you need.
For starters, you can follow our list of essential Linux apps if you want to explore a variety of tools.
Here’s a list of my favorite software that I’d want you to try:
- VLC media player for video
- FreeFileSync to sync files
- Flameshot for screenshots
- Stacer to optimize and monitor system
- ActivityWatch to track your screen time and stay productive
5. Customize the Themes and Icons
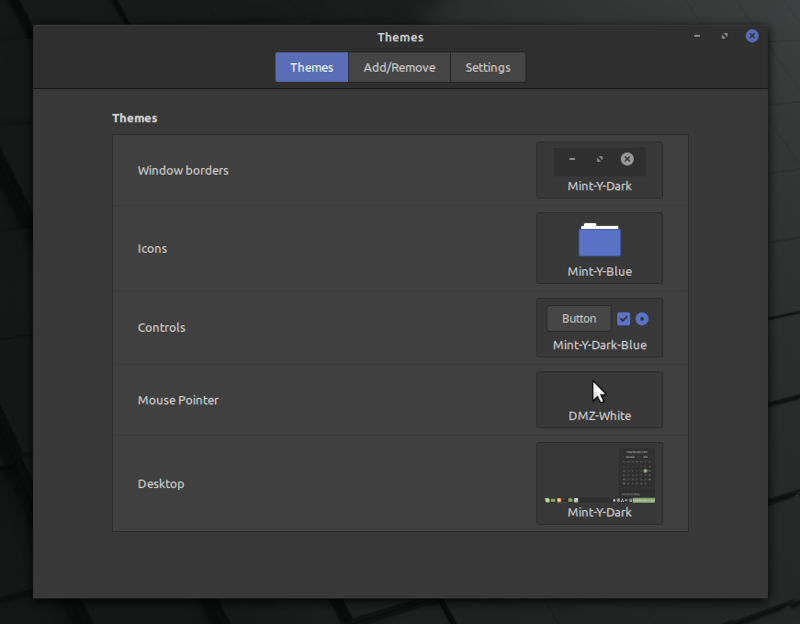
Of course, this isn’t something technically essential unless you want to change the look and feel of Linux Mint 20.
But, it’s very easy to change the theme and icons in Linux Mint 20 without installing anything extra.
You get the option to customize the look in the welcome screen itself. In either case, you just need to head on to “Themes” and start customizing.
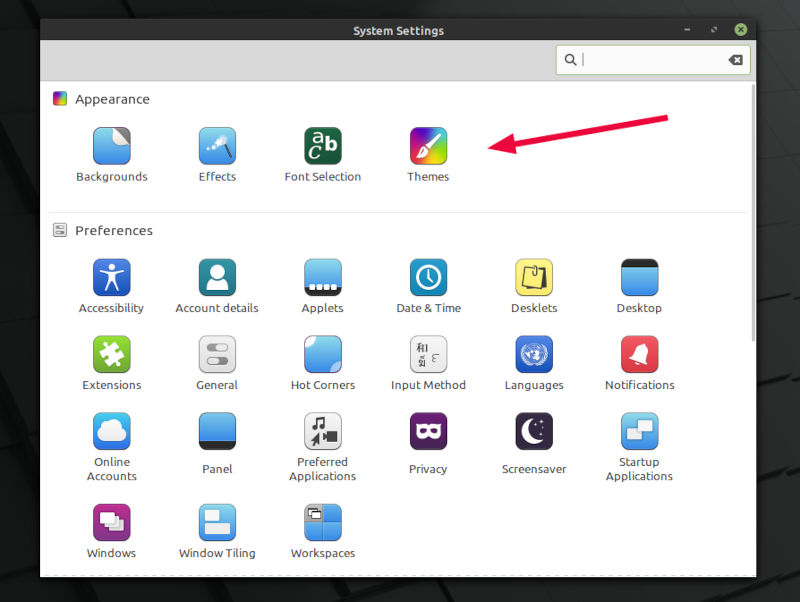
To do that, you can search for it or find it inside the System Settings as shown in the screenshot above.
Depending on what desktop environment you are on, you can also take a look at some of the best icon themes available.
6. Enable Redshift to protect your eyes
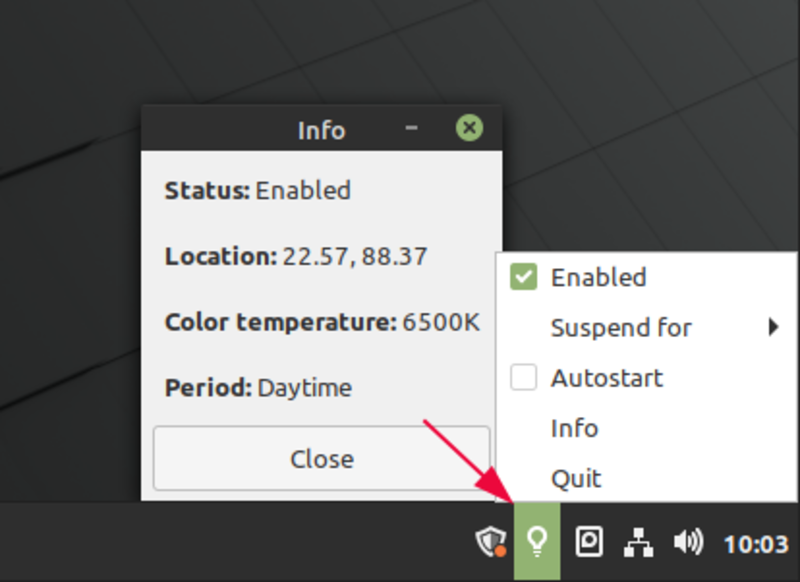
You can search for “Redshift” on Linux Mint and launch it to start protecting your eyes at night. As you can see in the screenshot above, it will automatically adjust the color temperature of the screen depending on the time.
You may want to enable the autostart option so that it launches automatically when you restart the computer. It may not be the same as the night light feature on Ubuntu 20.04 LTS but it’s good enough if you don’t need custom schedules or the ability to the tweak the color temperature.
7. Enable snap (if needed)
Even though Ubuntu is pushing to use Snap more than ever, the Linux Mint team is against it. Hence, it forbids APT to use snapd.
So, you won’t have the support for snap out-of-the-box. However, sooner or later, you’ll realize that some software is packaged only in Snap format. In such cases, you’ll have to enable snap support on Linux Mint 20.
Just because Linux Mint forbids the use of it, you will have to follow the commands below to successfully install snap:
sudo rm /etc/apt/preferences.d/nosnap.pref
sudo apt update
sudo apt install snapd
Once you do that, you can follow our guide to know more about installing and using snaps on Linux.
8. Learn to use Flatpak
By default, Linux Mint comes with the support for Flatpak. So, no matter whether you hate using snap or simply prefer to use Flatpak, it’s good to have it baked in.
Now, all you have to do is follow our guide on using Flatpak on Linux to get started!
9. Clean or Optimize Your System
It’s always good to optimize or clean up your system to get rid of unnecessary junk files occupying storage space.
You can quickly remove unwanted packages from your system by typing this in your terminal:
sudo apt autoremoveIn addition to this, you can also follow some of our tips to free up space on Linux Mint.
10. Using Warpinator to send/receive files across the network
Warpinator is a new addition to Linux Mint 20 to give you the ability to share files across multiple computers connected to a network. Here’s how it looks:
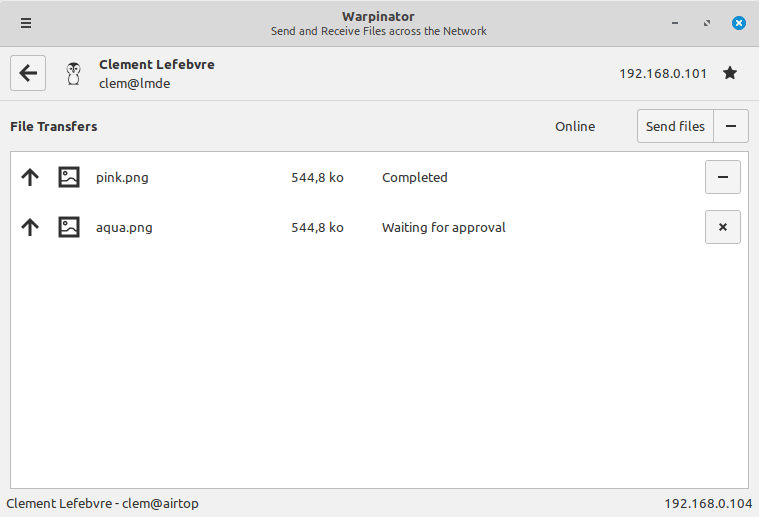
You can just search for it in the menu and get started!
11. Using the driver manager
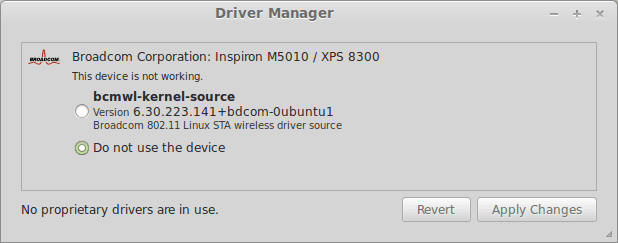
The driver manager is an important place to look for if you’re using Wi-Fi devices that needs a driver, NVIDIA graphics, or AMD graphics, and drivers for other devices if applicable.
You just need look for the driver manager and launch it. It should detect any proprietary drivers in use or you can also utilize a DVD to install the driver using the driver manager.
12. Set up a Firewall
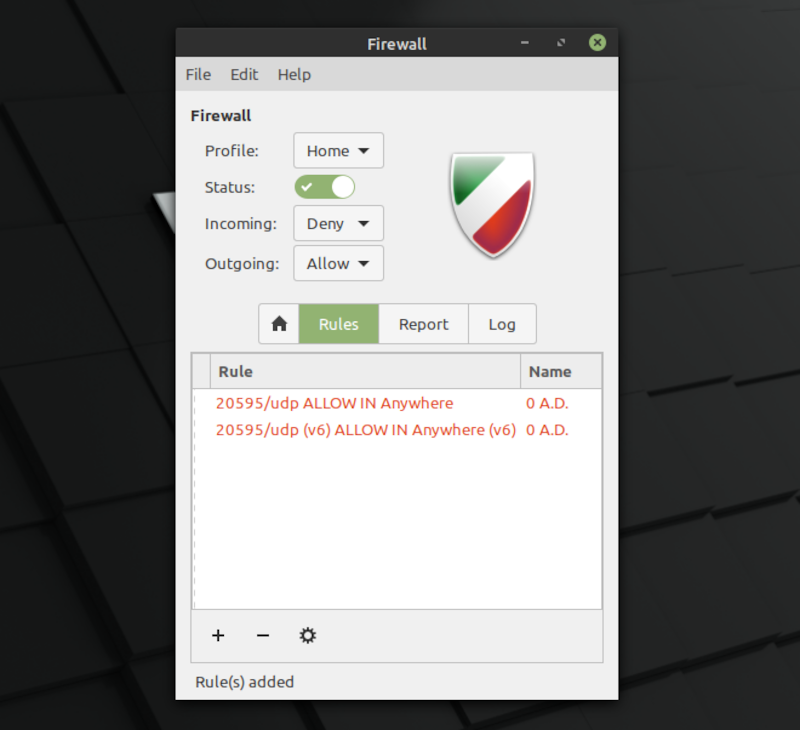
For the most part, you might have already secured your home connection. But, if you want to have some specific firewall settings on Linux Mint, you can do that by searching for “Firewall” in the menu.
As you can observe the screenshot above, you get the ability to have different profiles for home, business, and public. You just need to add the rules and define what is allowed and what’s not allowed to access the Internet.
You may read our detailed guide on using UFW for configuring a firewall.
13. Learn to Manage Startup Apps
If you’re an experienced user, you probably know this already. But, new users often forget to manage their startup applications and eventually, the system boot time gets affected.
You just need to search for “Startup Applications” from the menu and you can launch it find something like this:
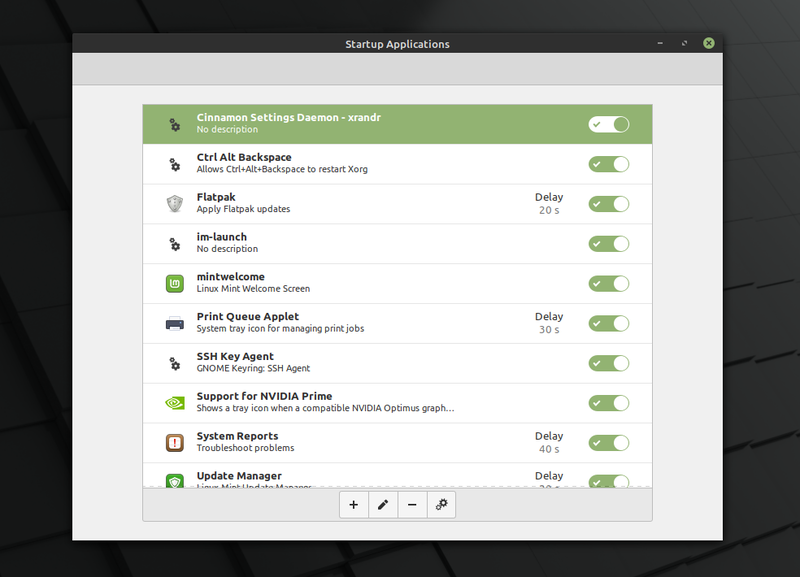
You can simply toggle the ones that you want to disable, add a delay timer, or remove it completely from the list of startup applications.
14. Install Essential Apps For Gaming
Of course, if you’re into gaming, you might want to read our article for Gaming on Linux to explore all the options.
But, for starters, you can try installing GameHub, Steam, and Lutris to play some games.
Wrapping Up
That’s it folks! For the most part, you should be good to go if you follow the points above after installing Linux Mint 20 to make the best out of it.
I’m sure there are more things you can do. I’d like to know what you prefer to do right after installing Linux Mint 20. Let me know your thoughts in the comments below!
