

Adobe Photoshop is not available for desktop Linux. GIMP is the best alternative to Adobe Photoshop on Linux.
If you have used Photoshop for some time, you’ll notice that the GIMP has different settings, different keyboard shortcuts and layout than Photoshop.
And there is absolutely nothing wrong with it. After all, both are two different pieces of software, and they don’t have to look the same.
However, people who are used to Photoshop find it difficult to forget their hard learned muscle memory while switching to GIMP. This could frustrate some because using a new interface means learning numerous keyboard shortcuts and spending time on finding which tool is located where.
To help such Photoshop to GIMP switchers, Diolinux has introduced a tool that mimics Adobe Photoshop in GIMP.
PhotoGIMP: Give Adobe Photoshop like look and feel to GIMP in Linux
PhotoGIMP is not a standalone graphics software. It is a patch for GIMP 2.10. You need to have GIMP installed on your system to use PhotoGIMP.
Once GIMP is installed, open it and close it. This is to generate the default configurations in the required location. Later in this section, we will replace it. So, just back up a copy of this default config folder.
When you apply the PhotoGIMP patch, it changes the GIMP layout to mimic Adobe Photoshop.
- Installs new Python filters such as “heal selection”
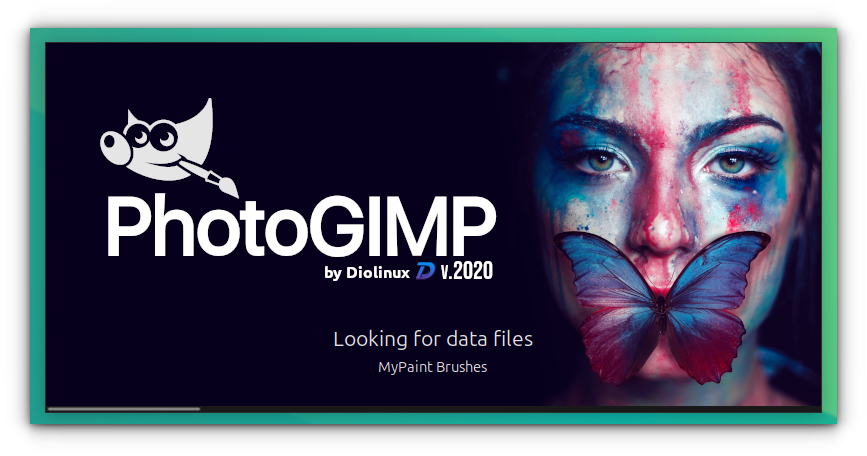
- Adds new splash screen
- Adds new default settings to maximize space on the canvas
- Adds keyboard shortcuts similar to Adobe Photoshop
PhotoGIMP also adds a new icon and name from custom .desktop file. Let’s see how to use it.
Installing PhotoGIMP on Linux [for intermediate to expert users]
PhotoGIMP is essentially a patch for GIMP 2.10+. You must have GIMP 2.10+ installed on your system. You download and extract the zip file in Linux. You’ll find the following hidden folders in the extracted folder:
- .icons: which have a new PhotoGIMP icon
- .local: which contains the personalized .desktop file so that you see PhotoGIMP instead of GIMP in the system menu
- .var : the main folder containing the patch for GIMP
You should use Ctrl+H keyboard shortcut to show hidden files in Ubuntu.
Usually, if you installed it from the Ubuntu repository, the location will be
~/.config/GIMP.PhotoGIMP is mainly compatible with GIMP installed via Flatpak. If you installed GIMP using Flatpak, you can simply copy-paste these hidden folders in your home directory, and it will convert your GIMP into Adobe Photoshop like settings.
If you installed GIMP via apt or snap or your distribution’s package manager, you’ll have to find the GIMP config folder and paste the content of the .var/app/org.gimp.GIMP/config/GIMP/2.10 directory of PhotoGIMP.
I installed GIMP in Ubuntu 24.04 using apt. The location for the GIMP config file for me was ~/.config/GIMP/2.10. I copied the content of the .var/app/org.gimp.GIMP/config/GIMP/2.10 directory here and started GIMP to see the PhotoGIMP splash.
PhotoGIMP with Flatpak
If you have installed the native package of GIMP on your system earlier, you should first remove the config files associated with that GIMP. For that, simply delete the GIMP directory in ~/.config directory.
Now you have to place the contents inside the extracted zip folder in the appropriate places of GIMP flatpak app. The folder for GIMP Flatpak app can be found at /.var/app/.
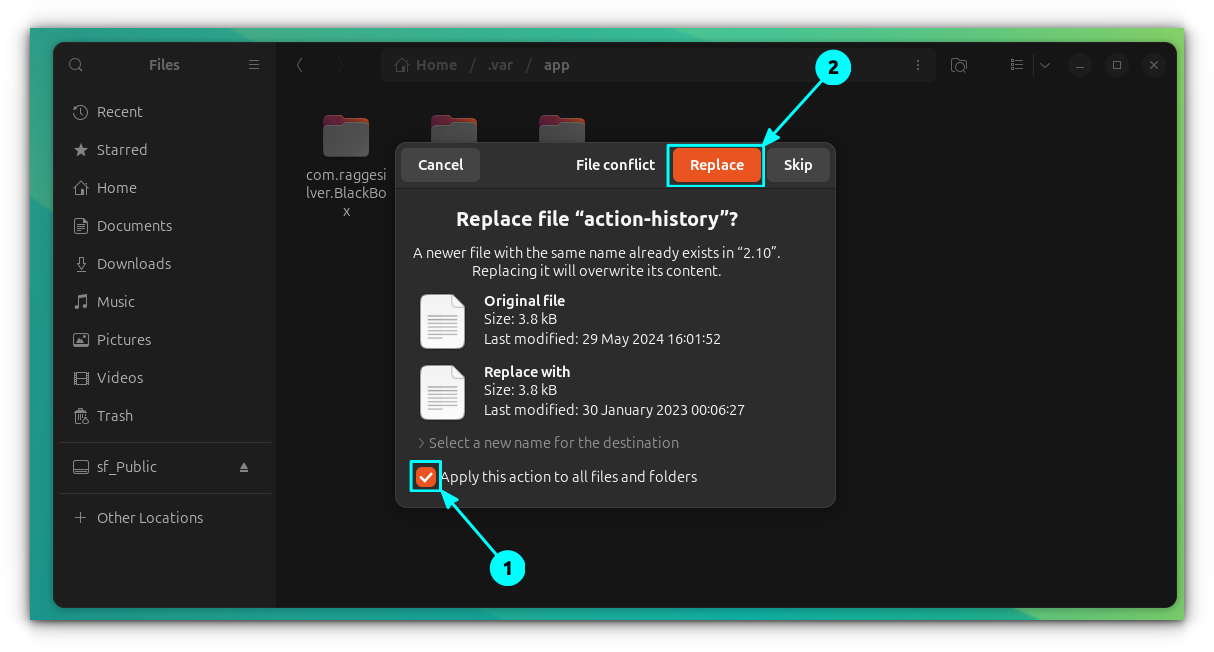
So go inside the ~/.var/app directory and paste the ~/Downloads/PhotoGIMP/PhotoGIMP-master/.var/app/org.gimp.GIMP directory there.
When asked, opt for merge option.

It will then ask to replace some existing files of the same name. Accept it.
Now, copy the .desktop file from .local/share/applications of extracted folder and paste it at ~/.local/share/applications.
Getting PhotoGIMP desktop icon for GIMP installed through repo packages
By default, the desktop file of PhotoGIMP points to a Flatpak version. If you have installed the GIMP from your package manager, you should edit the .desktop (found at .local/share/applications/ inside the downloaded ZIP) file of PhotoGIMP to point to the actual GIMP.
First, check where does the GIMP actually points:
which gimp
This will tell you what is executed when you run gimp. So, comment the EXEC line in the default desktop file and paste the line just below:
Exec=/usr/bin/gimp

# Or whatever output, the which command tells.
Save the file and exit. You may need to log out and log back in some times to see the changes.
Working with PhotoGIMP
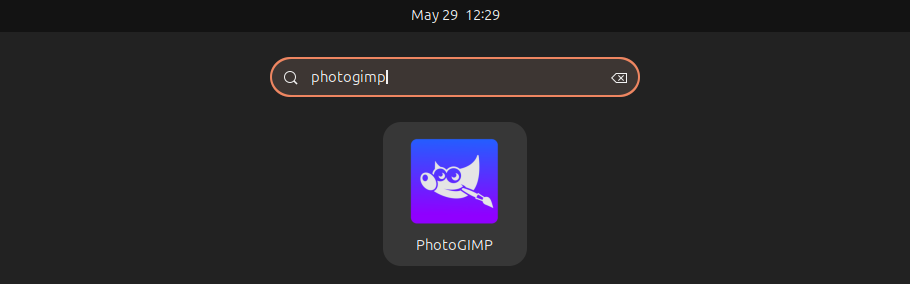
If everything has been done correctly, you can now see the PhotoGIMP icon on the overview.
Here’s the interface of GIMP before and after being patched by PhotoGIMP:
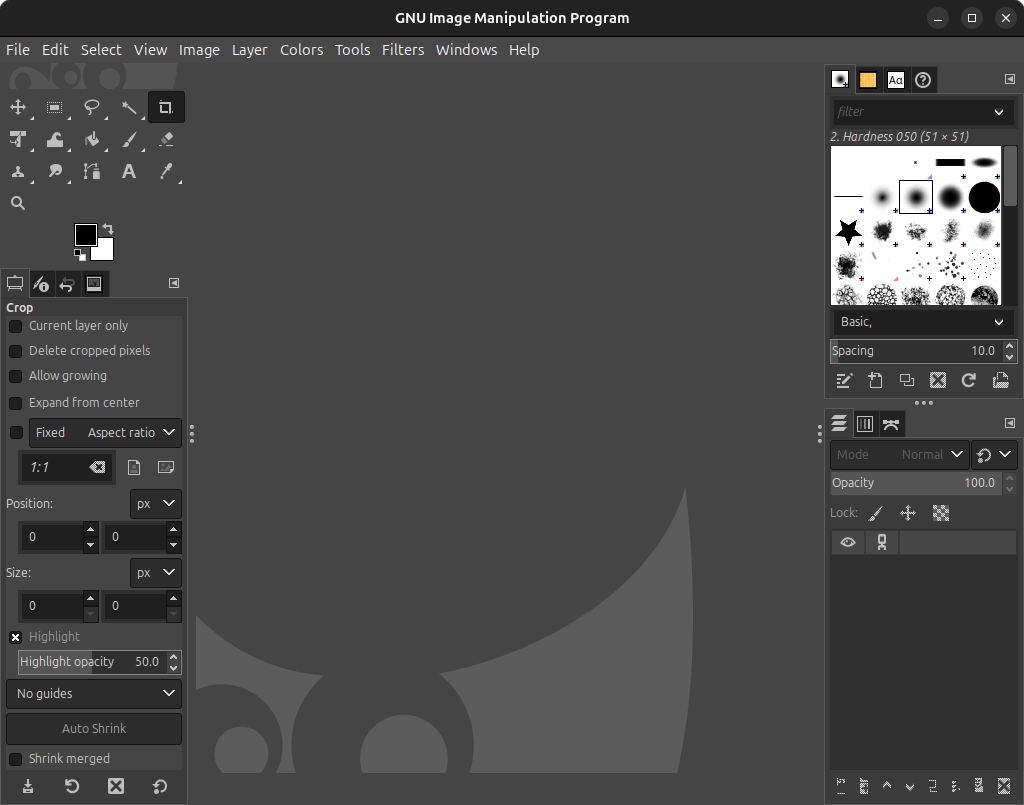
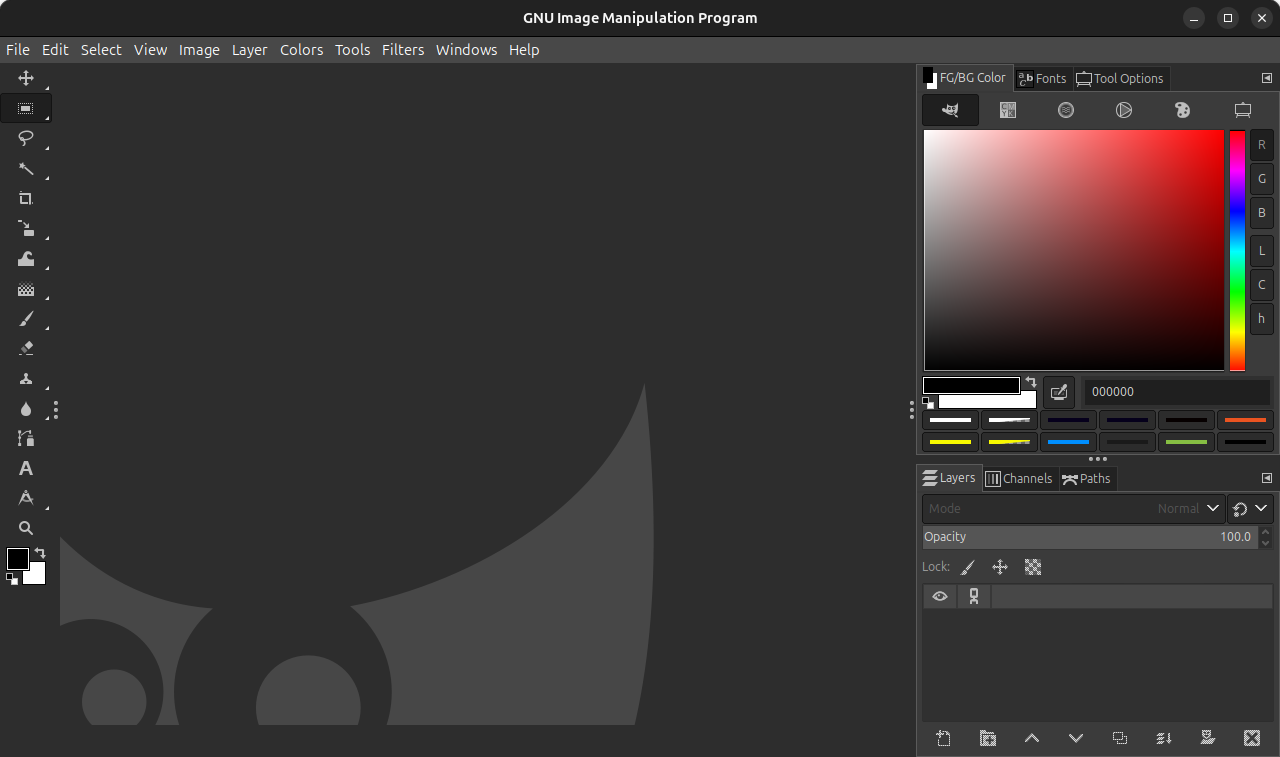
Before and after the PhotoGIMP patch
I tried a couple of Photoshop keyboard shortcuts to check the changes it made, and it seemed to be working.
I also found PhotoGIMP available as Snap package, but it's from 2020, and I am not sure if it works everywhere or just with snap install.
Conclusion
This is not the first project of this kind. Some years ago, we had a similar project called Gimpshop. The Gimpshop project hasn’t seen any development in the past several years, and it is safe to assume that the project is dead. There is a website with the name of Gimpshop, but that’s from imposters trying to cash in on Gimpshop name.
I am not an Adobe Photoshop user. I am not even a GIMP expert, this is why the GIMP tutorials on It’s FOSS are covered by Dimitrios.
For this reason, I cannot comment on how useful the PhotoGIMP project is. If you are familiar with both software, you should be able to judge it better than me.
If you try PhotoGIMP, do share your experience with it and let us know whether it is worth the installation or not.
If this helped you, consider supporting It's FOSS
It's FOSS has been helping people use Linux for the past 14 years. Help us stay independent from big tech. Become a Plus member, enjoy ad-free reading and get 5 eBooks.
