
Open source software highlight of this week is Cryptomator. It is a unique free and open-source encryption software that lets you encrypt your data before uploading it to the cloud.
There are several cloud services available for Linux and almost all of them do not offer end to end encryption, at least not by default.
Usually, the connection between your device and the server is secure. But your data stored on the server is not encrypted. Employees with direct access to the infrastructure at your cloud service providers may access this data.
Of course, these companies have strict policies against such intrusion but a rogue employee can do a lot of damage. Remember the incident when a departing Twitter employee deactivated the account of US President Donald Trump.
If you are one of the privacy cautious people, you would want the ease of cloud storage but with the added security layer of encrypted storage.
Now some services like pCloud do provide end to end encryption but that comes at an additional cost. If you could afford that, well and good. If not, you can use a free and open source tool like Cryptomator.
Cryptomator helps you secure your data by encrypting it before uploading it to any cloud storage services. In this article, I’m going to highlight the key features of Cryptomator along with instructions to use it.
Cryptomator: Add an encryption layer to your cloud data
Cryptomator is a solution to encrypt your data locally before uploading it to the cloud.
With this, you can create vaults locally and sync them to the cloud storage services you use.
It’s very easy to use and you don’t need to have any specific technical knowledge to encrypt your data – that’s what Cryptomator is tailored for.
Features of Cryptomator
Cryptomator is a simple encryption tool with the essential features. Here’s what it offers:
- AES and 256-bit Encryption for files.
- Ability to create a vault and sync it with the cloud storage service
- Optional recovery key for your master password of the vault
- Cross-platform support (Linux, Windows, macOS, Android, and iOS)
- Supports the dark theme for a one-time license fee.
- Supports WebDAV, FUSE, and Dokany for easy integration with your operating system.
Do note that the Android and iOS apps are paid apps that you have to purchase separately while the desktop program is completely free to use. Also, you need to purchase a one-time license to unlock the dark mode. Don’t blame them please. They need to make some money in order to develop this open source software.
Installing Cryptomator on Linux
Cryptomater provides an AppImage file that you can download to get started on any Linux distribution.
You can get it from its official download page. In case you don’t know, please read how to use an AppImage file to get started.
How To Use Cryptomator?
Attention!
Encryption is a double-edged sword. It can protect you and it can hurt you as well.
If you are encrypting your data and you forgot your encryption key, you’ll lose access to that data forever.
Cryptomator provides a recovery key option so please be careful with both password and the recovery key. Don’t forget it or lose the recovery key.
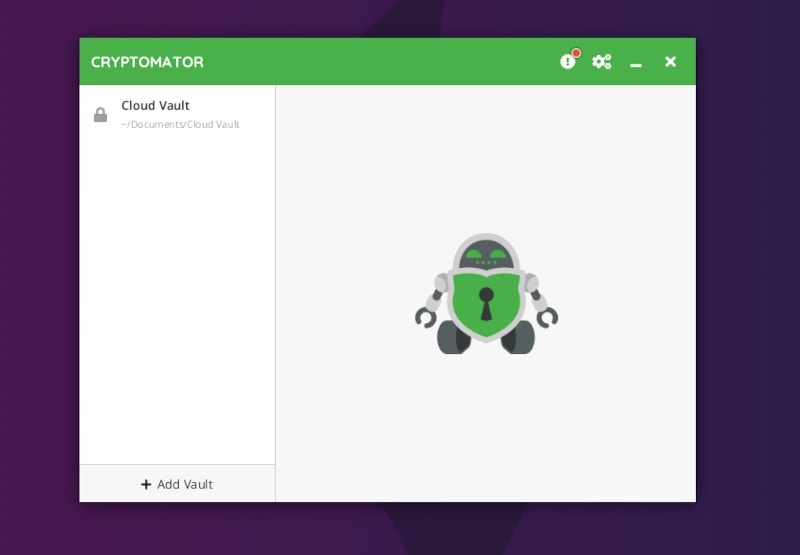
Once you have installed Cryptomator, it’s really easy to use it following the user interface or the official documentation.
But, to save you some time, I’ll highlight a few important things that you should know:
Setup Your Vault
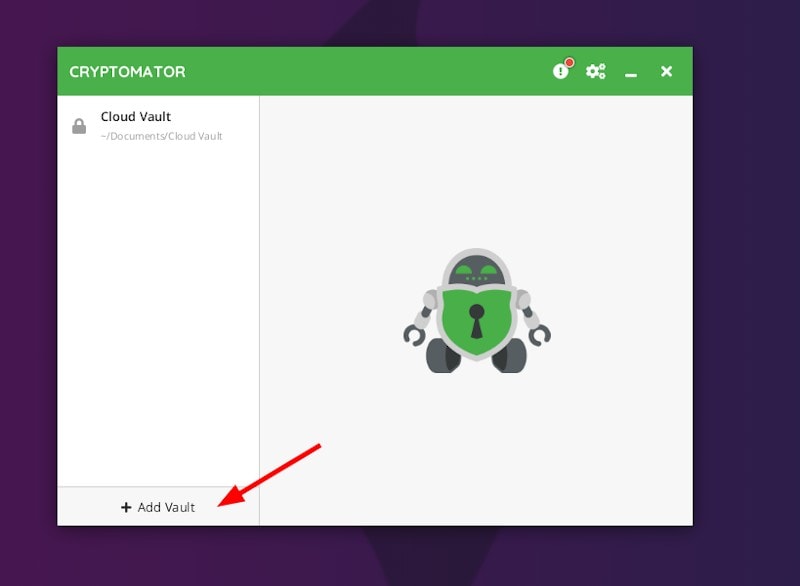
After launching Cryptomator, you need to create the vault where you want to have your encrypted data.
This can be an existing location or a new custom directory as per your requirements.
Now that you proceed creating a new vault, you will also observe that you can open an existing vault as well (if you had one already). So, always have a backup of your vault, just in case.
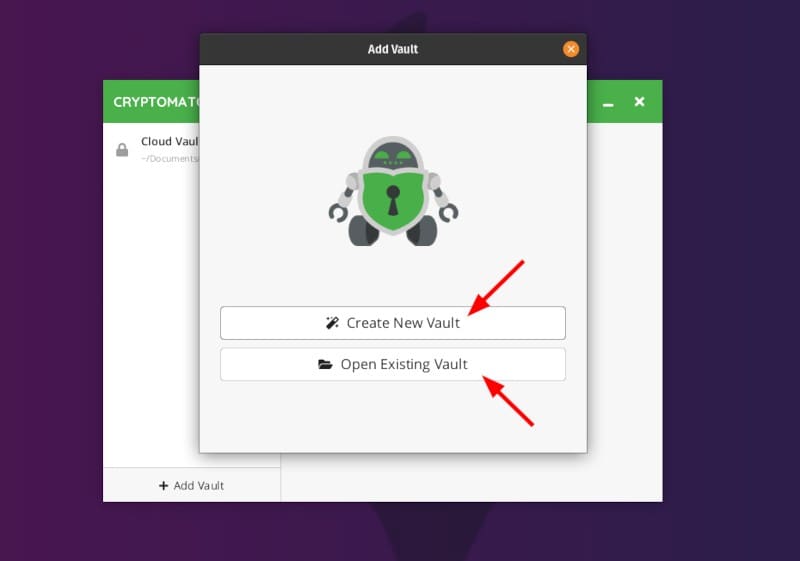
Here, I am assuming that you are a new user. So, obviously, proceed to create a new vault and give it a name:
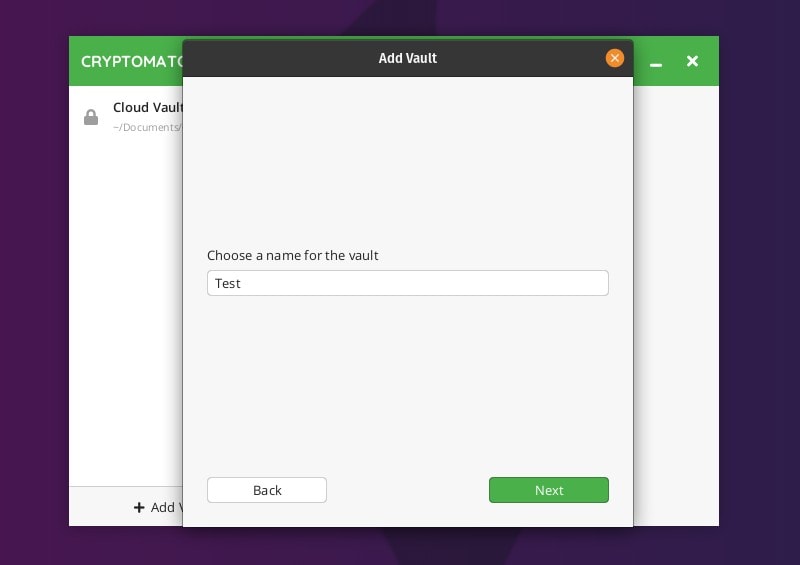
Next, you need to specify a storage location. If you already use OneDrive, Dropbox, Google Drive, or something similar, it might detect it automatically.
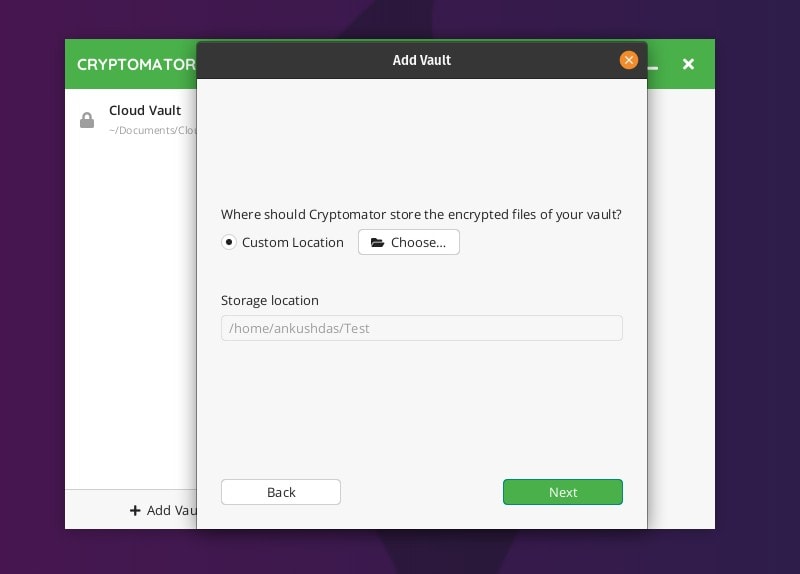
However, if it doesn’t, like in my case (I use ), you can select the cloud-synced directory or any other custom location manually.
Once you select the location, you just need to create a password for it. It’s best to create a strong password that you can remember.
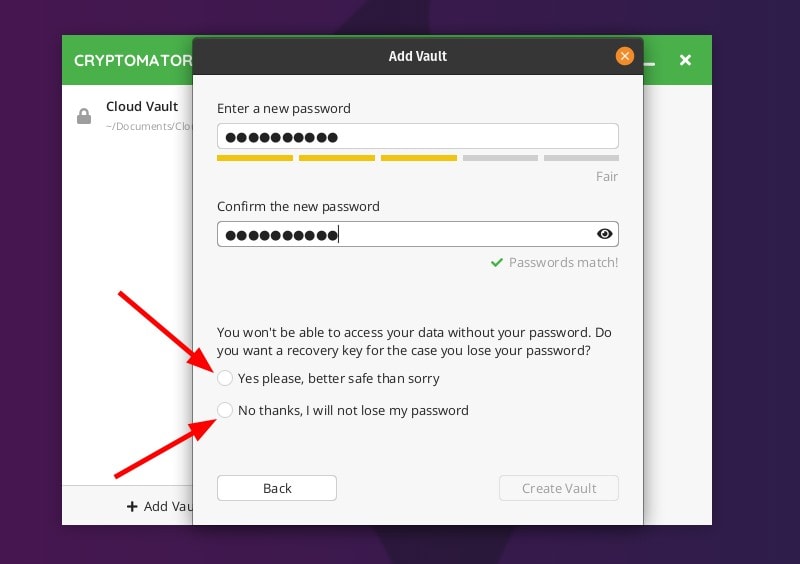
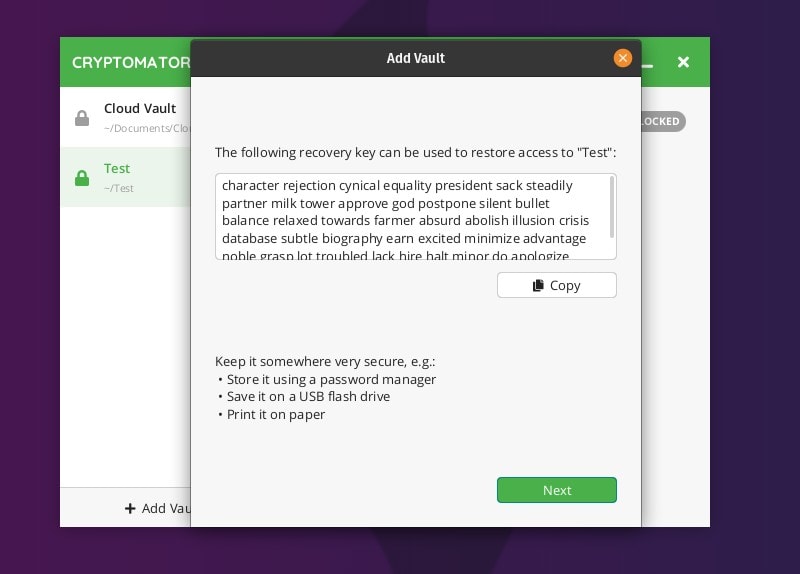
Also, I’d suggest you to opt for the recovery key and store it in a separate USB drive or just print it on a paper.
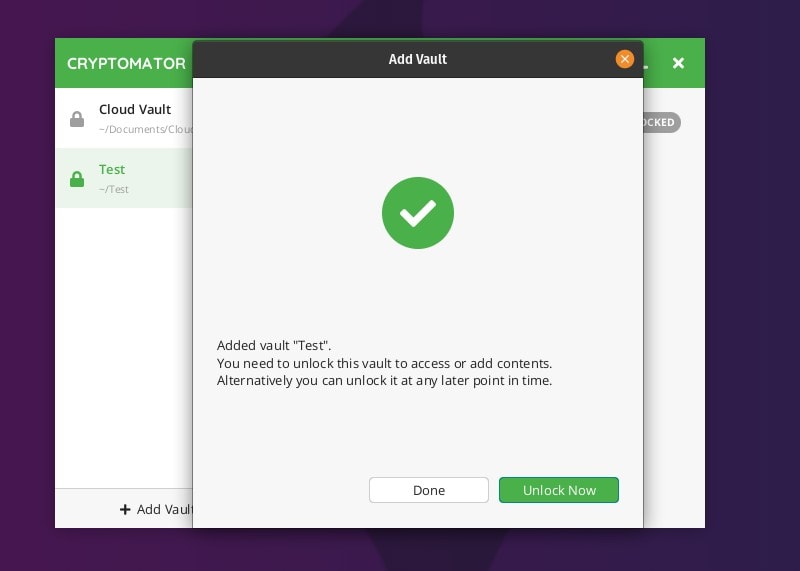
And, that’s it. You’re done creating your secure vault that you can sync with the cloud.
Now, how do you add files to it? Let’s take a look:
Adding Files To A Vault
Note: You can’t just go into the folder that you created from the file manager and files there. Follow the steps below to add files properly in your encrypted vault.
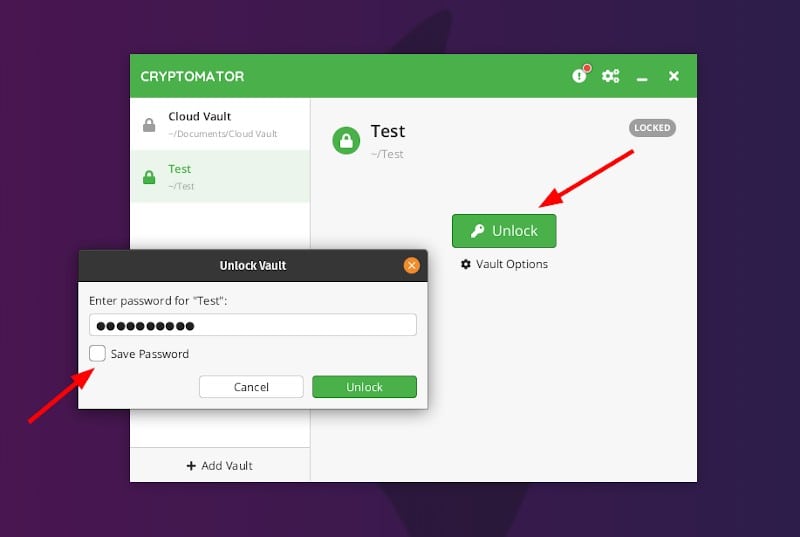
Once you’ve created your vault, you just need to unlock it by typing the password as shown in the image below. If you’re on your personal computer, you can choose to save the password without needing to enter it every time you access the vault. However, I advise not to do that. Manually entering the password help in remembering it.
Next, after unlocking the vault, you just need to click on “Reveal Vault” or reveal drive to open it using File Manager where you can access/modify or add files to it.
Backup / Recover Your Vault
You should simply copy-paste the folder you create to another USB drive or somewhere else other than your cloud storage folder to ensure that you have a backup of your vault.
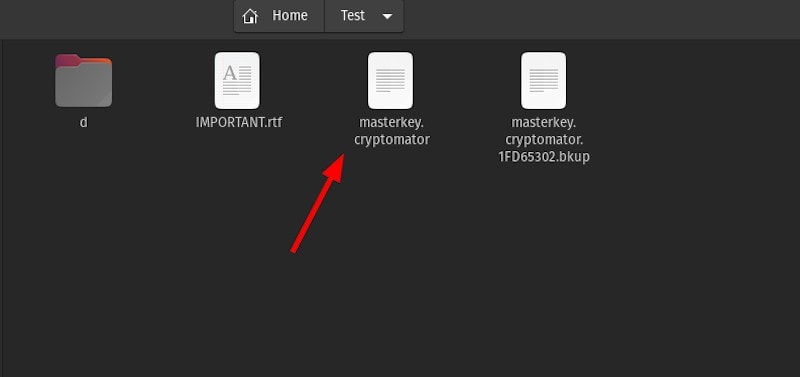
It’s important to have the masterkey.cryptomator file of the vault in order to open it.
Upgrades, Preferences & Settings
Note
You should enable the auto-updates feature to ensure that you will have the most stable and error-free version automatically.
Apart from the most important functions of the Cryptomator app, you will get a couple of other features to tweak, such as:
- Change the type of your virtual drive
- Tweak the vault to read-only mode
You can explore the Vault options and the settings on Cryptomator to know about what else you can do.
Wrapping Up
Now that you know about Cryptomator, you can easily encrypt your important data locally before uploading them to the cloud.
What do you think about Cryptomator? Let us know your thoughts in the comments down below!
