

VLC media player is one of the best media players out there. This cross-platform player is feature rich and it can literally play any media format that’s available.
You’ll be surprised to know that VLC is much more than just a video player. It can do a lot of things with your media files.
Downloading YouTube video with VLC is one of the VLC tips we have shared on It’s FOSS.
Let me share another one with you. How about trimming a video with VLC? It’s not the best way to trim videos but it is available as an option.
Trim videos using VLC
Trimming a video in VLC essentially means recording the video from the beginning to end of the required portion. The recording control tools are usually not visible in the VLC panel by default.
Let me show the steps in detail.
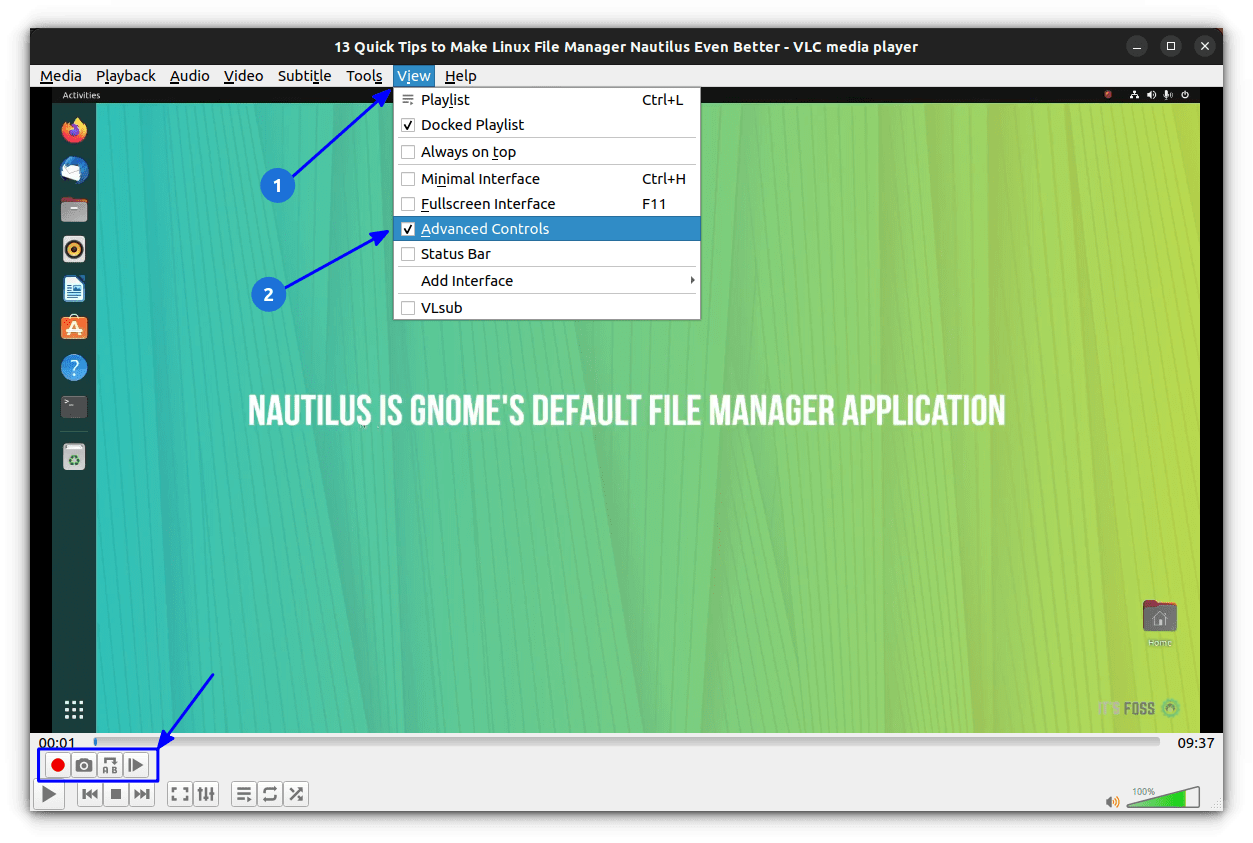
Step 1: Enable advanced controls
To get the controls, you need to make it visible on the main control panel.
First select the view option and then check the Advanced controls check box. Now, a new row of controls with a couple of buttons appears as shown in the screenshot.
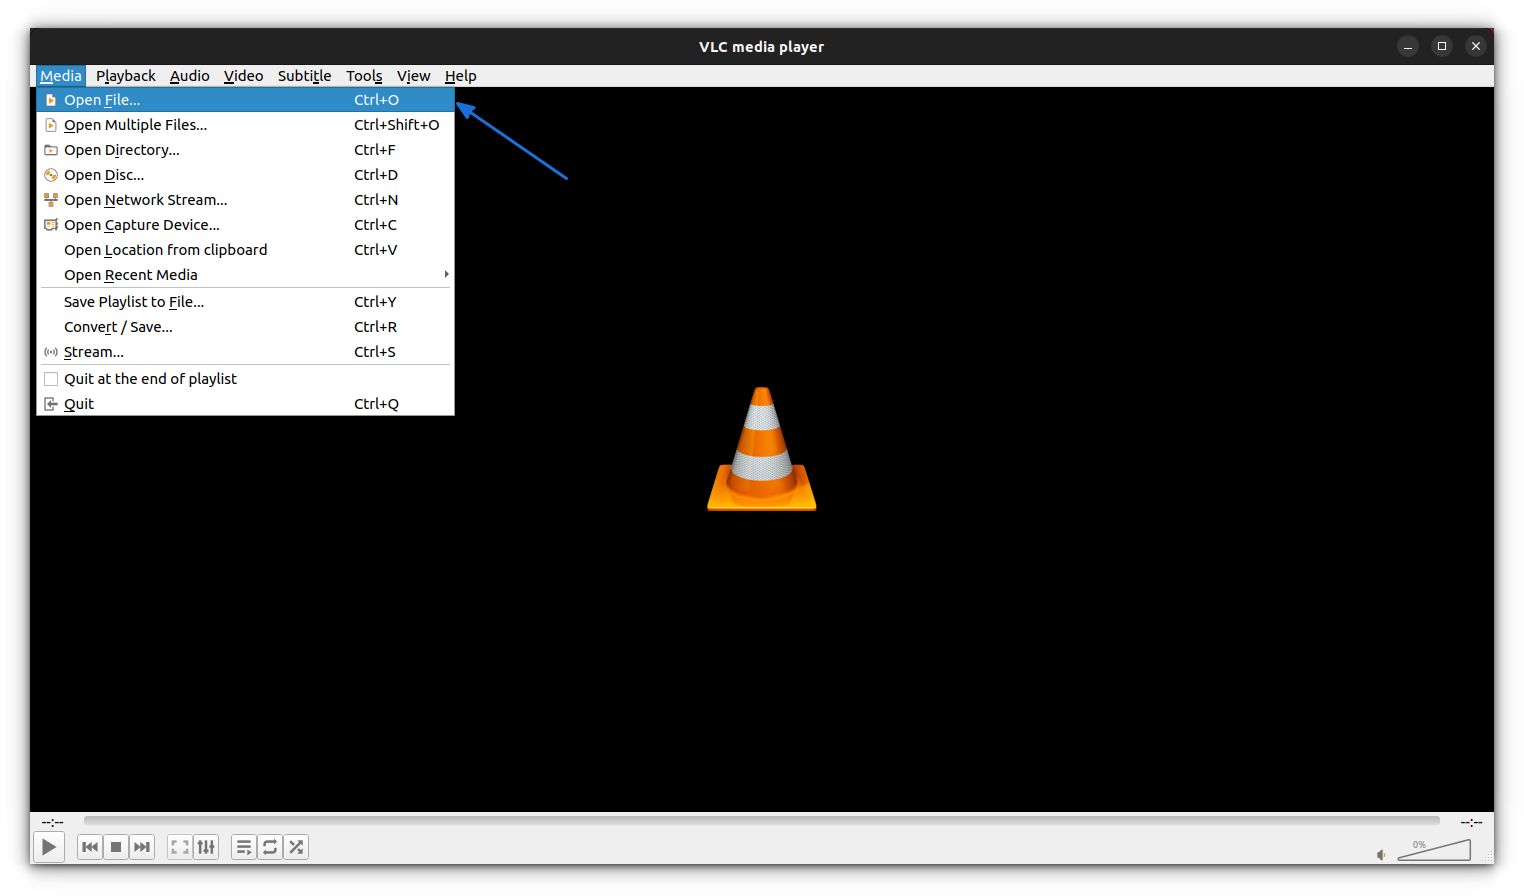
Step 2: Open the video
In order to trim a video, you need to open it in VLC. You can either open the video in VLC player by Media > Open File:
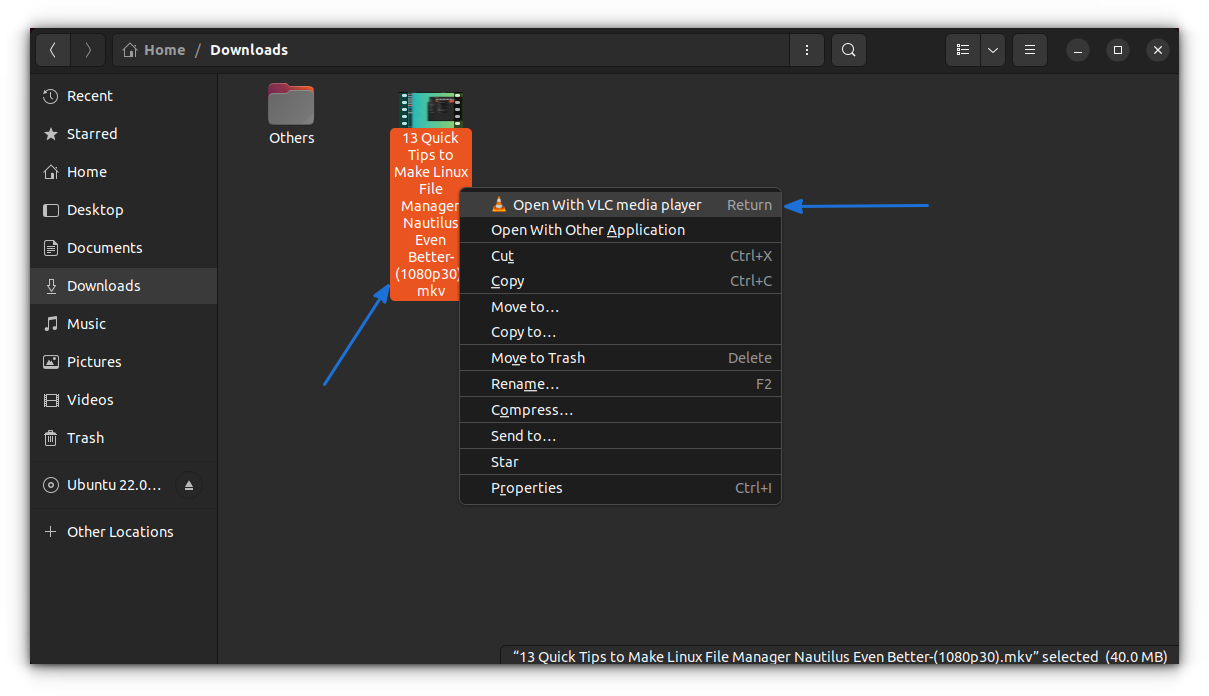
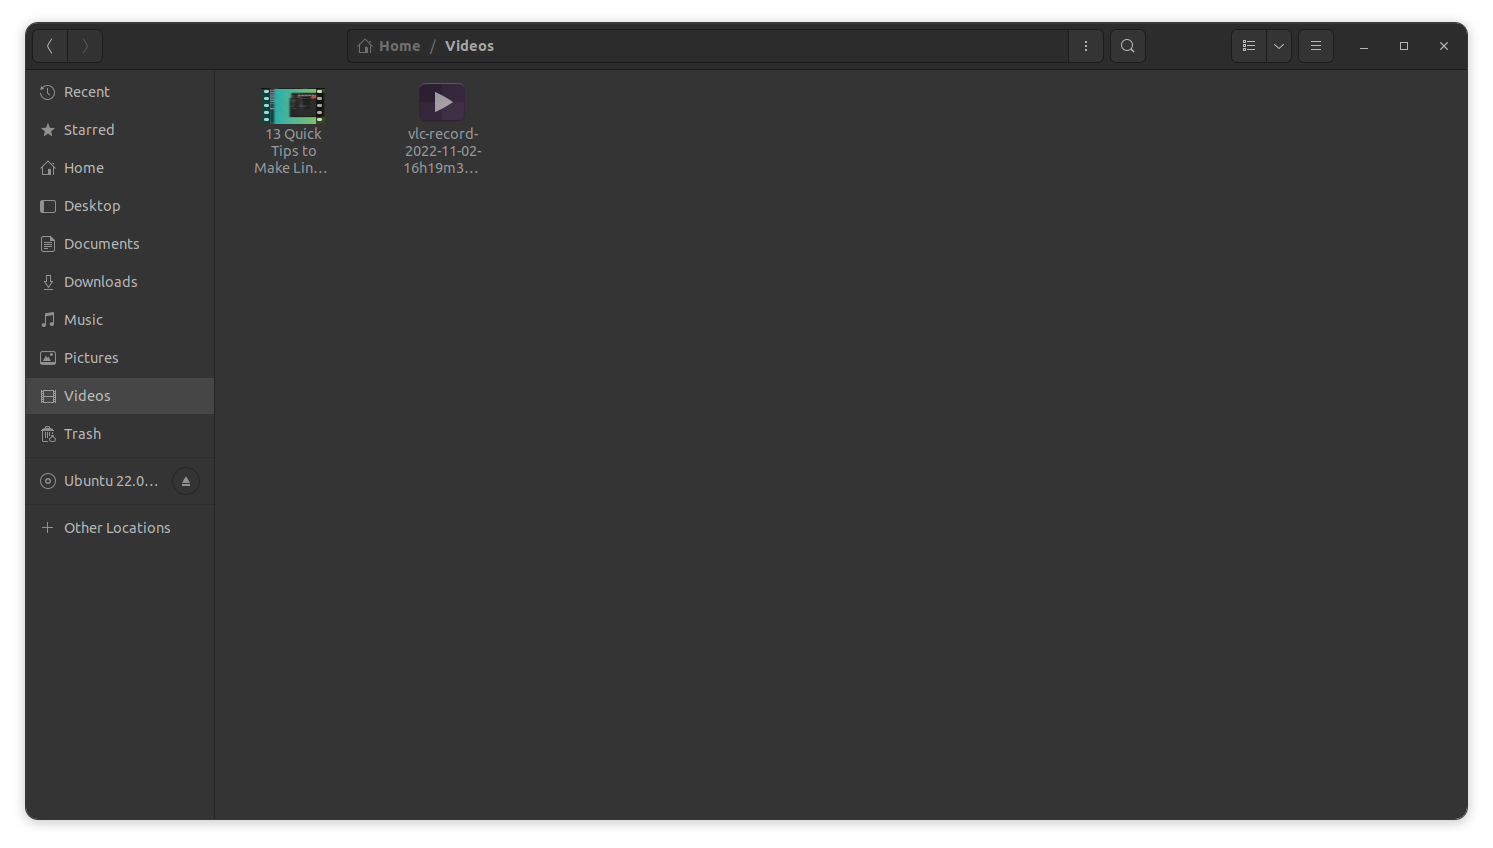
Or you can open the video file with VLC from Nautilus file manager:
Step 3: Trim video using VLC’s recording feature
Once video file is opened, set the timeline to the starting point of the required output and pause the video. After that, press the record button and play the video.
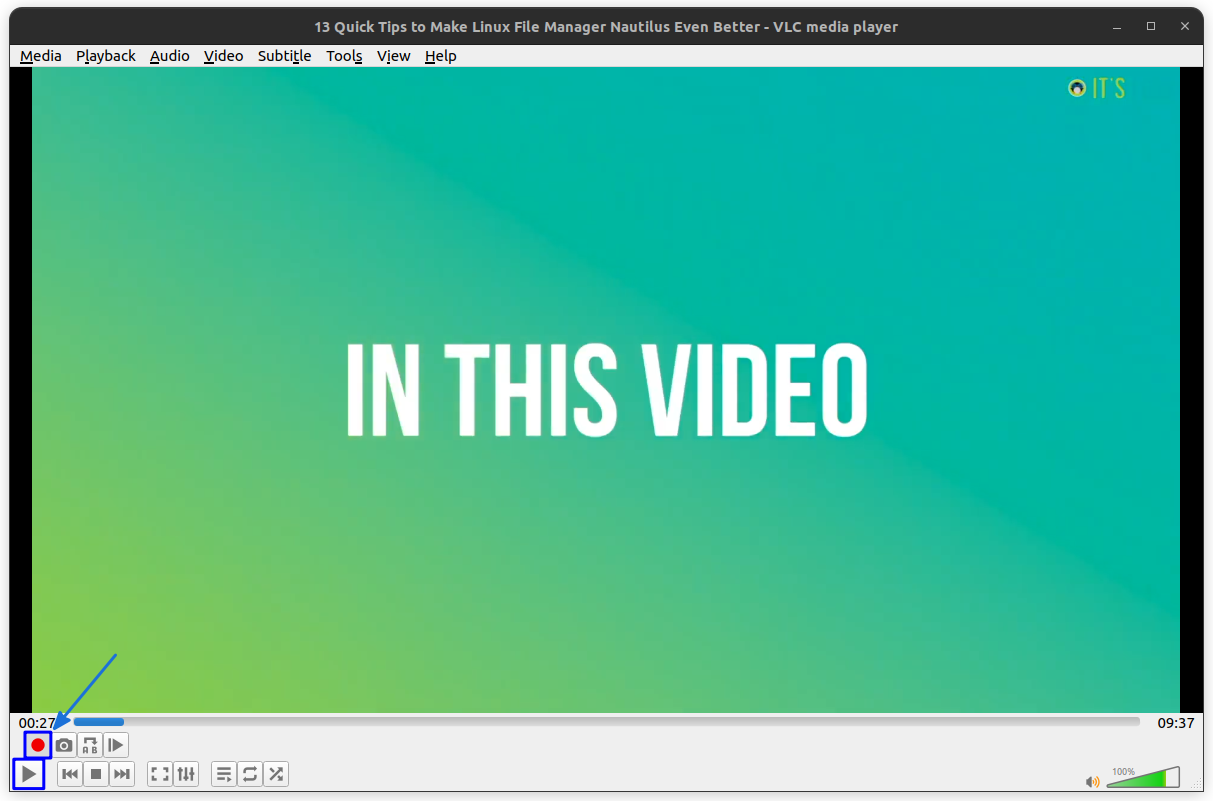
When the end point of the required output is reached, pause the video and press the record button again to stop recording.

This should save the trimmed output to your ~/Videos directory.
Troubleshooting: Unrecognized Output File
VLC records the videos in .ts file format. This is supported in VLC, and you can use that as you want. But many other players in Ubuntu, including the native video player doesn’t recognize the format. So, in this case, there are two solutions.
Gnome-Video prompts Installation of GStreamer package
When you try to open the file, GNOME-Videos will prompt an error and suggestion to install Gstreamer multimedia codecs.
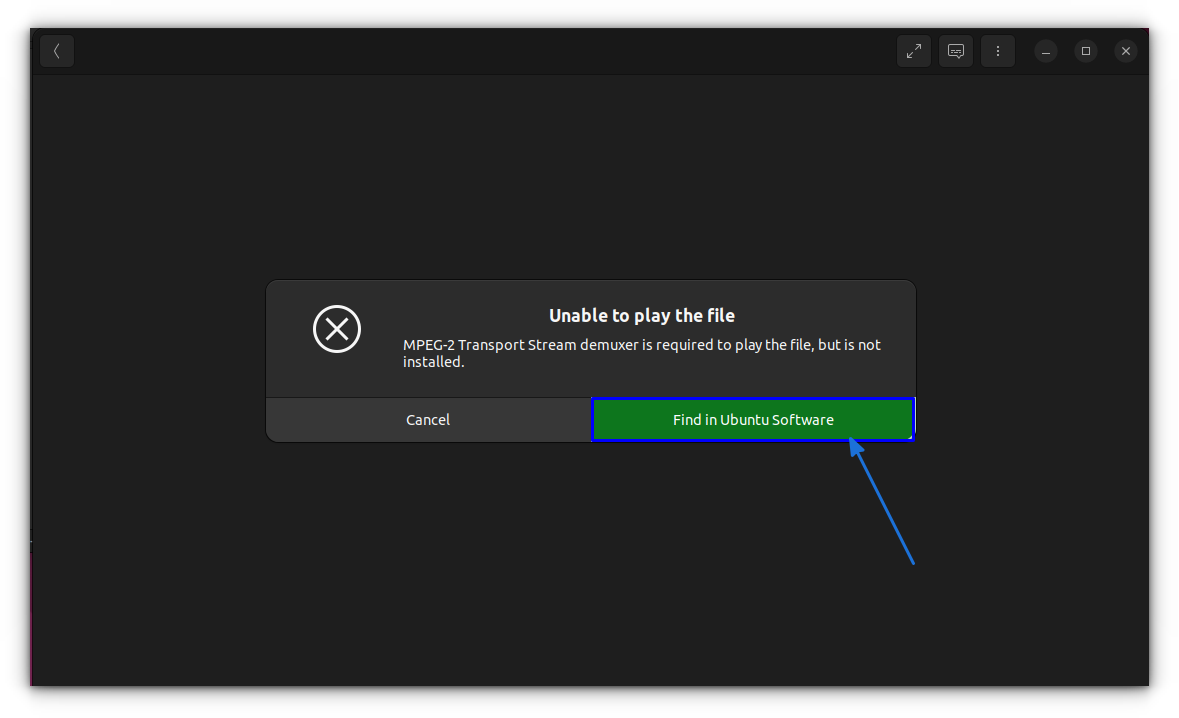
You can click on the “Find in Ubuntu Software” button as shown above, which will open ubuntu software center. There you can install the required codec package.
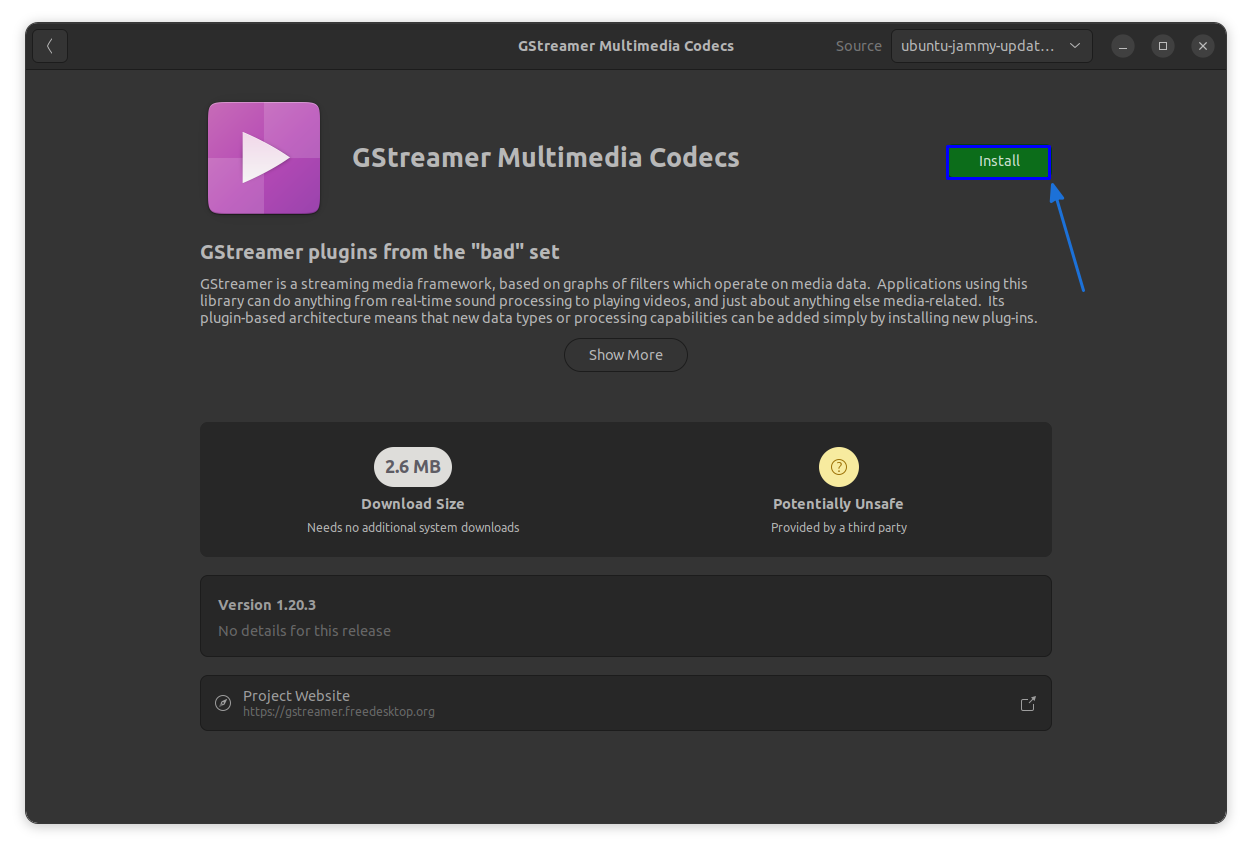
Install the same and open the video with Gnome-videos again will solve the problem.
Convert the Video file using VLC
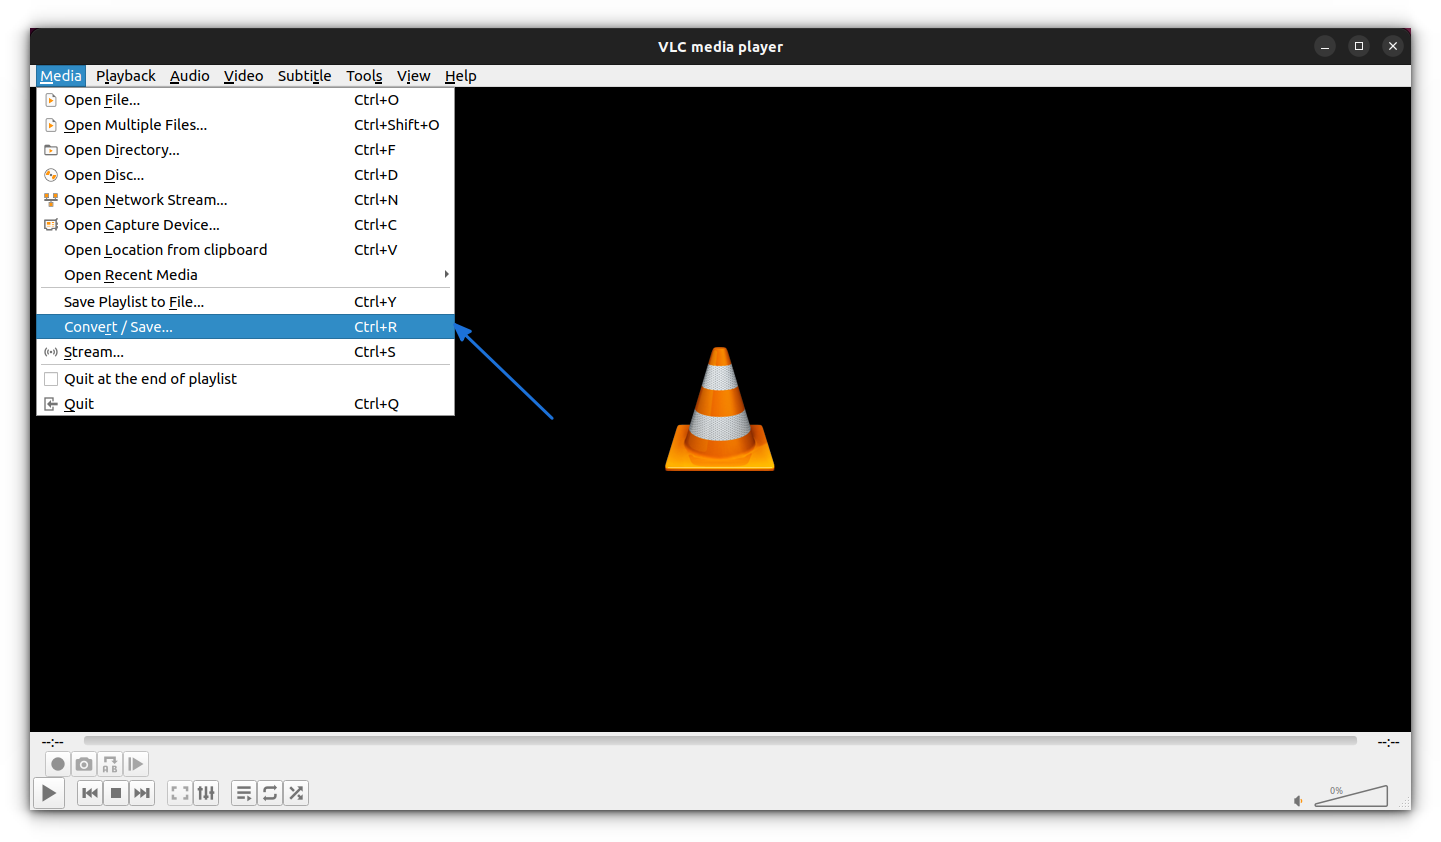
If you don’t want to install any additional packages for the purpose, you can use VLC itself to convert the .ts file to mp4 format to play in any other player.
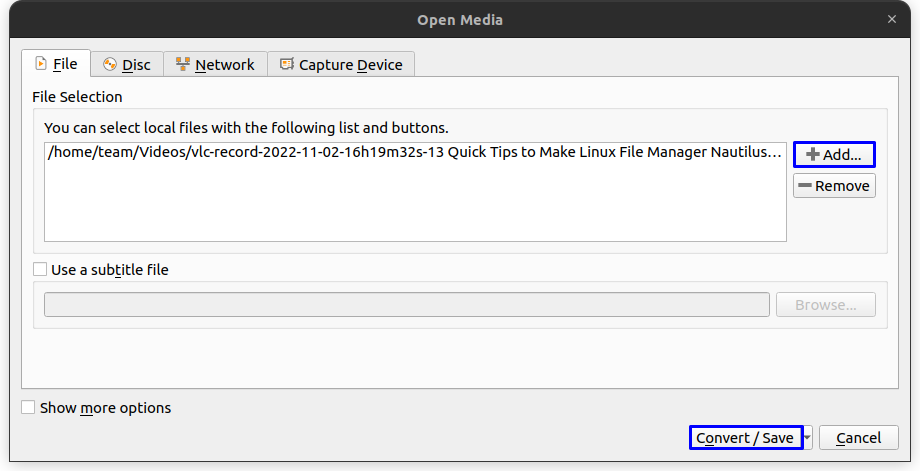
For this, open VLC and select Convert option under File menu.
Now, provide the location of the file that needs to be converted using the “Add” button and select Convert/Save as shown in the screenshot.
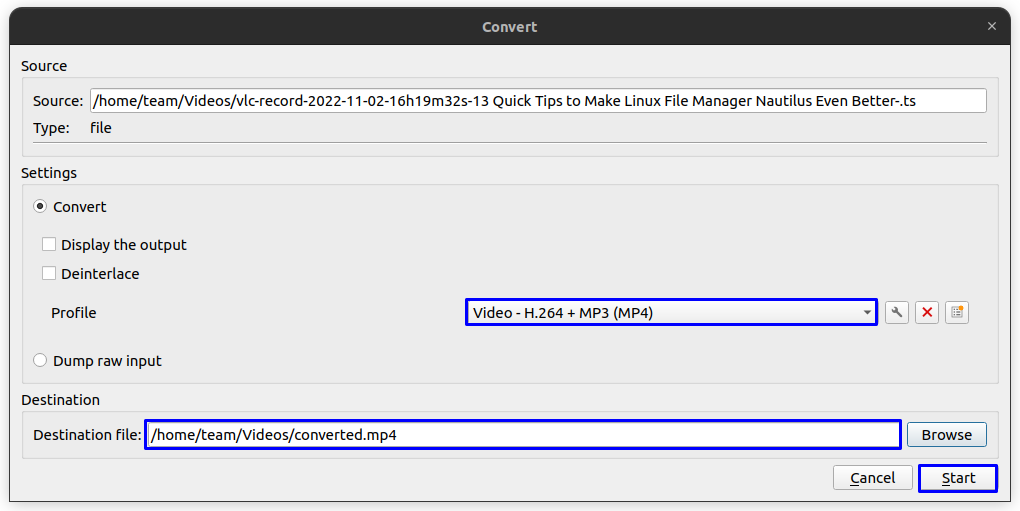
Select the required output profile (MP4) and set a file name for the output and press Start.
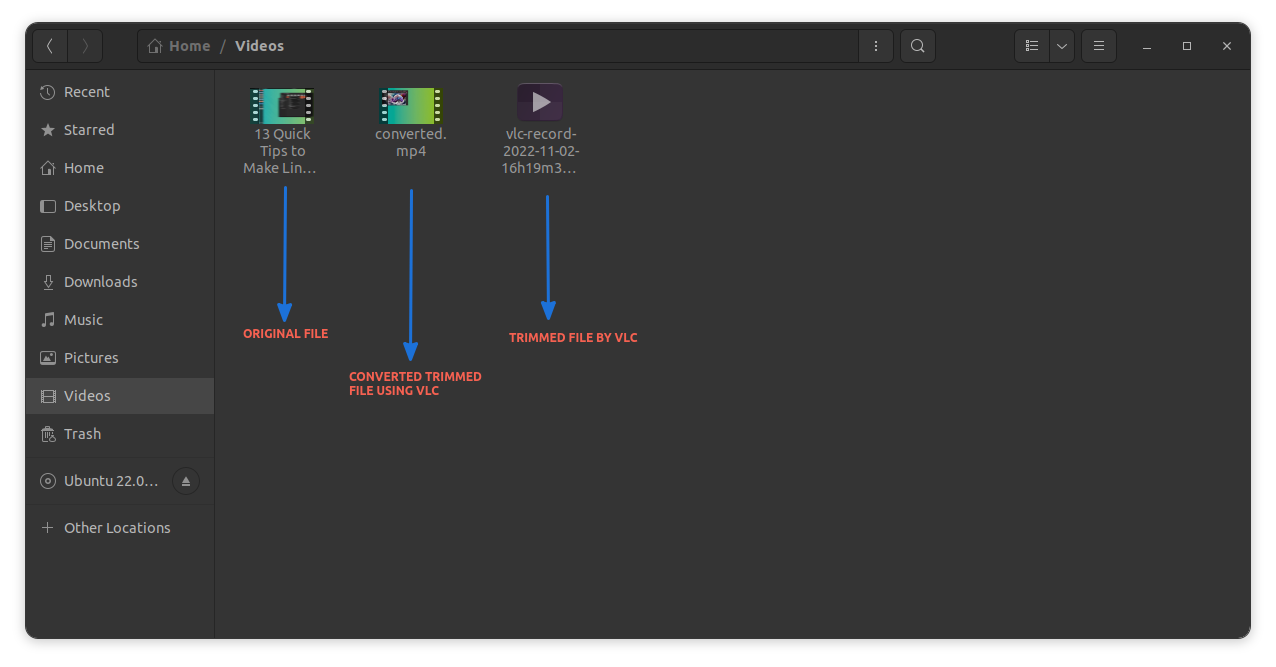
This will start the conversion and will be completed as per the duration of the source. Once done, you can access the converted output from your ~/Videos directory.
Wrapping Up
While it is true that VLC player can be used to trim videos, the entire process is in no way similar to a dedicated video editor.
The biggest issue is that you need to watch the entire trim portion to complete the trimming, which is not convenient if you are trimming a large portion of a video spanning several minutes.
Anyway, this cool feature can be a handy tool on some occasions, where you only want to trim a small clip or make a gif from a movie scene.
If this helped you, consider supporting It's FOSS
It's FOSS has been helping people use Linux for the past 14 years. Help us stay independent from big tech. Become a Plus member, enjoy ad-free reading and get 5 eBooks.

