
There are several screenshot tools available for Linux. I prefer using Flameshot for screenshots and Shutter for editing the existing screenshots.
But Flameshot doesn’t work with 4K screens, unfortunately. And hence I had to resort back to the default GNOME screenshot tool which works perfectly on my Dell XPS with Ultra HD screen.
This ‘forced move’ made me realize that the GNOME screenshot is not a bad utility if you know how to use it properly.
From that, I meant using it with the keyboard shortcuts because that saves a lot of time.
Let me show how to use the GNOME Screenshot application like an expert with all those handy keyboard shortcuts.
I presume that you have not changed the default keyboard shortcuts for screenshot here.
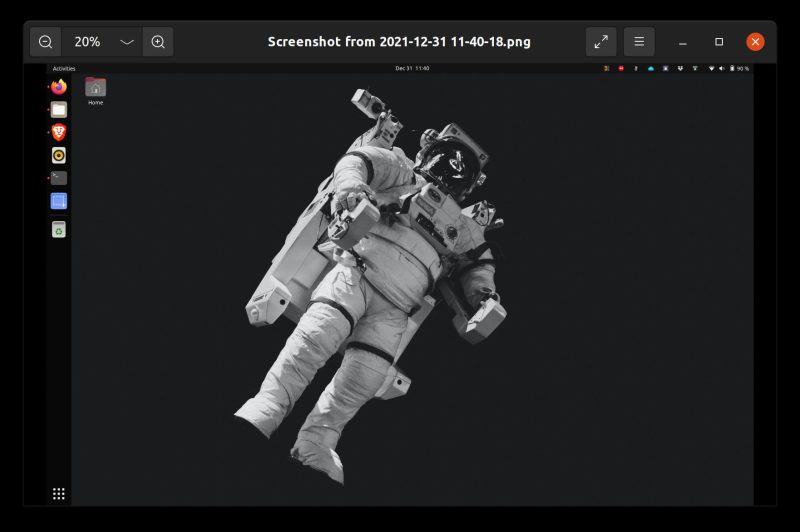
Take screenshot of entire screen(s): Use Prt Scr key
This is the simplest of the action. Locate the Prt Sc or Prt Scr or Prt Scn key on your keyboard and press it. It will take the screenshot of the entire screen and save it to the Pictures folder under your home directory.
In some distributions (or versions), you may get the options to whether you want to save the screenshot or not but mostly, it will save the screenshot automatically.
Another thing to note here is that if you have multiple screens attached to the system, it takes screenshot of all the screens together. This means, you get an ultra wide image.
But what if you want to take the screenshot of only a certain application, not the entire screen?
Take screenshot of an application windows: Use Alt+Prt Scr key
To take the screenshot of a running graphical application, here’s what you need to do:
Click on the running application so that it in focus. Now, press and hold the Alt key and press Prt Scr key.
It will take the screenshot of the application window and save to the Pictures directory.

The screenshots thus taken also has a shadow effect applied to them which looks good.
This is good but what if you want to take the screenshot of only a particular area, not the entire screen? There is a trick for that as well.
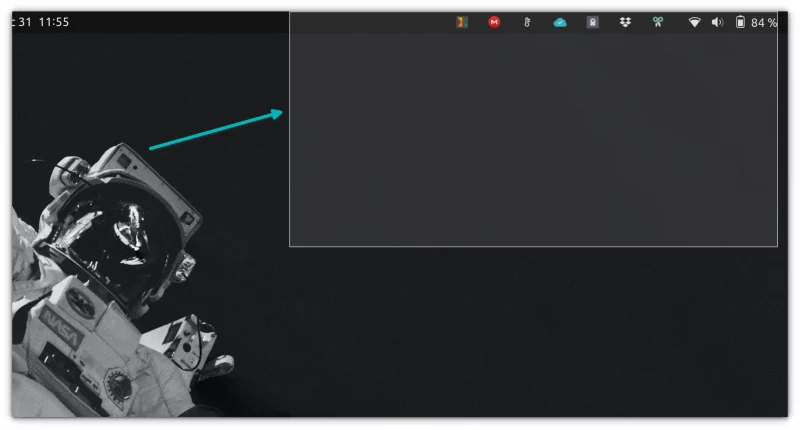
Take screenshot of selected area of the screen: Use Shift+Prt Scr key
Press the Shift key and hold it. Now press the Prt Scr key. You’ll see a selector appear on the screen. Move around the mouse to the desired region and start dragging the cursor. It will highlight the region and take a screenshot as soon as you release the mouse.
Copy the screenshots to clipboard instead of saving them
This is very useful when you are chatting someone and have to share a screenshot with the other person.
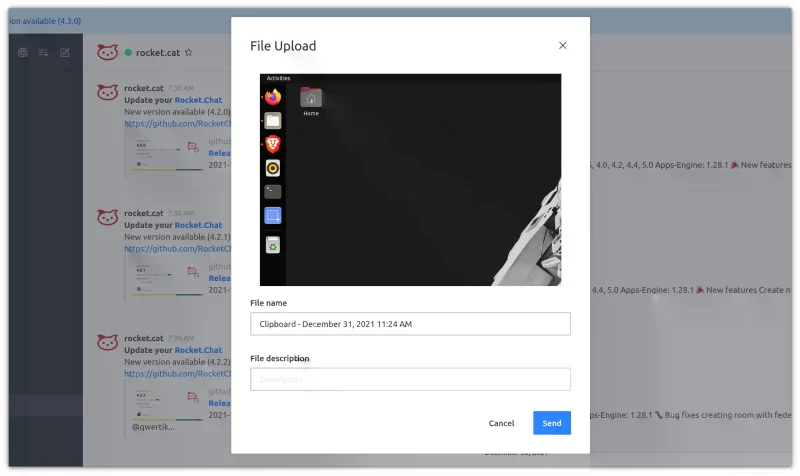
Taking the screenshot first and then attach the saved screenshot file to the messaging tool is unnecessary. Instead, you could just copy the screenshot to the clipboard and then use the Ctrl+V shortcut to paste the image (from the clipboard) into the messaging tool.
This way, your system won’t have unnecessary screenshots and you also save a few mouse clicks.
To save the screenshots to your clipboard so that you can paste them in a messaging tool, drawing tool or a document, you have to use the Ctrl key together with the other screenshots shortcuts you saw in previous sections.
- Ctrl+Prt Scr: Copies the screenshot of the entire screen(s) to the clipboard
- Ctrl+Alt+Prt Scr: Copies the screenshot of the application windows to the clipboard
- Ctrl+Shift+Prt Scr: Copies the screenshot of the selected region to the clipboard
I must add that using a tool like Flameshot is even better in such case because it allows you to annotate the screenshots before saving them to clipboard. This way, you can easily highlight the important part of your screen.
Add delay to screenshot to take screenshots of dropdown menu
So far everything is good. You just press a couple of keys and take the screenshots as you like.
The problem comes when you have to take the screenshot of a dropdown menu or right click context action etc. As soon as you press the screenshot keys, the intended item may disappear.
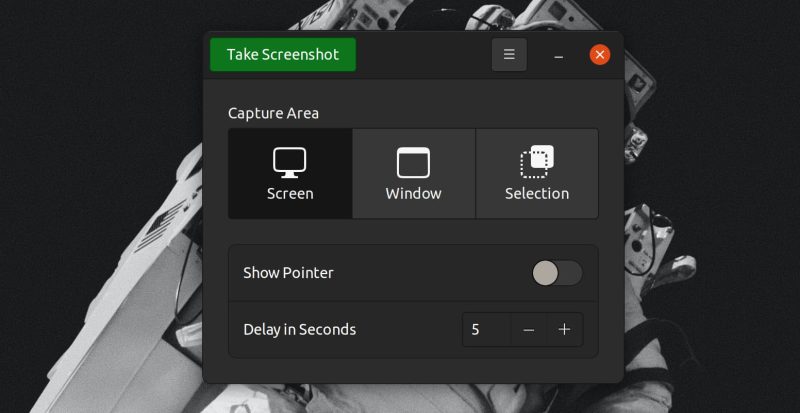
To handle the situation, you can take the screenshot of the region or entire screen but with a delay.
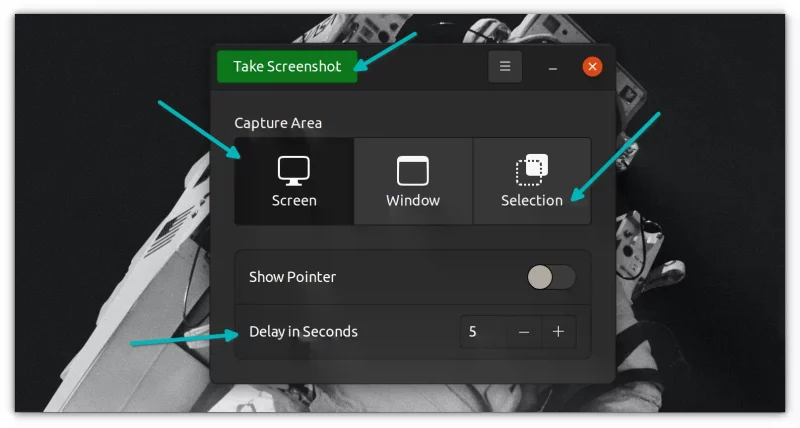
In the GNOME Screenshot tool, you get the option to add this delay. Say, you add 6 seconds of delay. You hit the take screenshot button and get 6 seconds to do/show what you intend here. After 6 seconds, it automatically takes the screenshot.
Any tricks up your sleeve?
That’s all the tips I had on GNOME Screenshot tool. If you haven’t used it extensively, you should find it helpful. If you are already a pro, perhaps you know something that can be added to this article? Share it with the rest of us in the comment section, please.
