
Sometimes I need to take screenshot of the login screen. For example, if I am writing about how to install Cinnamon in Ubuntu, a screenshot of the login screen would be helpful to readers.
Similarly, you might need to take the screenshot of your lock screen for work.
Fret not, if you are wondering how to take a screenshot of the login or lock screen in Ubuntu, and some other Linux distributions, let me show you how to do that.
Login screen or lock screen? What’s the difference?
Did you notice that I used login and lock screen terms? They might seem like the same thing but there is a difference.
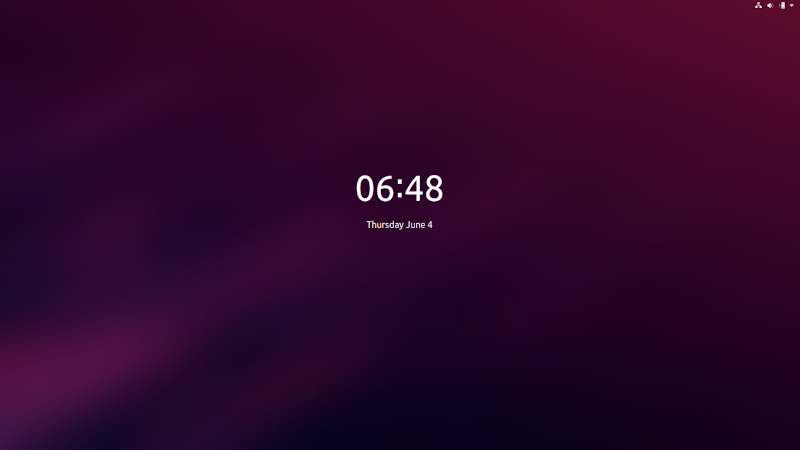
Lock screen is what you see when you lock your screen.
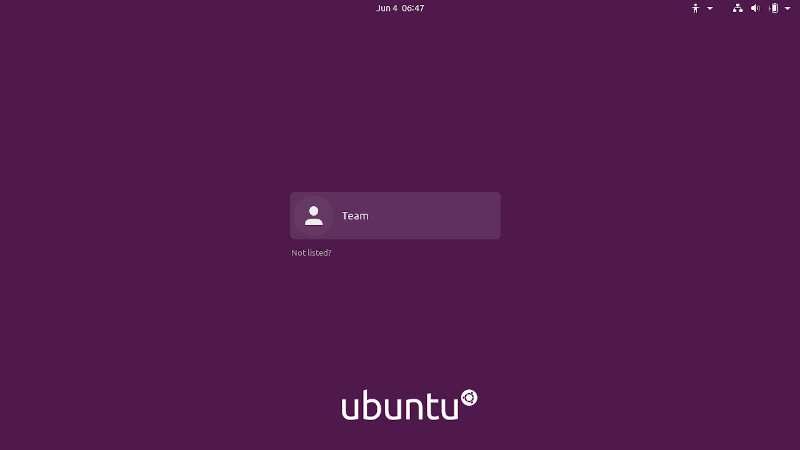
The login screen is what you see when you boot in to your system or log out of the Ubuntu system.
You’ll get options to change the desktop environment or display server (Xorg or Wayland) on the login screen but not on the lock screen.
Taking screenshot of the lock screen [Easy Method]
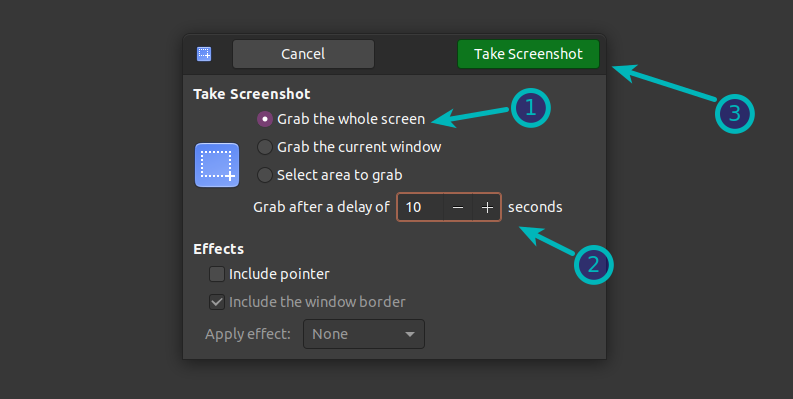
The easiest way of taking screenshot of ‘lock screen’ is to utilize the GNOME Screenshot tool. This tool should already be installed on most Ubuntu-based Linux distributions. Open the tool and add a delay option of 10 seconds:
Alternatively, you can use the command line in the following fashion:
gnome-screenshot -d 10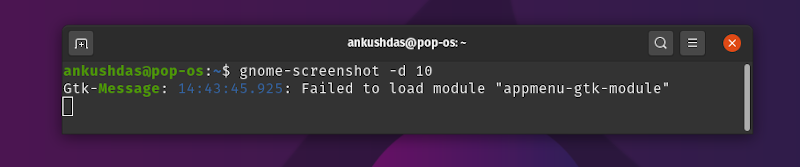
You might notice a message displaying an error as shown in the image above— but you need to wait for it to take the screenshot.
This will take a screenshot with a delay of 10 seconds. In this duration, lock your system by pressing Super+L keyboard shortcut. In 10 seconds, it will take a screenshot of your system which is at lock screen. You can find the screenshot in the Pictures folder.
You can change the duration from 10 seconds to your liking.
Taking screenshot of login screen
You cannot use the above method for taking screenshots of the log in screen. When you log out, your pending commands get terminated.
The workaround here is to create a script that you can run from the command line interface. Don’t be scared of “the script”. It is not that complicated to use it.
Note
Note: This method will work only for GNOME desktop. Please check which desktop environment you are using before proceeding any further.
Step 1: Get ImageMagic
Open a terminal and use the following command to install ImageMagic:
sudo apt install imagemagickStep 2: Prepare the script
Create a new file, preferably in your Home directory. Name it screenshot.sh (you can change the name if you want).
Add the following lines to the file you created:
chvt 7; sleep 5s; DISPLAY=:0 XAUTHORITY=/var/lib/gdm/:0 xwd -root -out ~/screenshot.xwd; convert ~/screenshot.xwd ~/screenshot.png; rm ~/screenshot.xwdchvt 7 is the number of the virtual console. The sleep command adds a delay of 5 seconds. GDM is then called and it takes a screenshot 5 seconds after you have run this script. You can change it to any number you want.
You’ll find the screenshot saved as screenshot.png in your home directory.
Step 3: Give executable permission to the script
You must give the script execution rights by using the following command:
sudo chmod +x screenshot.shIf you’ve given a different name to your file, use that instead of screenshot.sh.
Step 4: Taking screenshot
Now when everything is ready, log out of the system. Press Ctrl+Alt+F1 at the login screen to go console mode.
Next, login with your user credentials. Run the screenshot script like this:
sudo ./screenshot.shOnce the script is executed, it will take you back to the log in screen graphical interface (chvt 7) and after five seconds it will take and save the screenshot in your home directory with a file name screenshot.png.
You can modify the screenshot script as per your requirement.
Bonus Tip: Taking a screenshot in a Virtual Machine
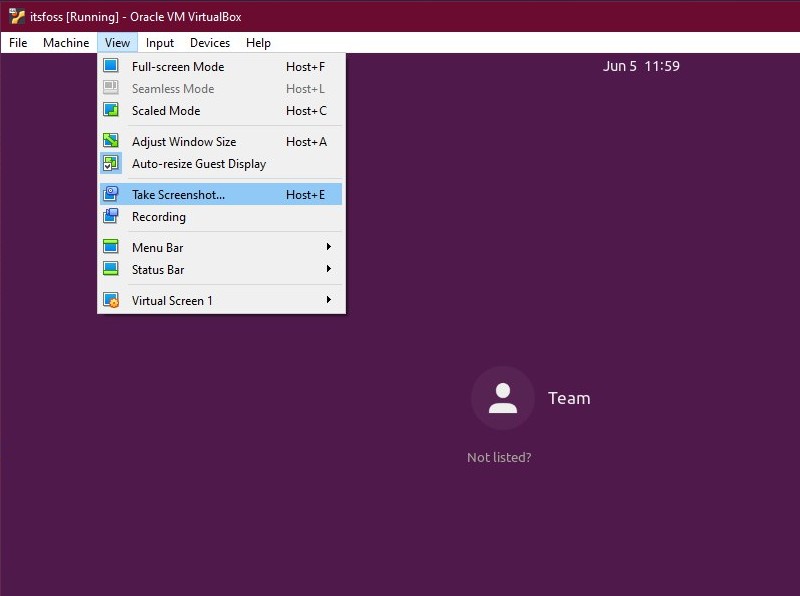
If you’re running Linux in a virtual machine, most likely using VirtualBox, it’s easy to take a screenshot of your login screen.
You just need to display the lock screen of your virtual machine and then capture the screenshot using the Take Screenshot option in the View menu or by using the Host + E shortcut (as shown in the image below).
By default, the Host is the right CTRL key.
In either case, if you are using VMware or any other virtual machine programs, you can keep the VM in windowed mode and then take a screenshot from your host machine using a regular screenshot tool in Linux.
Did you manage to take screenshot of the login screen?
I hope this tip helped you to take a screenshot of the login screen in Linux. Have any questions or want to share something? Feel free to let me know in the comments below.
