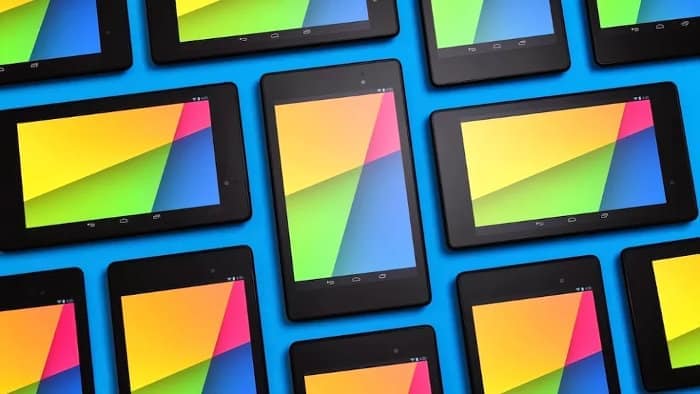
The other day I installed Ubuntu Touch in Nexus 7 2013. Since it’s quite unstable and I was kind of missing Android games, I decided to restore Android back in Nexus 7 2013. I plan to dual boot Android and Ubuntu Touch, may be sometime soon.
In this tutorial we shall see how to restore Android factory image in Nexus 7 2013 in Linux. Let’s take a look at prerequisites first.
- Nexus 7 2013 with unlocked bootloader. See this article to learn how to unlock Nexus 7 2013 bootloader.
- USB cable
- A computer with internet connection running on Linux, preferably Ubuntu or Ubuntu based Linux distributions.
Install Android factory image in Nexus 7 2013:
When you have all things ready, lets see the steps install Android factory image:
Step 1: Get Android factory image
First thing that you need is to get the correct Android factory image. You can get the factory images from Google here. It is important to get the correct image. Nexus 7 2013 is codenamed Razor (and not Razorg which is for 3G version).
Step 2: Extract the image and go in the directory
Once you have downloaded the correct image, extract it and go in the directory, in terminal. I presume that you know how to move around in directories in Linux terminal.
Step 3: Install the Android image to Nexus
Now is the time to install the image. Boot in to the bootloader with the following command:
adb reboot bootloaderBy this time you shall see the Nexus device has been booted in the bootloader. While in the extracted directory, run a file named flash-all.sh using the following command:
sudo ./flash-all.shIt will not take a lot of time for the image to be installed. But once the image is flashed to Nexus, you’ll see that it has booted in Android and four colored balls are bouncing. have patience as it will stay like this for some time. Afterwards, you’ll be provided with options to choose your language, Google account etc like you did for the first time you used Nexus.
Possible troubleshooting:
While flashing the image, if you see an error like this:
checking product…
FAILED
Device product is ‘flo’.
Update requires ‘deb’.
It is an indication that you downloaded the wrong image. It’s a sort of protection to prevent you from installing the wrong image in Nexus. Check again and download the right image.
I hope this article helped you to restore stock Android factory image in Nexus 7 2013 in Linux. Any question or suggestion is always welcomed.


