

Wireshark is a free and open-source network protocol analyzer widely used around the globe.
With Wireshark, you can capture incoming and outgoing packets of a network in real time and use it for network troubleshooting, packet analysis, software and communication protocol development, and many more.
It is available on all major desktop operating systems like Windows, Linux, macOS, BSD and more.
In this tutorial, I will guide you to install Wireshark on Ubuntu and other Ubuntu-based distributions. I’ll also show a little about setting up and configuring Wireshark to capture packets.
Installing Wireshark on Ubuntu based Linux distributions
Wireshark is available on all major Linux distributions. You should check out the official installation instructions. In this tutorial, I’ll focus on installing the latest Wireshark version on Ubuntu-based distributions only.
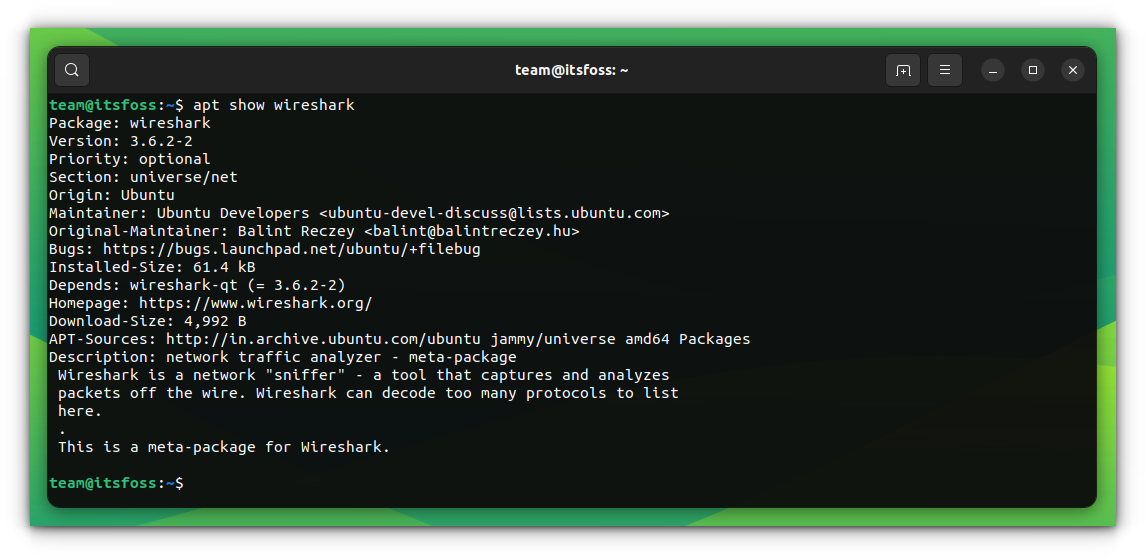
Wireshark is available in the Universe repository of Ubuntu, which is usually enabled by default. If not, you can enable universe repository and then install it by running:
sudo apt install wiresharkOne slight problem with this approach is that you might not always get the latest version of Wireshark.
So, what do you do in such a case? Thankfully, Wireshark developers provide an official PPA that you can use to install the latest stable version of Wireshark on Ubuntu and other Ubuntu-based distributions.
I hope you are acquainted with PPA. If not, please read our excellent guide on PPA to understand it completely.
Open a terminal and use the following commands one by one:
sudo add-apt-repository ppa:wireshark-dev/stable
sudo apt update
sudo apt install wireshark
Even if you have an older version of Wireshark installed, it will be updated to the newer version.
While installing, you will be asked whether to allow non-superusers to capture packets. Select Yes to allow and No to restrict non-superusers from capturing packets & finish the installation.
Running Wireshark without sudo
If you have selected No in the previous installation, then run the following command as root:
sudo dpkg-reconfigure wireshark-common
And select Yes by pressing the tab key and then using the enter key:
Since you have allowed the non-superuser to capture packets, you have to add the user to Wireshark group. Use the usermod command to add yourself to the Wireshark group.
sudo usermod -aG wireshark $(whoami)Finally, restart your Ubuntu system to make the necessary changes to your system.
Starting Wireshark
Launching Wireshark application can be done from the application launcher or the CLI.
To start from CLI, just type Wireshark on your console:
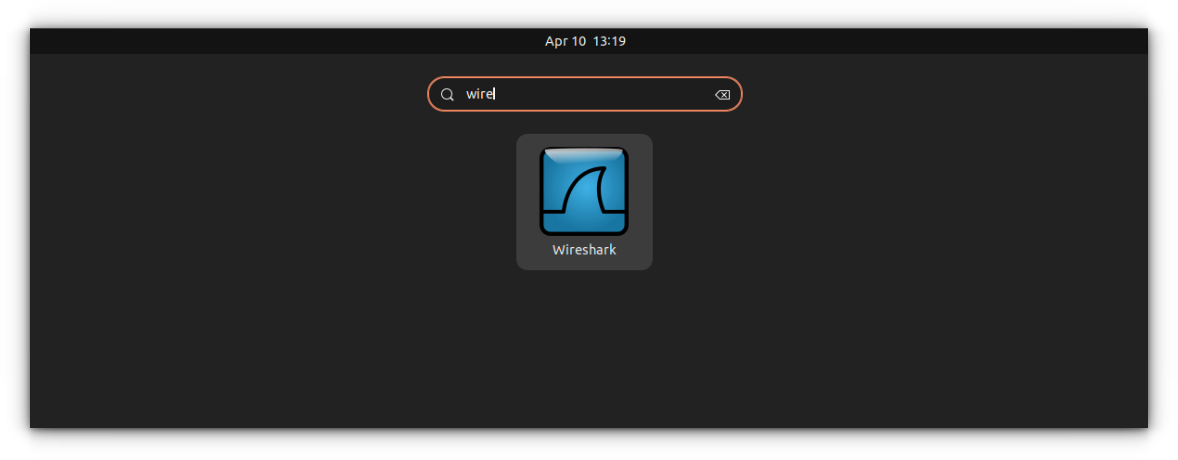
wiresharkFrom GUI, search for Wireshark application on the search bar and hit enter.
Now let’s play with Wireshark.
Using Wireshark
Wireshark provides a wide range of functions like capturing packets, stop packet capture, save packets etc., with a lot of additional information.
Capturing packets using Wireshark
When you start Wireshark, you will see a list of interfaces that you can use to capture packets to and from.
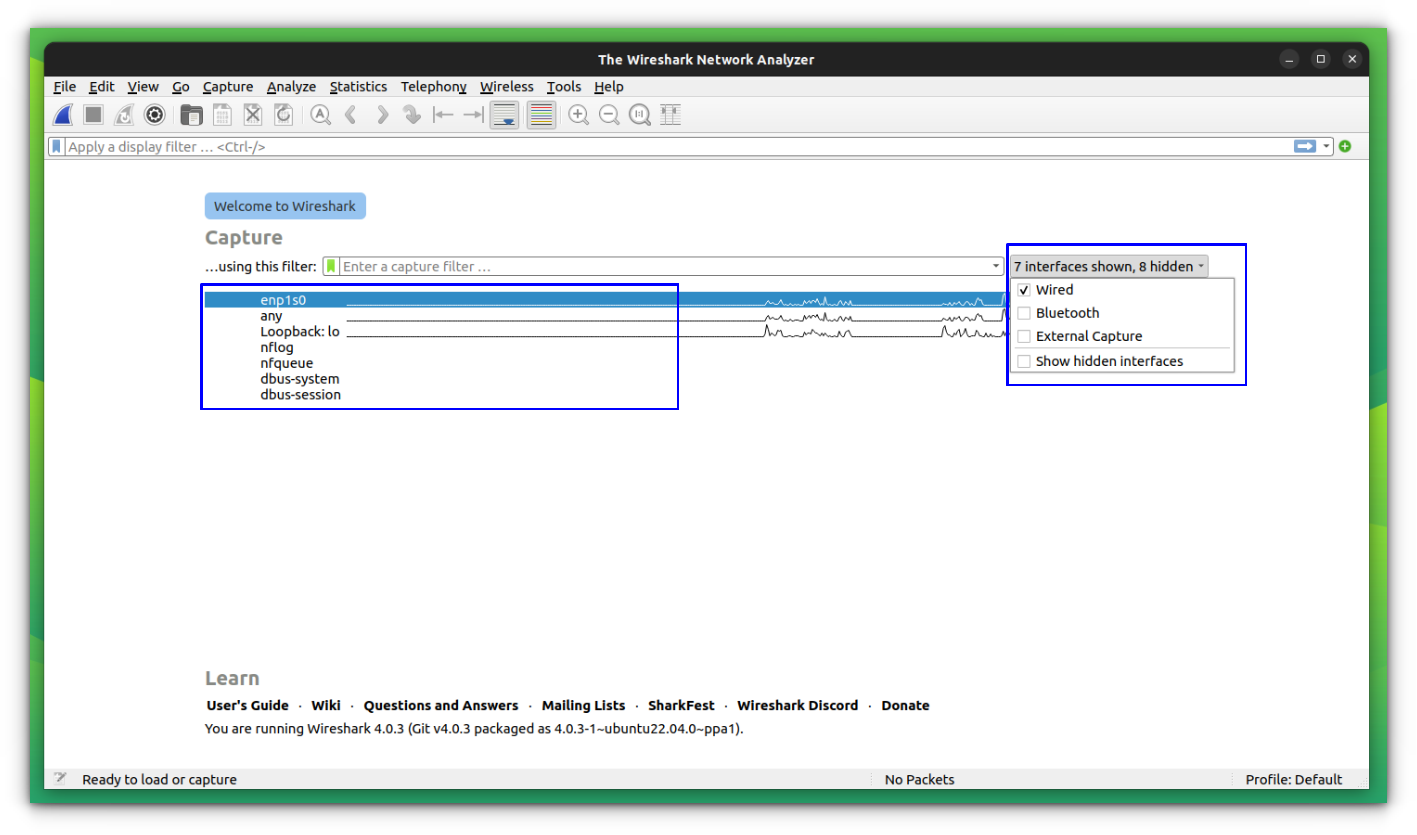
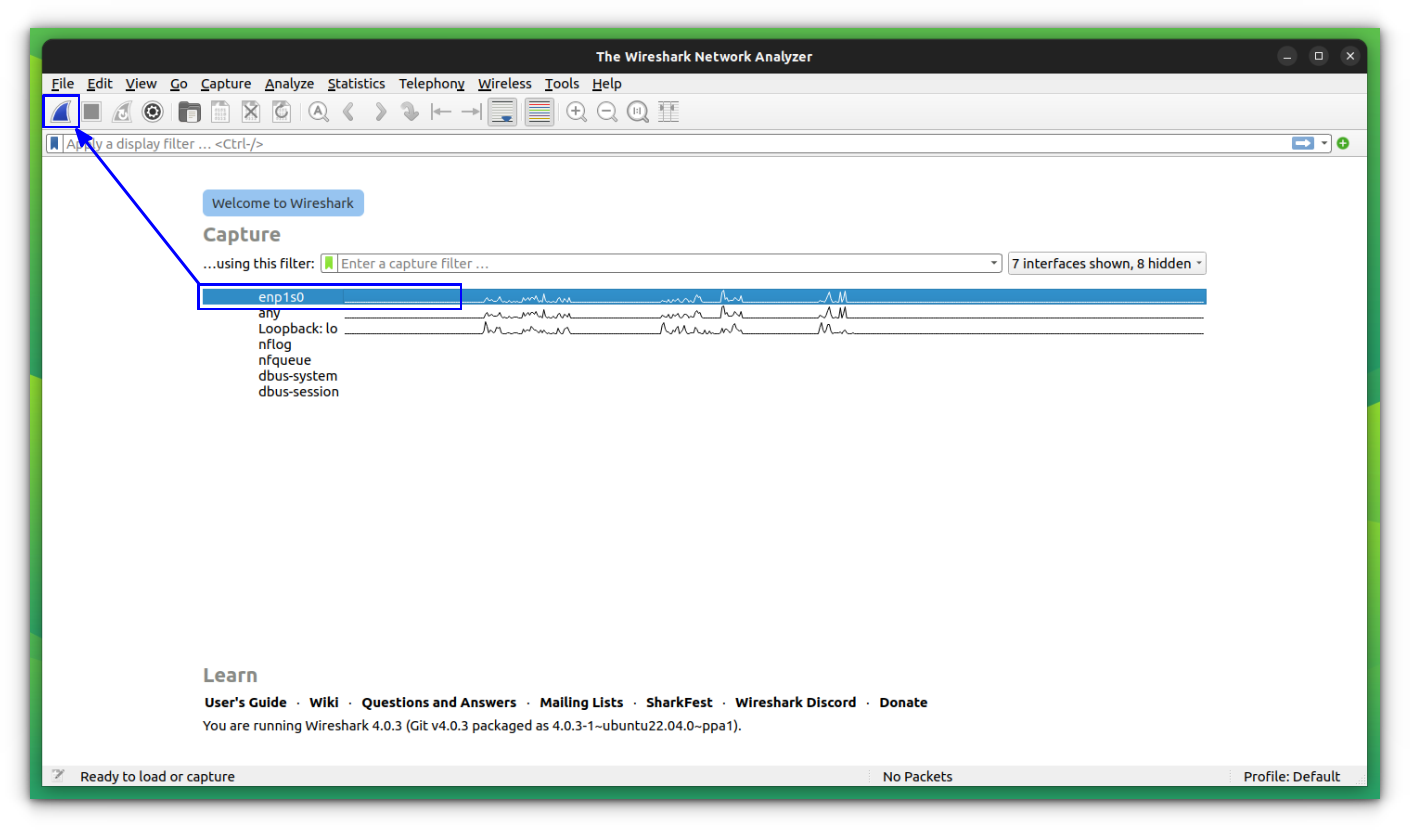
There are many types of interfaces available which you can monitor using Wireshark such as, Wired, External devices, etc. According to your preference, you can choose to show specific types of interfaces in the welcome screen from the marked area in the given image below.
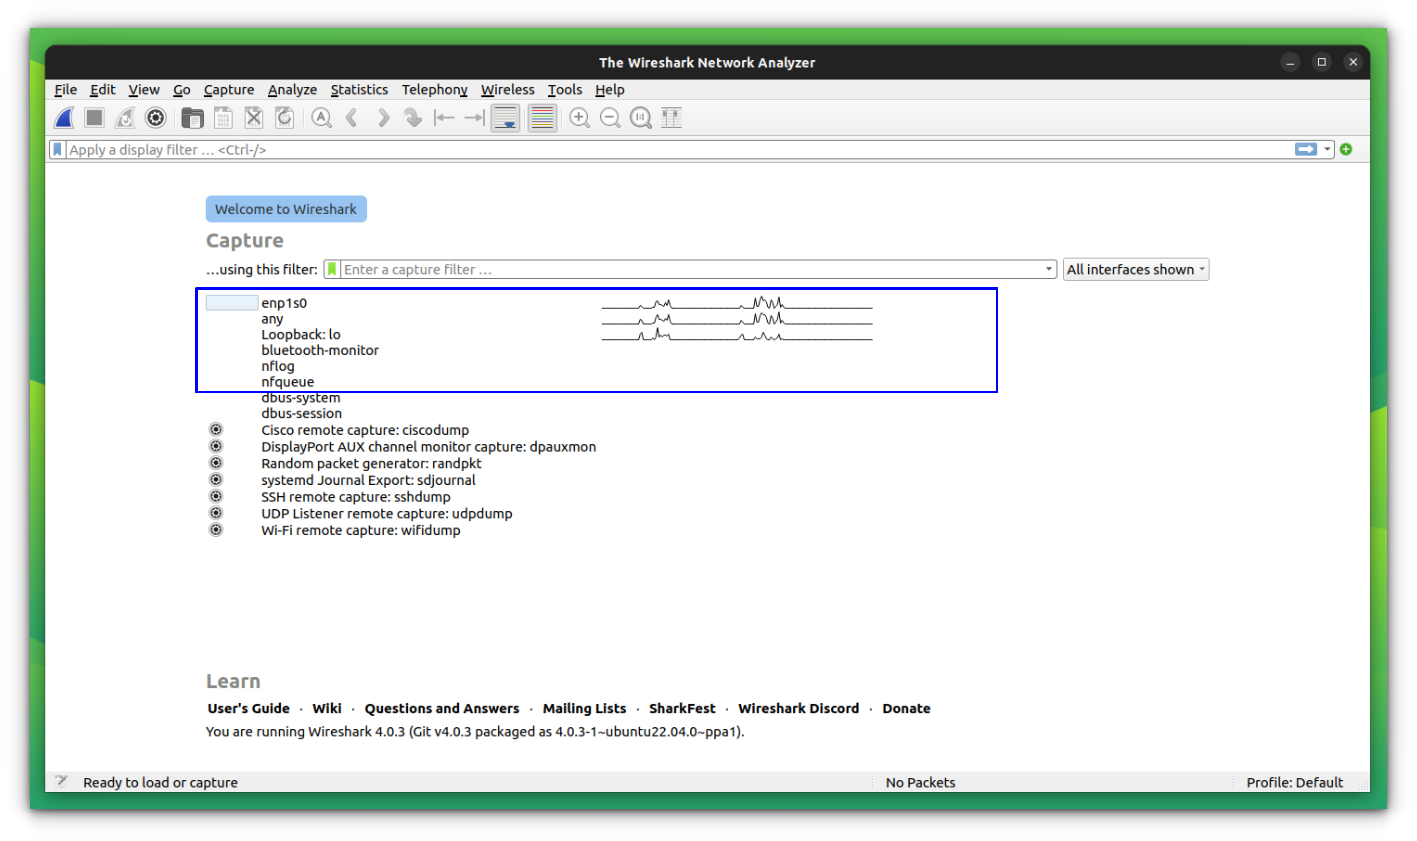
For instance, I listed only the Wired network interfaces.
Next, to start capturing packets, you have to select the interface (which in my case is enp1s0) and click on the Start capturing packets icon as marked in the image below.
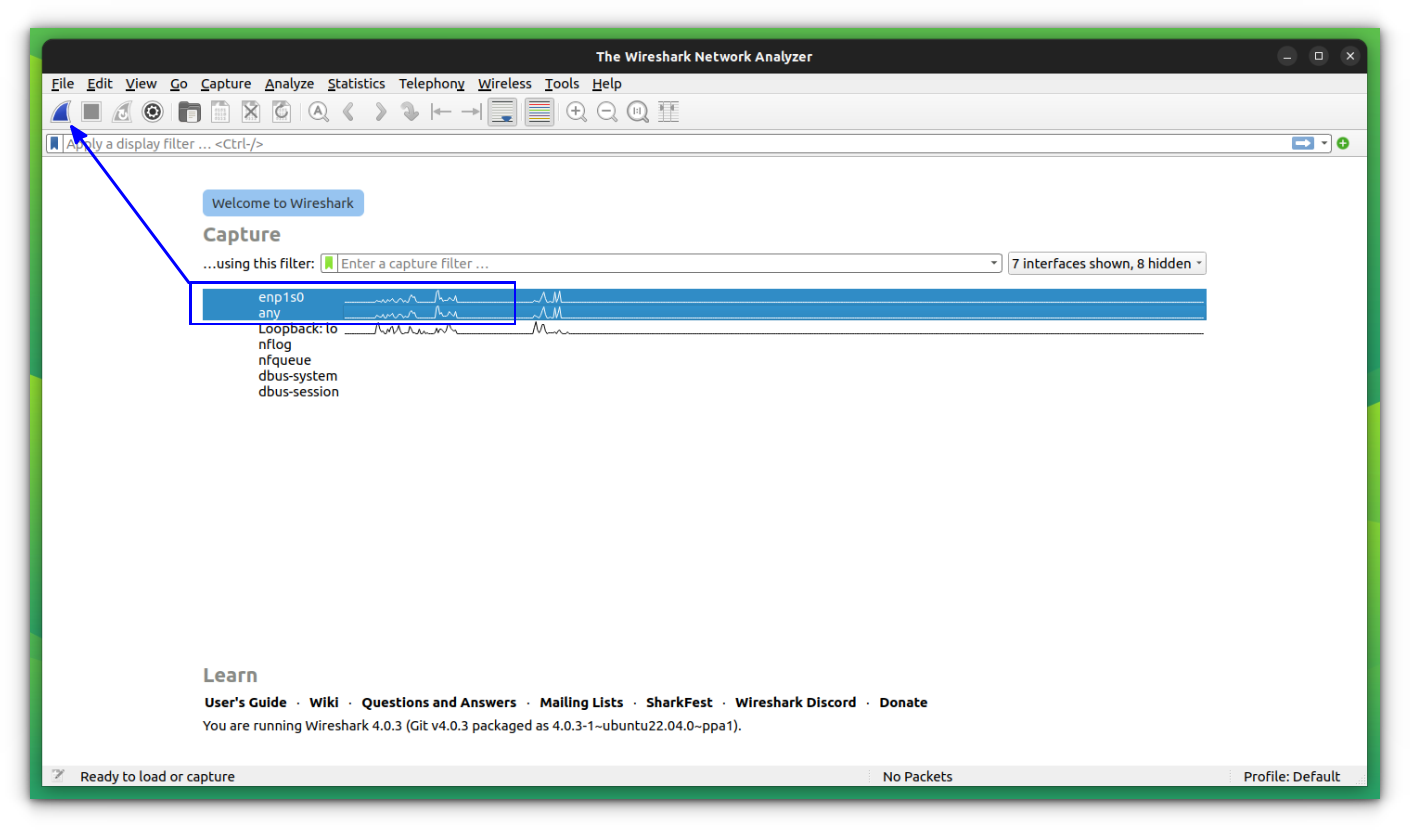
You can also capture packets to and from multiple interfaces at the same time. Just press and hold the CTRL button while clicking on the interfaces that you want to capture to and from, and then hit the Start capturing packets icon as marked in the image below.
Viewing Packets with details
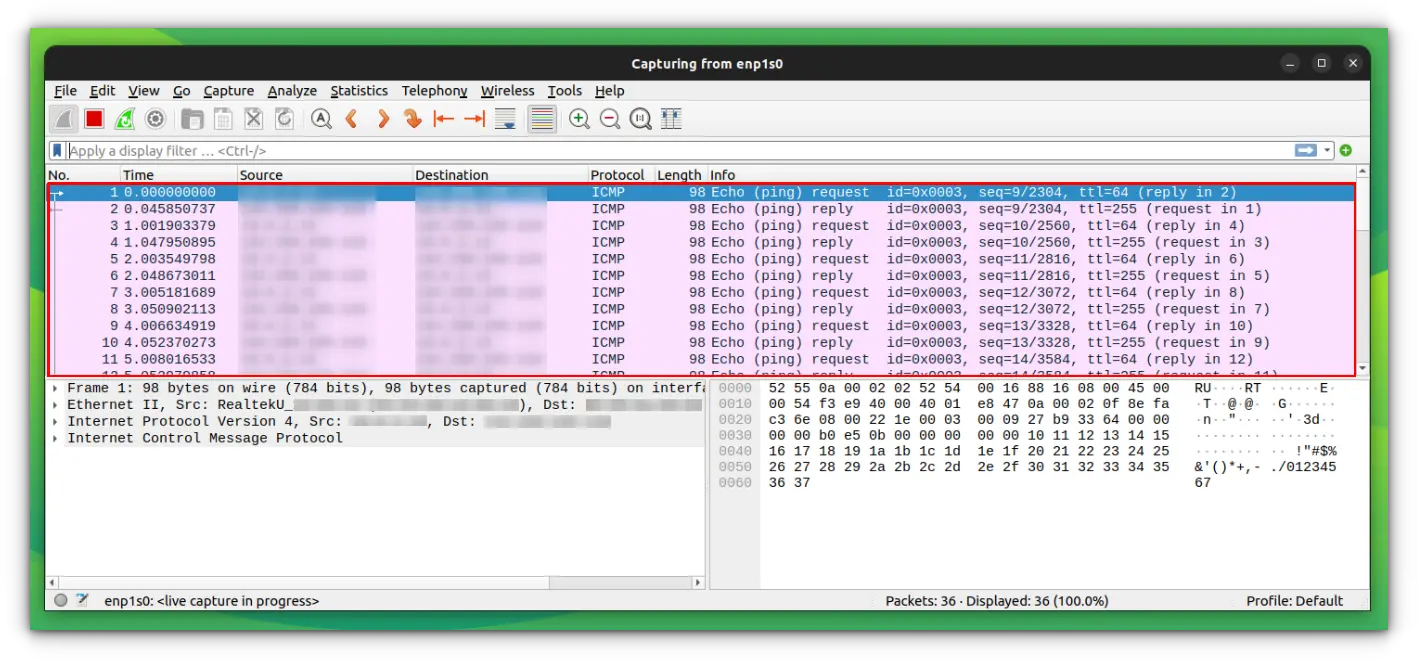
Next, I tried using ping google.com command in the terminal and as you can see, many packets were captured.
Now you can select on any packet to check that particular packet. After clicking on a particular packet, you can see the information about different layers of TCP/IP Protocol associated with it. You can also see the RAW data of that particular packet at the bottom as shown in the image below.
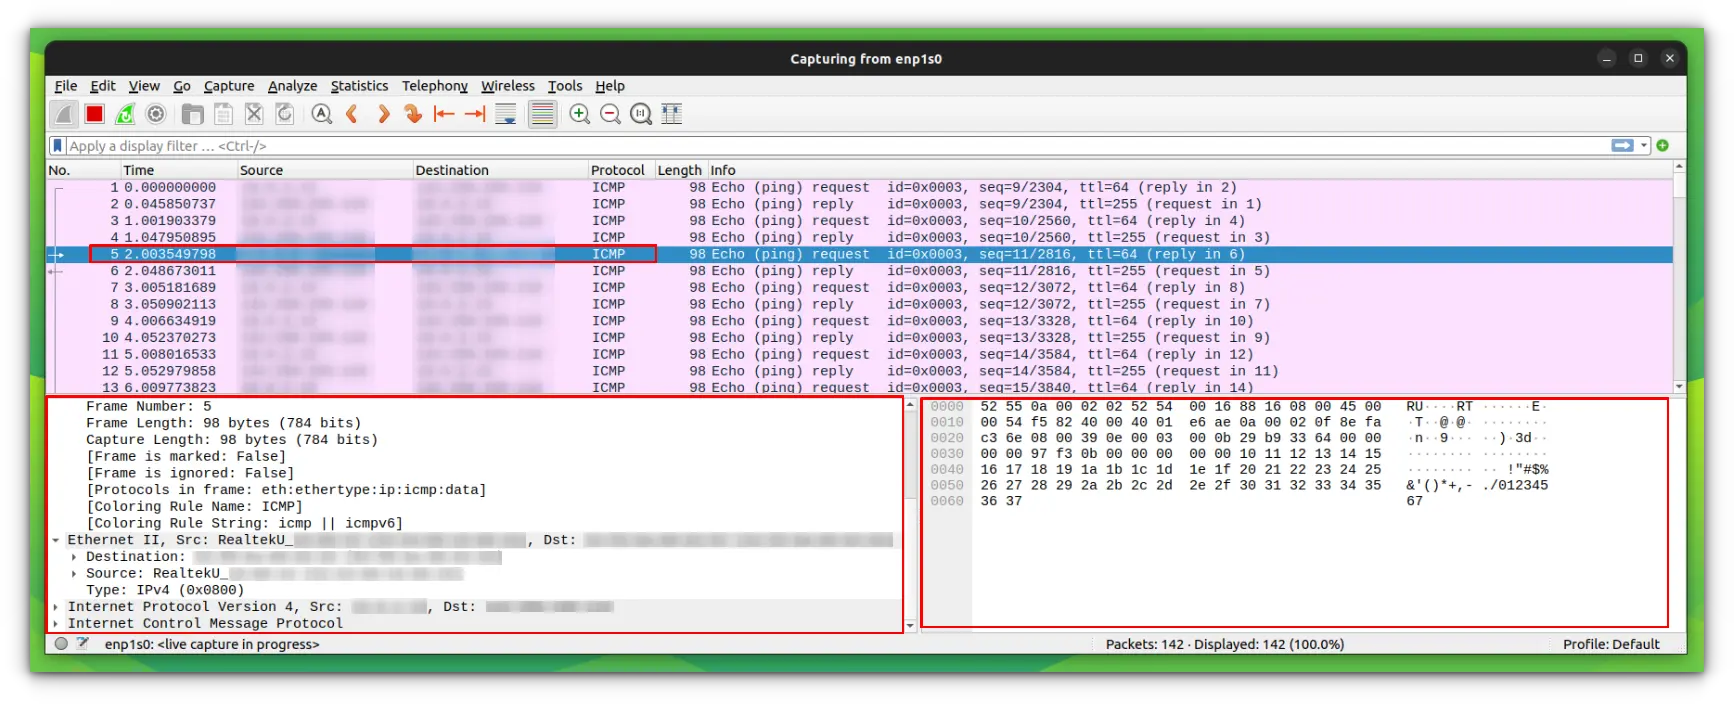
Imagine you are logging into a website that doesn’t use HTTPS. Anyone on the same network as you can sniff the packets and see the username and password in the RAW data. This is why most chat applications use end-to-end encryption and most websites these days use HTTPS (instead of HTTP).
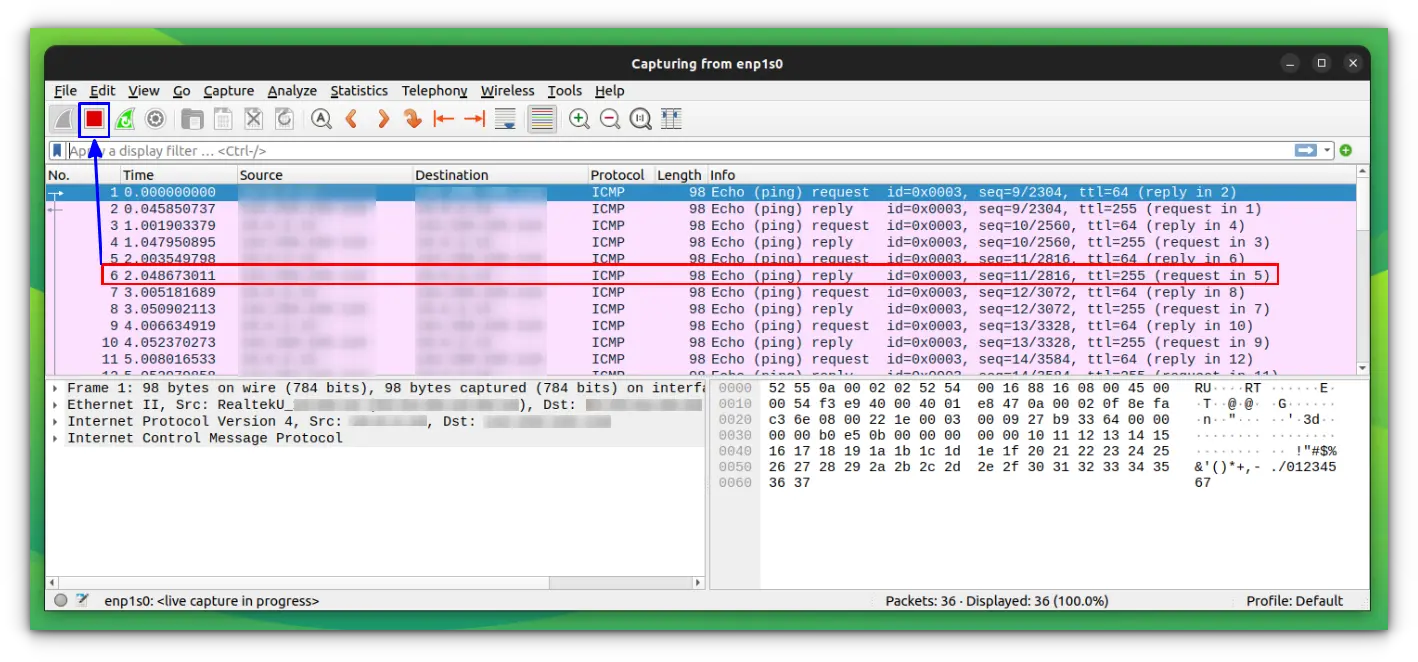
Stopping packet capture in Wireshark
You can click on the red icon as marked in the given image to stop capturing Wireshark packets.
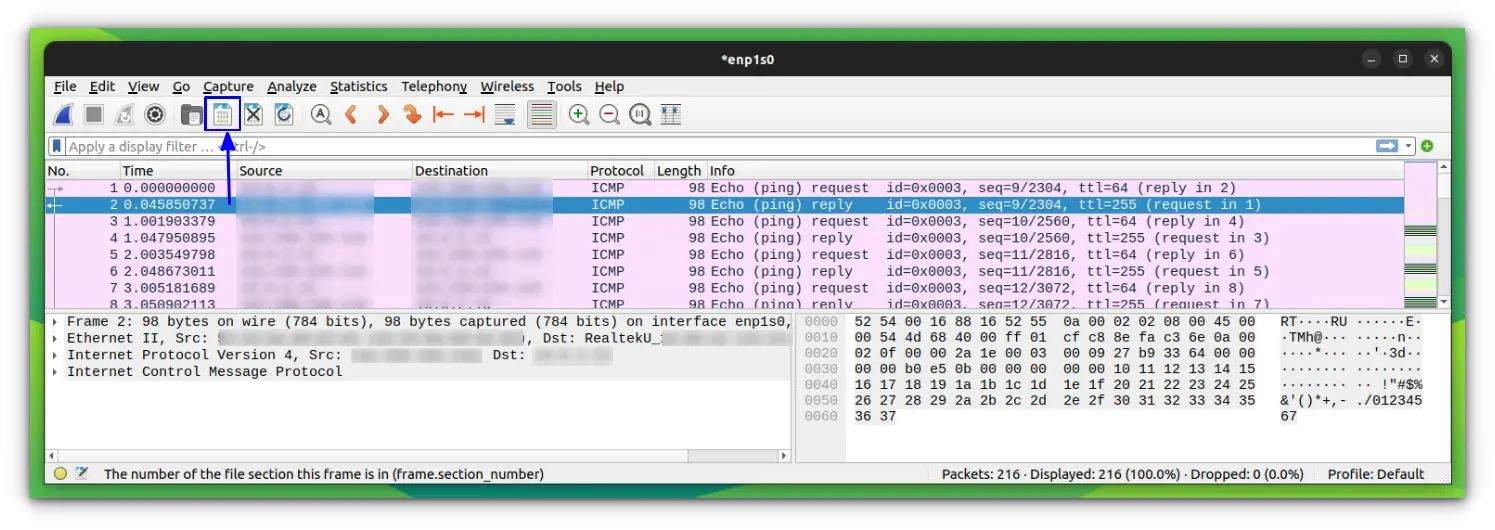
Save captured packets to a file
You can click on the marked icon in the image below to save captured packets to a file for future use.
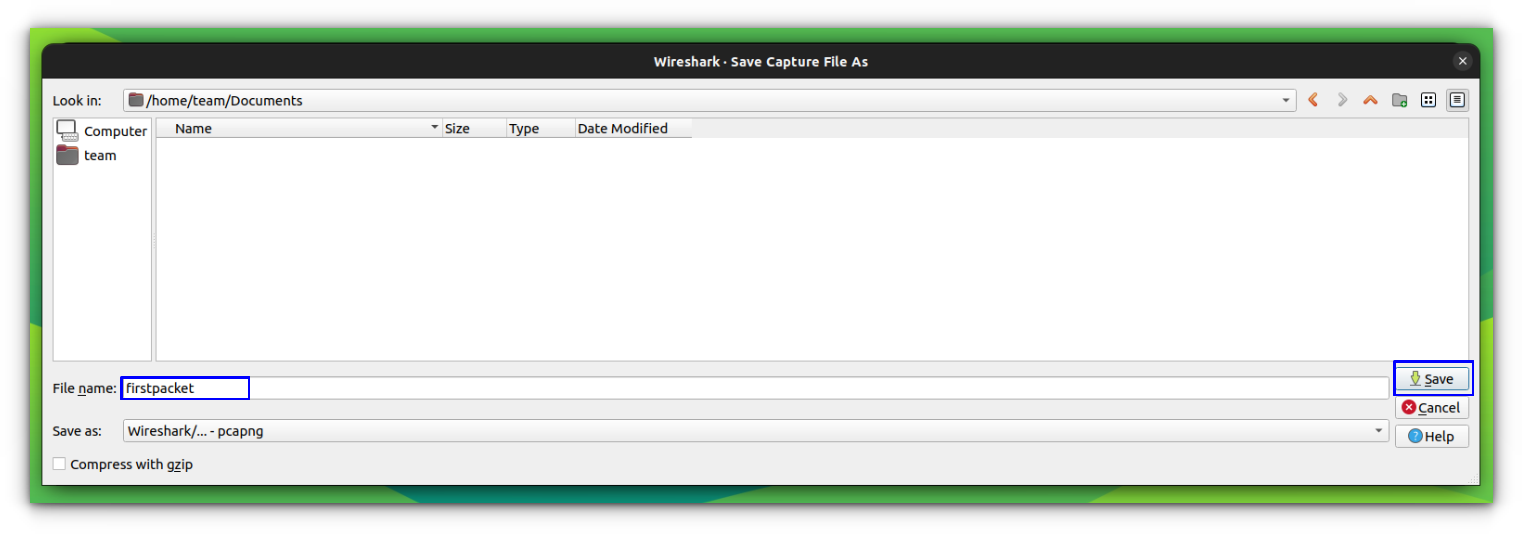
Next, select a destination folder, and type the file name and click on Save.
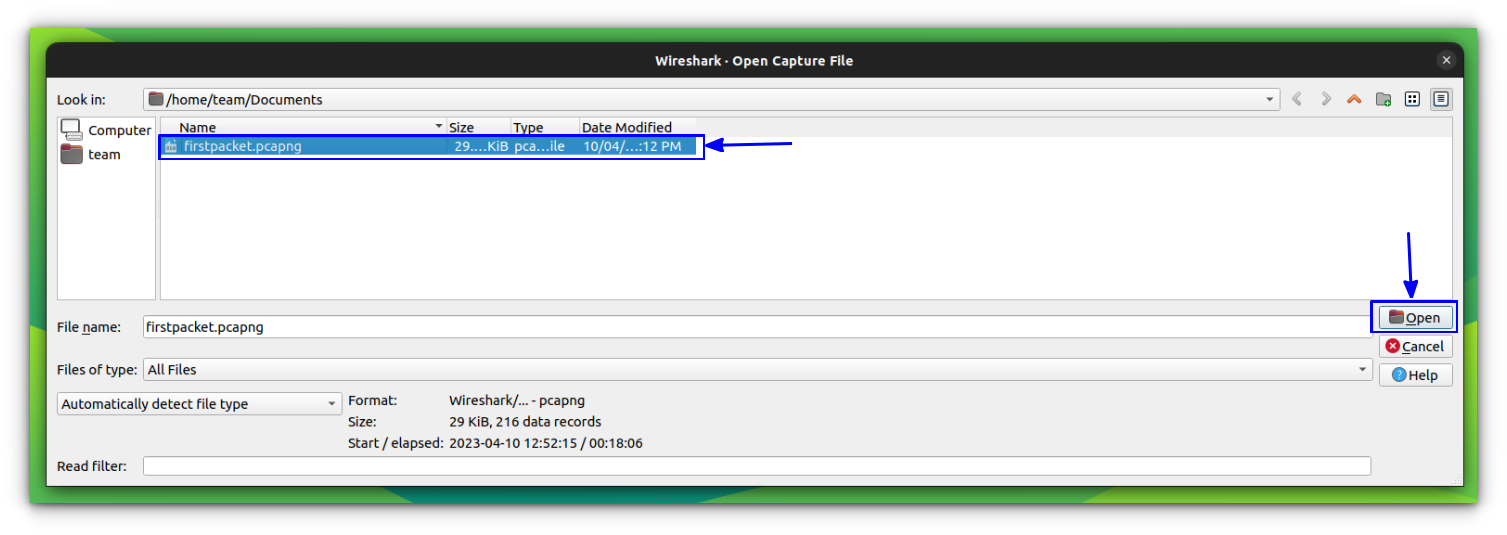
Now you can open and analyze the saved packets anytime. To open the file, press CTRL + o or go to File > Open from Wireshark.
The captured packets should be loaded from the file.
More on networking...
Get insights into your network activity and connected devices.
 Abhishek Prakash
Stay on top of your network bandwidth and speed.
Sergiu
Master Linux networking with these essential commands.
Sagar Sharma
Wireshark supports many communication protocols. There are many options and features that provide you the power to capture and analyze the network packets uniquely. You can learn more about Wireshark from their official documentation.
I hope this tutorial helped you to install Wireshark on Ubuntu. Please let me know your questions and suggestions.

