

The Raspberry Pi is the best-known single-board computer. From weather station to home automation, tinkerers built so many cool projects using Raspberry Pi.
The official Raspberry Pi OS is an excellent choice for the Pi, but that doesn't mean you cannot install other Linux distributions on it.
I am going to discuss how you can install the server edition of Ubuntu on your Raspberry Pi.
Unlike the desktop edition, the main difference here is that you need to have SSH and WiFi (if you are not willing to connect to Ethernet) configured while installing the OS.
This way, you'll be able to connect to the server from your regular machine because there is no GUI here and a server is traditionally controlled remotely via server.
This guide will cover:
- Preparing the micro SD card with Ubuntu Server
- Configuring network settings for Wi-Fi
- Connecting to the Raspberry Pi remotely via SSH
Whether you’re setting up a new Raspberry Pi 5 or an earlier model, this guide will provide you with everything you need to get started.
What You’ll Need
- A Raspberry Pi (2, 3, 4, or 5)
- A micro SD card (at least 8 GB, though 16 GB or more is recommended)
- A computer with a micro SD card reader (Linux, Windows, or macOS)
- Good internet connection for downloading Ubuntu server image and other software
Step 1: Preparing the microSD Card with Ubuntu Server
There are two main ways to install Ubuntu Server on your Raspberry Pi:
- Raspberry Pi Imager for an easy, automated setup. I recommend this one.
- Download the image directly and manually flash it to your microSD card.
Both methods work well, so choose the one that best suits your needs.
Method 1: Using Raspberry Pi Imager (recommended)
The Raspberry Pi Imager tool is excellent for creating a bootable microSD card with Ubuntu Server and other supported operating systems. As you'll see later, you can easily set user-password, WiFi configuration and enable SSH.
Start by downloading and installing Raspberry Pi Imager on your computer. Visit the official webpage and download the appropriate file for your operating system.
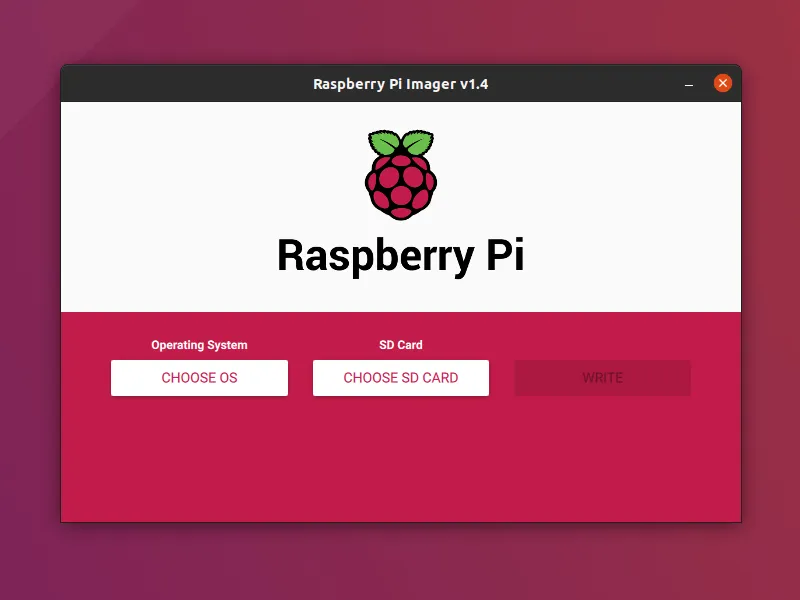
Launch Raspberry Pi Imager: Insert your microSD card into your computer, open the Raspberry Pi Imager, and follow these steps.
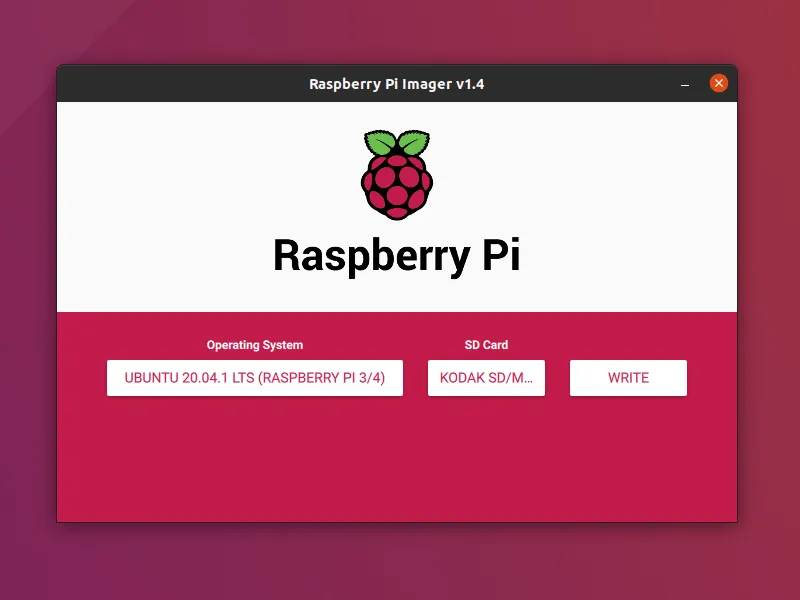
Choose OS: Select “Ubuntu” from the list. If you have a Pi 5, choose Ubuntu 22.04 LTS 64-bit for optimal performance.

Choose Storage: Select your microSD card.
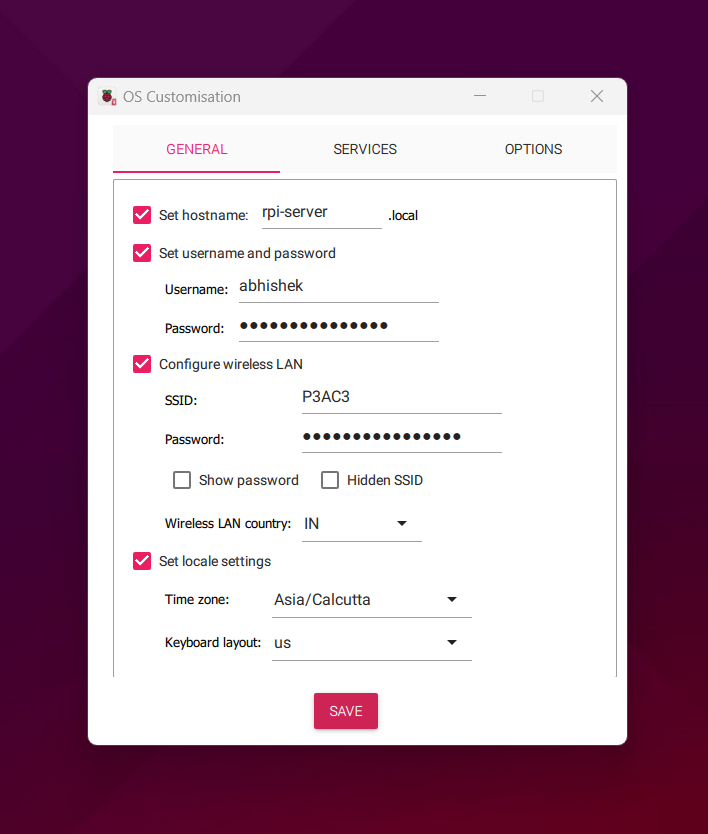
💡 Press CTRL + SHIFT + X to open the advanced options. Here, you can configure your Wi-Fi settings and set a username and password. Be sure to enable SSH for remote access in the "Services" section.
Write: Click “WRITE” to download and write the image to the card.
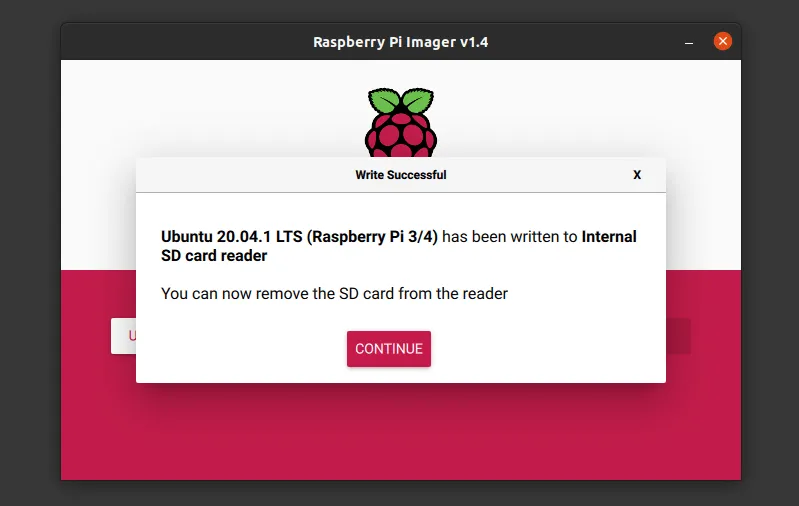
Finish Up: Once the write process completes, the card is ready for setup.
Method 2: Direct Download and manual flashing
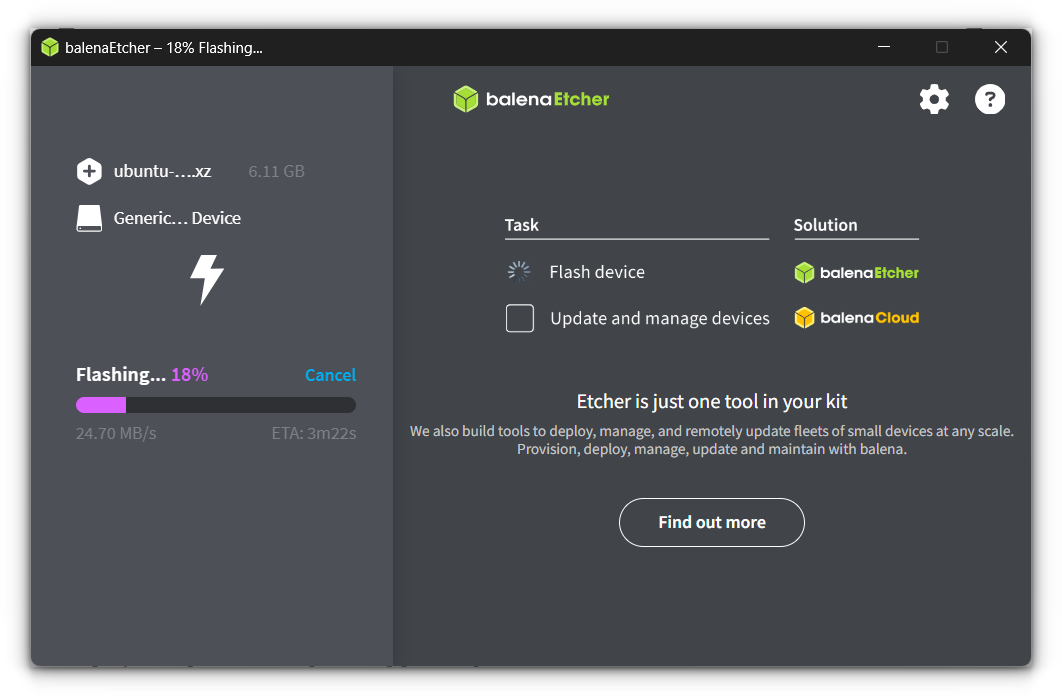
If you prefer, you can also download the Ubuntu Server image directly and flash it manually using an image-flashing tool like balenaEtcher. Here’s how:
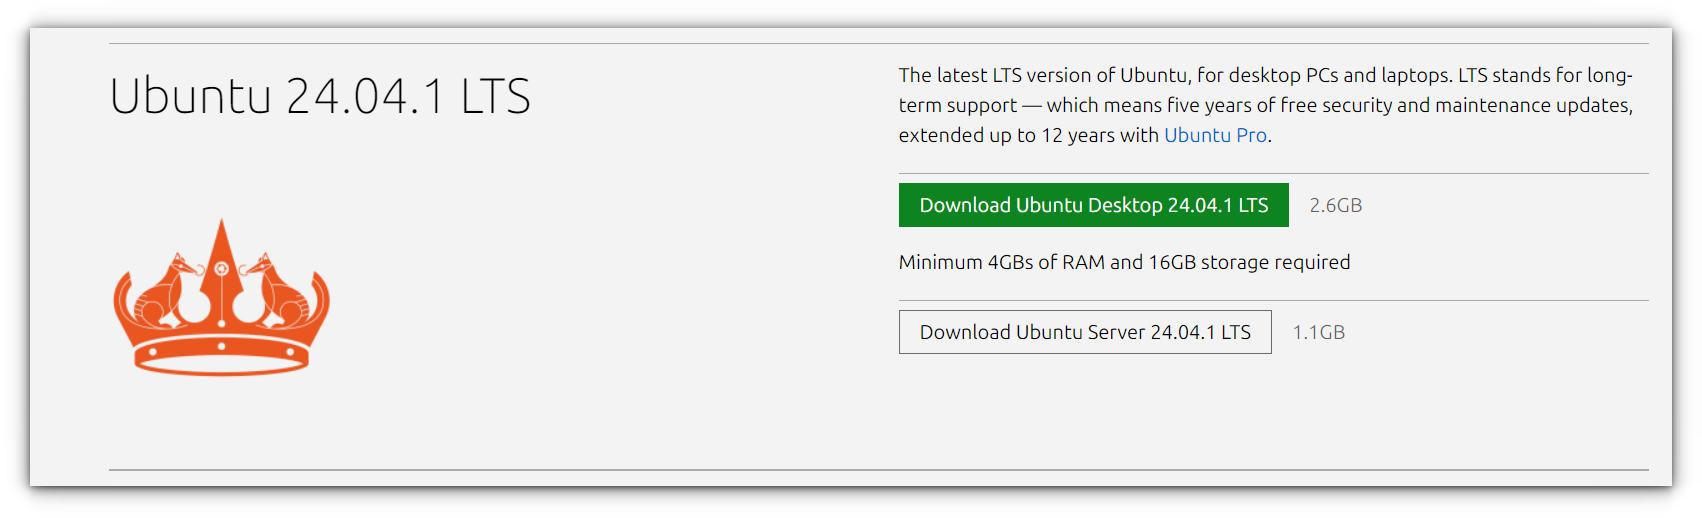
Go to the Ubuntu website and download the correct Ubuntu Server image for your Raspberry Pi model (e.g., Ubuntu Server 22.04 LTS for ARM).
Insert your microSD card and use a flashing tool to write the downloaded image to the card.
I recommend using Etcher on Linux. It is also available on Windows, macOS.
Open Etcher and select the Ubuntu Server image.
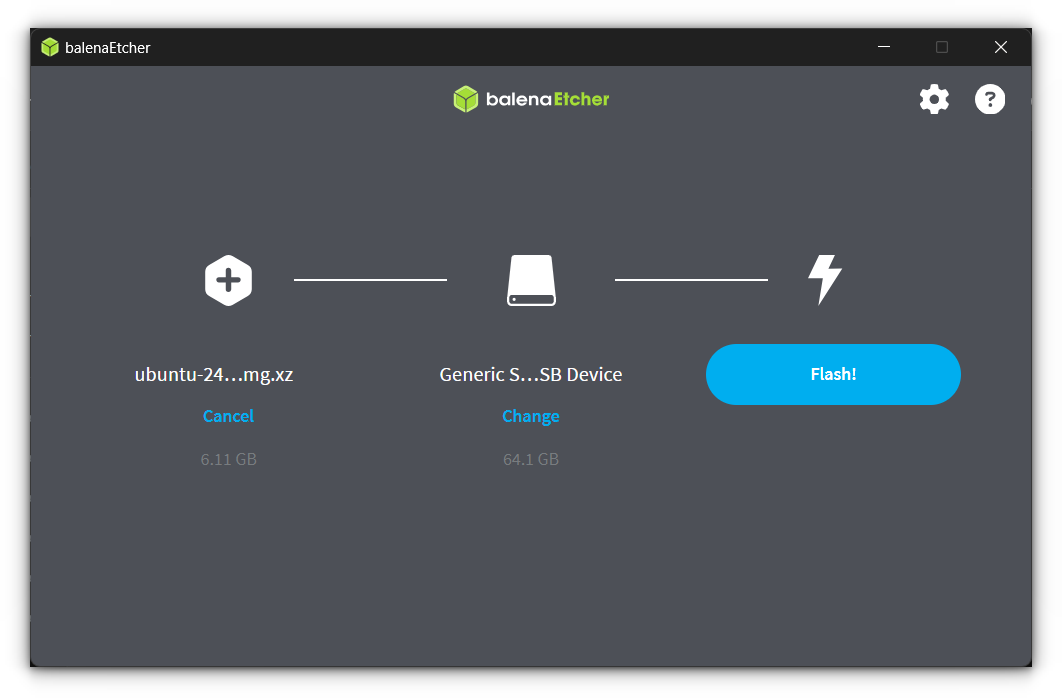
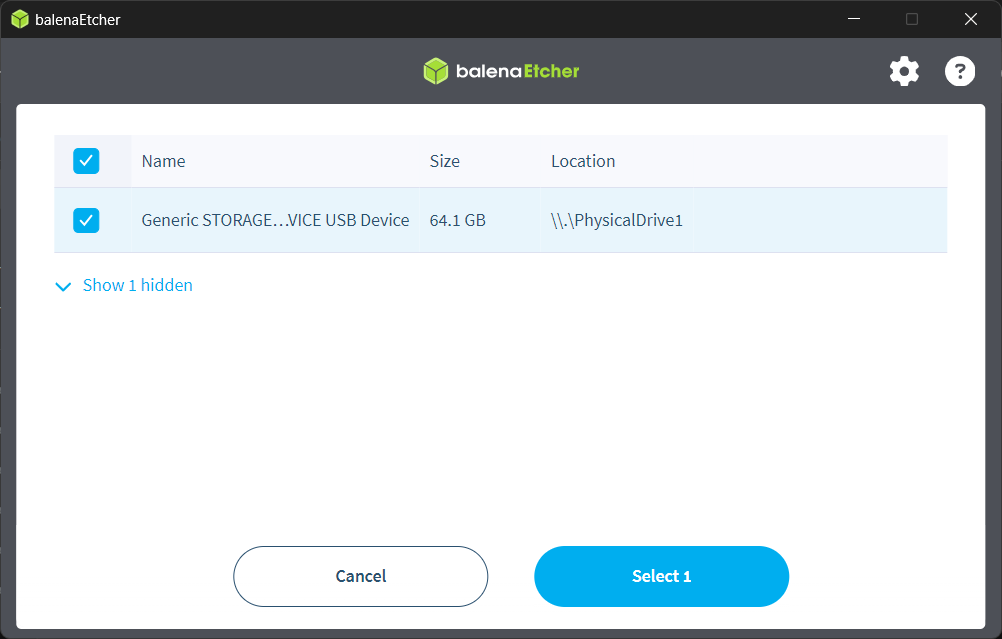
Choose your microSD card as the target device.
Click “Flash!” and let it complete.
Configuring Wi-Fi (Network Setup)
Unlike Raspberry Pi Imager tool which has made configuring user and wifi, when using etcher, you need to configure Wi-Fi manually so you can SSH into your Pi once it’s powered on.
This is especially useful if you’re setting up in an environment without access to Ethernet.
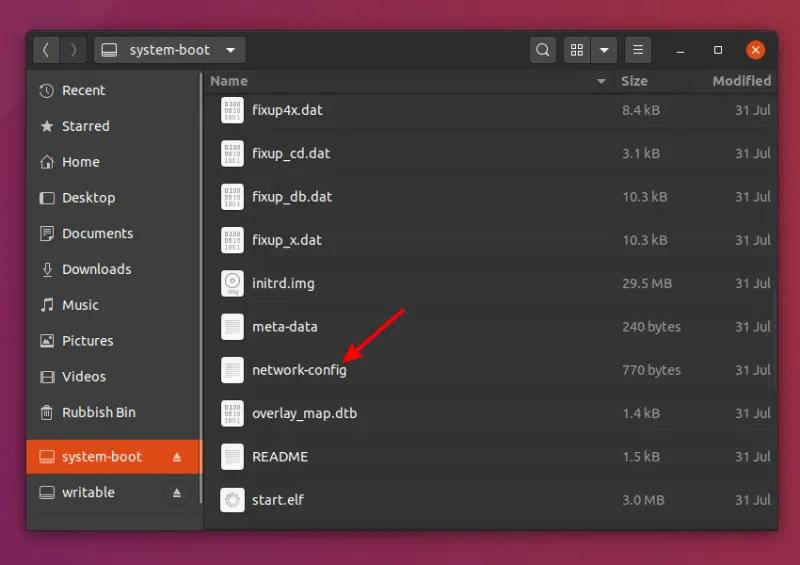
- With the microSD card still in your computer, open the file manager and navigate to the “system-boot” partition on the card.
- Locate the file called network-config and open it in a text editor.
Update the network-config file with your Wi-Fi credentials by making the following edits:
- Remove the
#symbol (uncomment) the relevant lines forwlan0. - Replace "your_wifi_name" with your actual Wi-Fi network name in quotation marks.
- Replace "your_wifi_password" with your Wi-Fi password, also in quotation marks.
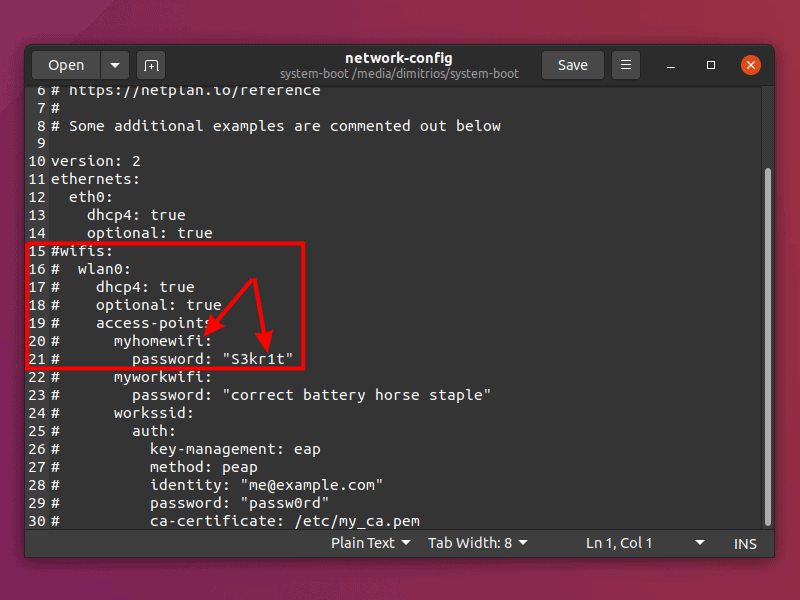
Your file should look like this:
wifis:
  wlan0:
    dhcp4: true
    optional: true
    access-points:
      "your_wifi_name":
        password: "your_wifi_password"
- Save the file and eject the microSD card.
Now, your Raspberry Pi is set to connect to your Wi-Fi network on boot.
Boot up and initial setup
I split the setup process into two methods to make it easier for everyone, whether you have a monitor, keyboard, and mouse handy or prefer to go the headless route with SSH.
This way, you can choose the option that works best for you and get your Raspberry Pi up and running in no time!
Method 1: If you have keyboard & monitor
- Insert the microSD card into your Raspberry Pi 5 and connect the power cable.
- Connect your monitor, keyboard, and mouse, then power on your Raspberry Pi. You'll be greeted by the Ubuntu splash screen, followed by the login screen!
- Use the default credentials: Username:
ubuntuand Password:ubuntu. - You will be prompted to change the password on the first login.
Enjoy your Ubuntu Server!
Method 2: Remote Access via SSH (Headless Setup)
It is okay if you don’t have a dedicated monitor to be used with Raspberry Pi. Who needs a monitor with a server when you can just SSH into it and use it the way you want?
On Ubuntu and MacOS, an SSH client is usually already installed. To connect remotely to your Raspberry Pi, you need to know its IP address. Check the devices connected to your network and see which one is the Raspberry Pi.
I suggest using Angry IP Scanner to see the devices on your subnet.
Since I don’t have access to a Windows machine, you can access a comprehensive guide provided by Microsoft.
Open a terminal and run the following command:
ssh ubuntu@raspberry_pi_ip_address
You will be asked to confirm the connection with the message:
Are you sure you want to continue connecting (yes/no/[fingerprint])?Type “yes” and click the enter key.

When prompted, use “ubuntu” for the password as mentioned earlier. You’ll be asked to change the password of course.
Once done, you will be automatically logged out and you have to reconnect, using your new password.
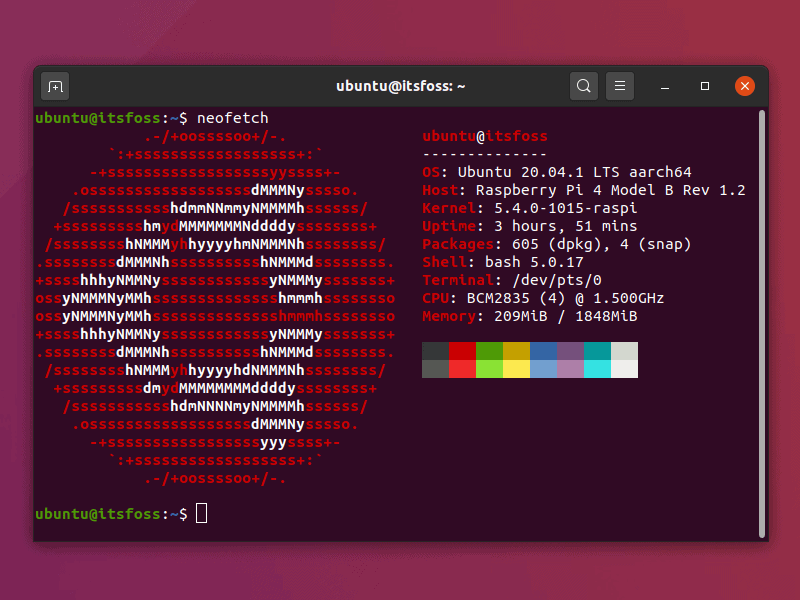
Your Ubuntu server is up and running on a Raspberry Pi!
Tips and troubleshooting
- Using a Pi 5: If you’re using a Raspberry Pi 5 or 4, the 64-bit Ubuntu Server OS will take advantage of its updated hardware, enhancing performance and memory management.
- Errors during imaging: If you encounter issues during the imaging process, try reformatting the SD card and running the imager again.
- Lost connection: If Wi-Fi doesn’t connect on first boot, reboot the Raspberry Pi or double-check the
network-configsettings.
You'll also face an annoying issue where the Ubuntu server running on Pi gets a new IP address on each boot. This creates a problem as you have to keep on doing extra effort to get its IP address.
There are a couple of ways to deal with it:
- You can assign a static IP address either via Ubuntu or via the router.
- You attach an OLED screen to your Pi and display the IP address.
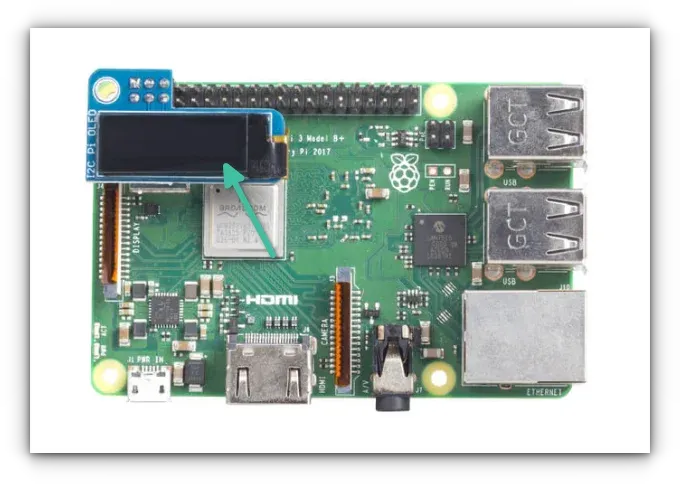
You can get it from the link below.

There are also specialized Raspberry Pi cases that come with such a screen and many other features.
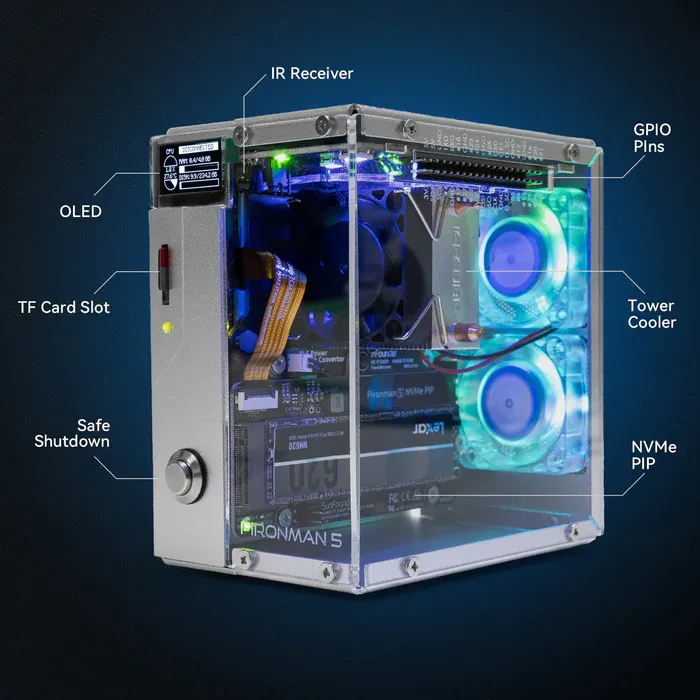
Pironman 5 Case With Tower Cooler and Fan
This dope Raspberry Pi 5 case has a tower cooler and dual RGB fans to keep the device cool. It also extends your Pi 5 with M.2 SSD slot and 2 standard HDMI ports.
Conclusion
Installing Ubuntu Server on a Raspberry Pi is an easy process and it comes pre-configured at a great degree which the user a pleasant experience.
I have to say that among all the unofficial operating systems that I tried on my Raspberry Pi, Ubuntu Server was the easiest to install. I am not exaggerating. Check my guide on installing Arch Linux on Raspberry Pi for reference.
I hope this guide helped you in installing Ubuntu server on your Raspberry Pi as well. If you have questions or suggestions, please let me know in the comment section.
If this helped you, consider supporting It's FOSS
It's FOSS has been helping people use Linux for the past 14 years. Help us stay independent from big tech. Become a Plus member, enjoy ad-free reading and get 5 eBooks.
