

Raspberry Pi has undoubtedly been the way to go for inexpensive single-board computing. You can create Raspberry Pi projects for powering everything from robots to smart home devices.
When the Raspberry Pi 4 launched in 2019, the performance amazed Raspberry Pi enthusiasts. A more powerful CPU, USB 3.0 support, native Gigabit Ethernet, plus the ability to output 4K video at 60 Hz on dual monitors are the major improvements. The intent was to pitch Raspberry Pi as an entry-level desktop computer.
More recently, the Raspberry Pi 4 offers an 8 GB RAM model, which is better as a desktop and for hosting databases and servers.
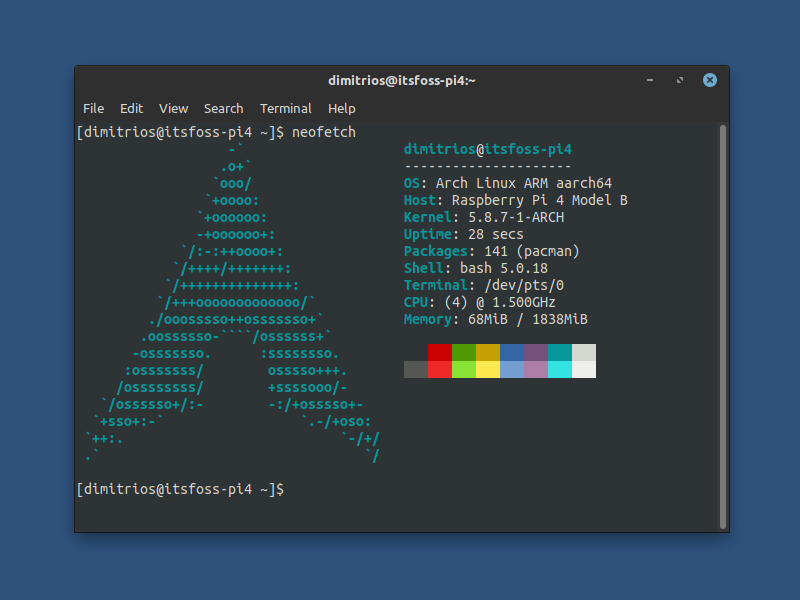
There are many operating systems that can be installed on a Raspberry Pi. Apart from the official Raspberry Pi OS (previously known as Raspbian), we have covered installation of Ubuntu MATE on Raspberry Pi. And in this tutorial I will cover a step by step Arch Linux installation.
Installing Arch Linux on a Raspberry Pi 4
I am going to use it for getting Arch on Raspberry Pi.
You’ll need the following things for this tutorial:
- A microSD card of 8 GB at least.
- A Linux system with a card reader slot for preparing the microSD card for Arch installation.
- Active internet connection.
- A Raspberry Pi device with essential accessories, of course.
Since the installation procedure is purely terminal-based, you should have intermediate knowledge of the Linux command line and be comfortable using the terminal.
Step 1: Insert the microSD card into your card reader
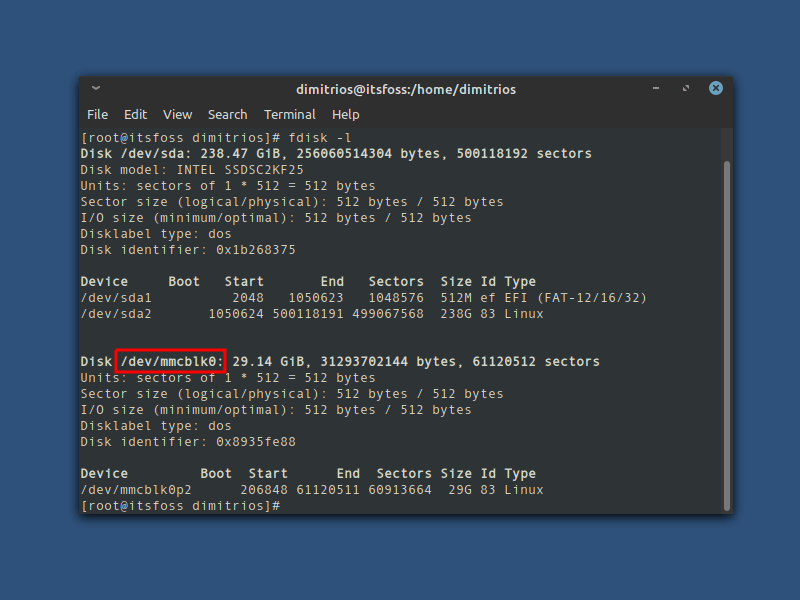
When you insert your microSD card in your card reader, open the terminal, get root /sudo access and list the block devices to identify the card. The installation process needs to be done using root privileges.
fdisk -lMy block device is the mmcblk0, your device may be different.
Step 2: Format and create the partitions
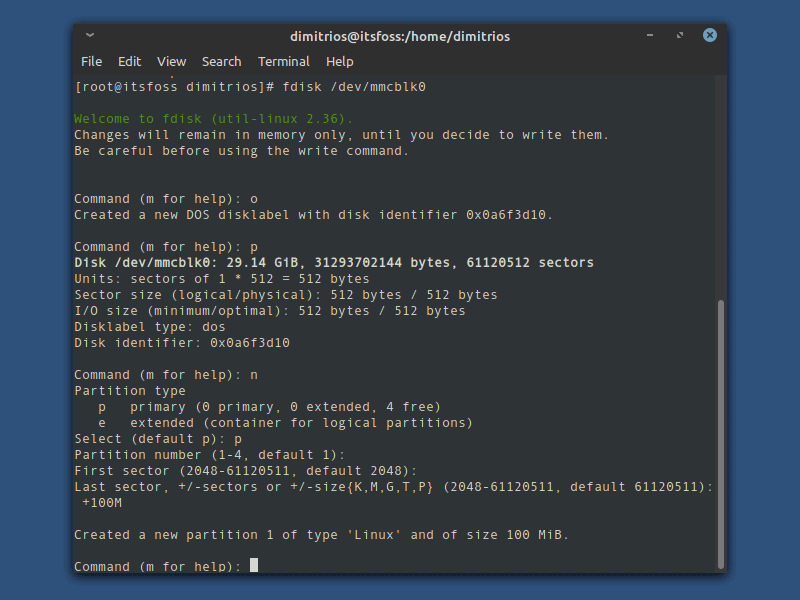
Partition the SD card using fdisk command. Keep in mind to replace the device name with your sd card’s name.
fdisk /dev/mmcblk0At the fdisk prompt, the existing partitions must be deleted and a new one should be created.
- Type o. This will purge any partitions on the drive.
- Type p to list partitions. To check if any partition is still present.
- To create the boot partition: Type n and then p for primary, 1 for the first partition on the drive, press ENTER to accept the default first sector, then type +400M for the last sector.
- Type t, then c to set the first partition to type W95 FAT32 (LBA).
- To create the root partition: Type n and then p for primary, 2 for the second partition on the drive, and then press ENTER twice to accept the default first and last sector.
- Write the partition table and exit by typing w.
Create and mount the FAT & ext4 filesystems
At this point, I will create the filesystem for the boot and root partition using mkfs command and then mount it. If in doubt about the partition names, list the partitions again as you did in the first step.
mkfs.vfat /dev/mmcblk0p1
mkdir boot
mount /dev/sdX1 boot
mkfs.ext4 /dev/mmcblk0p2
mkdir root
mount /dev/sdX2 root
Download and extract Arch Linux for Raspberry Pi 4
Make sure you have root access (otherwise the process may fail), and run the following commands (with sudo, if you are not root).
wget http://os.archlinuxarm.org/os/ArchLinuxARM-rpi-aarch64-latest.tar.gz
bsdtar -xpf ArchLinuxARM-rpi-aarch64-latest.tar.gz -C root
sync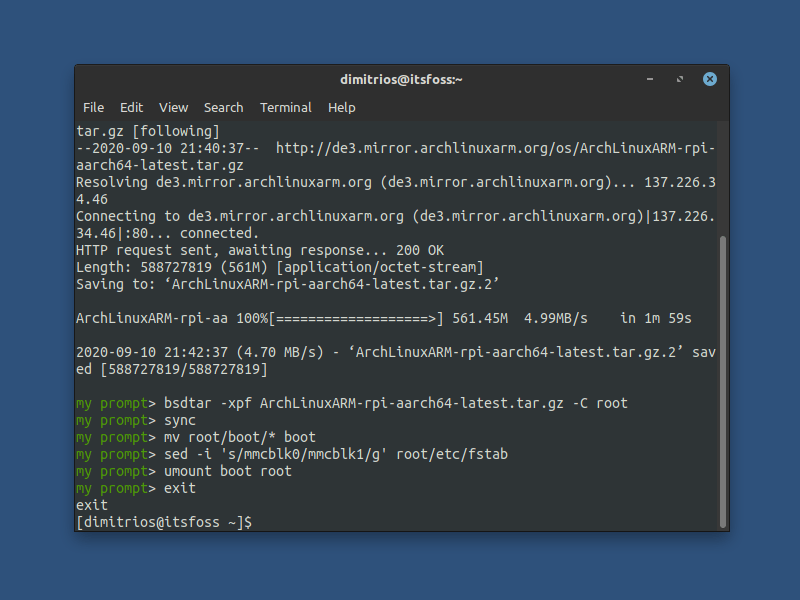
Now move the boot files to the boot partition you had created:
mv root/boot/* boot
sed -i 's/mmcblk0/mmcblk1/g' root/etc/fstab
umount boot root
You might see “Failed to preserve ownership” errors. That’s normal because no one owns the boot partition.
Only for Arch Linux ARM 32-bit
wget http://os.archlinuxarm.org/os/ArchLinuxARM-rpi-4-latest.tar.gz
bsdtar -xpf ArchLinuxARM-rpi-4-latest.tar.gz -C root
sync
mv root/boot/* boot
umount boot root
Step 3: Insert the microSD card into the Raspberry Pi and, connect the power supply and to the Internet.
Arch Linux is installed on the SD card at this step, and the rest of the configurations will be done from the Raspberry pi.
You can either follow the rest of the tutorial, either directly on the Raspberry Pi by connecting a monitor and a keyboard set, or you can connect remotely to the Raspberry Pi via SSH (if you don’t have a spare monitor, you need to connect via Ethernet to your local network).
I will connect to my Raspberry Pi via SSH for this tutorial. To get the IP address of the Raspberry Pi, check the devices connected to your network and see which one is the Raspberry Pi.
Connect via WiFi
If an Ethernet connection is not an option, you can access your WiFi network after you login as root using the following command. Please note that you need a keyboard set and a monitor to initially connect on your WiFi.
Note: I am aware that wifi-menu is being discontinued in the original Arch Linux. For the moment, it works in Arch Linux ARM.
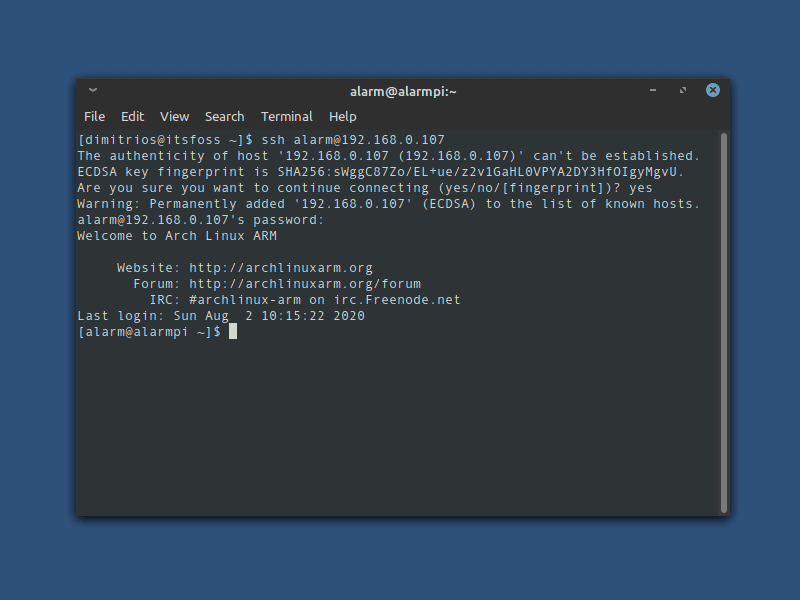
wifi-menuOnce you find the IP address of your Raspberry pi, type the following command at your computer’s terminal using your IP address:
ssh alarm@raspberry_pi_ip_addressPlease note the default user name is alarm and the default user password is alarm. The default root password is root.
To complete the installation process, you need to initialize the pacman keyring and populate the Arch Linux ARM package signing keys:
pacman-key --init
pacman-key --populate archlinuxarm
At this point the installation process has been completed and you can upgrade the system packages as root using the same pacman commands as you do with an x86 architecture machine.
pacman -SyuIf you want to reboot your Raspberry pi after a system upgrade, type reboot in the terminal and connect again via SSH.
Bonus tips after installing Arch Linux on Raspberry Pi
To make the use of Arch Linux on a Raspberry Pi 4 more convenient I will show you a few tweaks/additions that you can do.
- Connect directly as root via SSH
- Change the default username and password
- Add a user to the sudoers
- Change the default root password
- Change your hostname
- Install an AUR Helper
Connect directly as root via SSH
In order to change the default username you have to log off and login as root only.
By default, it is not permitted to directly log in as root via SSH, but you can change that.
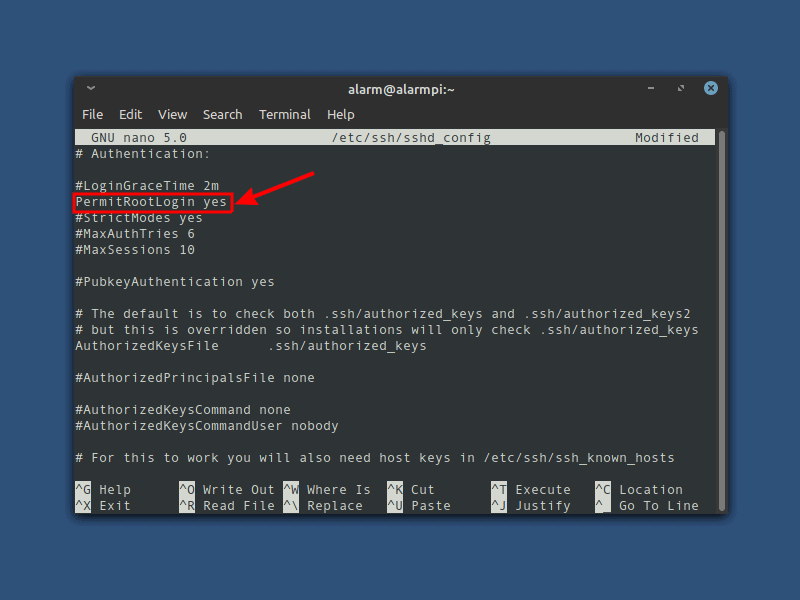
As a root user, edit the sshd_config file found in /etc/ssh/sshd_config:
nano /etc/ssh/sshd_configUncomment the PermitRootLogin and next to it type yes, or add the following line to the file. You can add it anywhere but it’s good practice to find the authentication block and add it there.
Save and exit the file, and restart the SSH server.
systemctl restart sshdNow type exit twice, to exit root and exit the SSH remote connection.
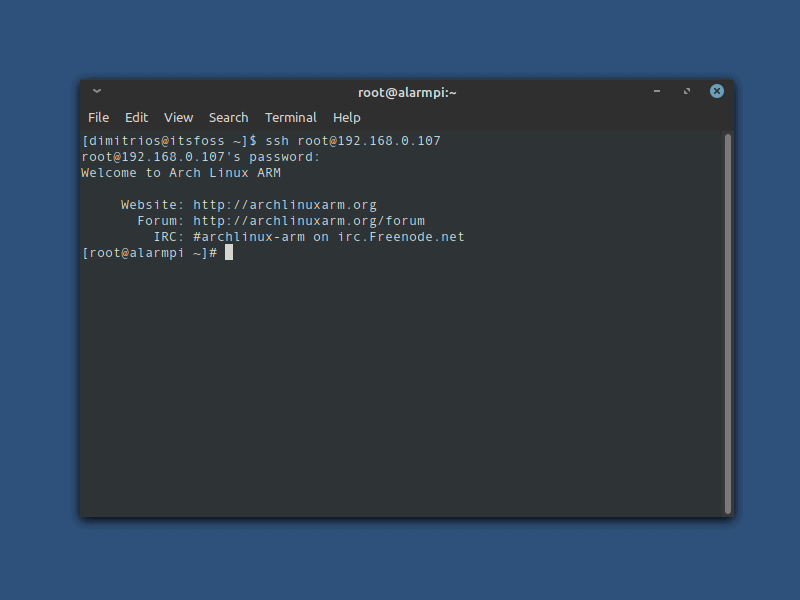
To connect to your raspberry pi as root, use the root name instead the default username and your IP address.
ssh root@raspberry_pi_ip_addressRemember that the default root password is root.
Change the default username and password and the default root password
To change the default username and password type the following commands at your terminal
usermod -l new_username old_username
passwd username
usermod -d /home/new_username -m new_username
To change the default root password type the following command at your terminal
passwd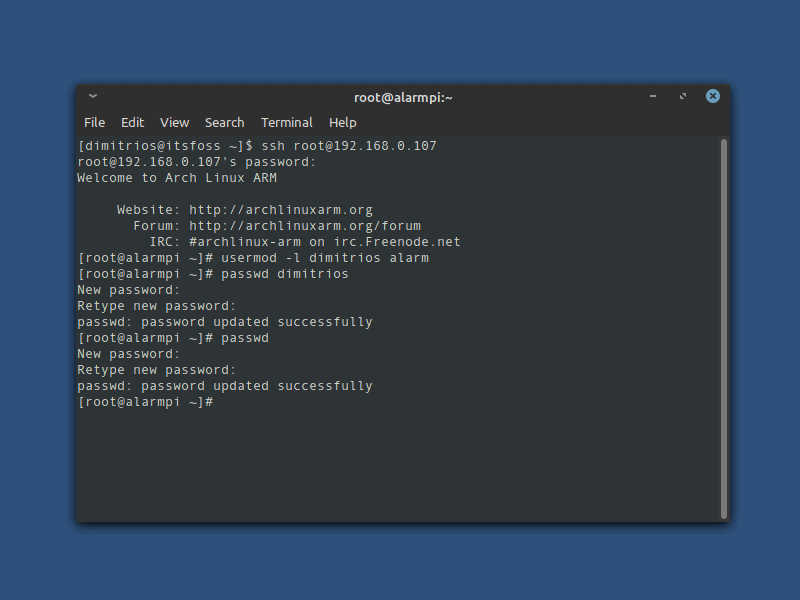
Give sudo privileges for your user
To be able to give sudo privileges to a user, you need to install the sudo package as a prerequisite.
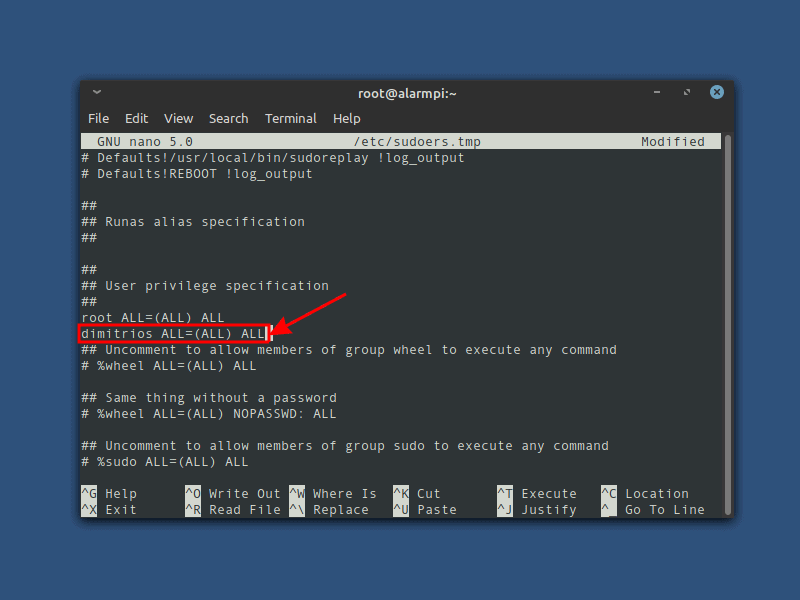
pacman -S sudoThe configuration file for sudo is /etc/sudoers. It should always be edited with the visudo command.
EDITOR=nano visudoOnce you open the configuration file, add your username in a similar way as I do, preferably under the root user. Then save the file and exit.
Change the default hostname
To change system hostname on Systemd based distributions, you need to use hostnamectl command as shown:
hostnamectl set-hostname New_HostnameNow type exit, to terminate the SSH session and login again with your new username, and your new user password.
ssh username@raspberry_pi_ip_addressInstall an AUR Helper
Many users prefer Arch Linux or an Arch Linux based distribution for the large Arch User Repository. You can use the AUR packages on an ARM instruction set machine but, not all of them are compatible with this architecture.
To begin with, make sure that you have the git package and base-devel group installed.
sudo pacman -S git base-develYou can now install whichever package from the AUR you like or via an AUR Helper in a similar manner which is a package in AUR too. My personal choice is yay, but you can install whichever you prefer.
git clone https://aur.archlinux.org/yay.git
cd yay
makepkg -si
Conclusion
As an Arch Linux user and RISC fan, the combination of Arch on a Raspberry Pi is a possible scenario for my future desktop computer. An alternative solution, but with a preinstalled desktop environment could be the Manjaro ARM distribution.
For the time, I use my Raspberry Pi for non-desktop tasks and I’m well settled on Ubuntu Server which I find a really good choice for the Raspberry Pi. The almost negligible power consumption of the Raspberry Pi makes it an ideal server machine.
Wondering what to do with your Pi? Here are some ideas 👇
 Ankush Das
Are you interested in Raspberry Pi projects? Make sure you subscribe to our newsletter and leave your thoughts in the comments section.
If this helped you, consider supporting It's FOSS
It's FOSS has been helping people use Linux for the past 14 years. Help us stay independent from big tech. Become a Plus member, enjoy ad-free reading and get 5 eBooks.
