
Atom is undoubtedly one of the best open source code editors available for any platform. Developed by GitHub, Atom takes pride in pitching itself as the hackable text editor for the 21st century.
How is it a ‘hackable’ text editor? Because you can extend the functionality of the editor by means of installing plugins for your need.
These extensions are called packages in Atom and Atom provides a handy command line utility apm in Linux to manage packages. With that, installing packages in Atom is as easy as typing this simple command in the terminal:
apm install package_nameIf you are not too comfortable with the terminal, don’t worry. You can also install Atom plugins graphically from within the terminal.
In this tutorial, I’ll show you both graphical and terminal ways of installing plugins/extensions/packages (whatever you want to call them) in Atom.
Before you do that, make sure to install Atom editor on Ubuntu Linux or whichever operating system you are using. You cannot install Atom packages if you don’t have Atom installed in the first place, can you?
GUI method: Install new packages in Atom using the editor
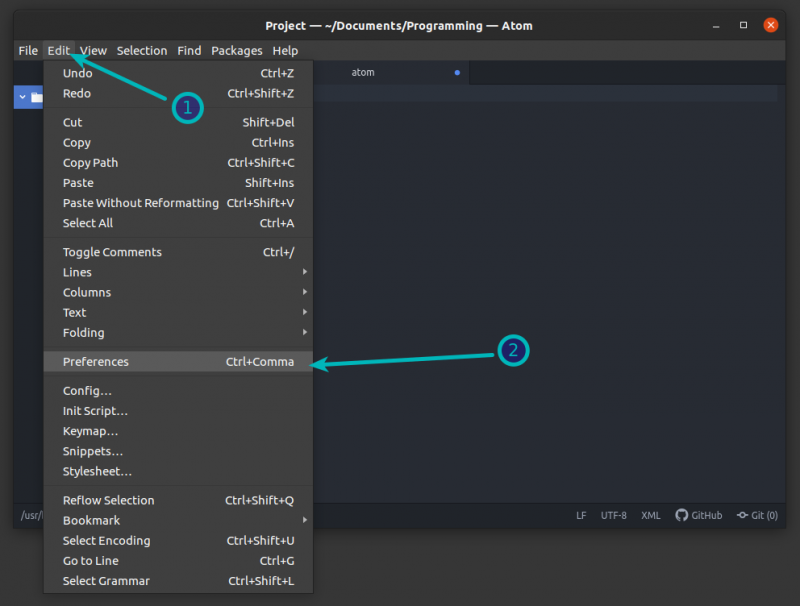
Open Atom editor and from the top menu, go to Edit->Preferences.
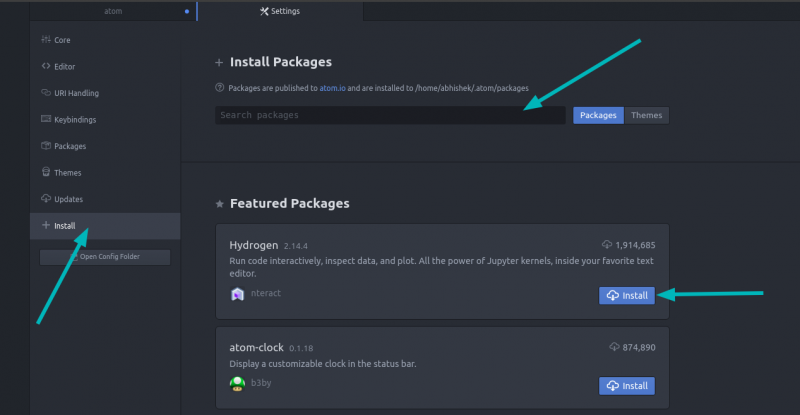
You’ll see a Settings tab now. In here, go to the Install option from the left sidebar. You’ll now see some featured packages. You can also search for packages based on the name.
Installing these packages is as simple as clicking the install button.
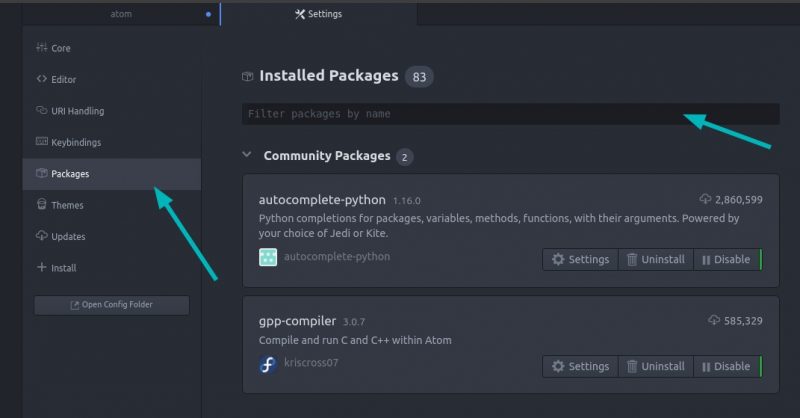
To see the installed packages, from the left sidebar, choose Packages option. This will show you all installed packages in your Atom editor.
Don’t touch the Core packages. The additional plugins are listed under Community Packages. You can delete or change package configurations from here.
It was easy, wasn’t it? Now let’s go the command line way.
Terminal method: Installing packages in Atom using apm command
As I mentioned earlier, Atom provides a command line tool called apm (short for Atom Package Manager) that allows you to do all things you can do graphically, in the command line.
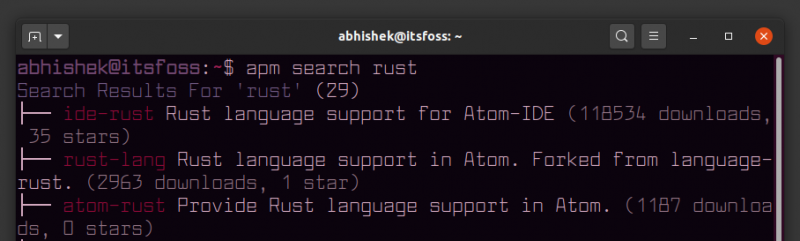
You can search for package names like this:
apm search search_stringIt will show you all the packages matching your search query. As you can see in the image below, it also shows how many times a package has been downloaded and how many stars it has to indicate the popularity of a package.
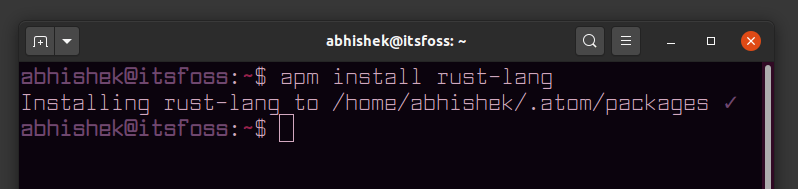
You can pick the name of the package you want and install it the following way:
apm install package_nameThe package usually gets installed in .atom/packages directory in your home directory. This is why you don’t need to use sudo while installing Atom packages.
Keep in mind that apm command doesn’t support tab completion by default so you need to know exact package name here.
There are many more arguments the apm command can take for managing the packages (installing, removing, deactivating, upgrading etc). You can see them with the help option -h.
GUI or CLI? Which method do you prefer?
I hope you find this quick little tutorial helpful in installing packages in Atom editor. If you face some issues, please feel free to ask in the comment section.
By the way, which method you prefer for installing Atom plugins? The GUI method or the command line one? Do share your preference.
