
You can always choose to write programs using code editors. It will work for small projects with only a few files.
But if you are considering serious programming or working on a not-so-small project, a normal text editor isn’t going to cut it anymore. You need an IDE (Integrated Development Environment).
Eclipse is one such IDE that is primarily used for C, C++ and Java development. Other languages support can be added on top of an existing installation or they can be installed as separate Eclipse packages.
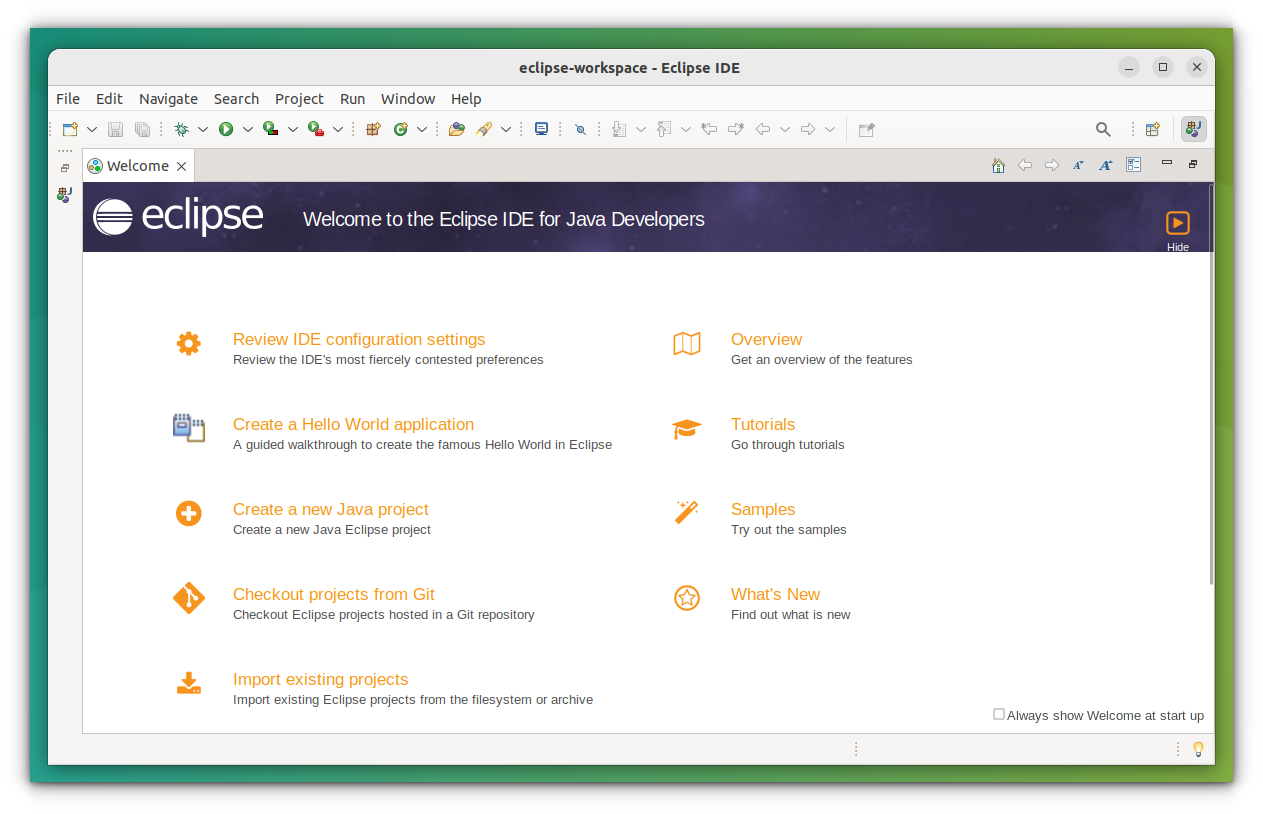
Installing Eclipse on Ubuntu and other Linux distros
There are various ways of installing Eclipse on Linux:
- Use Snap: easiest method but Snap apps are slow
- Install Eclipse through the official installer
- Install Eclipse in classic Linux style by keeping the executables in /opt directory
You can go through all three installation process and see which one fits your need.
Method 1: Installing Eclipse using Snap [Easy]
You can install the snap package available for Linux. You can either install it from the terminal or the software centre in Ubuntu.
Open the Software Centre application in Ubuntu, search for Eclipse, and install it from there.
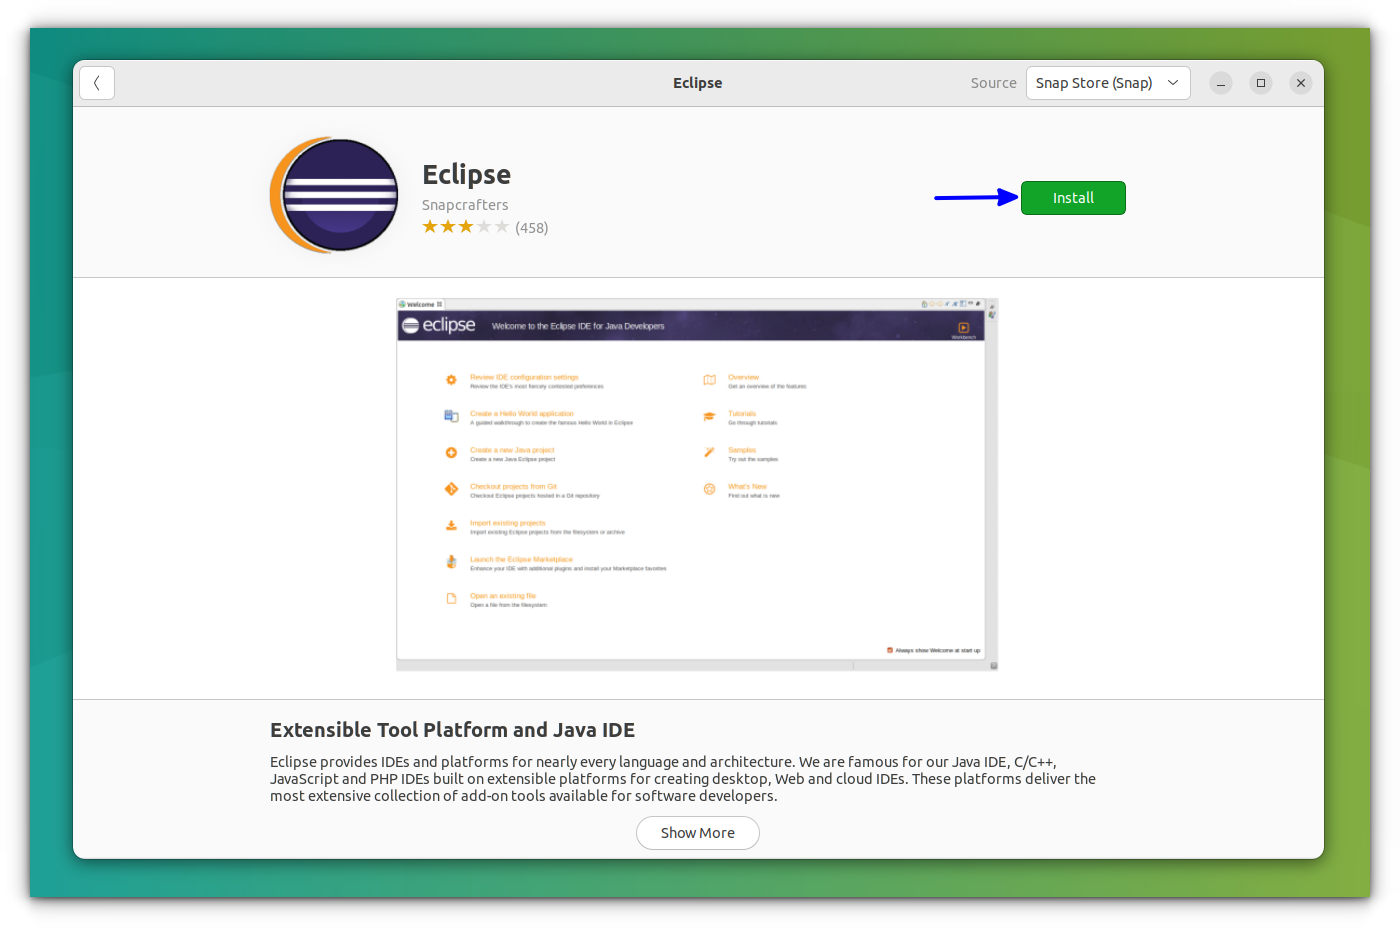
We also have a guide on using snap packages if you are not sure about the support for snap packages for your Linux distributions.
If you proceed to install it via the terminal, here’s what you have to type in:
sudo snap install eclipse --classic
How to update Eclipse? The snap applications are updated automatically. If a newer version is available through Snap, it will be automatically updated.
How to remove Eclipse? You can look for Eclipse in Ubuntu Software Center and remove it. Alternatively, you can always use the command line:
sudo snap remove eclipseMethod 2: Installing Eclipse using the official installer (for intermediates)

Eclipse provides an installer that can be used to start the installation process. This is similar to installing applications on Windows.
On the page, you'll see the option to download the installer for Linux. Usually, you would go for x86_64 unless you are using Raspberry Pi.
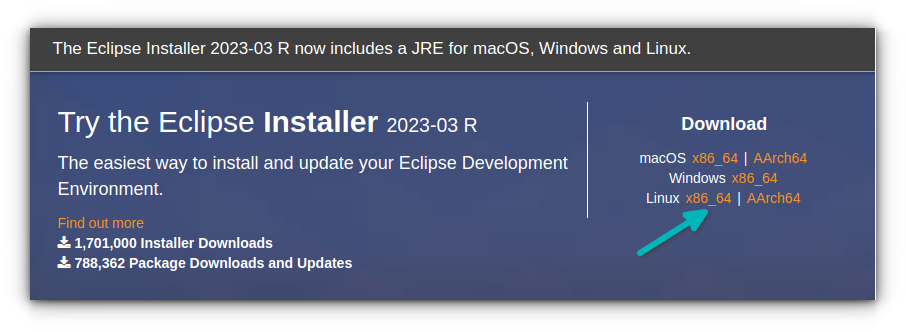
Extract the downloaded file. Once extracted, open the folder and run the file eclipse-inst, either by double-clicking or by running the following command inside the extracted eclipse-installer directory:
./eclipse-instSelect which IDE you want to install from the list.
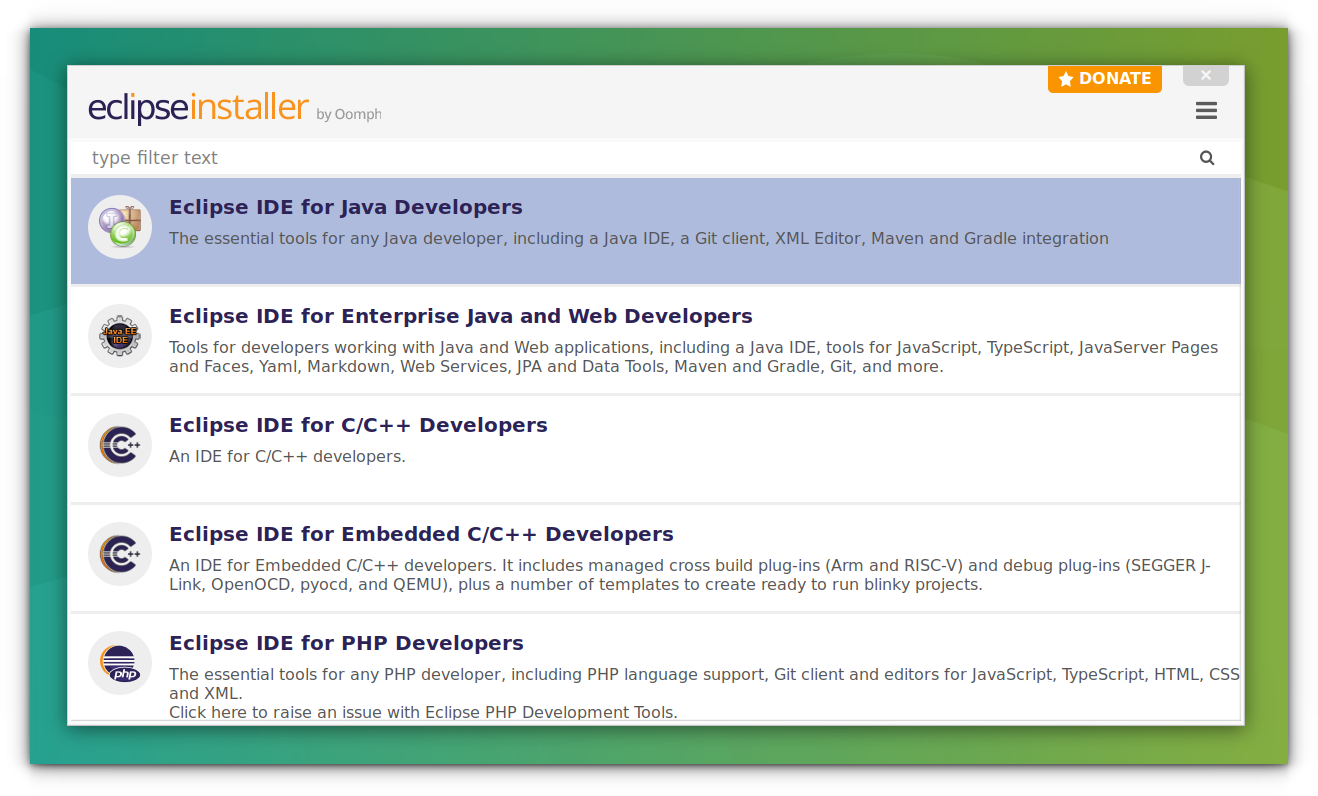
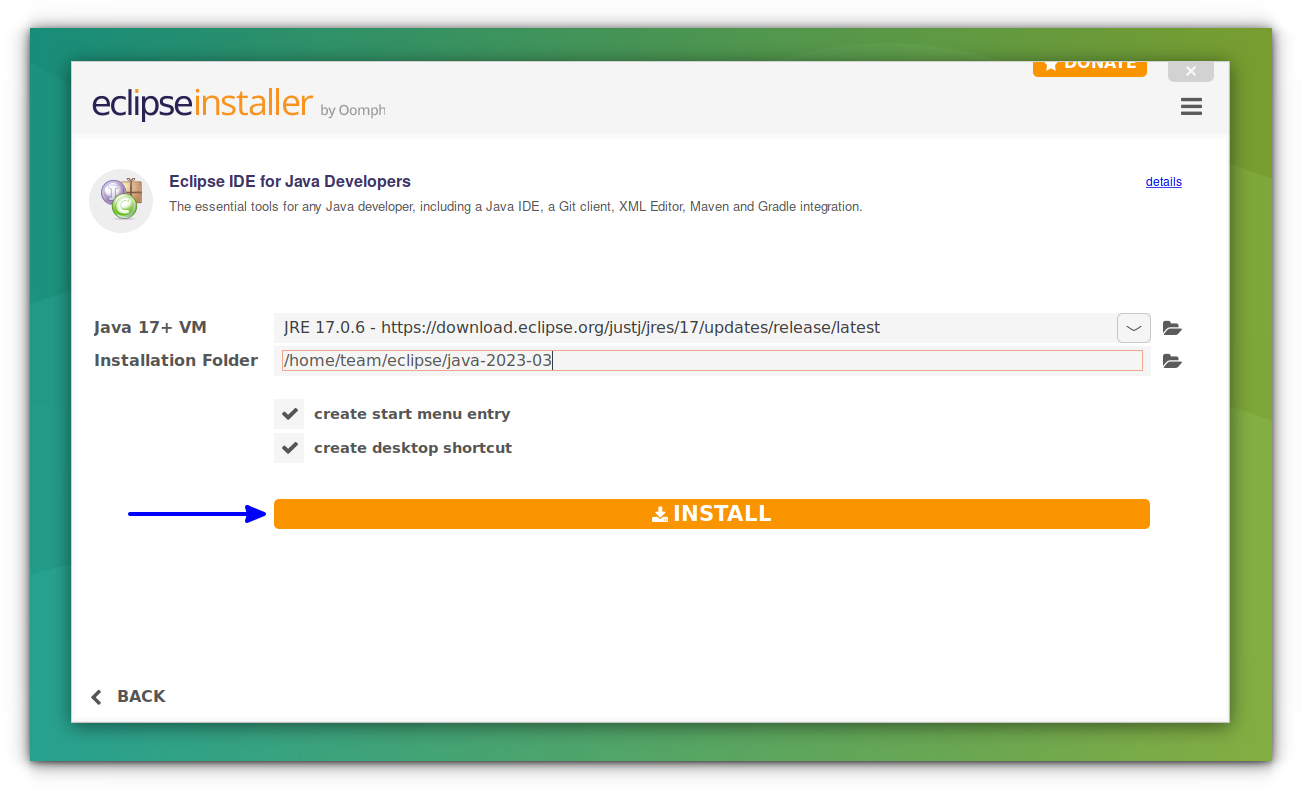
The next screen will give you an overview of the installation. Press Install to start the installation.
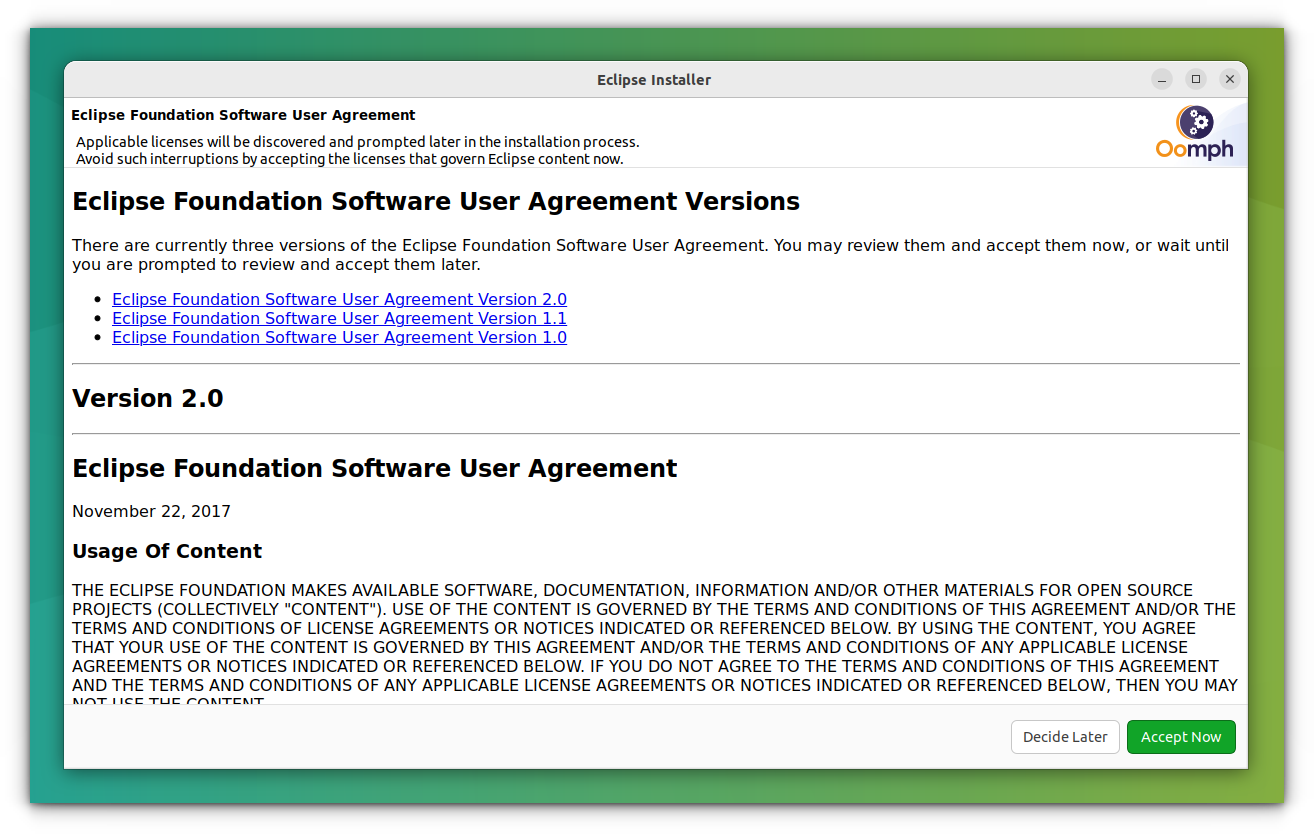
It will ask you to accept the license agreement.
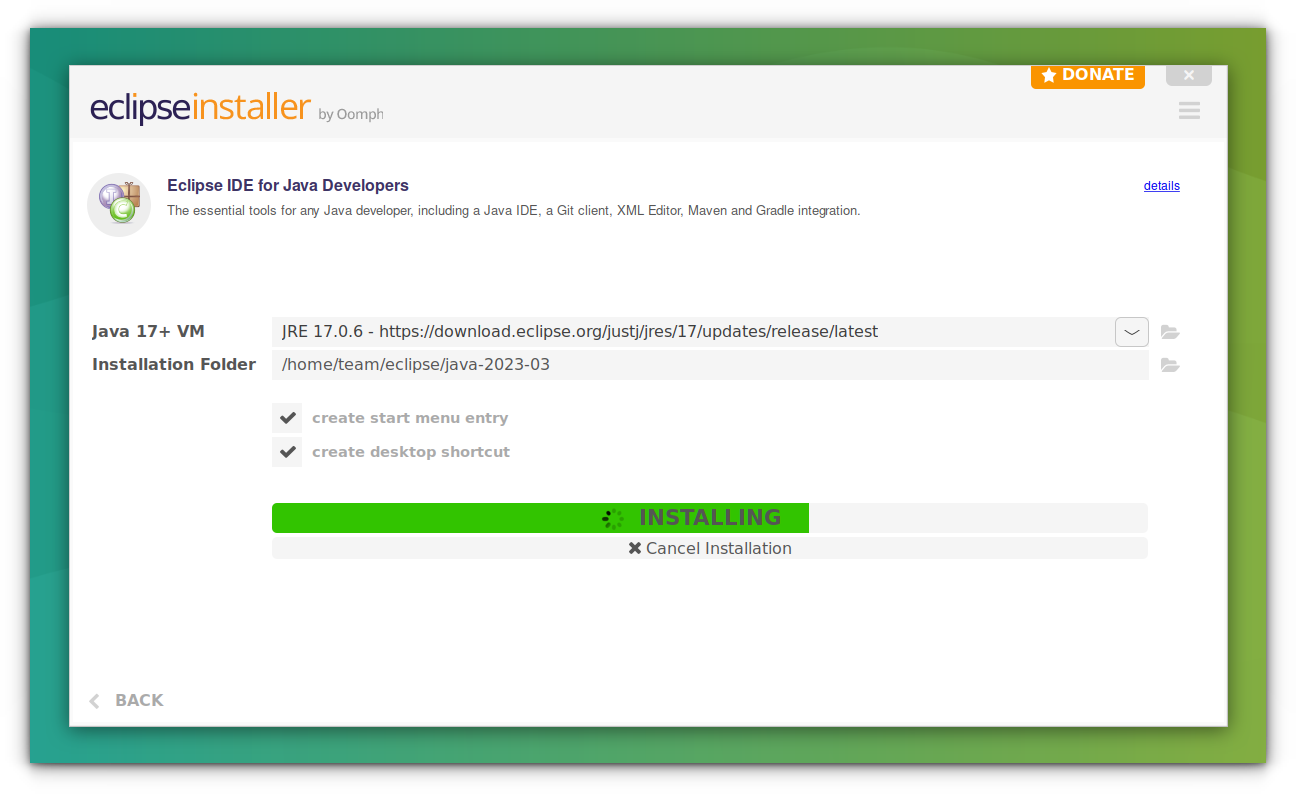
It will start the download and installation of the required files.
And that’s it! Installation is over. You can launch it for the first time directly from the installer.
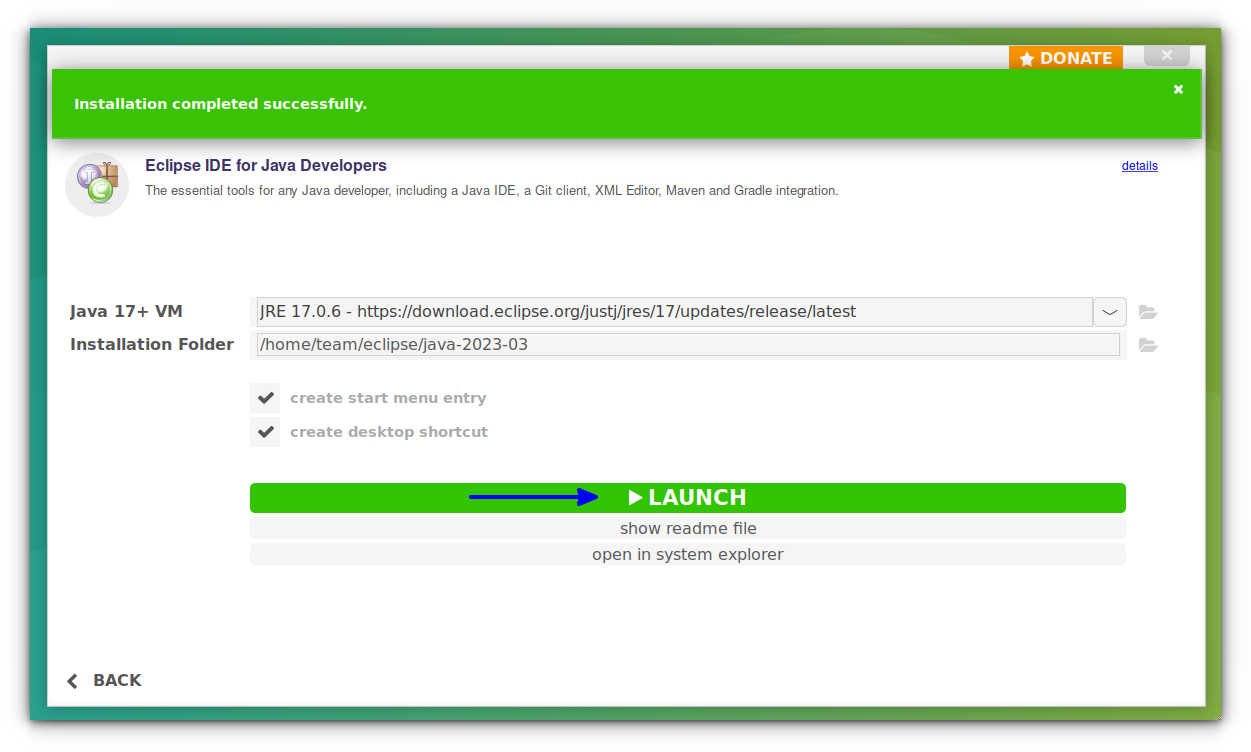
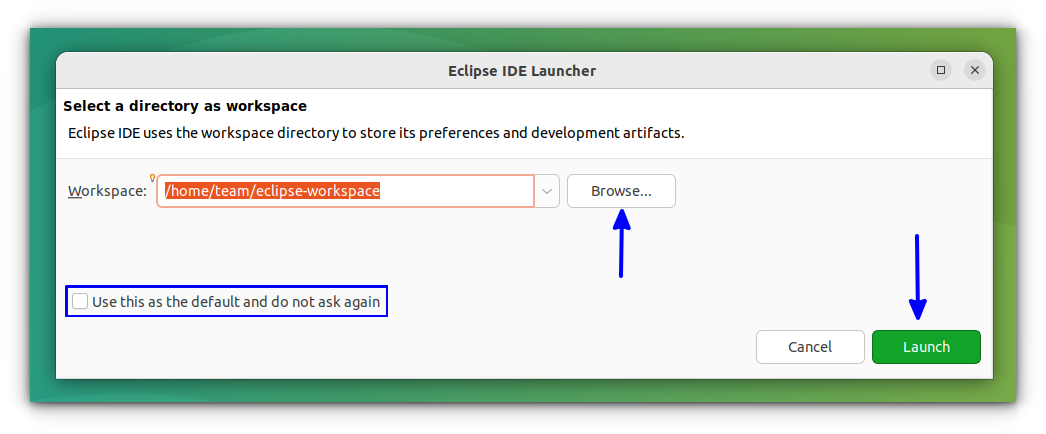
It will now ask to set up a workspace directory. Set it to your liking and press Launch.
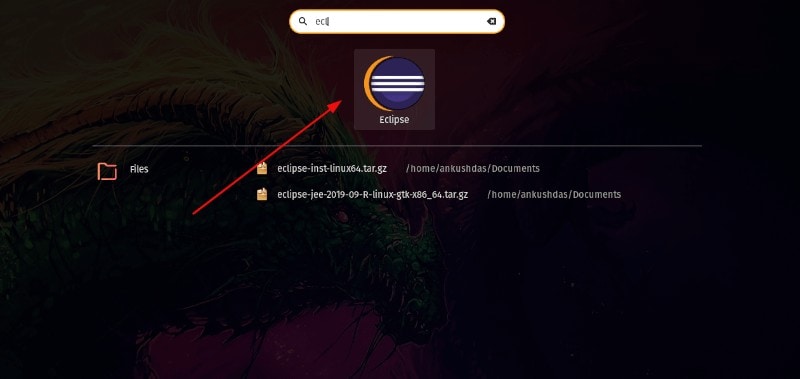
Now, you just have to search for Eclipse in the app drawer and launch it.

Method 3: Install Eclipse in classic Linux style (for experts)
Make sure you don’t confuse “package” with the installer available. Unlike the installer, this one will give you the complete files for your chosen Eclipse version.
Go to the download page of Eclipse.
Here, go to your desired version of Eclipse. Say, you want to use Eclipse for Java development. Download the Java version for Linux.

It is also worth noting that I assume the directory ‘Downloads’ as your default storage path to save the Eclipse package downloaded. If you have a different path, replace the file path from the steps below.
Step 1. Launch the terminal and enter the following command:
cd /optStep 2. Next, you have to extract the downloaded package to this directory by entering the following command:
sudo tar -xvzf ~/Downloads/eclipse-jee-*
Step 3. After extracting the files, you have to make a menu entry (so that when you search for Eclipse, an icon will appear in the app drawer).
Here’s what to enter next:
sudo gedit eclipse.desktopBasically, you are making the file for the shortcut icon here. Next, you need to set up the shortcut to launch Eclipse. So, when the text editor opens, enter the following information and save it (copy-paste what’s written below):
[Desktop Entry]
Name=Eclipse
Type=Application
Exec=/opt/eclipse/eclipse
Terminal=false
Icon=/opt/eclipse/icon.xpm
Comment=Integrated Development Environment
NoDisplay=false
Categories=Development;IDE;
Name[en]=Eclipse
Name[en_US]=Eclipse
4. Close the text editor and enter the following command to enable the shortcut icon:
sudo desktop-file-install eclipse.desktopAnd, that’s it!
Now, you just have to search for Eclipse in the app drawer and launch it.
Eclipse all the way
You can run Java programs in the Linux terminal but that is tiresome. Use an IDE like Eclipse and speed up your coding process.
Eclipse is my favorite but there are other IDEs for Java you may explore.

If you are a dark theme fan, you can change the color theme in Eclipse using additional plugins. Enjoy coding with Eclipse.
For new Eclipse users, I recommend heading over to the official Eclipse website where you can find all kinds of documentation and guides
If you face any issues with the installation by following my procedure, make sure to let me know in the comments below.


