

Ubuntu does come with a bunch of fonts installed by default in it. But at times you might not be satisfied with the available fonts.
If that’s the case, you can easily install additional fonts in Ubuntu, or any other Linux system such as Linux Mint.
In this tutorial, I’ll show you:
- How to install a font in Linux
- How to install multiple fonts at once
- How to use a GUI tool for managing fonts in Ubuntu-based distributions
Installing a new font in Ubuntu Linux
The fonts usually come in True Type (TTF) or Open Type (OTF) file formats. You can use either of them in Linux.
Step 1: Get fonts
First, download fonts of your choice. You can get some free fonts on Google Fonts website.

You can also find fonts at Lost Type or Fonts Squirrel.
Step 2: Install the new fonts
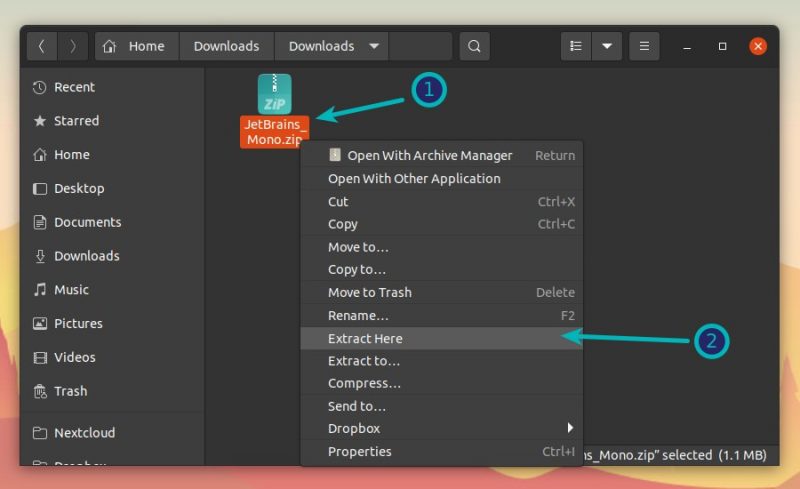
The downloaded fonts are usually in a zipped file. Extract the zip file in Linux by right-clicking and selecting extract.
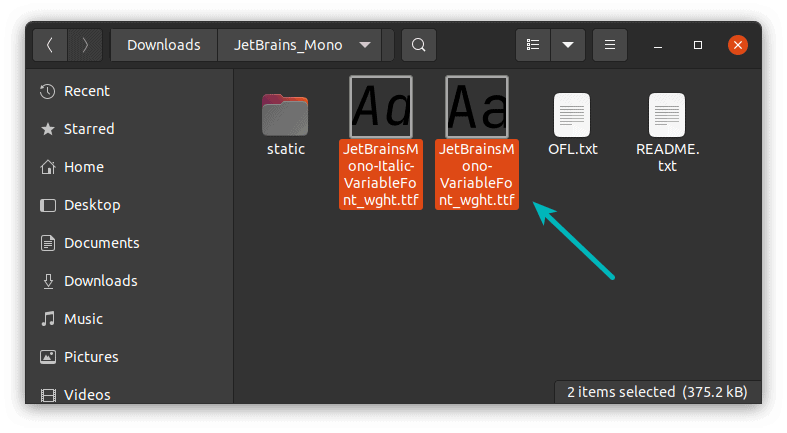
Now go to this extracted folder and look for .ttf (TrueType Fonts) or .otf (openType Fonts) files.
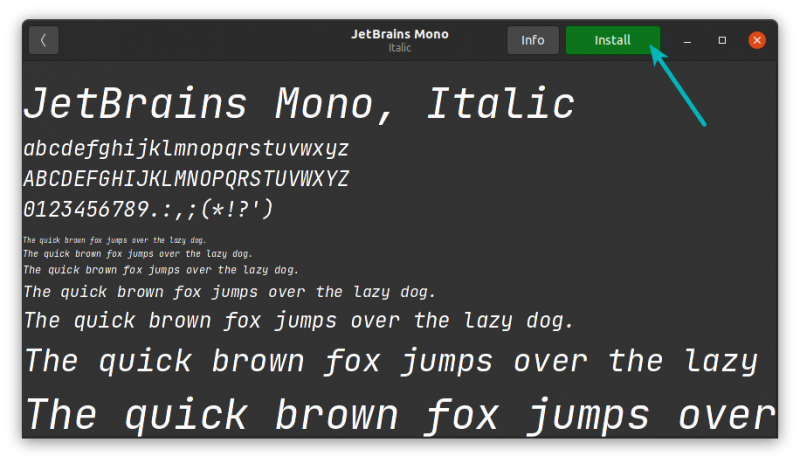
Whichever it may be, just double-click on the font file. It will open it in Font Viewer application. In here, you can see the option to install the font in the top-right corner:
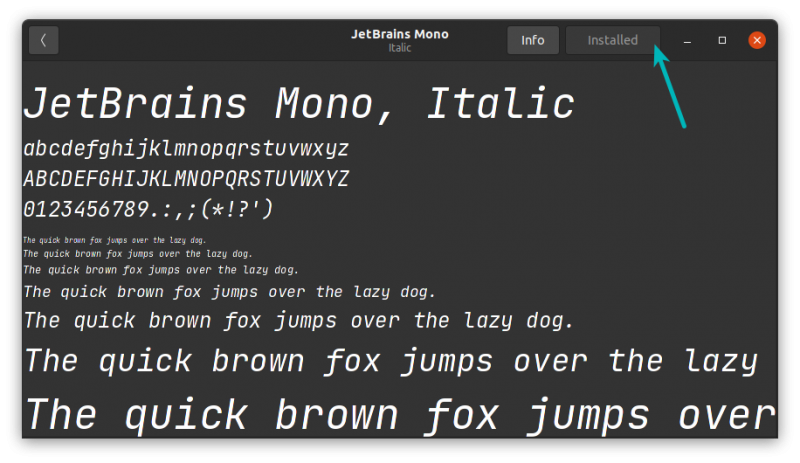
You won’t really see anything being installed as you see when installing a software. Couple of seconds later, you’ll see the status has been changed to “Installed“. No prizes for guessing that the font has been now installed.
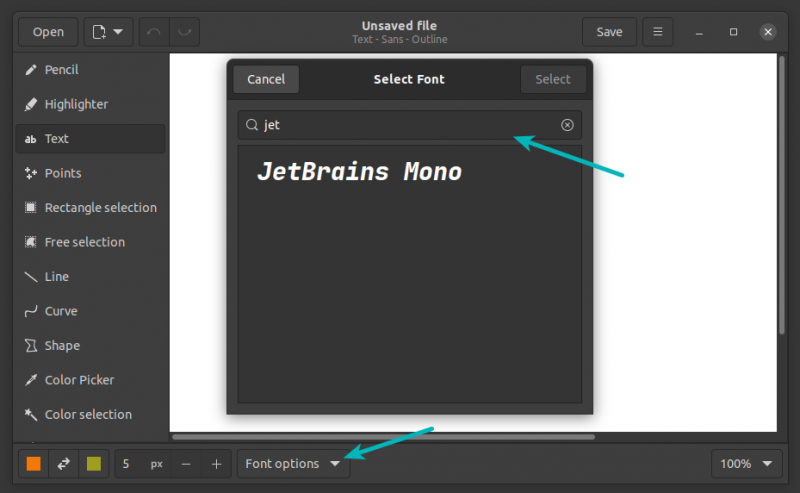
Once installed, you can see the newly installed fonts in any application that uses fonts such as GIMP, Pinta etc.
Tip: Ubuntu provides a package to install Microsoft TrueType fonts all at once.
Install several fonts at once in Linux
No, it is not a typo. This is an alternative to step 2 that I mentioned above. Imagine you have 20 new fonts to install. Installing all these fonts, one by one, by double-clicking on them is cumbersome and inconvenient. Don’t you think so?
To install several fonts at once in Ubuntu, all you need to do is to create .fonts directory, if it doesn’t exist already, in your Home directory. And extract or copy paste all those TTF or OTF files in this directory.
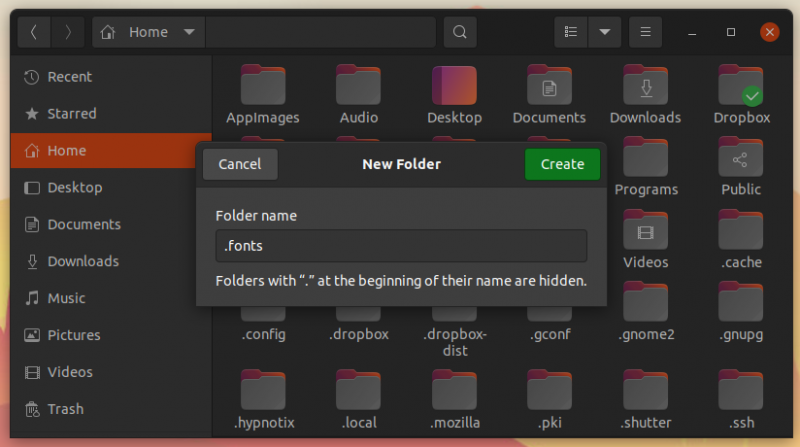
Step 1: Create .fonts directory in your home directory
Go to your Home directory in File manager. Press Ctrl+H to show hidden files in Ubuntu. Right click to make a new folder and name it .fonts. That dot at the beginning is important. In Linux, if you put dot ahead of the file name, it hides the file from normal view.
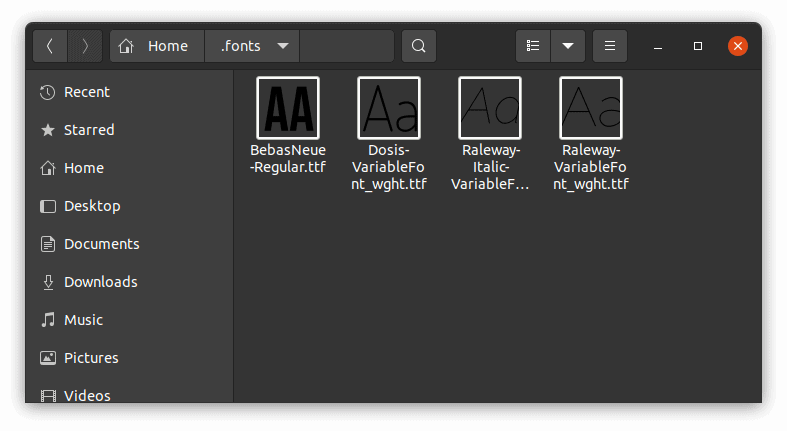
Step 2: Put fonts files in the .fonts directory
Copy your fonts files and paste those in the .fonts directory that you have created in the previous step. You don’t need to do anything else. These fonts will now be available for you.
Alternative: Use Font Manager for managing fonts in Ubuntu and other Linux
Alternatively, you can install Font Manager application and manage fonts using a GUI application. This tool also allows you to delete an existing font.
Please check your distribution’s package manager and see if Font Manager is available to install.
On Ubuntu and Debian-based distributions, you can use the apt command to install it:
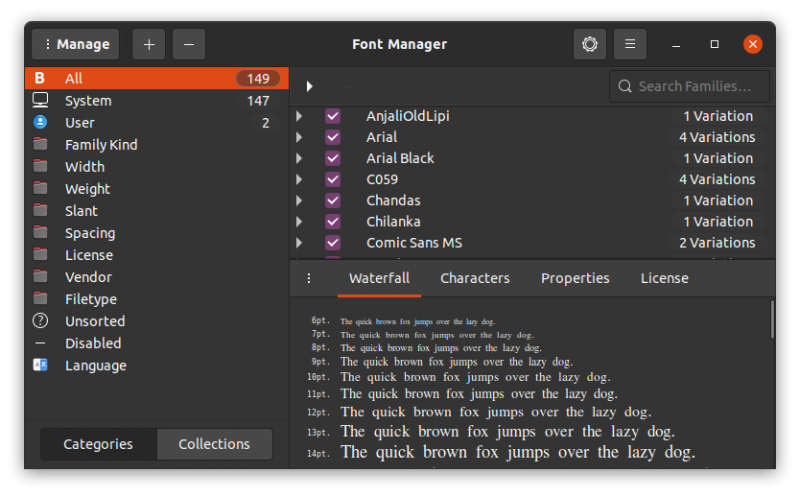
sudo apt install font-managerOnce installed, look for Font Manager in the system menu and start it:

Open the Font Manager. You can see installed fonts and option to install new fonts, remove existing fonts etc here. It’s quite a versatile tool for managing fonts in your Linux system.
To remove Font Manager, use the command below:
sudo apt-get remove font-managerMore ways to customize
Fonts are one of the many ways you can customize your Ubuntu system. Here are a few more:
 Abhishek Prakash
I hope this quick helped you to install fonts in Ubuntu and other Linux systems. Do let me know if you have questions or suggestions.
