

Fedora is one of the most dependable Linux distro choices. It is cutting edge, backed by Red Hat, features newer features and has a wide community support.
If you have chosen to use it as your main desktop operating system, let me show you the steps for installing Fedora.
With that warning in place, let's see how you can install Fedora. The entire procedure is composed of three main steps:
- Creating a live USB of Fedora (on any computer)
- Booting into live Fedora USB (on the computer where you have to install it)
- Installing from live USB (should take around 5 to 10 minutes)
- Booting into the freshly installed Fedora and setting up the user account
Let's see these steps in detail.
Step 1: Create live USB of Fedora
First, you download the ISO file of the latest Fedora workstation. You'll see several options on the download page. If you don't know any better, you should be using a regular computer, and you should go for the "Intel and AMD x86_64" option as indicated in the screenshot below.
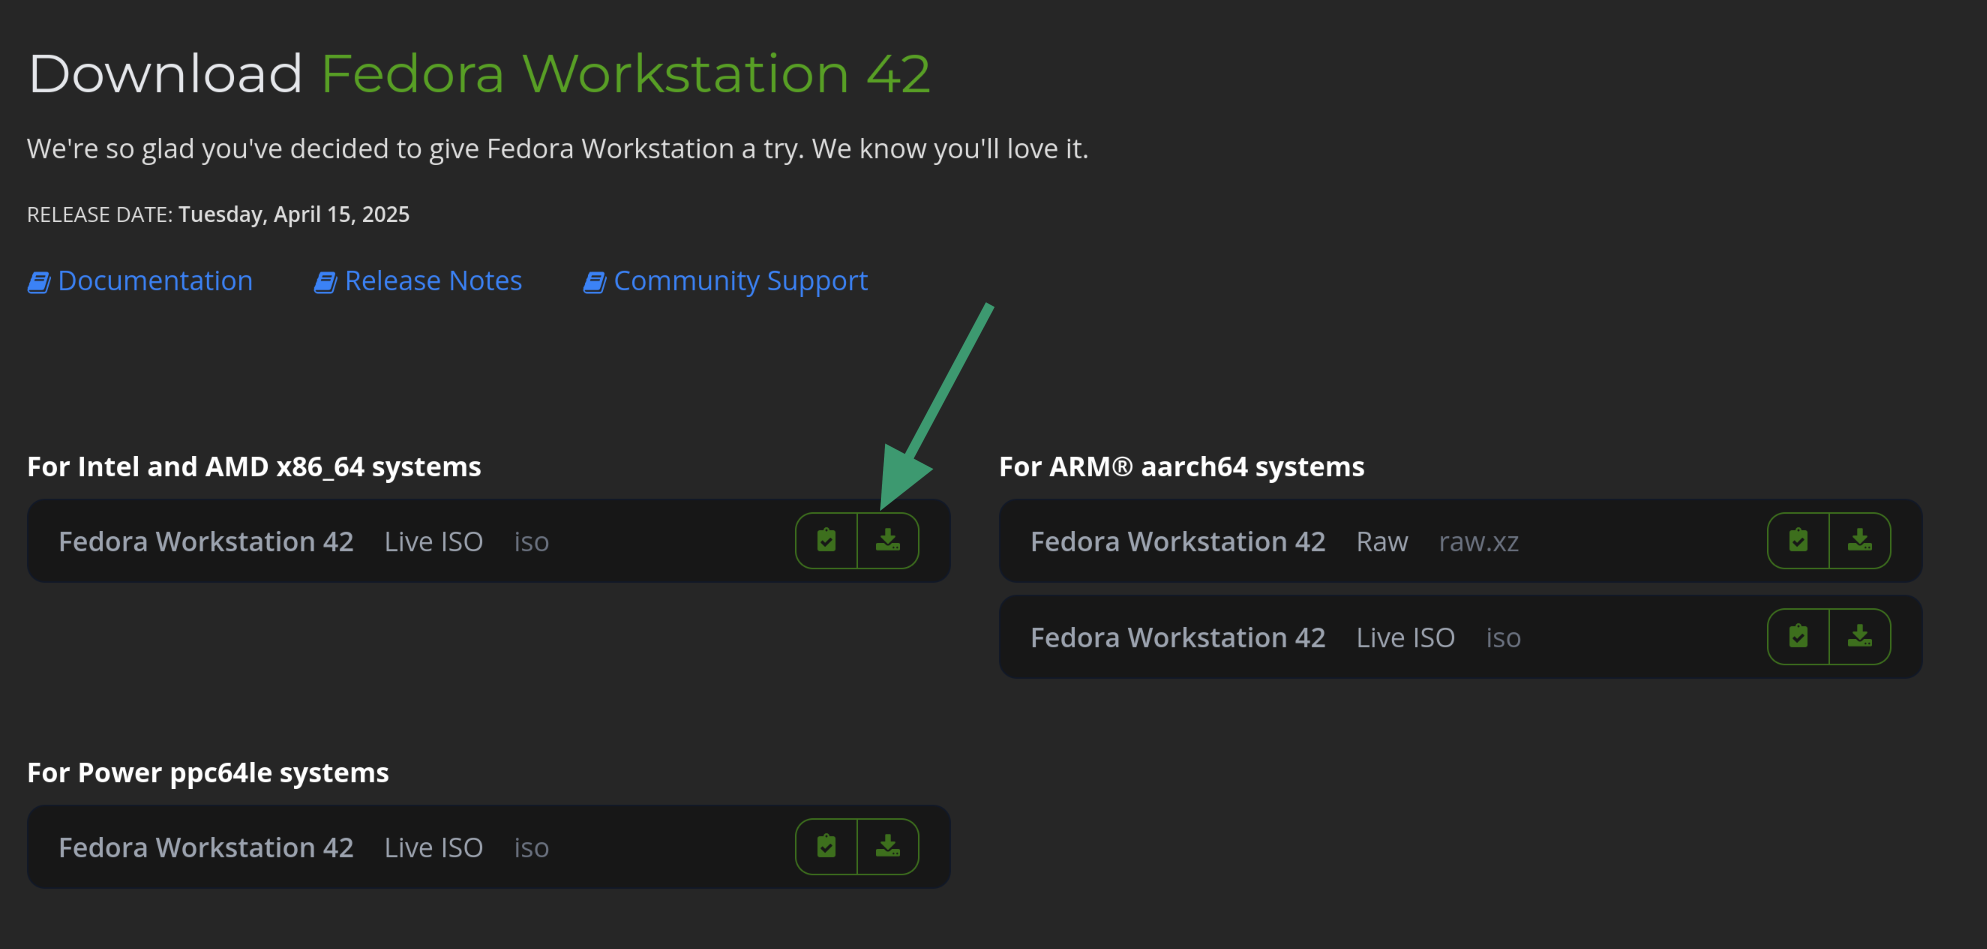
This will download a single ISO file of around 2.2 GB in size. There are torrent downloads available for Fedora. However, finding the correct file to download could be challenging for new users.
You will have to create a live USB of Fedora from the ISO you just downloaded.
Fedora provides an official media writer tool for creating live USB. It's called Fedora Media Writer and it is available for Linux, Windows and macOS from the same download page where you download Fedora.
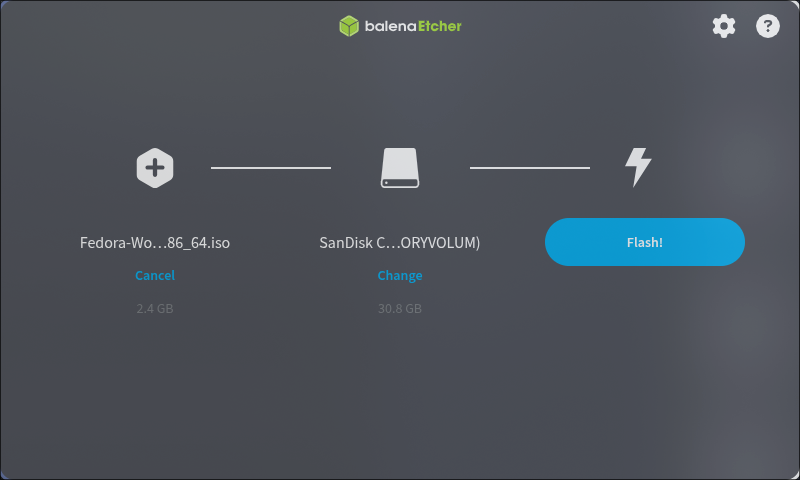
There are many other tools available for creating live USB. I prefer Balena Etcher. It is available for Linux, Windows and macOS.
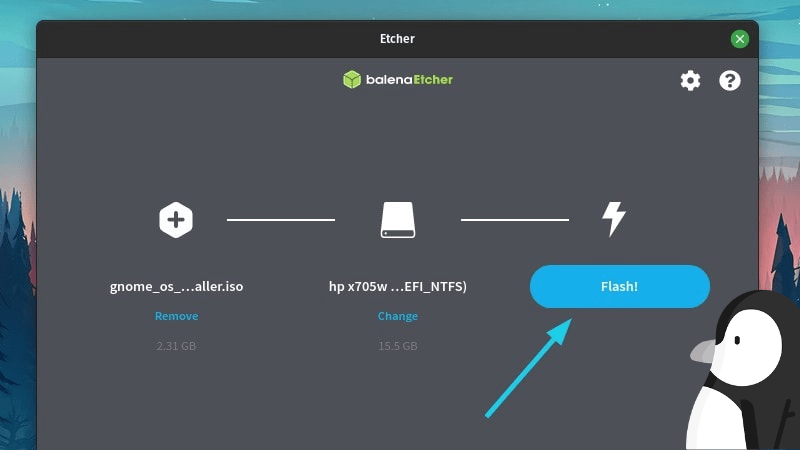
Using Etcher is simple. Plug in your USB, run Etcher and browse to the download ISO file. It should automatically show the plugged in USB but still make sure that it is the intended USB. Once you have done that, hit the Flash! button.
If you need details, please follow our tutorial on how you can use Etcher to create a live USB.
Alternative command line option for terminal nerds
Alternatively, if you are on Linux, you can use the dd command to create a live USB. Replace /path/to/fedora.iso with the path where you have downloaded the ISO file, and /dev/sdx with your USB drive in the example below. You can get your drive information using lsblk command.
dd bs=4M if=/path/to/fedora.iso of=/dev/sdx status=progress && syncStick to Balena Etcher if you are comfortable with a GUI.
Step 2: Boot from live USB
Plug the live Fedora live USB in the computer where you want to install it. Power on or restart the system. When the system is booting up, start pressing the F2/F10/F12 keys when you see the logo of your computer manufacturer on the screen.
This will take you to BIOS where you have to ensure that boot settings are set to allow booting from USB.

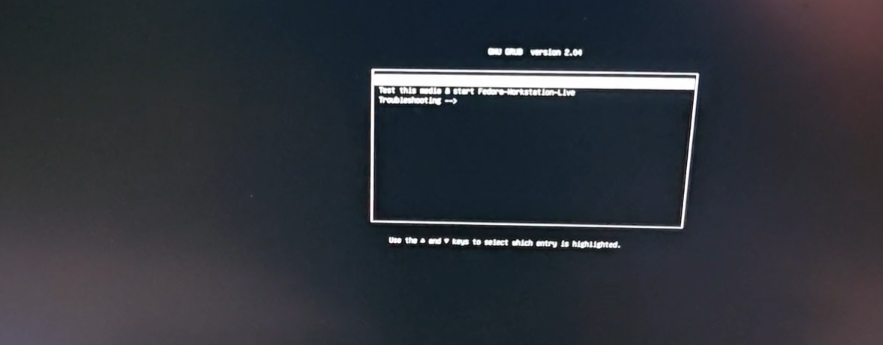
Save and exit the BIOS settings and when the system boots now, you should see the familiar grub screen. Sorry for the poor screenshot.
Step 3: Installing Fedora Linux
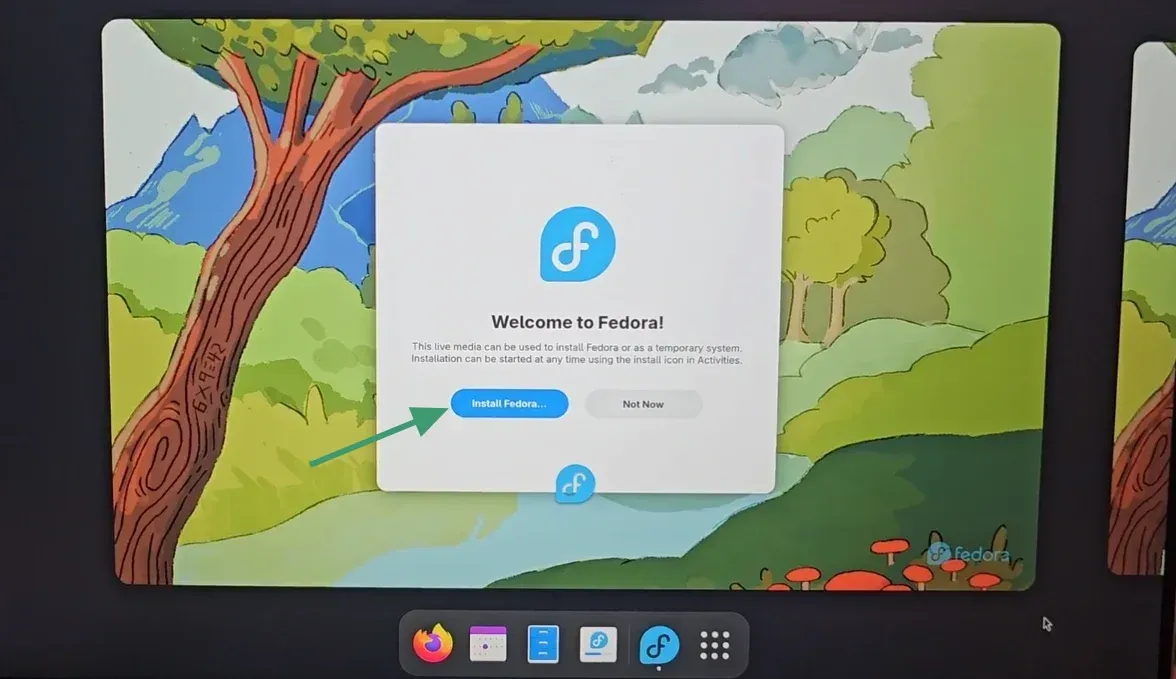
Once you are in the live session, you'll see the option to install Fedora. Click on it.
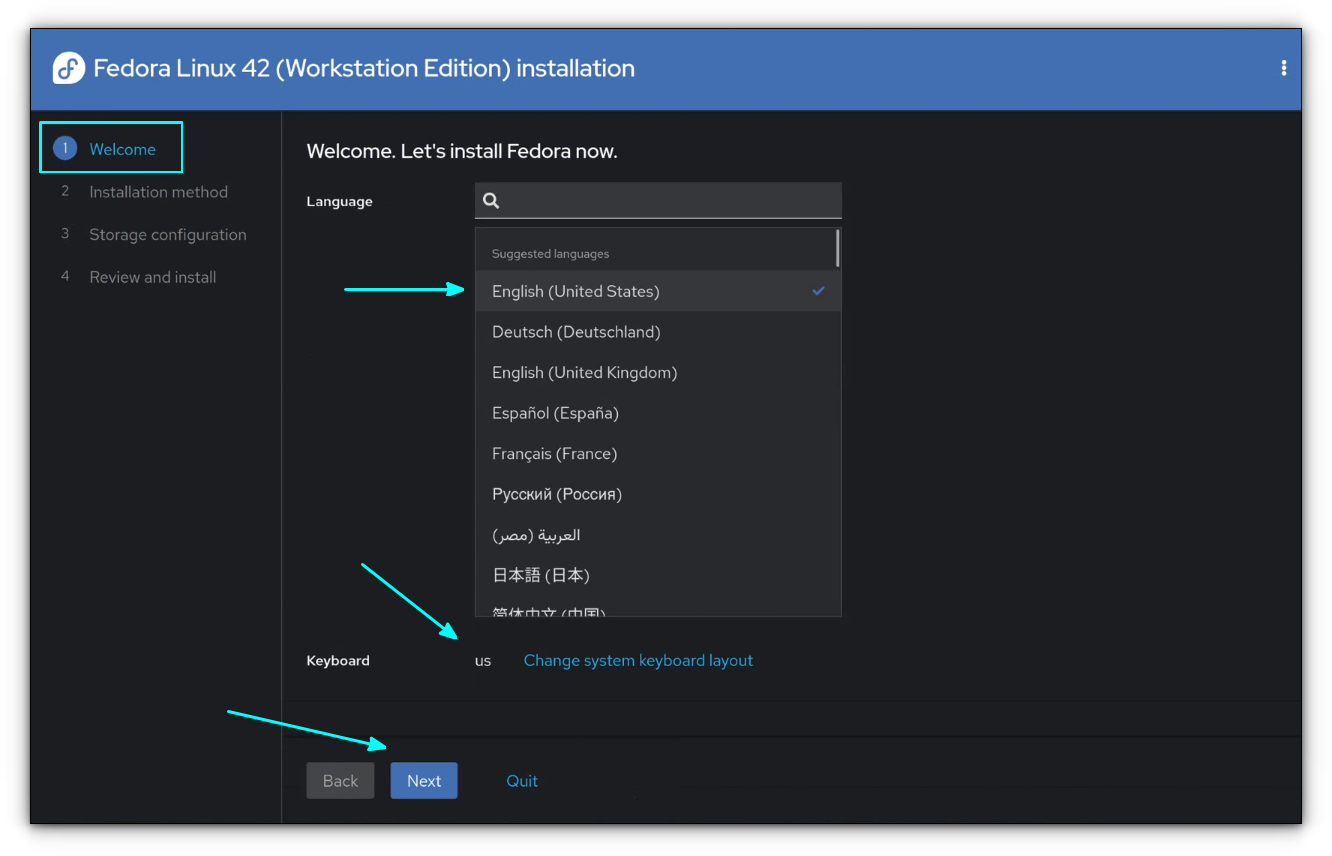
When the installer starts, it lets you select the language and keyboard:
Next it asks you where to install Fedora. If you have multiple disks, internal or external, you may have to select the appropriate one.

It provides you with three options:
- Share disk with other operating system: This is the dual boot option. If you have Windows or other Linux installed on the system, you can use this option to have both operating systems on the same disk, same computer.
- Use entire disk: This will format the existing disk and install Fedora as the only operating system on the computer.
- Mount point assignment: This is the advanced option where you create free space on the disk first and then make partitions as you require. While the first two methods install Fedora with predefined partitions, some Linux users prefer creating separate disk partitions for root, swap, home and boot.
We will use the second option here and that is to 'use entire disk'. This is the simplest of the options. An absolute no-brainer.
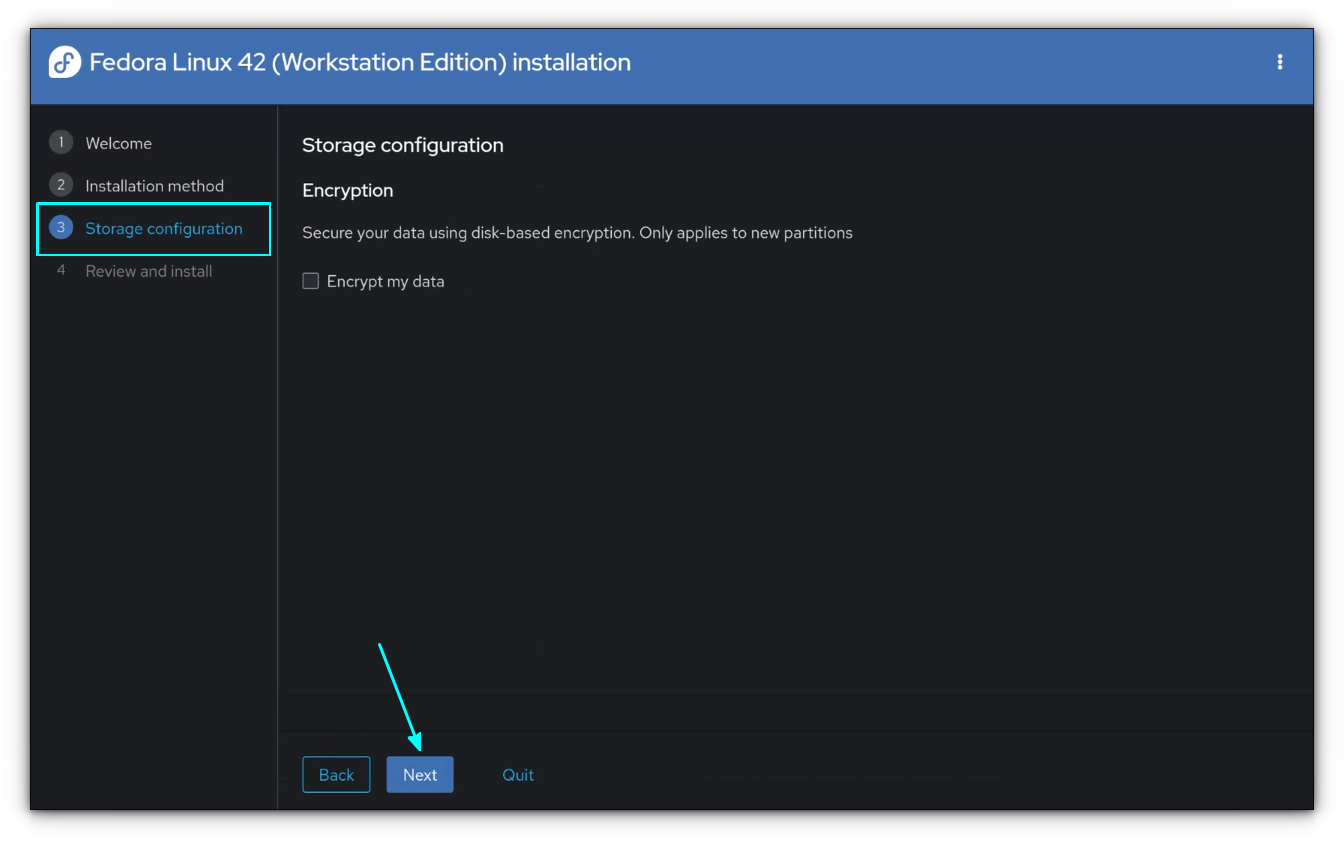
If you want, you can opt for disk encryption. This is a double-edged sword. If you forgot the encryption password, you cannot retrieve your data and you'll have to format the disk and reinstall an operating system.
It will show you the partitions it is going to delete and create. As you can see, it automatically created boot and root partitions.

Hit the "Erase data and install option" and the installation starts:
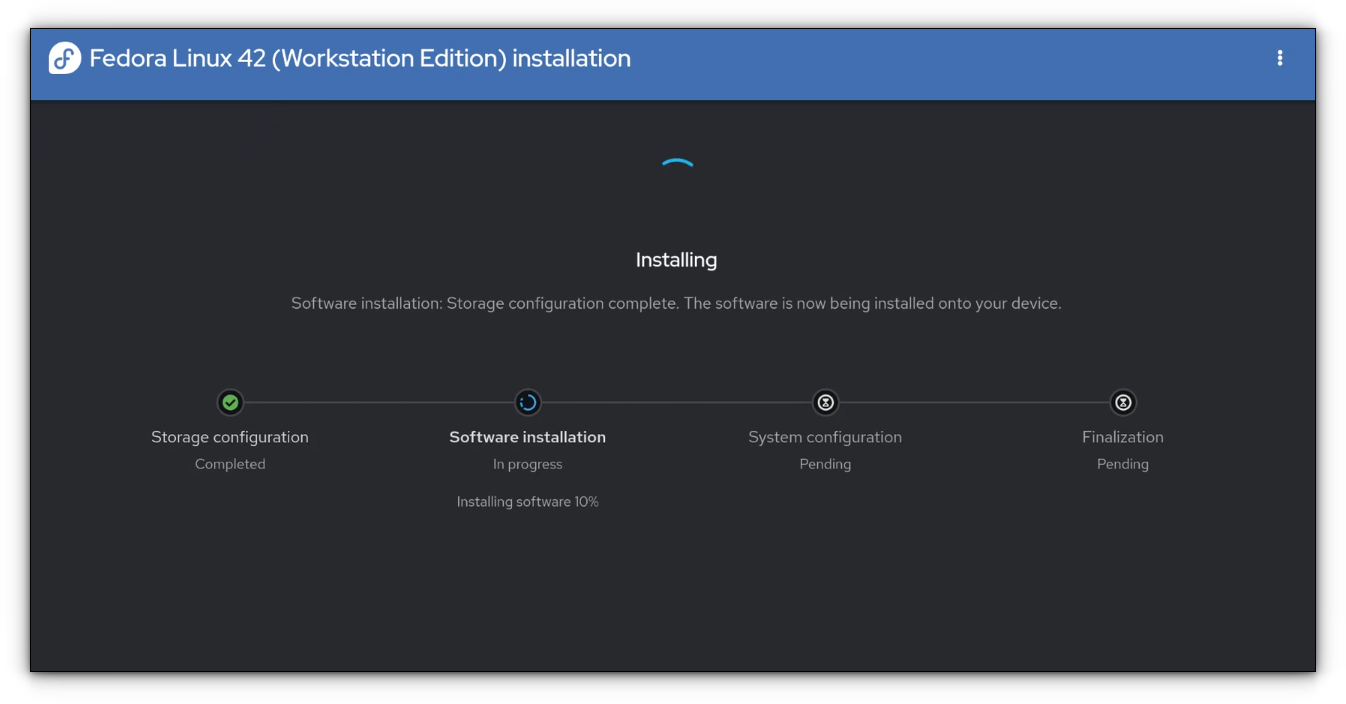
Once the installation starts, you don't have to do anything except waiting. It should take less than five minutes to finish the installation. For me, it took almost four minutes from the previous step to this step:
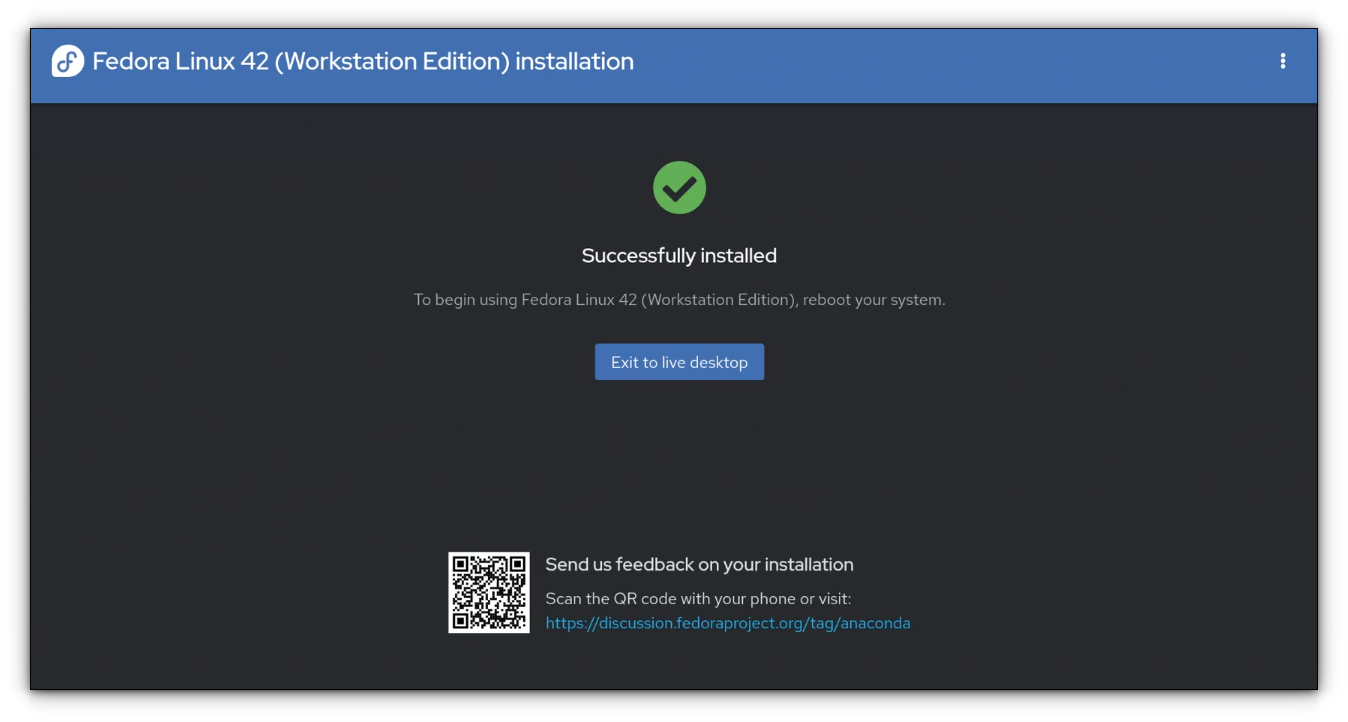
Once the installation finishes, restart the system and take out the live USB. You don't need it anymore and if you kept it plugged in, it might boot again from the live USB. This is why you should remove the live USB.
Step 4: Post install setup
The installation is quick but there are still a few things left to deal with.
Did you notice that the entire installation didn't ask anything about user account creation? That happens when you boot into Fedora for the first time post installation.
You'll see the option to choose the language and keyboard once again.
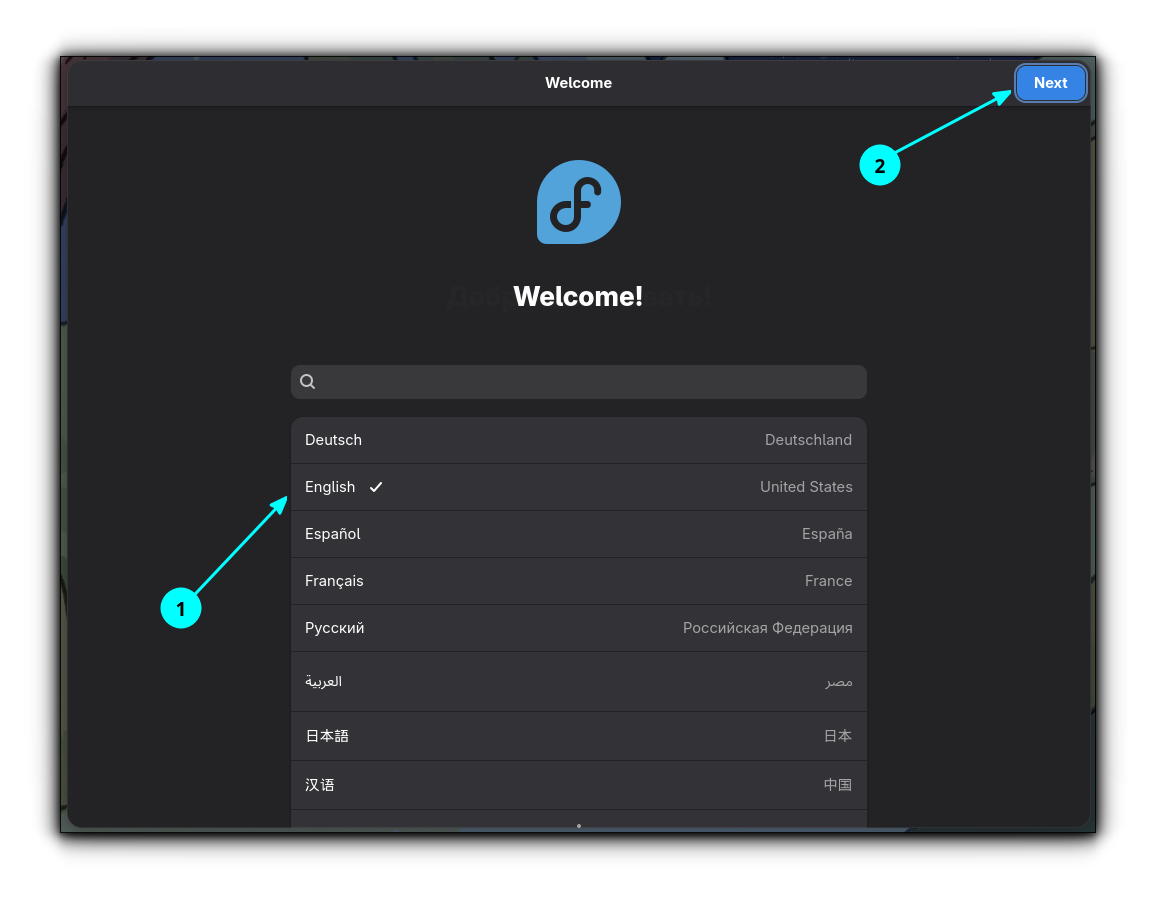
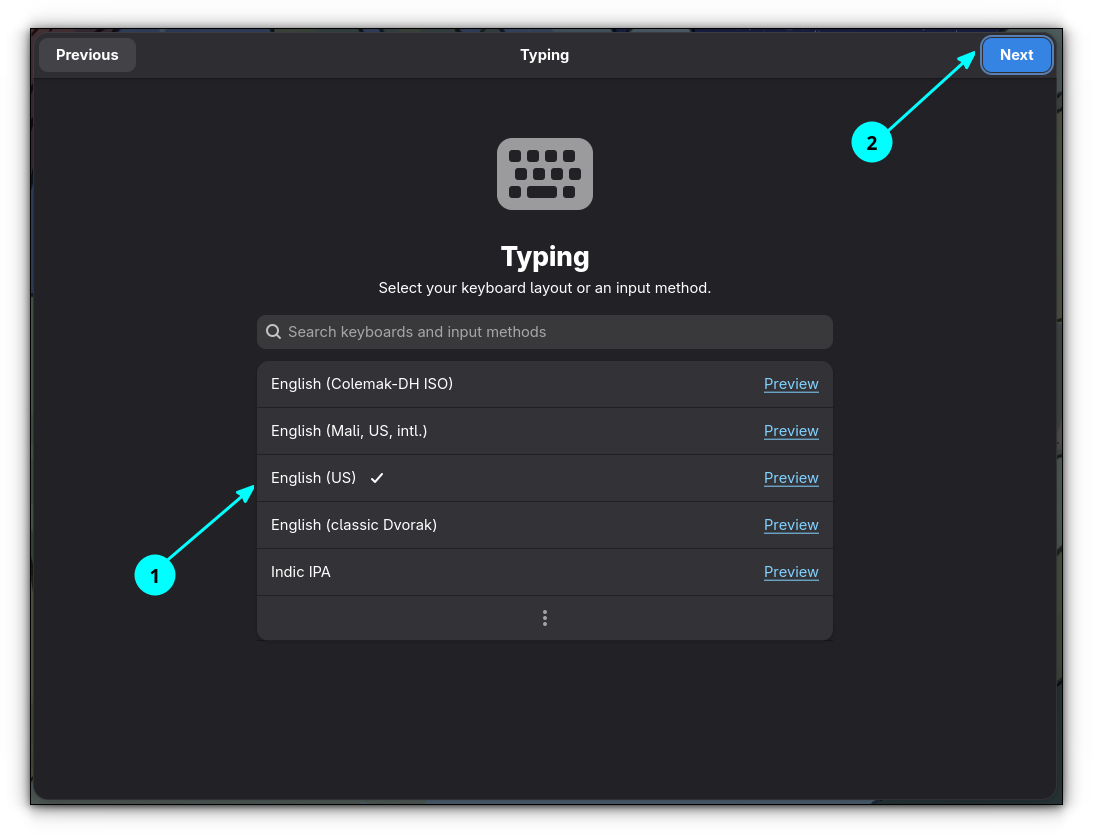
Set Language and Keyboard
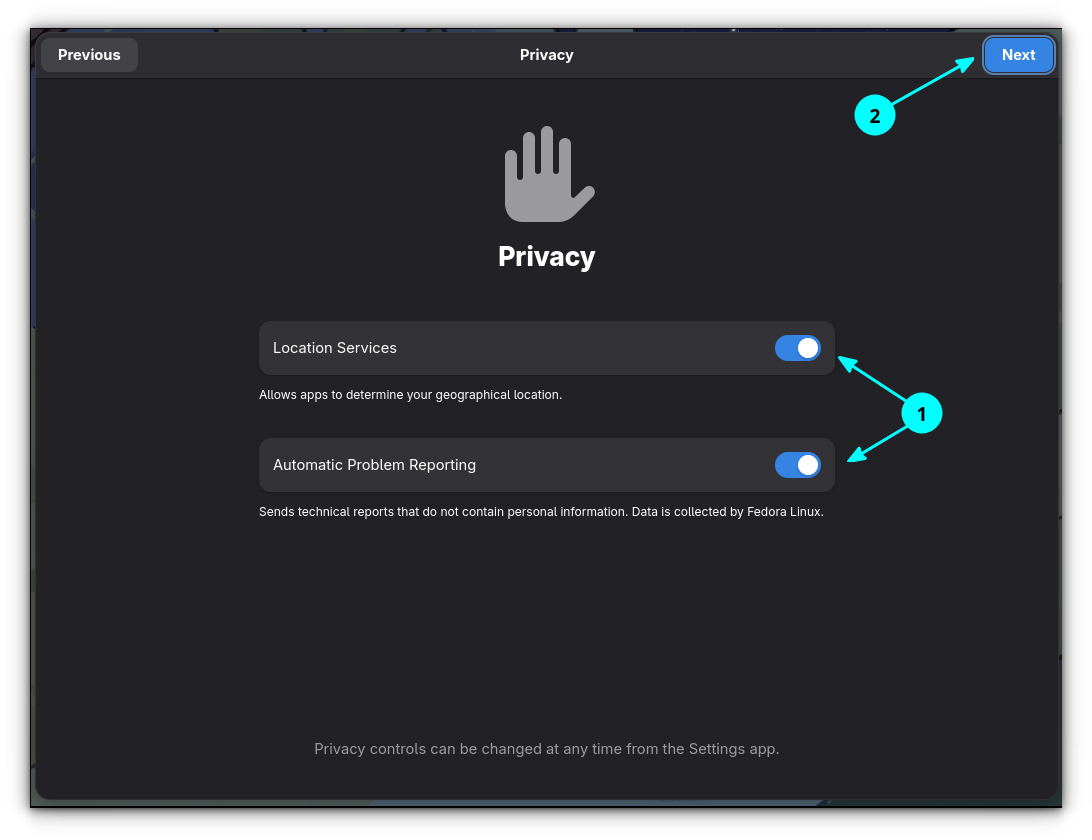
Choose the privacy settings. I suggest enabling location services to utilize features like Nightlight.
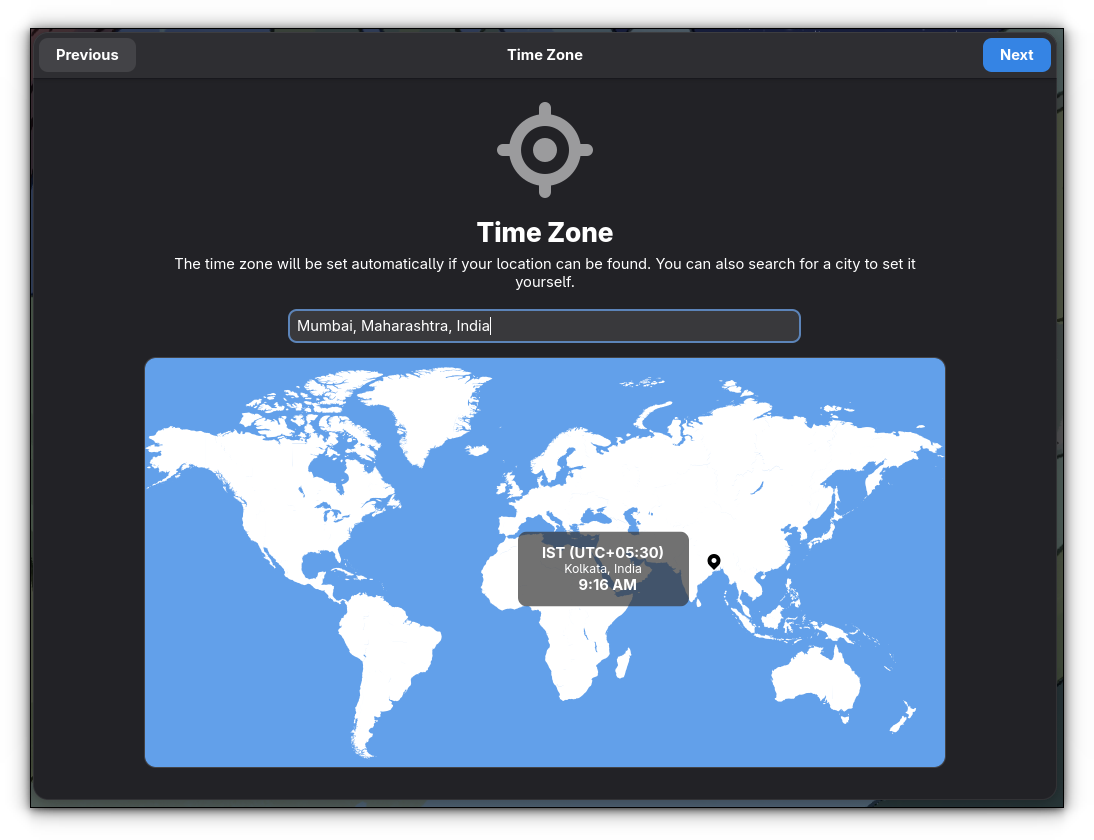
Provide your time zone.
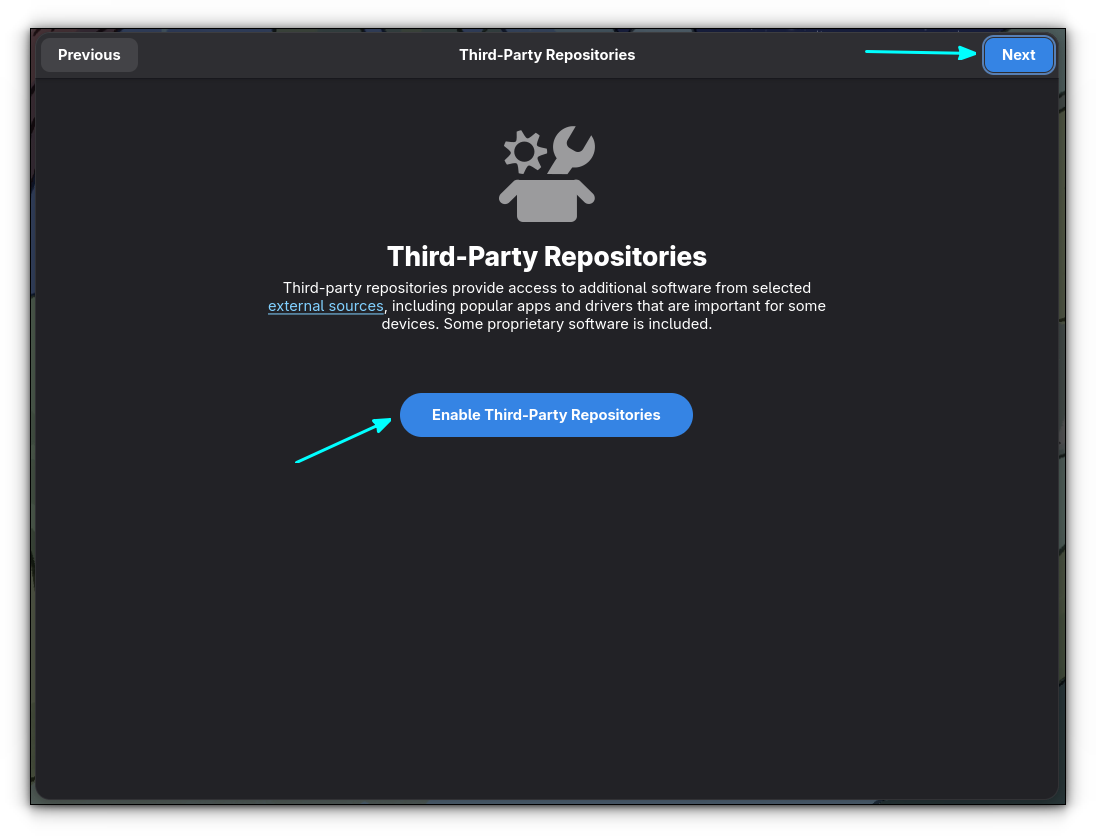
You'll see the option to enable third-party repositories to access software like Google Chrome and proprietary Nvidia drivers. I prefer enabling third-party repos in Fedora.
And finally, you see the option to create user account.
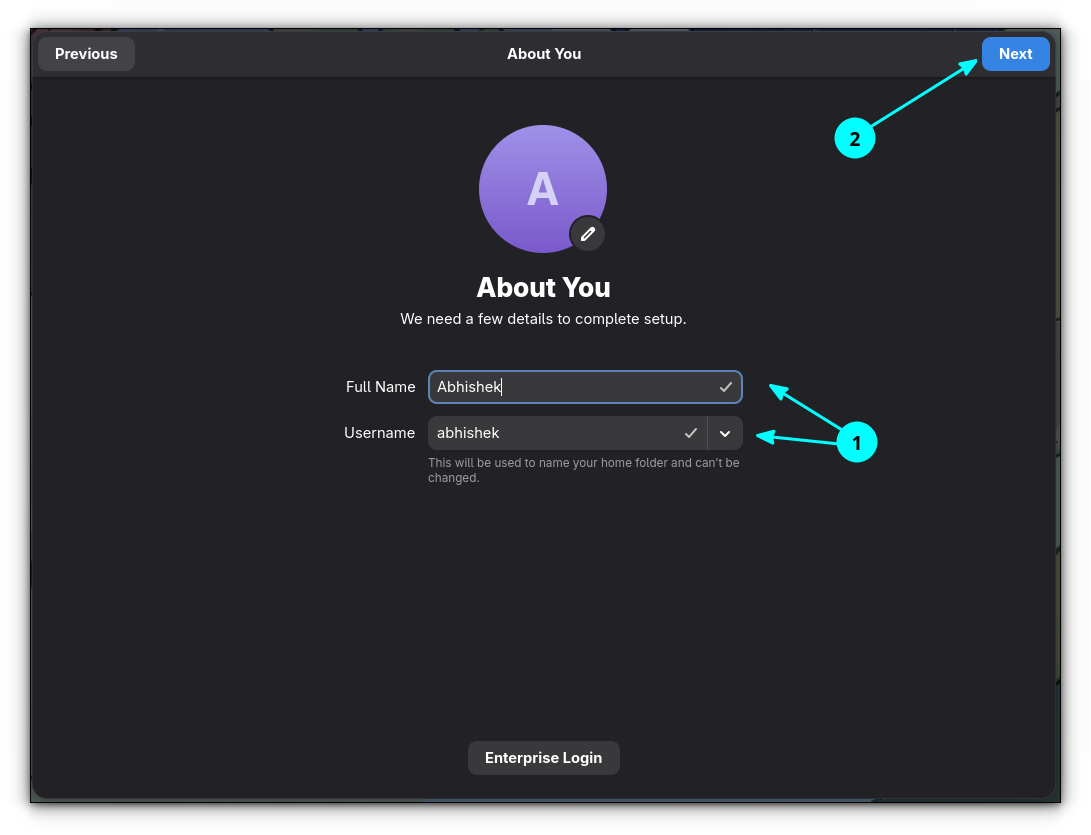
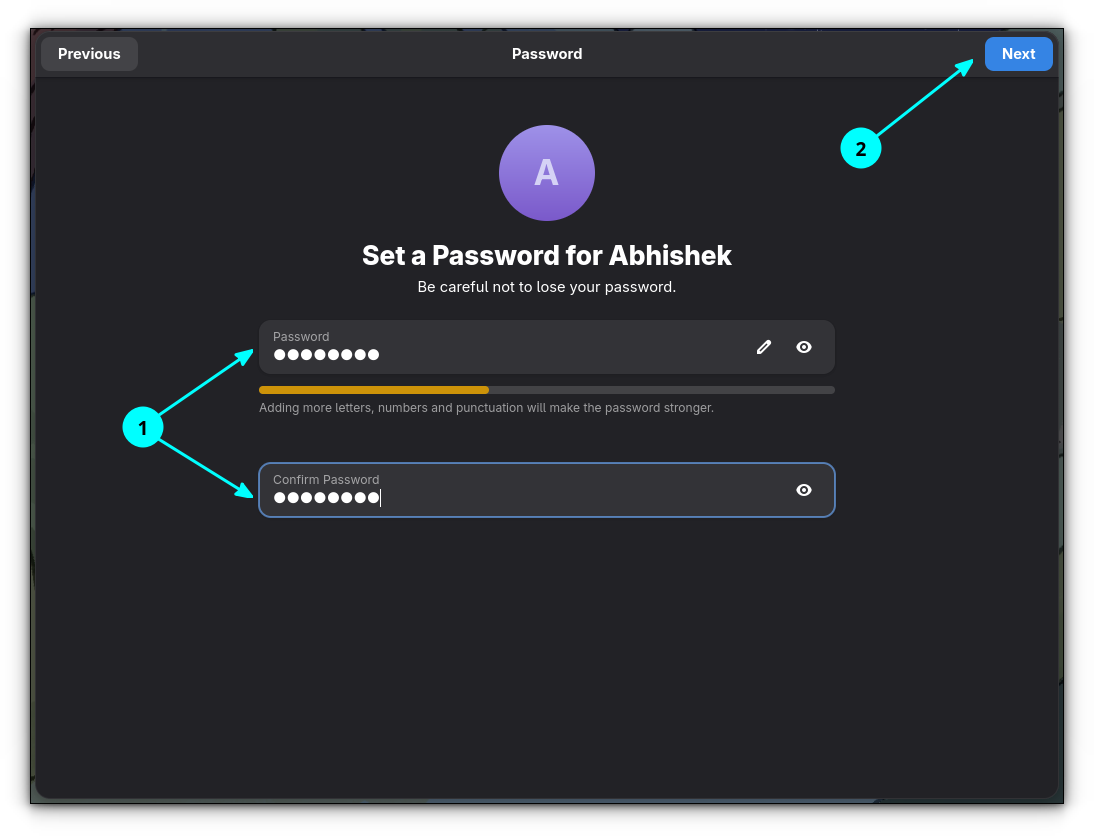
Set username and password
And that's about it.

Keep on exploring Fedora
You'll see another welcome screen but this one is from GNOME and you only see it once after a fresh install. Go through ut if you want to just close it.
You are ready to explore this awesome distribution. If it helps, we have some recommendations on things to do after installing Fedora and you should totally check it out.
We also have a collection of Fedora tutorials to help you get started.

Enjoy Fedora 🤠
