

Dropbox is one of the most popular cloud storage services available for Linux and other operating systems.
In fact, Dropbox is one of the earliest services to provide a native Linux application. It still supports 32-bit Linux systems that is also a commendable job.
In this beginner’s tutorial, I’ll show the steps for installing Dropbox on Ubuntu. The steps are really simple but some websites make it unnecessarily complicated.
Install Dropbox on Ubuntu desktop
Let’s see the installation procedure, step by step.
Step 1: Get Dropbox installer for Ubuntu
Dropbox offers DEB files for its installer. Go to the download section of its website:
And download the appropriate DEB file. Considering that you are using 64 bit Ubuntu, get the deb file for 64-bit version.

Step 2: Install Dropbox installer
The deb file you downloaded is just an installer for Dropbox. Actual Dropbox installation starts later, similar to installing Steam on Ubuntu.
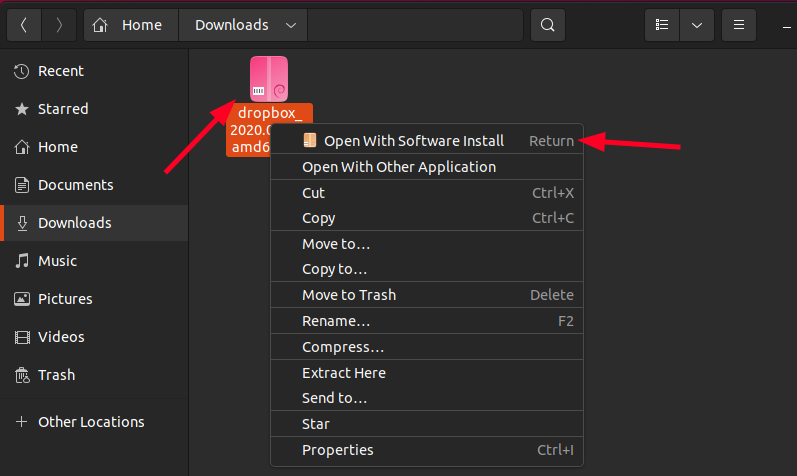
To install the downloaded deb file, either double click on it or right click and select open with Software Install.
It will open the software center and you can click the install button.
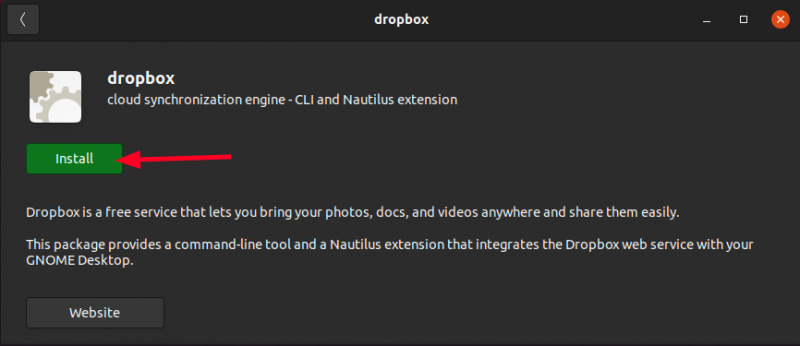
Wait for the installation to finish.
Step 3: Start Dropbox installation
Dropbox installer is now installed. Press the Windows key (also known as super key) and search for Dropbox and click on it.

On the first launch, it shows two popups. One about restarting Nautilus (the file explorer in Ubuntu) and the other about Dropbox installation.
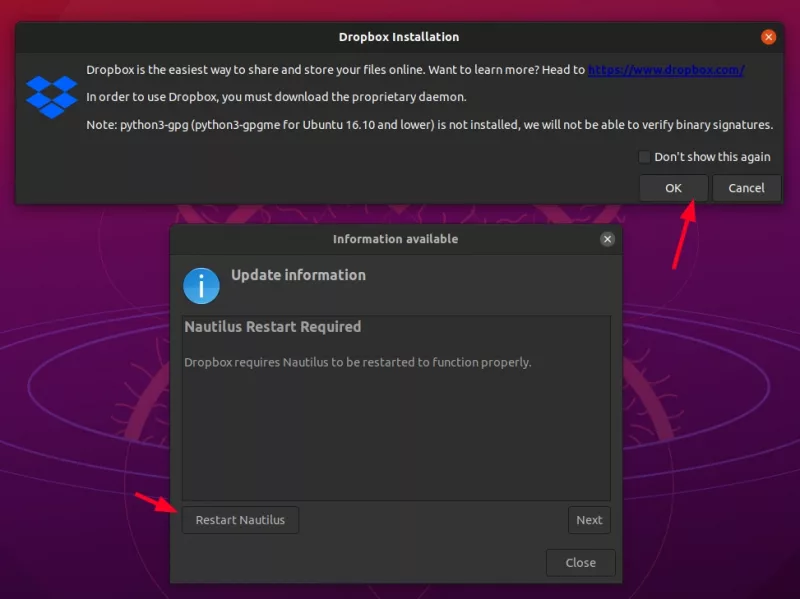
Clicking either Restart Nautilus/Close (on the Nautilus popup) or OK (on the installation popup) starts the actual Dropbox client download and installation. If the ‘Nautilus Restart’ does not close on clicking Close button, click the x button.
Wait for the Dropbox installation to finish.

Oh! Nautilus restart is required because Dropbox adds some extra features like showing the synchronization status in the file explorer.
Once Dropbox is installed, it should either take you to the Dropbox login page automatically or you can hit the Dropbox icon at the top and select sign in option.
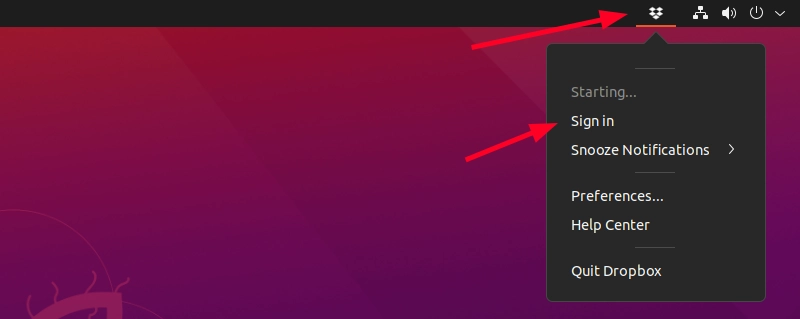
In fact, this is how you will be accessing Dropbox settings in the future.
Step 4: Start using Dropbox on Ubuntu

Note: Dropbox won’t work until you successfully sign in. Here’s a catch. The free version of Dropbox limits the number of devices you can link to your account. If you already have 3 linked devices, you should remove some of the older ones that you do not use.
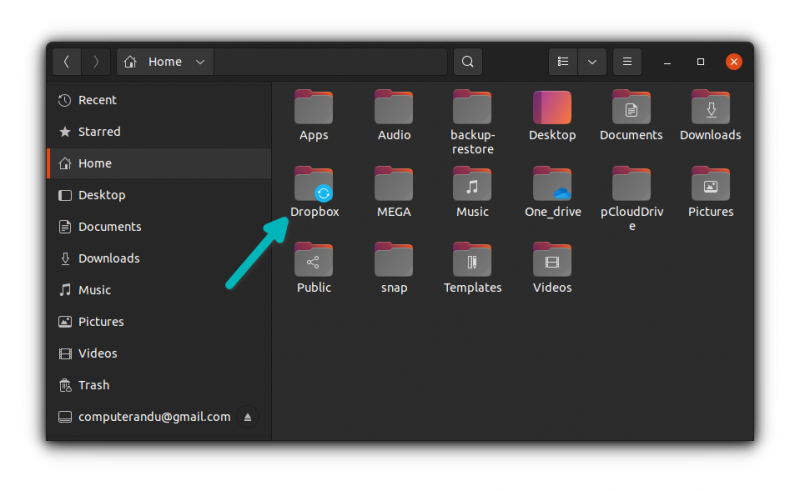
Once you are successfully signed in, you should see a Dropbox folder created in your home directory and your files from the cloud starts appearing here.
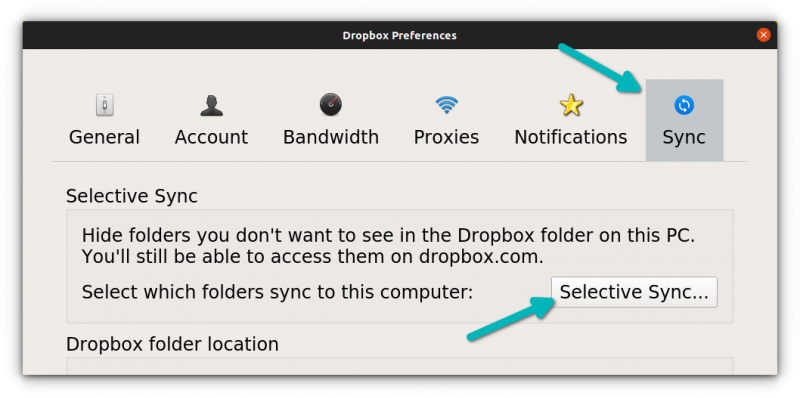
If you want to save disk space or bandwidth, you can go to the Preferences and choose the Selective Sync option. The selective sync option allows you only sync selected folders from Dropbox cloud on your local system.
Dropbox automatically starts at each boot. This is the behavior you should expect from any cloud service, I believe.
It’s good to see a DEB file for Dropbox. You can do something similar to install Mega cloud service on Ubuntu.
That’s all you need to get started with Dropbox on Ubuntu. I hope you find this tutorial helpful.
If this helped you, consider supporting It's FOSS
It's FOSS has been helping people use Linux for the past 14 years. Help us stay independent from big tech. Become a Plus member, enjoy ad-free reading and get 5 eBooks.
