

Discord is a popular messaging application. It was originally intended for gamers but is now considered a Slack alternative, even for team communication and community interactions. You can use it for text, voice, and video messaging.
Several open-source projects use it for communicating with project members and users.
Discord is available on various platforms, including desktop Linux. In this tutorial, I’ll show you various ways of installing Discord on Ubuntu, Debian, and other Linux distributions.
- Installing Discord via Snap or Flatpak (easy and recommended)
- Installing Discord via DEB file (applicable to Debian, Ubuntu, Linux Mint, and other Debian/Ubuntu-based distributions)
- Installing Discord in the traditional way (applicable for all distributions, but you need to know a little about Linux commands)
Method 1: Installing Discord on Ubuntu and other Linux distributions using Snap or Flatpak
With Snap or Flatpak support, you can easily install Discord using the Snap package in Ubuntu and various other Linux distributions. If you are confused between the two packages, check out our Flatpak vs Snap comparison to get some idea.
The advantage is that you’ll always have the latest version of Discord, and your installed version gets automatically updated.
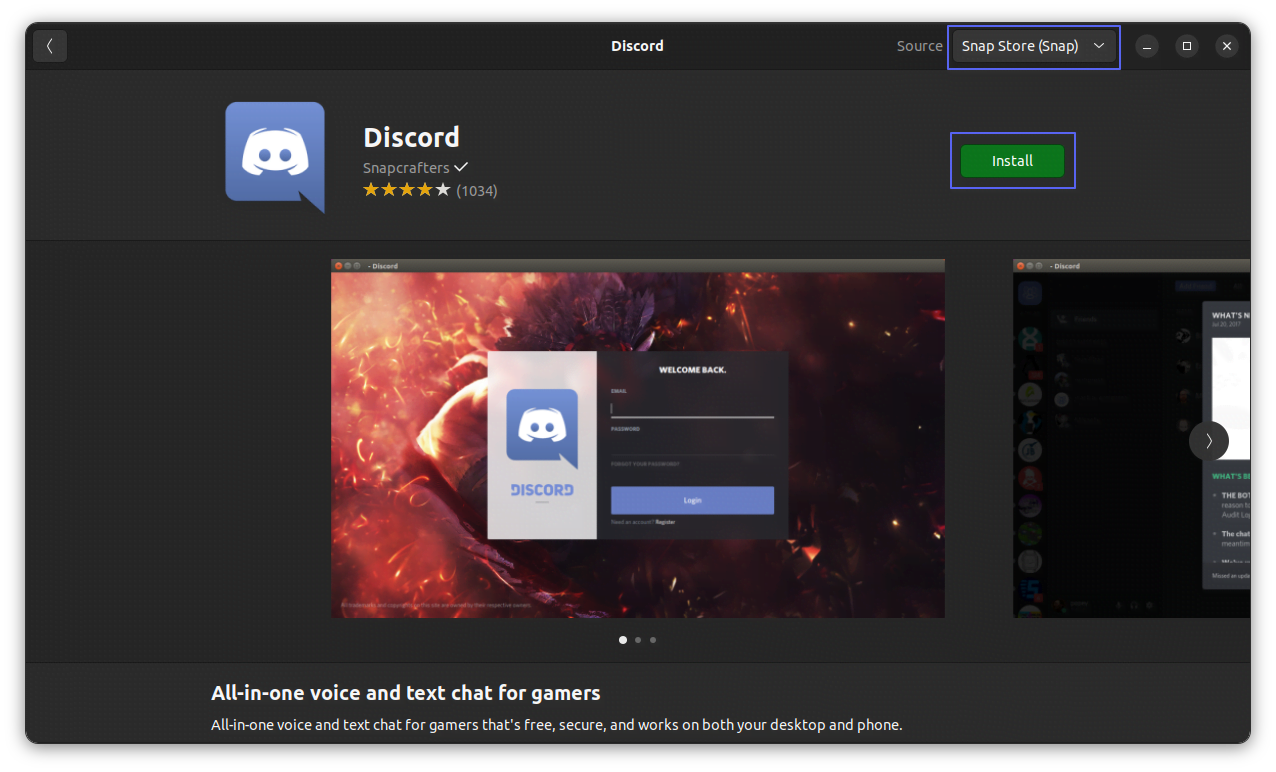
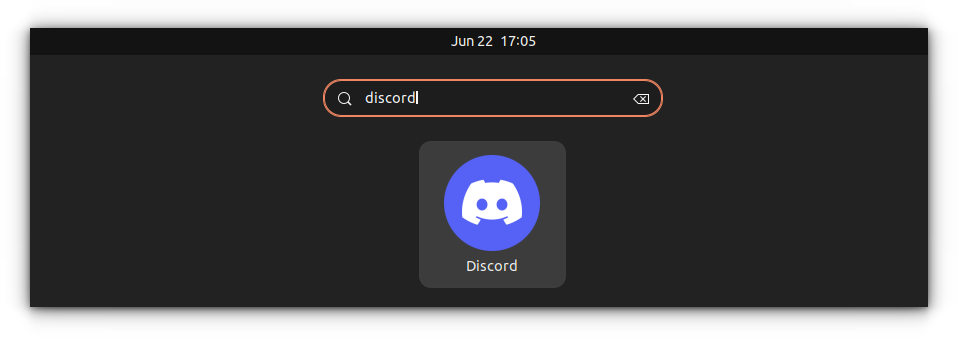
Ubuntu users can find Discord snap package in the Software Center and install it from there:
If you have enabled Snap support on your Linux distribution, you can use the following command to install it:
sudo snap install discord
If you want to remove it, you can use the snap command to uninstall it:
sudo snap remove discord
For Flatpak, you have to enable Flatpak support on Ubuntu. If you use other distributions like Fedora, you would have it enabled by default.
You can find the Discord package on Flathub and use the command below to get it installed:
flatpak install flathub com.discordapp.DiscordYou do not have to use the terminal if you can find Flatpak apps in your software center.
You may refer to our guide to install Discord in Fedora if you want to use DNF for installation.
Suggested Read 📖
 Ankush Das
Method 2: Installing Discord in Ubuntu and Debian-based Linux Distributions
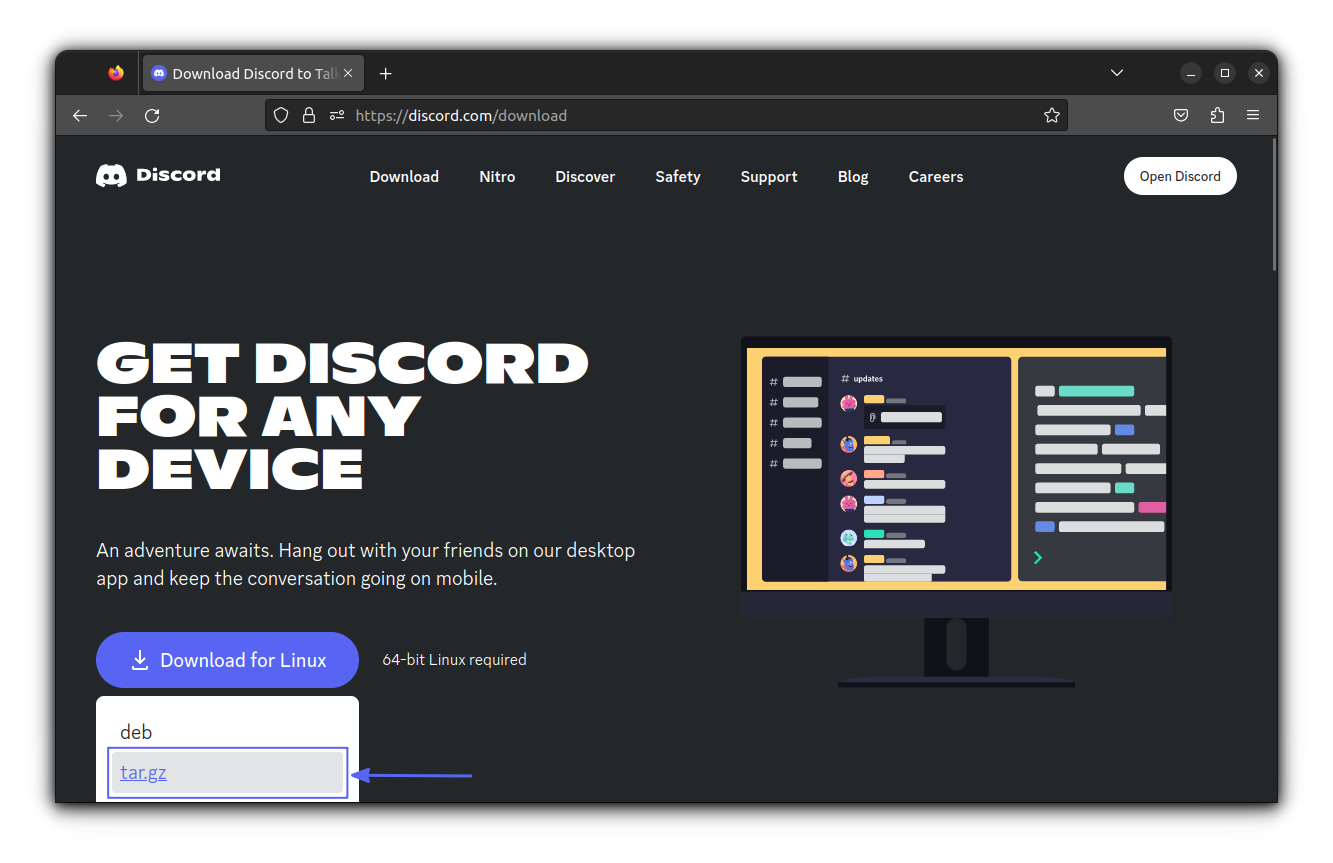
Go to the download page of Discord and download the deb file.
Keep in mind that, Discord is only available for 64-bit systems.

Installing deb file is easy — double-click on it to open it in the software manager and install it from there. You may also install and use the Gdebi tool for this purpose.
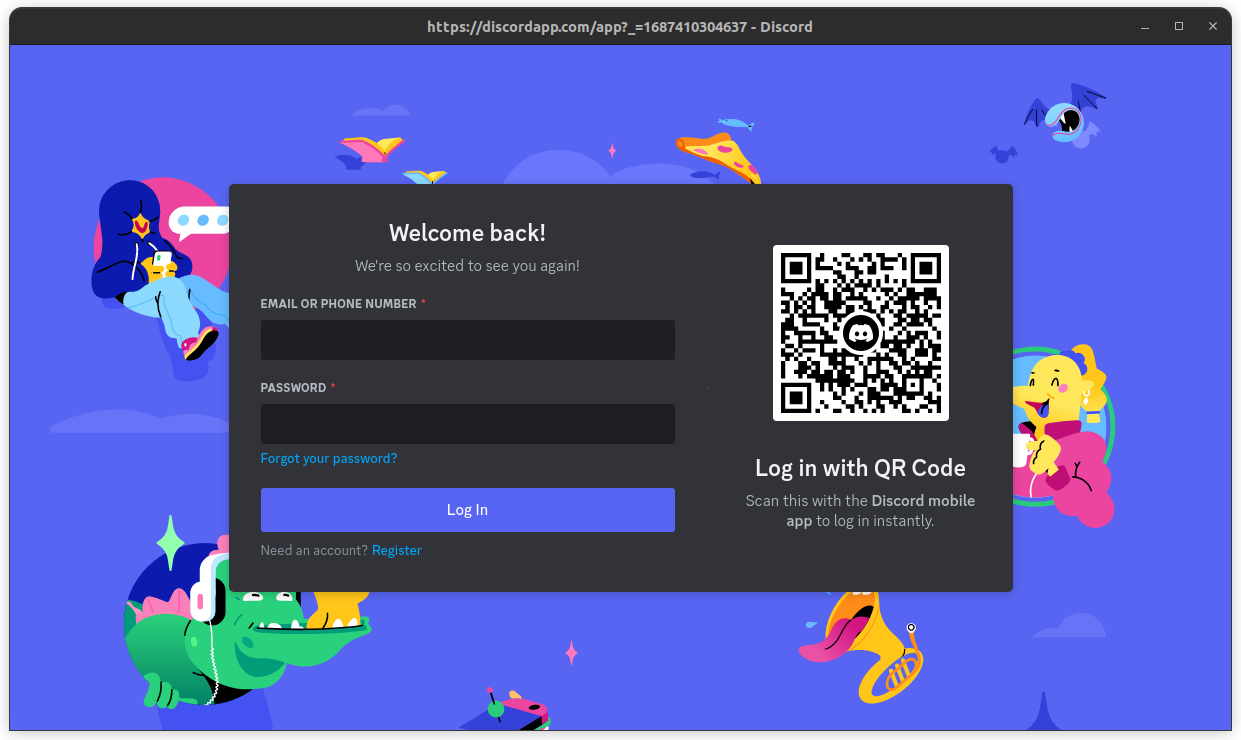
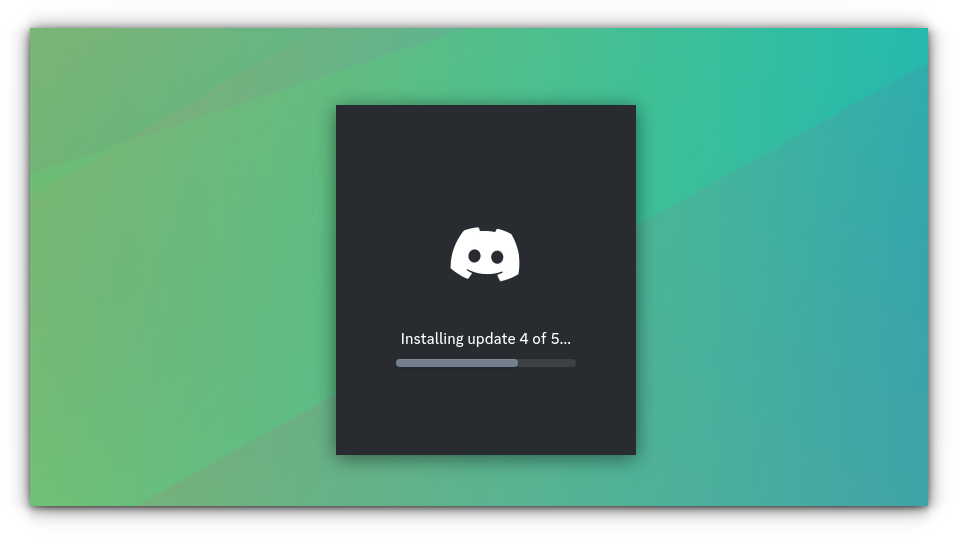
It will take a few seconds to install, and you should see a login screen like this:
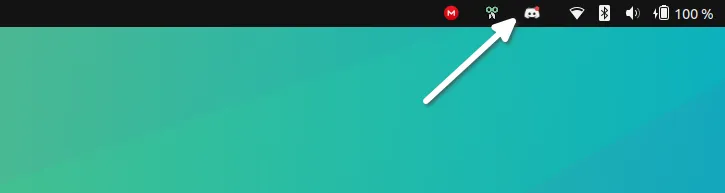
Once you are logged in, you should have full desktop integration. It shows a red notification badge next to its icon in the top panel when you have unseen messages.
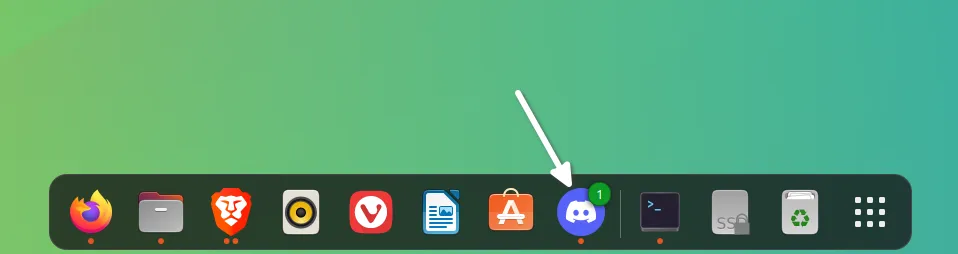
You can also see the number of unread notifications in the launcher:
Updating Discord
The problem with this approach is that though you’ll have the latest Discord version, it won’t automatically be updated to a newer version.
When a new update is available, it will notify you to download the new version.
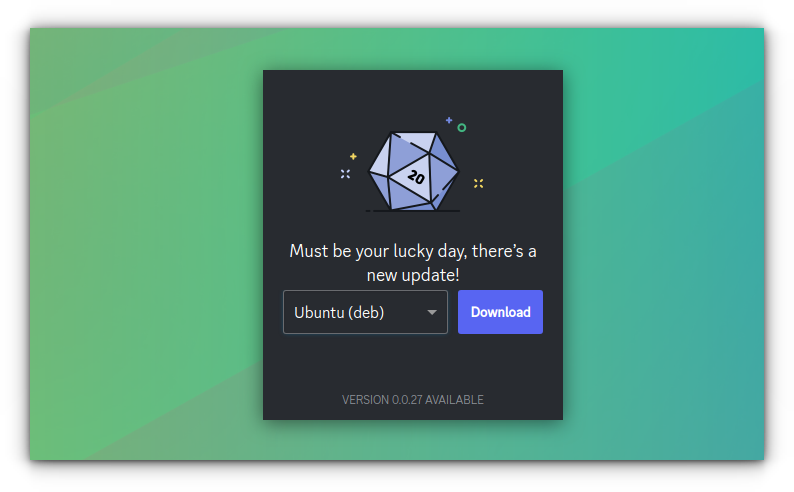
When you hit the download button, it downloads a new deb file. Now, here’s how things get interesting. When you double-click this deb file, it will open in Software Center but will ask you to delete Discord first.
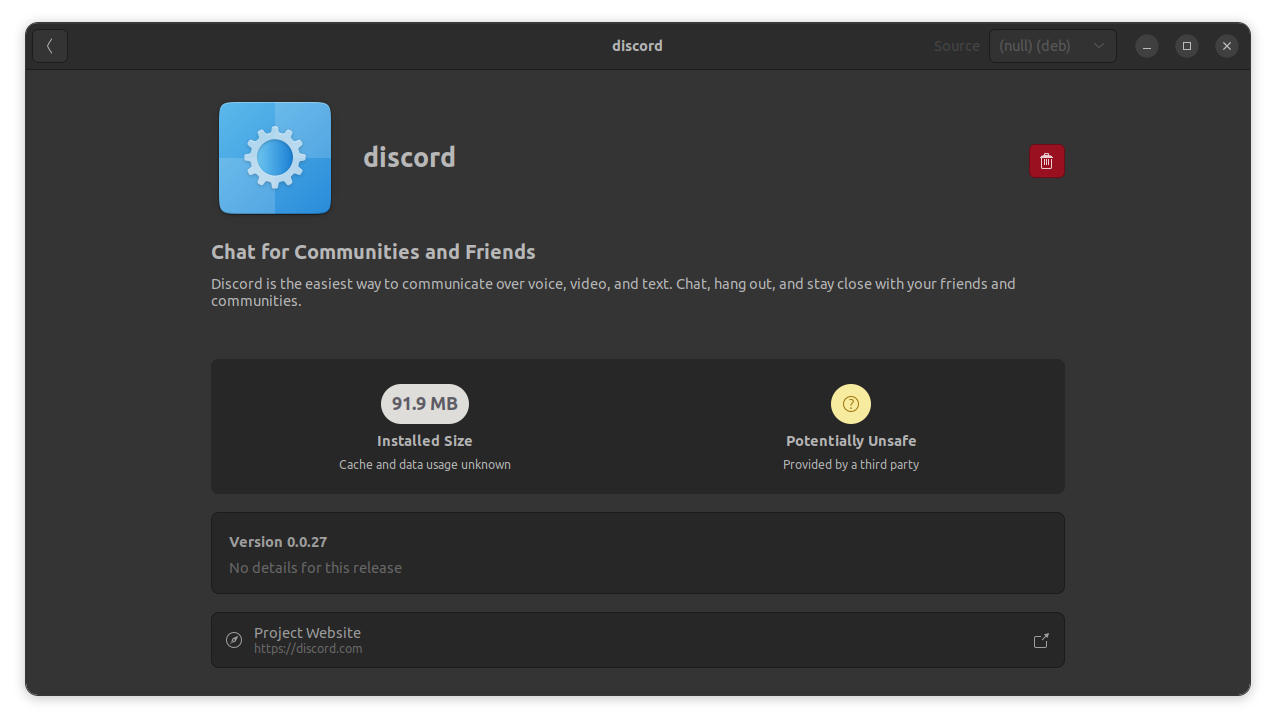
You must delete it first and then double-click the newly downloaded deb file again to install the new version.
Don’t worry. You won’t have to log in again. But this way of updating could confuse people.
Removing Discord
You can either uninstall it from the software center or use this command in the terminal:
sudo apt remove discord
Method 3: Installing Discord in other Linux Distributions (intermediate to advanced level)
Discord also provides a generic installer for using Discord on Linux. It comes in the traditional tar.gz file.
If you go for this way of installing Discord on Linux, you should have at least a moderate understanding of Linux directory structure and commands. You must also be comfortable using the terminal because this method involves using the terminal all the way.
If you use Arch-based distros, follow our guide on installing Discord on Arch Linux (and its derivatives).
Step 1: Download Discord for Linux
First, download the tar.gz file from Discord’s website.
Step 2: Extract the downloaded file to opt directory
Go to the directory where you have downloaded the file. Use the tar command to extract the tar.gz file in the /opt directory.
sudo tar -xvzf discord-0.0.27.tar.gz -C /opt

Traditionally, the /opt directory is used for installing/keeping files of optional or additional Linux software. Since you opted for the traditional way, it only makes sense to use the traditional convention.
Step 3: Create a Discord command in bin directory
Now you should have /opt/Discord directory with files related to Discord. You should have two important files to tackle here. A binary file named Discord and a desktop file named discord.desktop.
Now, you should create a symbolic link to this binary file in /usr/bin directory.
sudo ln -sf /opt/Discord/Discord /usr/bin/DiscordThe /usr/bin directory contains the binary executables for commands in your system. This way, any user can run the commands anywhere in the system.
Step 4: Create a desktop icon and menu entry
You have Discord available as a command for all users on the system. But you cannot find it in the system menu to launch it graphically.
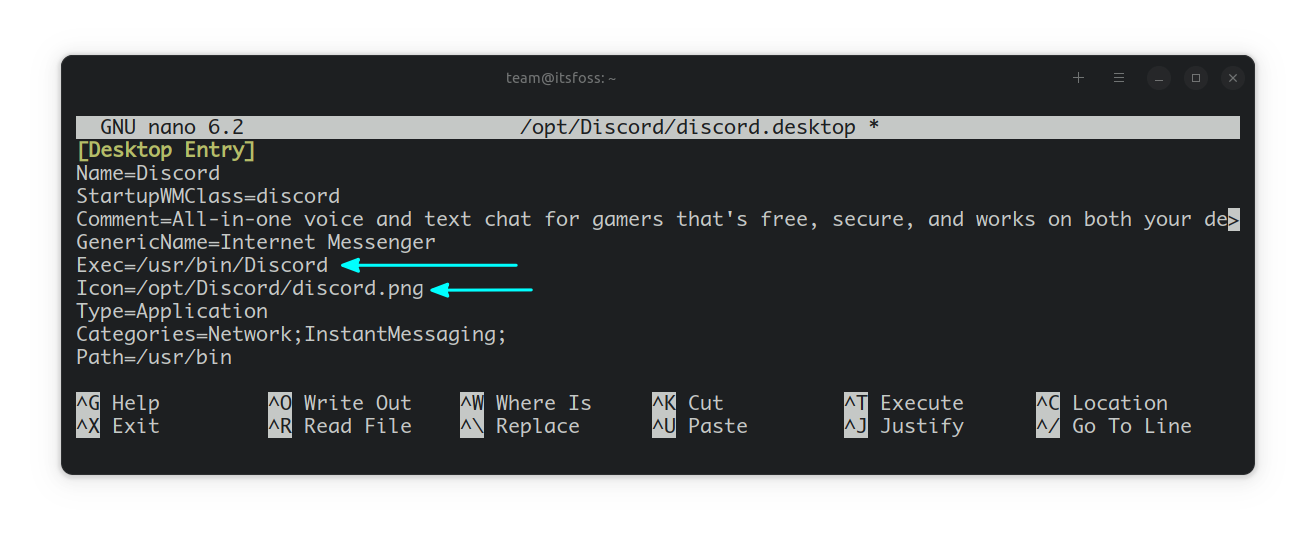
For that, you’ll have to use the discord.desktop file located in the extracted folder in the opt directory.
You should pay attention to two lines here: Exec and Icon.
The Exec is for an executable file, and you can set it to /usr/bin/Discord. The Icon is for the image of Discord that will be displayed when you search for Discord in the menu. You can set it to the /opt/Discord/discord.png. This image is present in the extracted folder.
You can use nano editor with sudo for editing this file or whichever terminal-based text editor you prefer. Your discord.desktop may look something like this:
Your discord.desktop file is still in the /opt/Discord directory. You need to move it to /usr/share/applications directory so that your system can access this desktop entry.
sudo cp -r /opt/Discord/discord.desktop /usr/share/applications
Normally, you should see Discord added to the list of available applications in the menu immediately. If not, log out and log in again.
Step 5: Run Discord
You are done. Now, if you search for Discord, you will find it in the menu.
As usual, when you launch it for the first time, Discord will apply some updates and initialize to get started.
After that, it should bring you to the login screen. And, then you can log in to your account.

Removing Discord the traditional way
It would be unfair to just discuss how to install Discord. Let me give you some pointers about removing it as well.
When you install Discord on Linux, it saves the config file in .config/discord folder in your home directory. Delete these files:
rm -r ~/.config/discord
Next, remove the Discord directory from the /opt directory:
sudo rm -rf /opt/Discord
Also delete the symbolic link you had created:
sudo rm /usr/bin/Discord
As the last step, remove the desktop file:
sudo rm /usr/share/applications/discord.desktop
Suggested Read 📖
Ankush Das
Wrapping Up
Did you manage to install Discord on Linux? Which method did you use?
The traditional method is somewhat complicated, but at least this way, you can install it on any Linux distribution if you don't have luck with other methods.
Also, I recommend checking out our list of open source bots for Discord to help you better manage your server.
💬 Share your thoughts on this guide. And let us know how you use Discord in your life.
