

On our Arch installation video, a viewer requested a tutorial on installing Arch but with BTRFS and with encryption enabled.
And hence this tutorial came into existence.
I am using the official archinstall script. Though a command line tool, this guided installer allows even a moderate system user to enjoy the "greatness" of Arch Linux.
Requirements
Here's what I recommend for this tutorial:
- An x86_64 (i.e. 64 bit) compatible machine
- Minimum 2 GB of RAM (recommended 4-8 GB, depending upon the desktop environment or window manager you choose)
- At least 10 GB of free disk space (recommended 20 GB for basic usage with a desktop environment)
- An active internet connection
- A USB drive with a minimum 4 GB of storage capacity
- Familiarity with the Linux command line
Once you have made sure you have all the requirements, let’s install Arch Linux.
Step 1: Download the Arch Linux ISO
Download the ISO from the official website. Both direct download and torrent links are available.
Step 2: Create a live USB of Arch Linux
You will have to create a live USB of Arch Linux from the ISO you just downloaded.
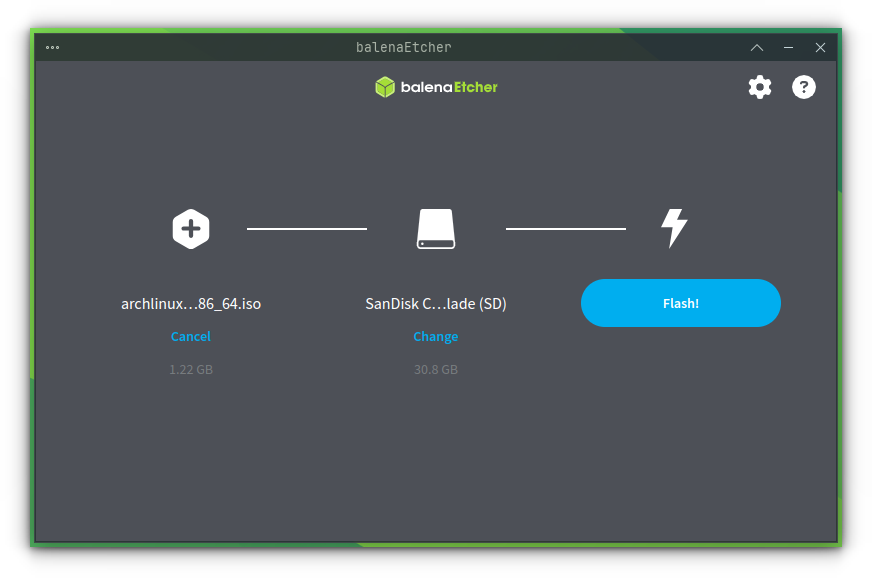
You may use the Etcher GUI tool to create the live USB. It is available for both Windows and Linux.
Alternatively, if you are on Linux, you can use the dd command to create a live USB. Replace /path/to/archlinux.iso with the path where you have downloaded the ISO file, and /dev/sdx with your USB drive in the example below. You can get your drive information using lsblk command.
dd bs=4M if=/path/to/archlinux.iso of=/dev/sdx status=progress && sync
Basically, choose any live USB creation tool you like.
Step 3: Boot from the live USB
Once you have created a live USB for Arch Linux, shut down your PC. Plug in your USB and boot your system. While booting, keep pressing F2, F10 or F12 key (depending upon your system) to access UEFI boot settings.
Here, select to boot from USB or removable disk. Once you do that and the system boots, you should see an option like this:
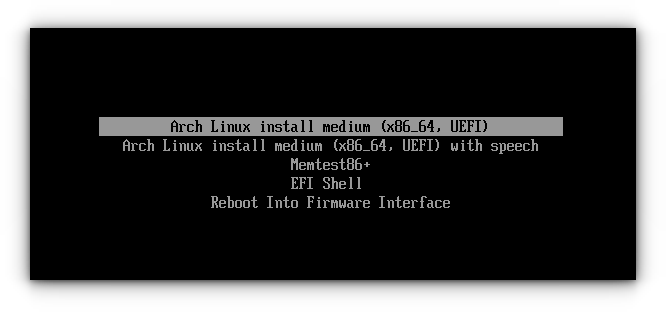
Select Arch Linux UEFI (x86_64) option to start the live medium.
Step 4: Connect to Wi-Fi
You need an active internet connection for installing Arch Linux.
If you have wired connection, good. Else, you need to make some effort to connect to your Wi-Fi before starting the archinstall script.
First, in the Arch Linux live prompt, enter the command:
iwctl
This Internet Wireless daemon control is used to enrol Wi-Fi connection to your system. As soon as you enter the command, you can see that the prompt has changed to iwd.
Here, you need to list devices to get the name of your wireless hardware device.
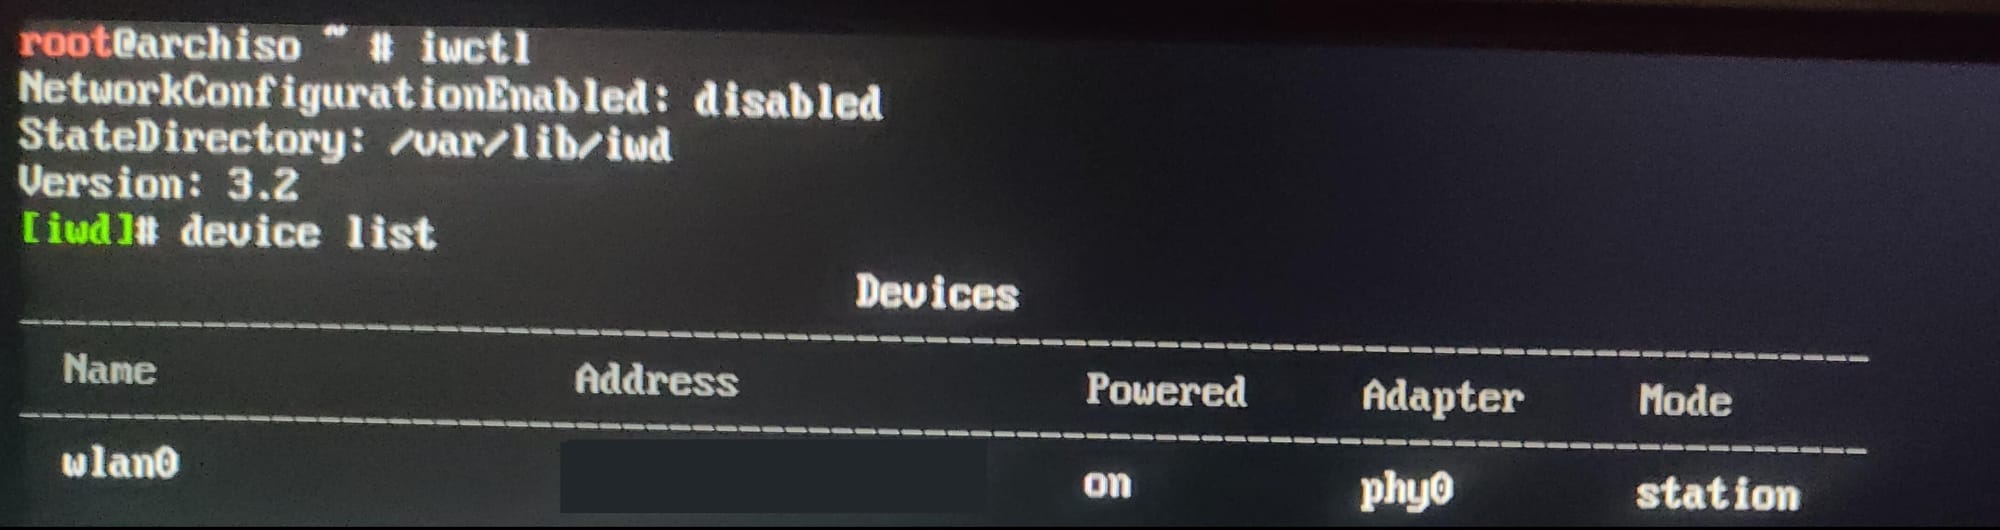
In the above screenshot, you can see the name of my Wi-Fi device is wlan0.
Now, use this device to scan available Wi-Fi connections in the vicinity.
station wlan0 scan
station wlan0 get-networks
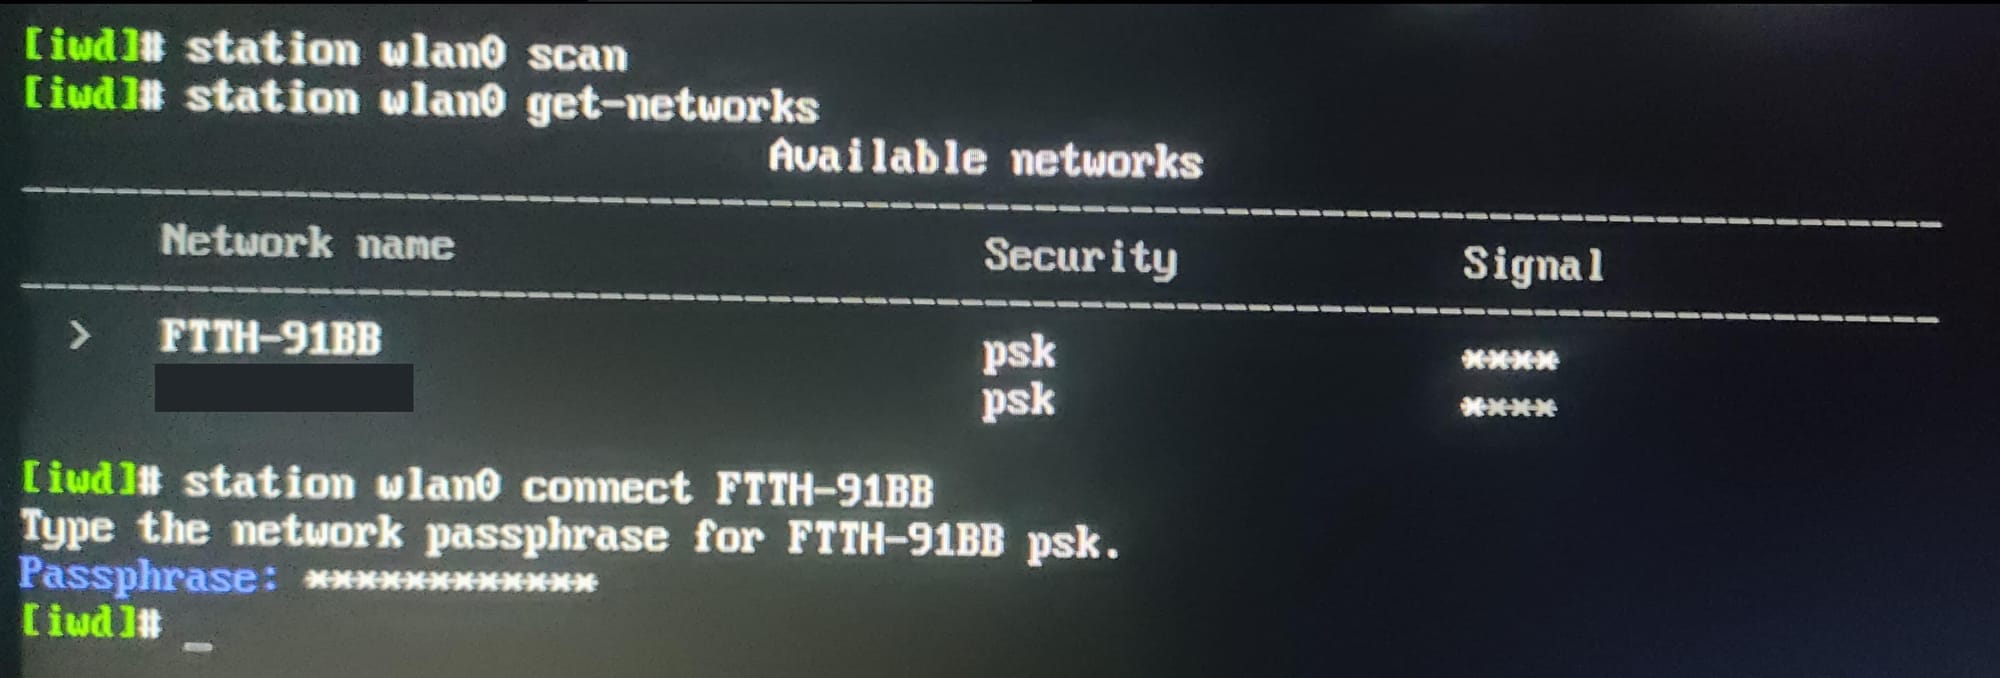
This will print the name of the Wi-Fi services available. Note the “Network Name”.
To connect to the network, use the command:
station wlan0 connect "Network Name"
This will ask you to enter the Wi-Fi password. Enter it and you should be now connected to internet.
Exit the iwd prompt using CTRL+D.
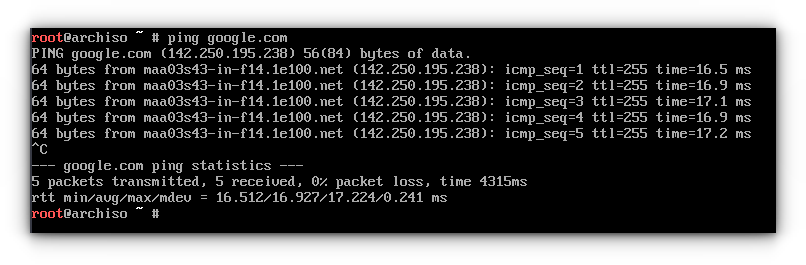
You can check if the network is functioning using the ping command:
ping google.com
Step 5: Pacman download settings
Before starting the archinstall script, let's change the download limit of pacman.
Edit the pacman configuration using:
nano /etc/pacman.conf
Here, uncomment the parellelDownload option and set a value according to your internet speed.
If you have a decent internet speed, set the parallel download count to 10.
pacman -Sy and then pacman -S archlinux-keyring (install Arch Linux keyrings) before starting the installer. Otherwise, the installer crashed with some errors.You may also need to read carefully what the prompt error says.
Step 6: Start Archinstall script
With the network connection ready, let's start the archinstall script with the command below:
archinstall
This will start the text-based arch installation script.
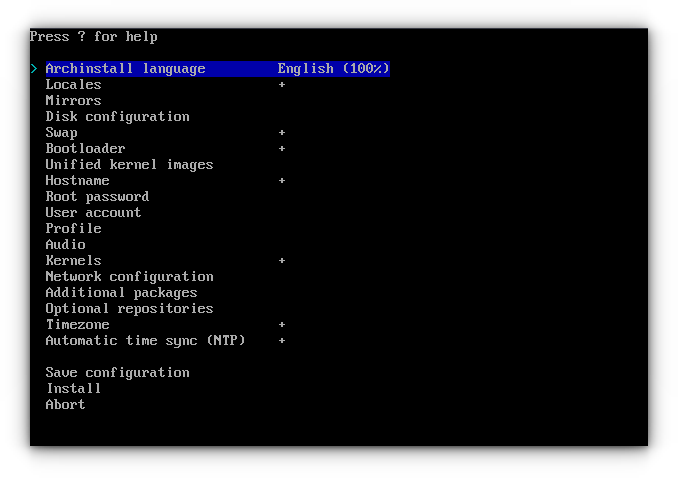
Set the installation language
The first setting in the installer is the installation language. This option sets what language is used in the Terminal User Interface.
The latest archinstall provides a percentage value corresponding to each language, that describes how much translation has been completed.
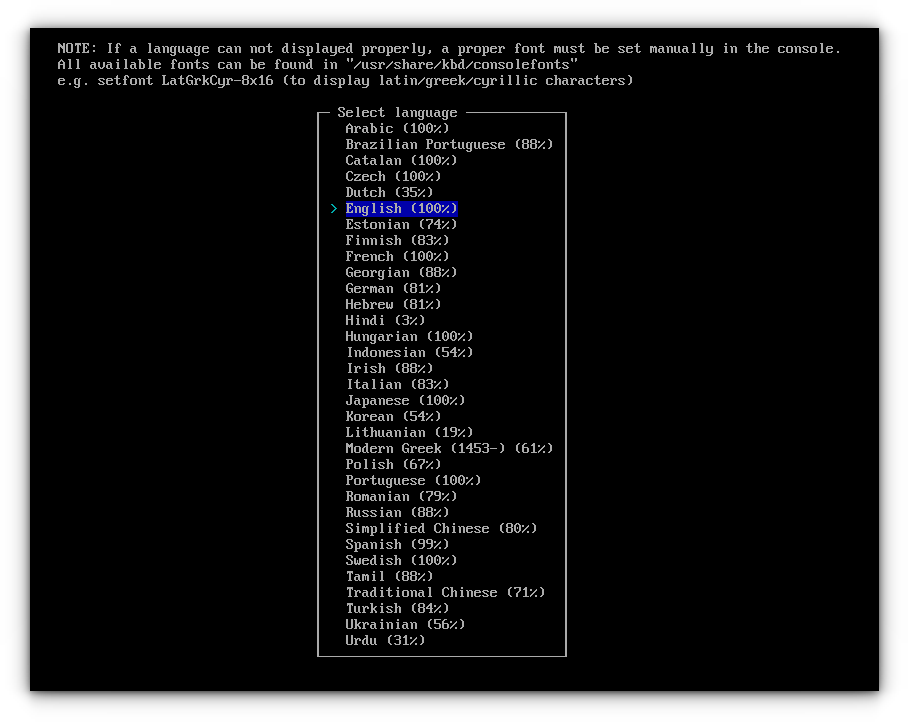
I will be going with the default English.
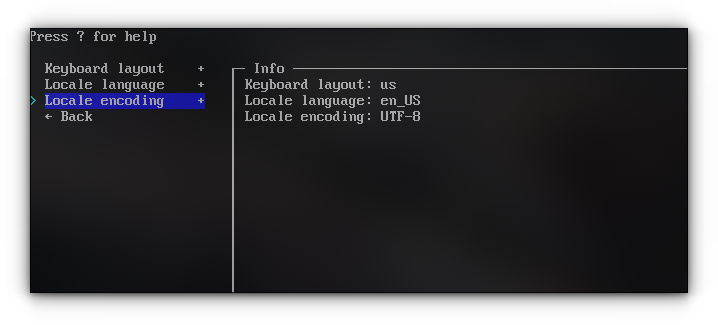
Locale Settings
You should set your locale and keyboard settings. Here, if you are OK with the defaults, you can skip to the next setting.
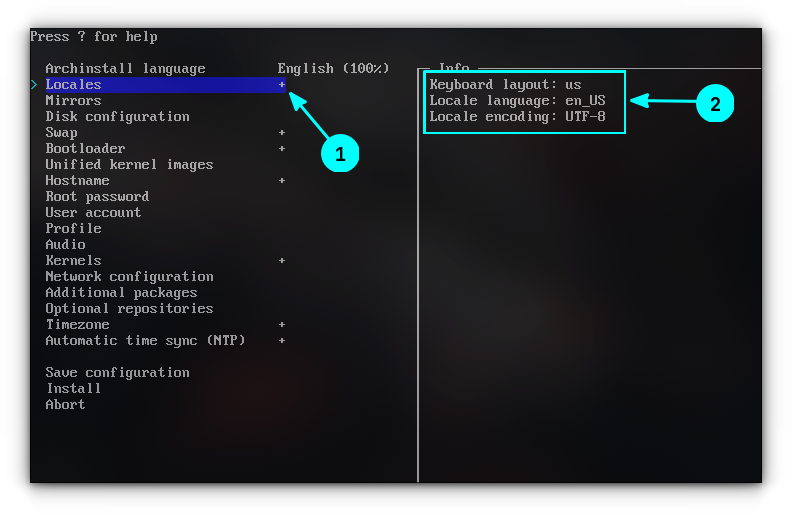
To change a setting, press the enter key to go inside and select individual items.
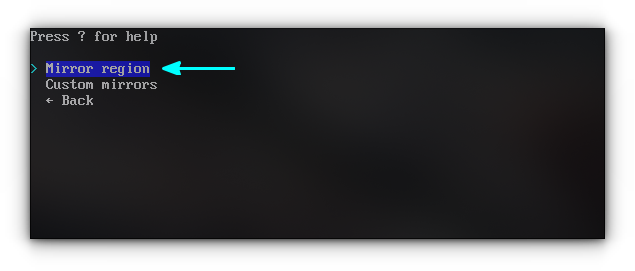
Mirror settings
Press the enter key on the Mirrors in the main menu of archinstall script. This will bring you to the mirror selection section.
Enter the Mirror Region.
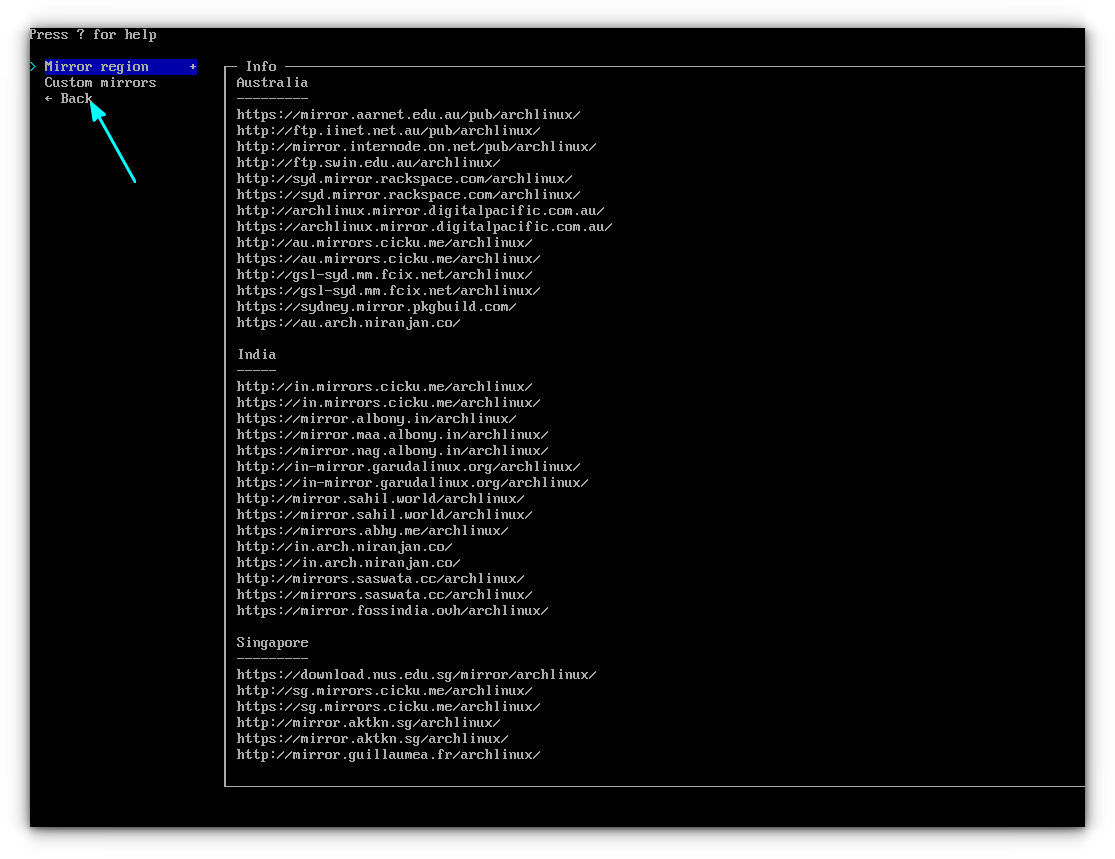
This will provide a list of countries. You can select a country near your location for a faster network.
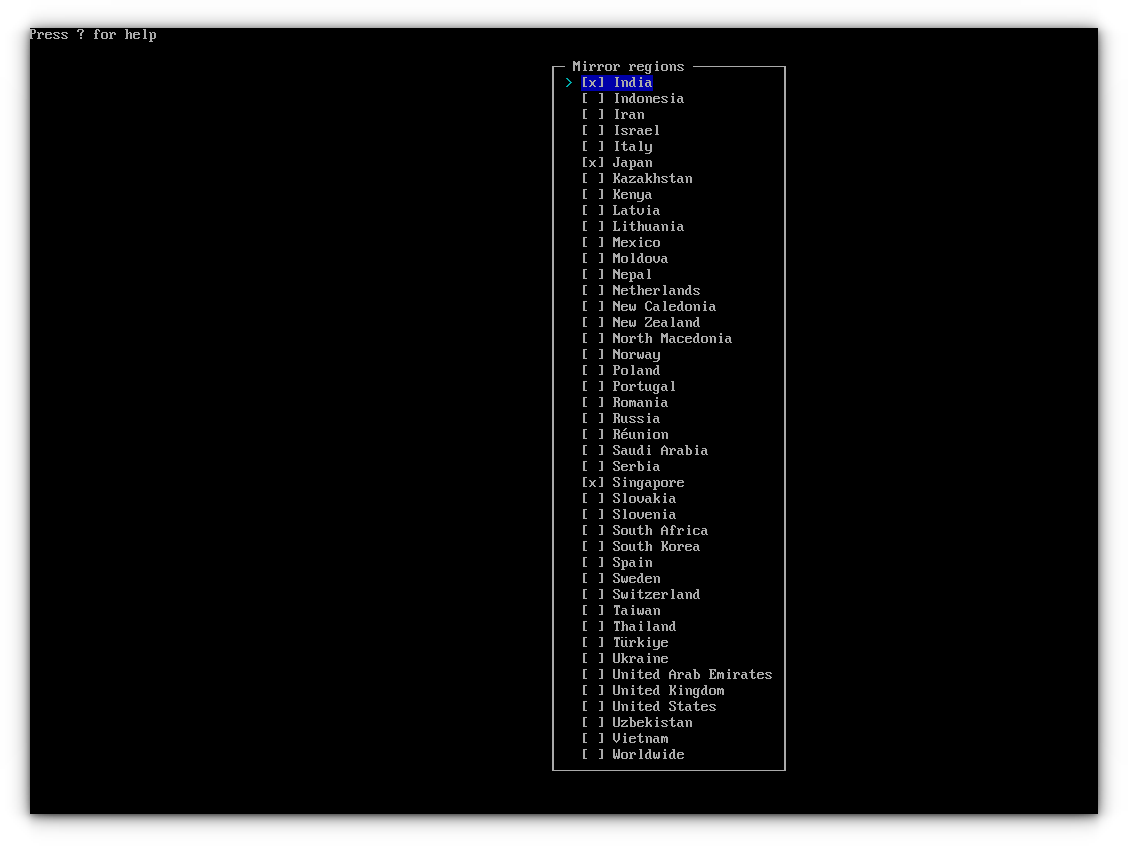
The mirrors from selected countries will be listed. Move to “Back” and click enter.
Disk Configuration
Now, you need to partition your disk. The archinstall has a neat mechanism to help you here.
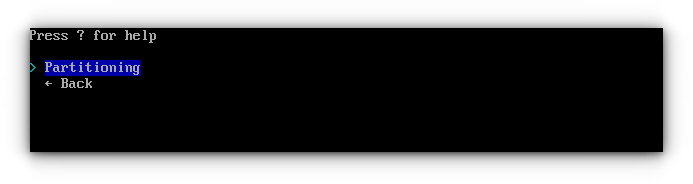
On the main menu, select “Disk Partition”. Inside this, select “Partitioning”.
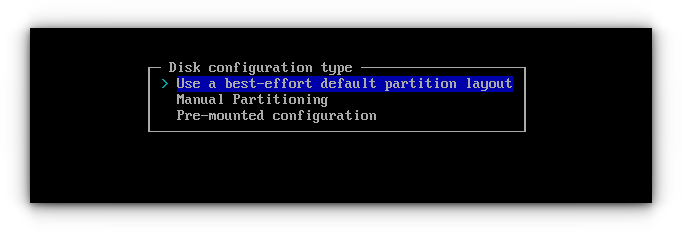
Here, use the option “Use a best-effort default partition layout”.
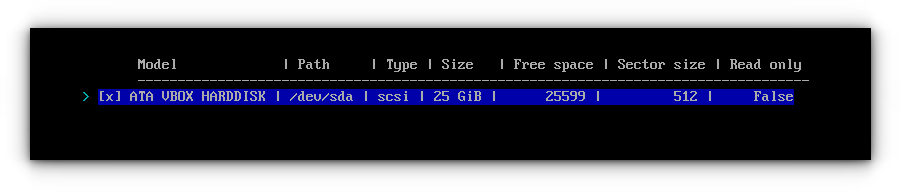
In the next dialog, use the TAB key to select your hard disk device and press the ENTER key.
Choose a partition type. Here, I am going with BTRFS partition. You can pick EXT4, a very well-tested file system, or XFS, f2fs etc.

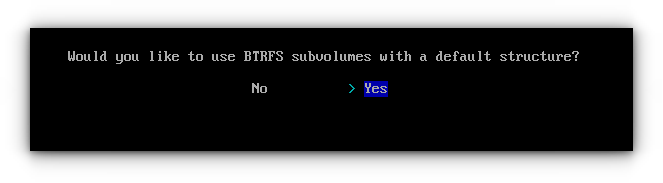
On the next screen, you will be asked to use a default subvolume structure or not.
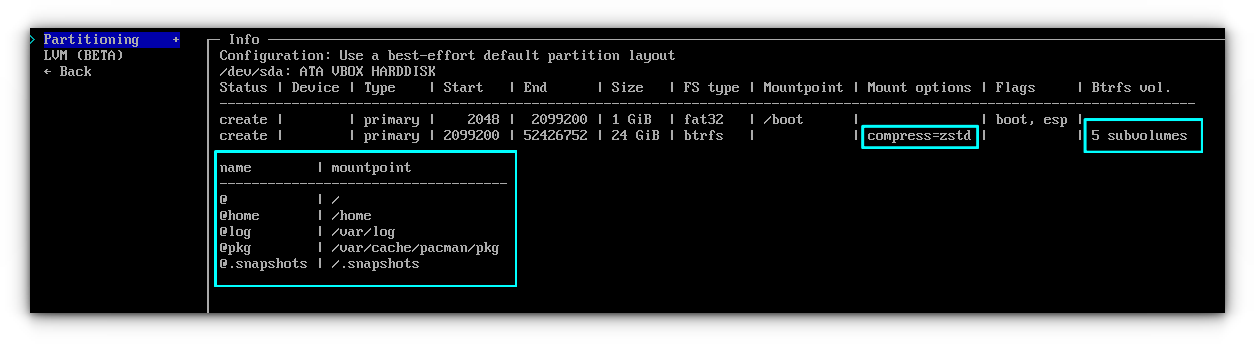
Let's say you select “Yes”.
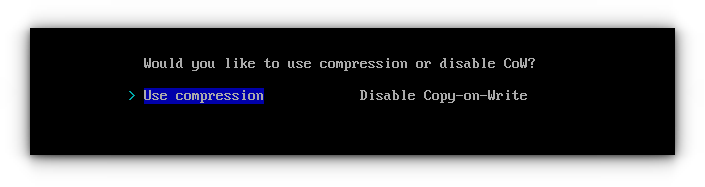
You will be asked to pick compression or disable copy-on-write. It is advised to select Compression, to enable a Zstd compression.
This will create a partition for you, with subvolumes for /, /home, /var/log, /var/cache/pacman/pkg, and /.snapshots.
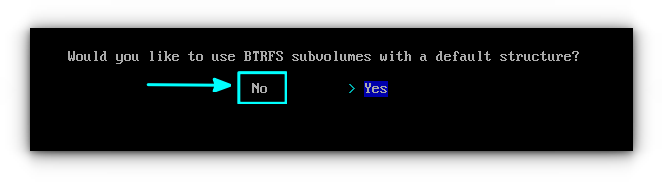
If you are using a simple system, and not going to use such features, you can choose to avoid the subvolumes.
For this, pick “No” for BTRFS default subvolumes.
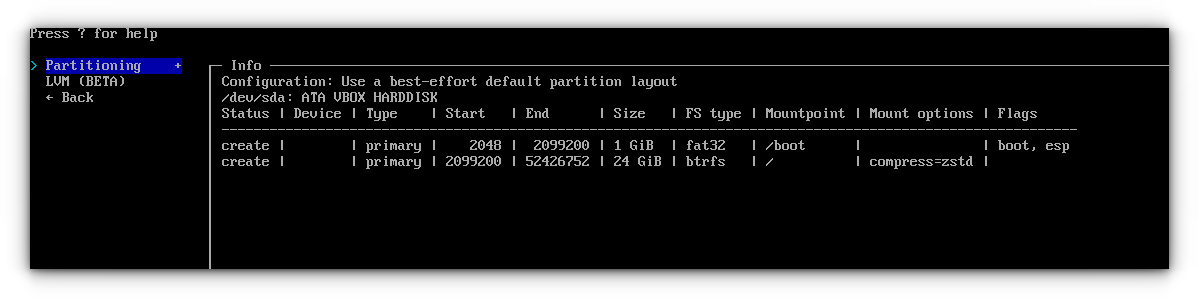
On the next screen, you should select “Use Compression” option.
Thus, you will get a simple partition for the system.
Use the "Back" button to go to the installer main menu.
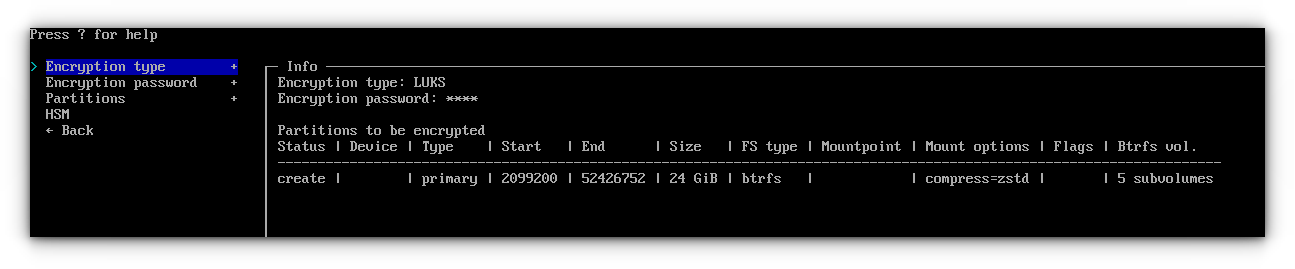
Disk Encryption
Select the Disk Encryption option from the main menu. On the dialog box, select Encryption type and pick LUKS.
This will enable two other fields; Encryption password and Partition.
Fill the fields. Select the partitions that need to be encrypted using the TAB key.
Swap
Swap on zram is enabled by default in the installer. If needed, you can disable it.
Bootloader
By default, it is set to systemd-boot. This is a simple bootloader for those who expect simplicity.
If you require familar functionality, go for GRUB bootloader.

Hostname
You can configure hostname here. By default, it is archlinux.
Root password
Next is Root password. Select it using enter key. Then enter and confirm a strong root password.

User creation
It is important to create a regular user account other than root account. This is for day-to-day purposes.
On User section, select "Add a user" option.

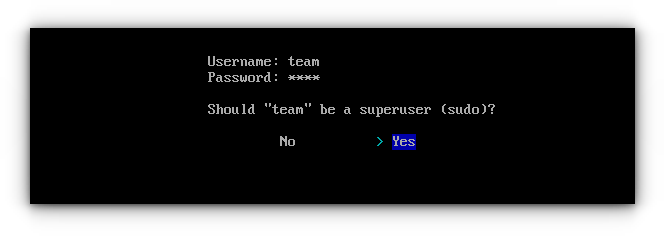
Here, enter the username.

Now, enter a password.

Confirm it by entering again when prompted. You will be asked whether the user a superuser or not.
Make the created user superuser (administrative privileges) by selecting the “Yes” option.
Now, use the "Confirm and exit" option.

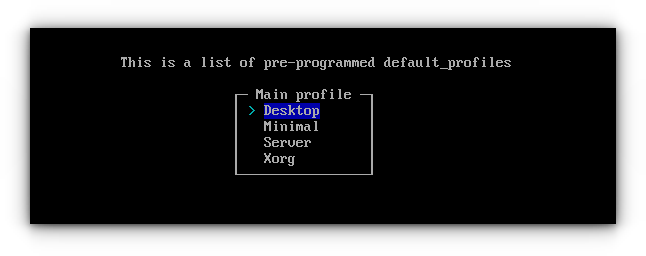
Profile (Desktop selection)
The “Profile” field in the installer is where we will set desktop environments.
Select Profile → Type. Here, select the Desktop option.
On the next screen, select a desktop (desktops) using the TAB key and press enter.
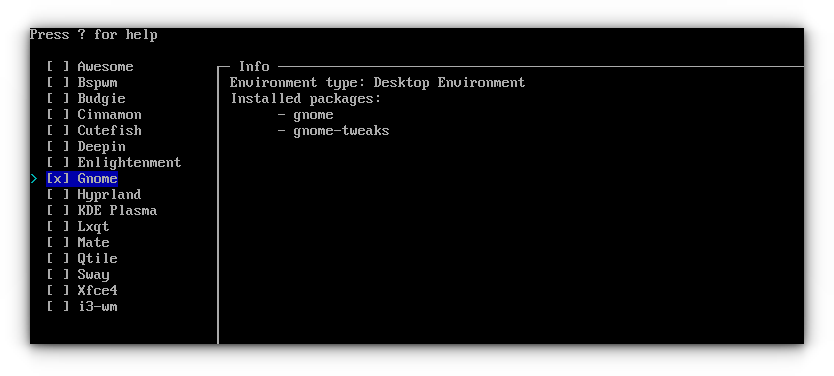
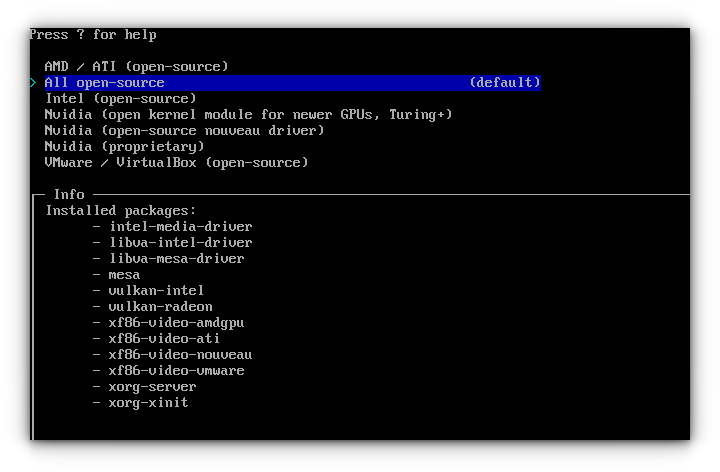
Selecting a desktop and pressing enter will bring you to the driver selection settings.
For the test system, the installer automatically assigned all open-source drivers.
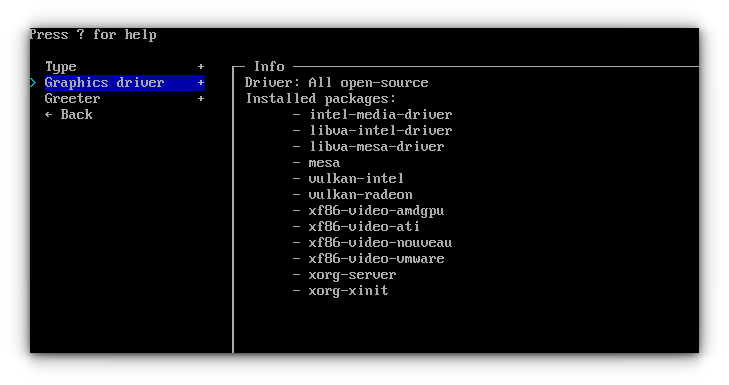
You can enter the “Graphics driver” settings and decide appropriate driver packs.
Normally, you should not be doing anything on the greeter, as it will be automatically selected (GDM for GNOME, SDDM for KDE Plasma etc.)
Audio settings
For Audio settings, you can select Pipewire or pulse audio.

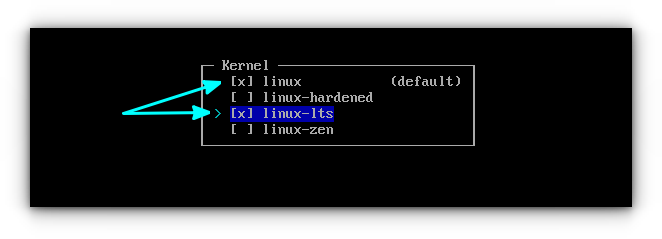
Kernel
You can either go with the default Linux kernel or select multiple kernels. Learn more about kernel options in Arch Linux.
The screenshot below shows two kernels selected, linux and linux-lts.
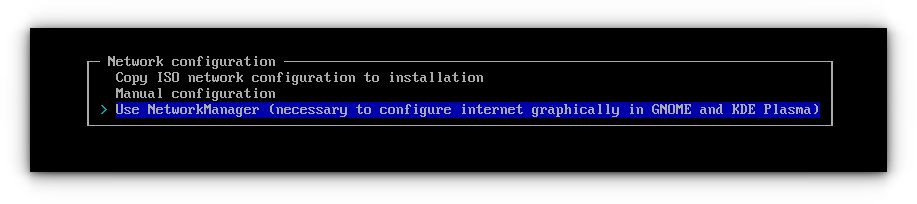
Network Configuration
In the Network Configuration settings, select "Use NetworkManager" option.
Additional Packages
If you need to install additional packages to your system, you can do it at the installation stage itself.
Press enter key on “Additional package” option in main menu.
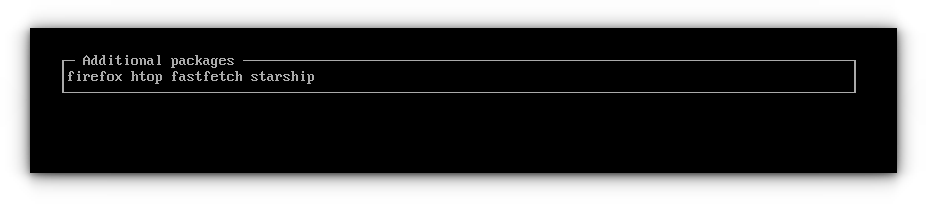
Now, just enter the proper name of the packages you want to install, separated with space.
In the screenshot below, packages like firefox, htop, fastfetch, and starship are added.
Optional Repositories
You can enable multilib repositories using this setting. Select items using the TAB key and press enter. Learn about various Arch repos here.

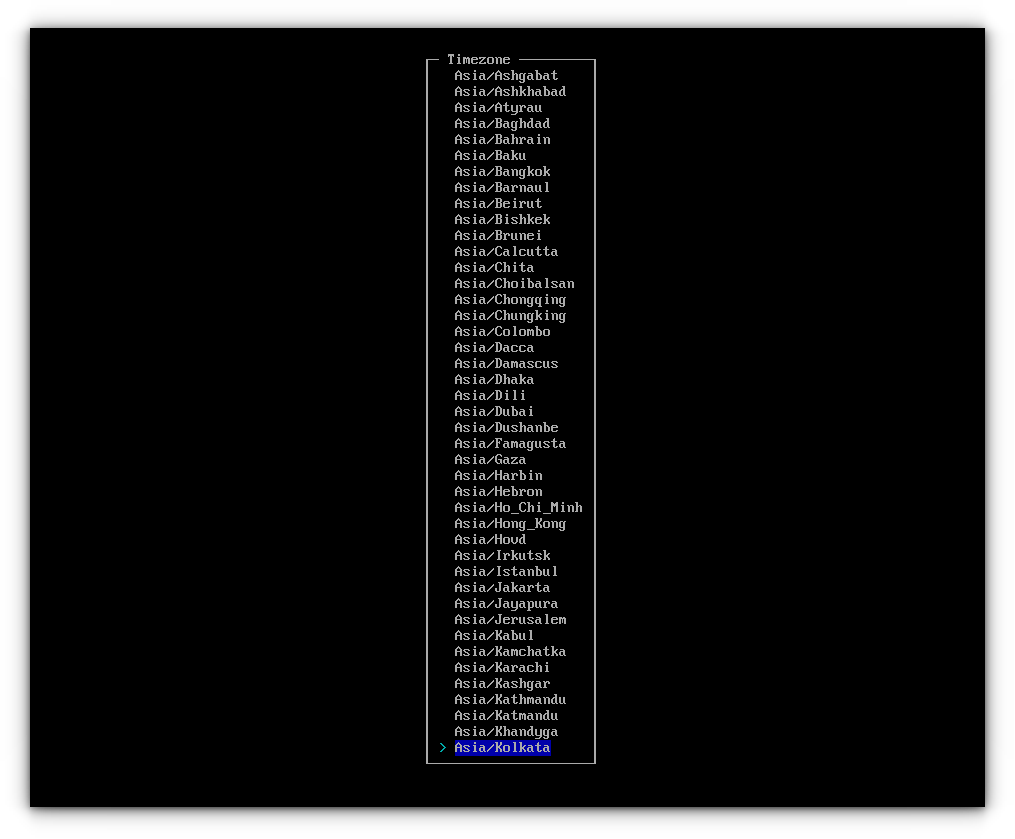
Timezone
Search and set the timezone based on your location. Asia/Kolkata for Indian Standard Time, US/Central for central timezone etc.
Automatic Time Sync with NTP will be automatically enabled, and no need to change.
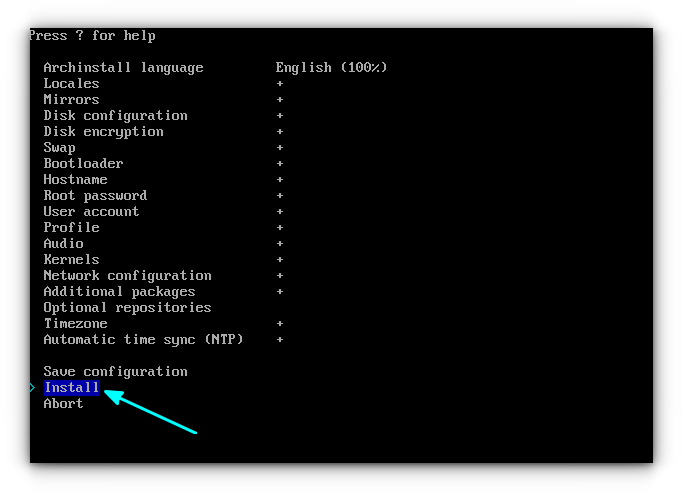
Start the actual install
Once all the settings have been done, you can use the Install option to start the installation procedure.
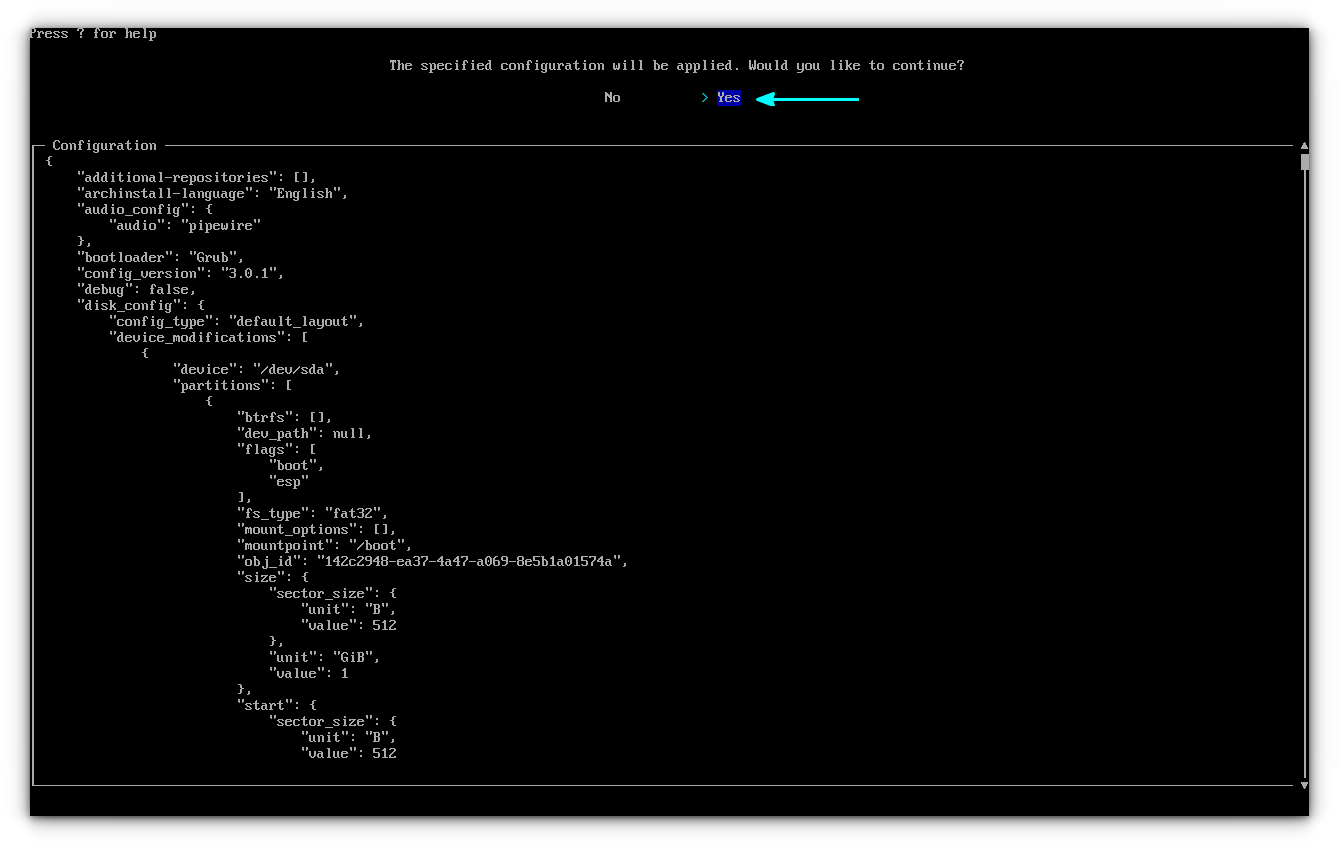
You will be asked to verify the installation configurations you have set. Once satisfied, enter on “Yes” option.
The process will be started, and you need to wait for some time to finish all the downloads and installations.
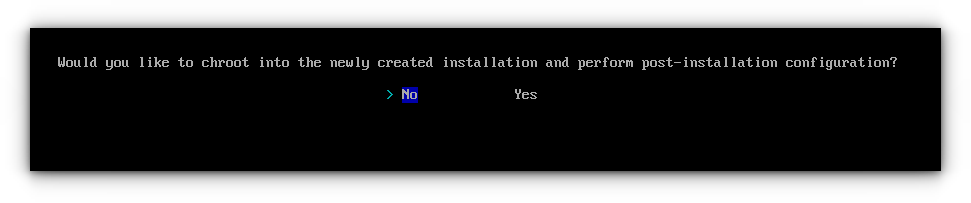
Step 6: Post Installation
Once the archinstall script finishes, it will ask you to chroot into the system for further settings. You can give NO to the question if you have nothing planned to do.
You can now shut down the system.
shutdown now

Once the system is shut down, remove the USB device from the port and boot the system.
This will bring you to the encryption page, if you have enabled encryption. Enter the password you have set.

You will reach the login page. Enter the password to log in to your system.
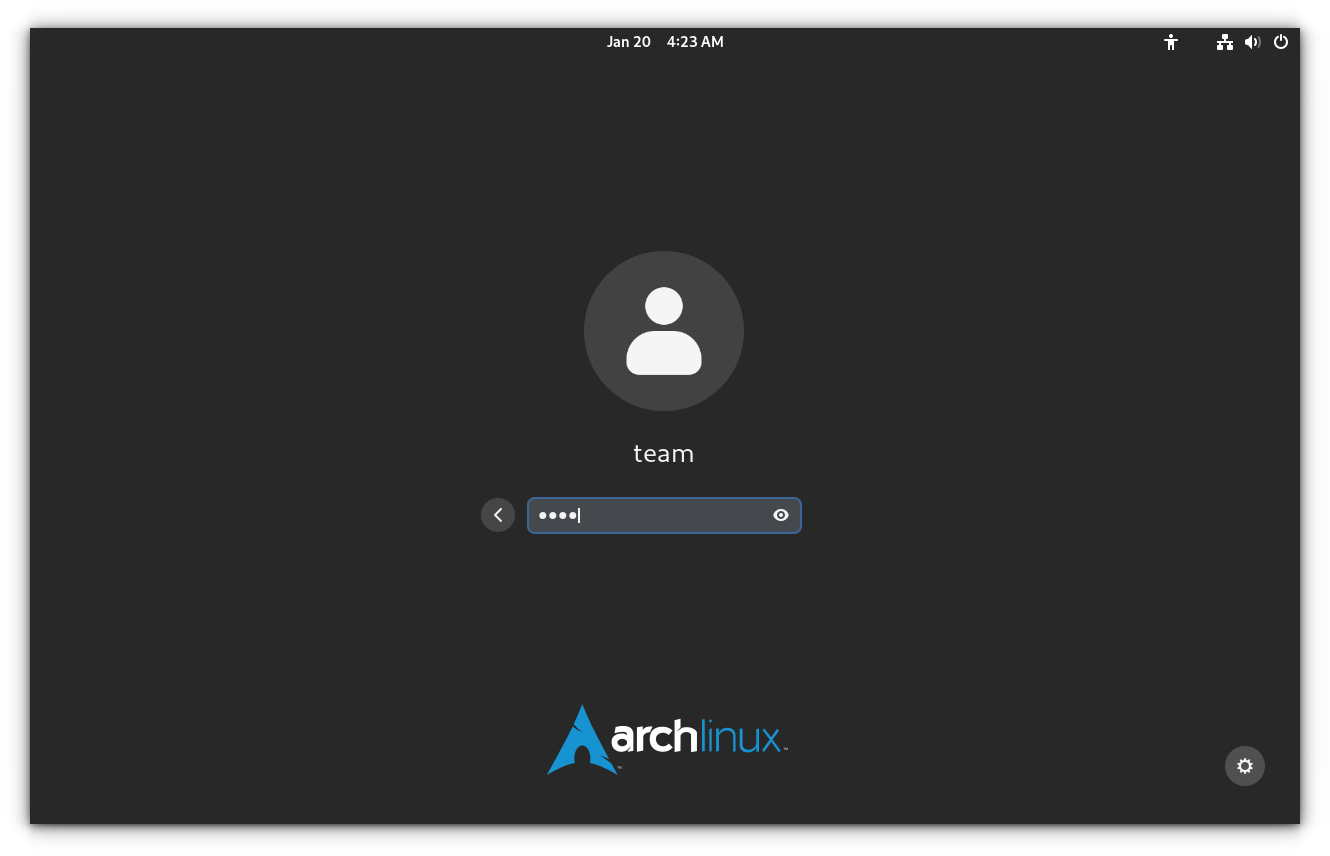
Enjoy Arch Linux with BTRFS and encrypted drive.

