
Brief: Ubuntu 18.04 uses a customized version of GNOME and GNOME users might not like those changes. This tutorial shows you how to install vanilla GNOME on Ubuntu 18.04.
One of the main new features of Ubuntu 18.04 is the customized GNOME desktop. Ubuntu has done some tweaking on GNOME desktop to make it look similar to its Unity desktop.
So you get minimize options in the windows control, a Unity like launcher on the left of the screen, app indicator support among some other changes.
While that’s a good news for Unity users, a long time GNOME user might not like those changes. And if you are one of those GNOME lovers, then you don’t need to stick with the Unity lookalike GNOME desktop. You can install the ‘real GNOME’ also called vanilla GNOME in Ubuntu 18.04 easily.
[irp posts=”25173″ name=”How to Switch from GNOME to Unity in Ubuntu 18.04 and 17.10″]
Installing vanilla GNOME in Ubuntu 18.04
If you ask my opinion, I would suggest sticking with what Ubuntu is providing. I like the customization and I feel more comfortable with Ubuntu’s GNOME implementation.
Unless you are a hardcore GNOME desktop fan, I won’t recommend using vanilla GNOME on Ubuntu 18.04.
Now if you have decided to go ahead with vanilla GNOME, use the command below to install GNOME desktop:
sudo apt install gnome-sessionIt should not take long. Just a few minutes, depending on your internet speed.
Optional: Ubuntu also has put its own CSS to make the GDM login screen look more in line with Ubuntu branding. If you are choosing vanilla GNOME, perhaps you would want to get the actual GNOME login screen, free from Ubuntu branding.
If you also want to install the actual GDM login screen of GNOME desktop, you can do that using the command below:
sudo update-alternatives --config gdm3.cssYou’ll be asked to enter your choice. Use the number you see at the beginning of the line that has gnome-shell.css. You can use the same method to get the Ubuntu login screen back by using appropriate choice here.

[irp posts=”25820″ name=”Top 20 GNOME Extensions You Should Be Using Right Now”]
Switching to vanilla GNOME
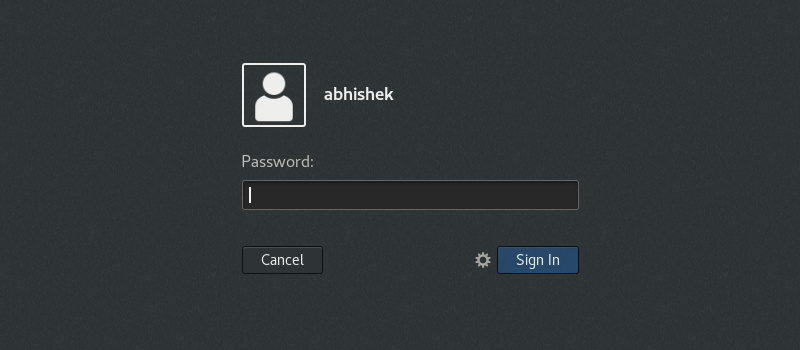
Once you have installed GNOME, restart your system. At the login screen, click on the username. You’ll see a gear symbol.
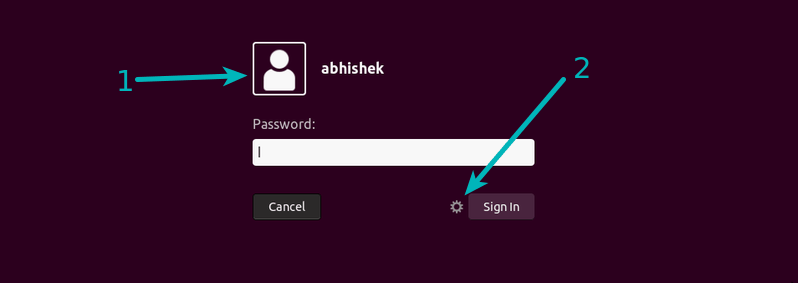
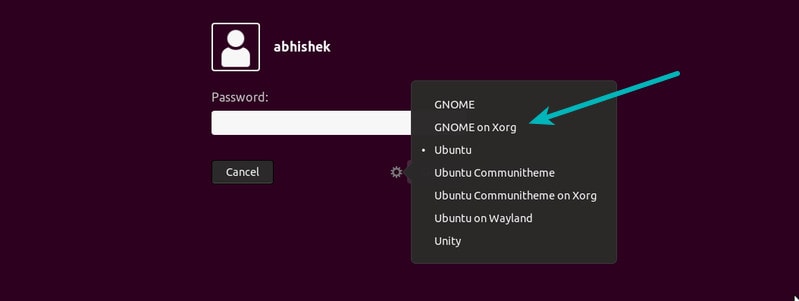
When you click on the gear symbol, it will show you various desktop sessions. Choose GNOME on Xorg here. You can also choose simply the GNOME that runs on Wayland. Many applications don’t work well with Wayland so it is better to stick with Xorg.
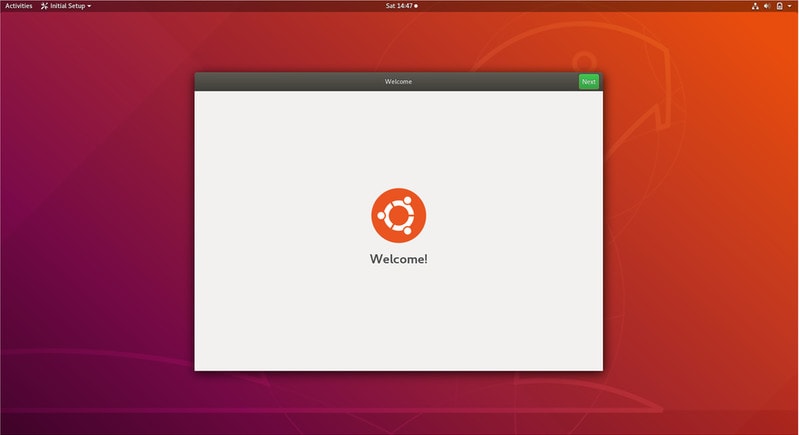
And when you log in now, you’ll see the good old GNOME without the dock and app indicators and a welcome screen. However, Nautilus still keeps the Ubuntu 18.04.
I hope you like what you see here. If you don’t, you can choose to go back to the Ubuntu’s GNOME by selecting Ubuntu from the login screen.
I hope this tutorial helped you in installing vanilla GNOME on Ubuntu 18.04. If you have any questions or suggestions, please feel free to use the comment box below.
