
StackEdit is an open-source Markdown editor. What is Markdown? It is a straightforward Markup language. What these type of languages allow you to do is to easily create good-looking documents that can be converted to HTML (for putting them on blogs etc.), PDF or any other such formats.
In the past, we have covered Remarkable markdown editor. What makes StackEdit different from Remarkable and other markdown editors for Linux? First, it is an online tool (which also works offline). This allows it to sync with many different online services. Another great thing about StackEdit is that it comes with WYSIWYG controls. This means that you can use a toolbar stylize your document, which is a great relief for people like me who just can’t remember the proper syntax.
StackEdit has indeed a lot more features than many other Markdown editors, while still remaining easy to use, even for someone that has never written Markdown before.
Features of SlackEdit Markdown Editor
Here is a list you can reference to get an idea of what StackEdit can do:
- Edit multiple Markdown documents online or offline
- Save documents as Markdown, HTML or PDF
- Document collaboration with other users and comments through cloud services such as Dropbox and Google Drive
- Synchronize and edit existing Markdown documents from cloud services such as Google Drive, Dropbox apart from your local hard drive
- Post documents on blogging services such as Blogspot, WordPress, Tumblr in one push
- Post documents on GitHub, Google Drive, Dropbox or any SSH server
- Convert HTML to Markdown
- Real-time preview with optional scroll sync
- Markdown Extra/GitHub Flavored Markdown support and Prettify/Highlight.js syntax highlighting
- LaTeX (using MathJax plugin)
- UML diagrams
- Musical Scores (using ABC notation)
- Emojis
- WYSIWYG controls
- Built in spell checker
You can also customize it with the various available themes and several additional extensions.
Using StackEdit Markdown Editor
To start using StackEdit, simply browse to stackedit.io:
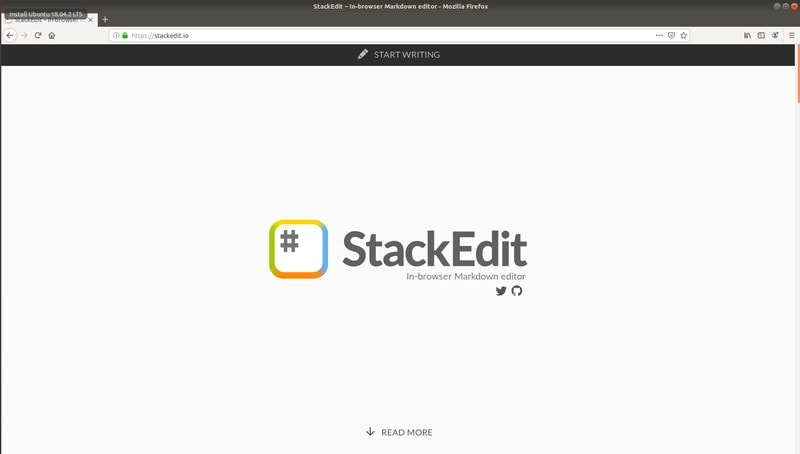
You’ll find here the main page, with links to the Twitter and GitHub pages. Scrolling down, you’ll be presented with the main features of this editor.
To start writing, click in the middle of the top bar of the website (START WRITING):
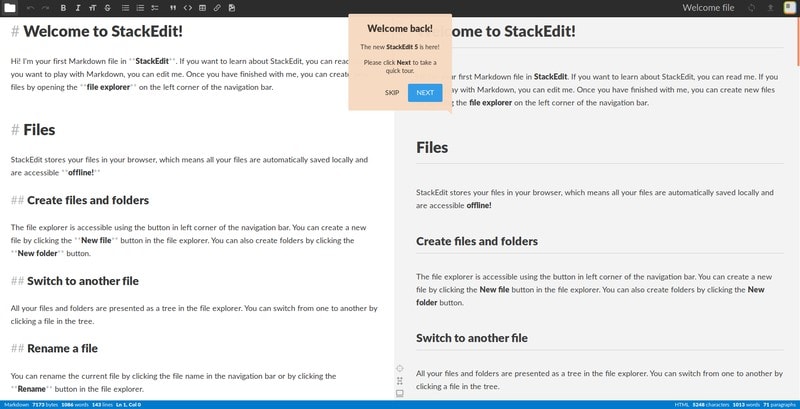
A pop-up should appear, offering you some very basic guidance. I’ll include some screenshots next, so you can find and use the features you want.
In the left part of the top bar you should see the WYSIWYG controls:
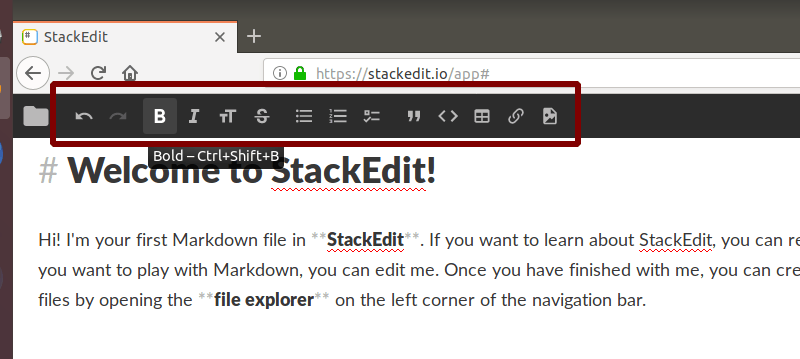
They all have useful hotkeys. Here they from left to right: Undo, Redo, Bold, Italic, Heading, Strikethrough, Unordered List, Ordered List, Check List, Blockquote, Code, Table, Link and Image.
Left to the WYSIWYG controls is a directory icon, the toggle icon for the Explorer. Clicking it will open up the workspace explorer in a panel to the left of the main screen (you can close it by clicking either the same icon again, or the X on the right side of the panel):
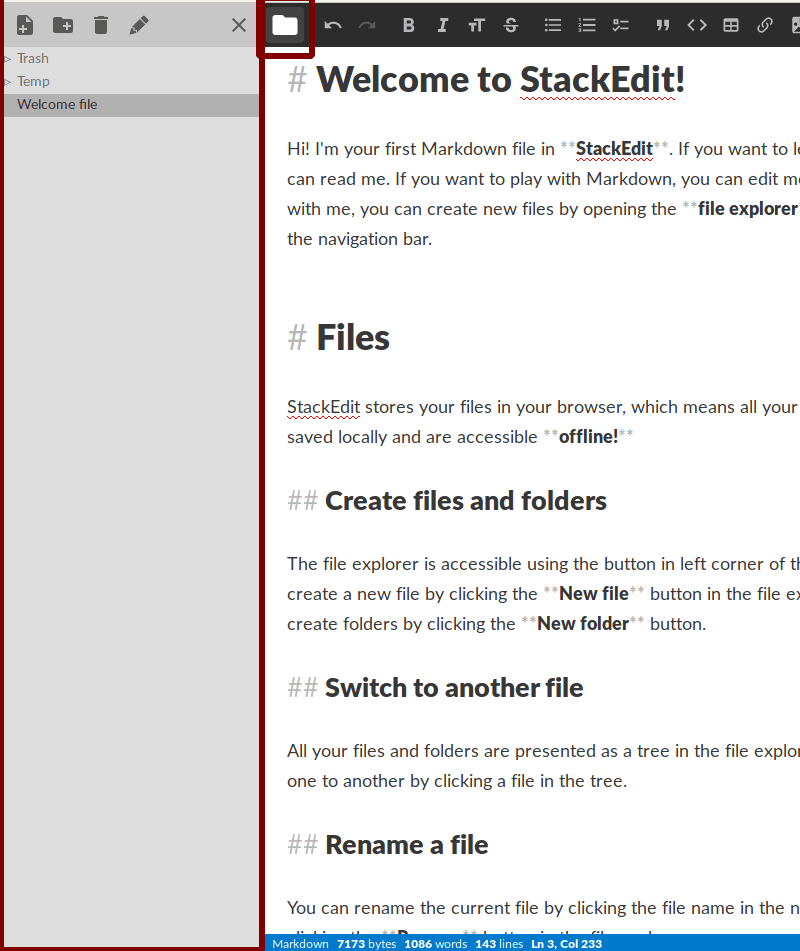
In the Explorer Panel you can create new files and folders, delete or rename old ones and move files to other folders by dragging them. If you delete a folder, all content inside will be moved to the Trash.
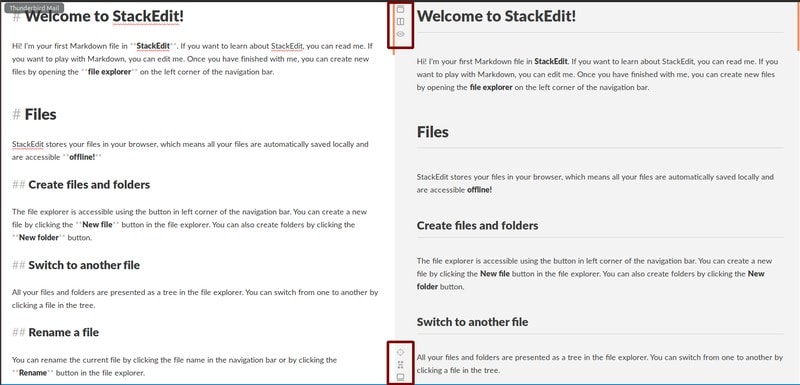
Moving on to the Main Screen, you get two sides: the editor and the live preview. In the middle there are two sets of three options each (I marked them with two boxes):
If you edit anything in the left side of the page (the editor), you’ll immediately see the changes in the preview.
Note: Scroll sync is enabled by default (every time you scroll either the editor or the preview the other one moves too).
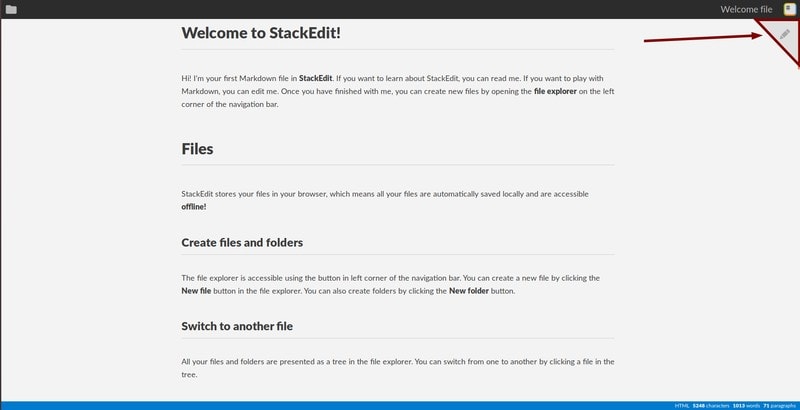
The first set of icons (top box) are toggles for the navigation bar (WYSIWYG controls etc.), a preview toggle (if you disable the preview, the controls will move to the right of the screen), and a toggle for the reader mode (disables editor). If you disable the editor, you’ll have to click the top-right corner (with the pen icon) to enable it again:
The second set of icons (bottom box) are toggles for focus mode (hides the caret), scroll sync and status bar (the blue bar on the bottom of the screen).
Since I’ve mentioned the status bar, it contains on the left side file format (e.g. Markdown), file size in bytes, word count, line count, caret position (line, column), and on the right side output format (HTML), character count, word count and paragraph count.
Let’s return to the top bar and talk about the right side:
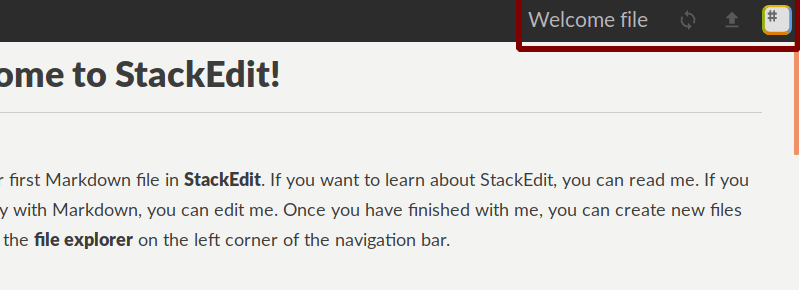
First of all, you can see the name of the file (clicking on it will allow you to rename the file). Right next to that, there is a sync button (to synchronize with the version in the cloud), as well as a publish button (to upload to a blog such as WordPress or Tumblr). Since I’m not connected to any cloud service or any blog, these two options are greyed out for me (and unclickable).
However, the button on the very right (StackEdit logo) toggles the side panel:
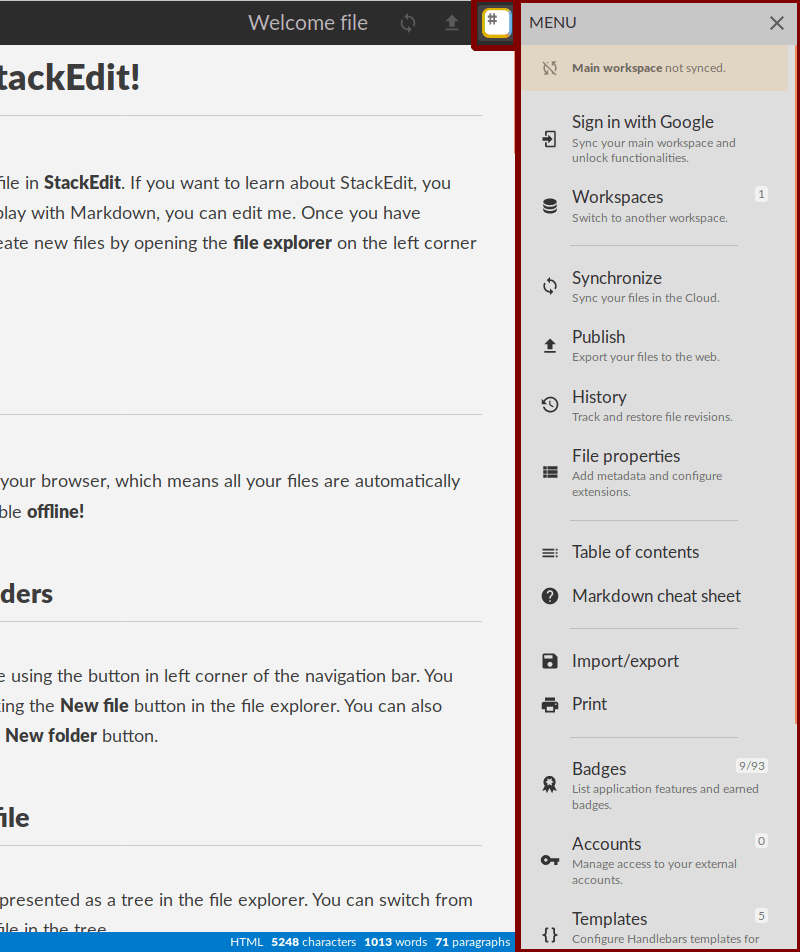
This side panel (right side) contains options concerning the workspace and the application. They are once again separated in categories by dashes.
First of all you can Sign in with Google to sync your workspace and unlock functionalities. You can also switch Workspaces (you can even switch to CouchDB, GitHub and GitLab workspaces) and manage them very easily.
Synchronize, Publish, History are self-explanatory, allowing you to revisit older versions. File Properties include metadata and used extensions.
The Table of Contents is generated automatically based on your headings and the Markdown cheat sheet comes in very handy for all users.
By clicking Import/Export you can import Markdown and HTML files and export Markdown, HTML and PDF files. You can also Print the output.
Further down (scroll in the panel) you have your Badges (awarded to you by the website for using certain features). You can also manage your Accounts (Blogger, Dropbox, GitHub, GitLab, Google Drive, Google Photos, WordPress, Zendesk) and Templates (Jekyll, plain HTML, styled HTML etc.). You can also add custom templates and copy existing ones.
Clicking the Settings icon will open up the following menu:
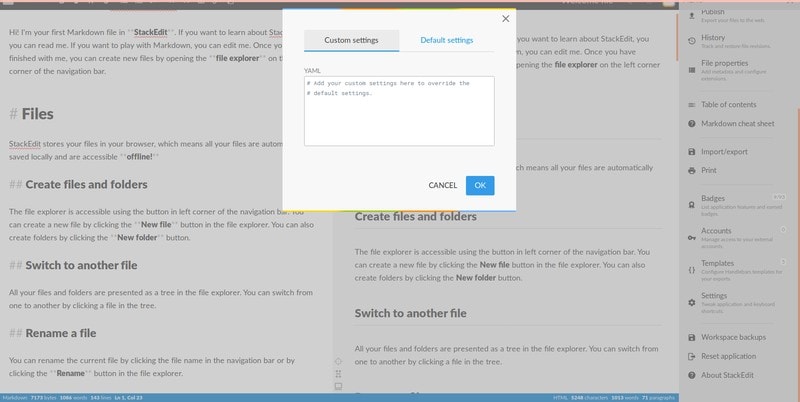
Here you can overwrite the editor theme and existing settings (including hotkeys) using YAML (taking a look at the default settings could help you, maybe even copying and pasting them, then modifying what you want).
The last options are importing/exporting Workspace backups, Resetting the application and opening a pop-up About StackEdit.
Here are some further guides for using the features that StackEdit provides.
Wrapping Up
You should now have a good idea about what this app is capable of. Think there are enough features to tempt you to try this open-source Markdown editor? Why not give it a try then?
If you are interested in markdown, perhaps you may also take interest in our list of LaTeX editors for Linux.
Let us know in the comment section if you are using any Markdown editors and how you are using them!
