

Have you ever thought about talking to your documents?
Like there is a long PDF that you are dreading reading, but it's important for your work or for your assignment.
What if you could ask questions to it like “What are the key features mentioned in the document?” Or “Summarize the view of the author”.
This all sounds too sci-fi or futuristic if someone would've said that a few years ago but with the advent of all the AI tools available in the market, it is quite normal.
Not only ChatGPT, there are tons of free and paid AI-based services that can do this job today.
But I would rather not share my documents and data to train someone else's AI. I'll do it myself.
I am going to show you how I set up PrivateGPT AI which is open source and will help me “chat with the documents”. You can try and follow the same steps to get your own PrivateGPT set up in your homelab or personal computer.
Requirements
- X64 Intel/AMD based CPU
- 8 GB RAM (minimum) but the more the better
- Dedicated graphics card with 2 GB VRAM (minimum)
- Any Linux distro will work just fine. Just pay attention to the package management commands. I am using Ubuntu Server 22.04 here.
- Python 3.11 (important)
- Plenty of time and patience
Step 1: Update your system
It is important to ensure that our system is up-to date with all the latest releases of any packages.
sudo apt update && sudo apt upgrade -y
Step 2. Installing Python version 3.11
We need Python 3.11. Ubuntu 22.04 and many other distros come with an older version of Python 3.10.12. So you need to upgrade the Python version.
To check your Python version, type:
python3 --version
In Ubuntu, you can use a PPA to get a newer Python version.
sudo add-apt-repository ppa:deadsnakes/ppa
Here I am also installing another package called python3.11-venv (Learn more about Python Virtual Environment)
sudo apt install python3.11 python3.11-venv -y
Although the new version of python is installed, the default version stays at 3.10. To change that, you need to update our alternatives:
sudo update-alternatives --install /usr/bin/python3 python3 /usr/bin/python3.10 110
then,
sudo update-alternatives --install /usr/bin/python3 python3 /usr/bin/python3.11 100
Now you have two configurations in the alternatives and all you have to do is update them:
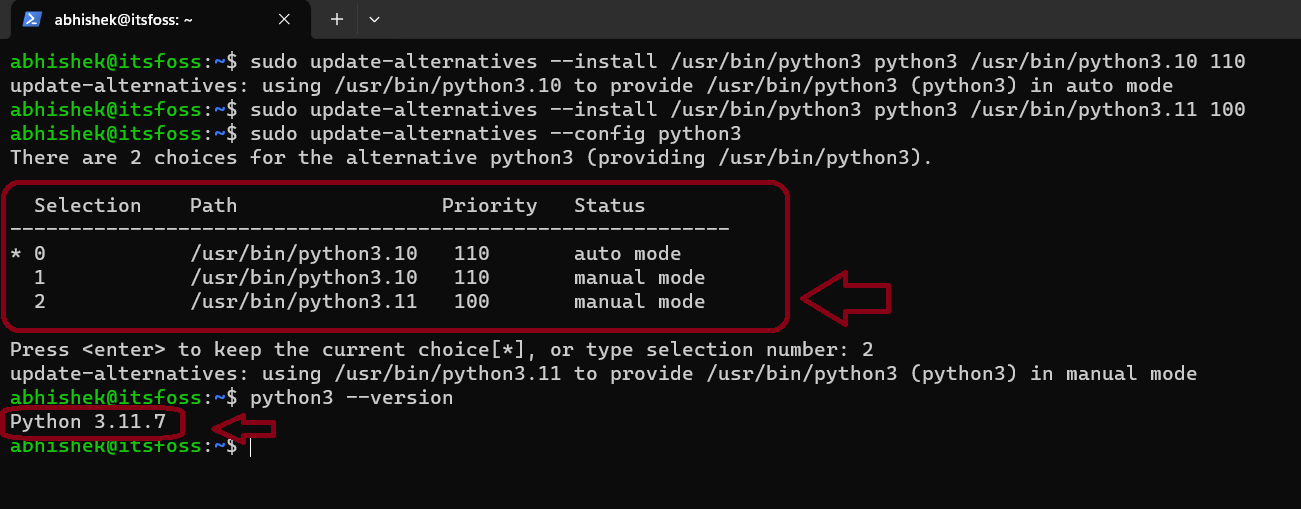
sudo update-alternatives --config python3
You'll be presented with two options to choose Python version and as you can see in the screenshot that I have selected number 2 which is the required version.
Step 3. Installing Poetry
You can install Poetry using pip. If you don't have it already, you can install Pip on Ubuntu using:
sudo apt install python3-pipafter that:
pip install poetry
At this step, the installer might throw some errors related to PATH just like in the screenshot below:
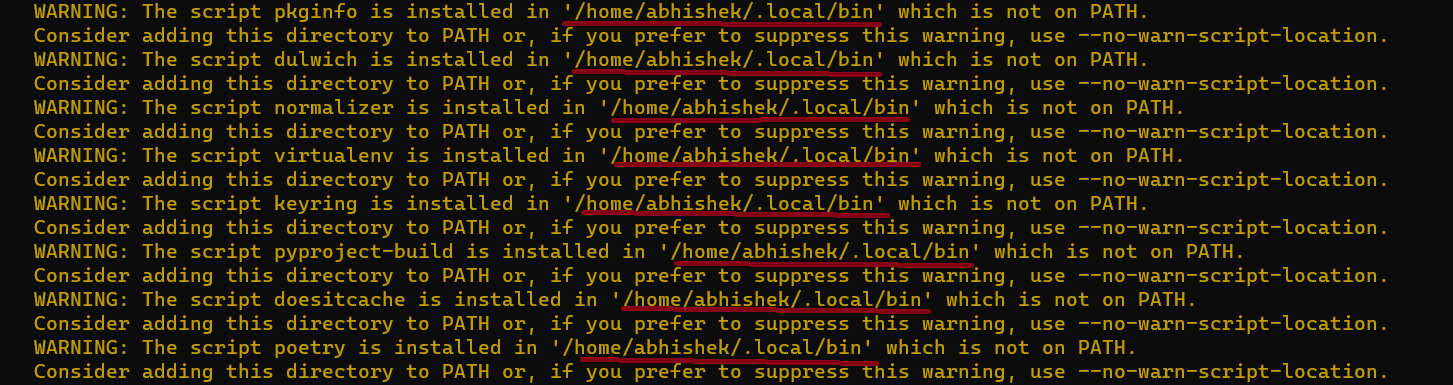
To add /home/user/.local/bin to our PATH:
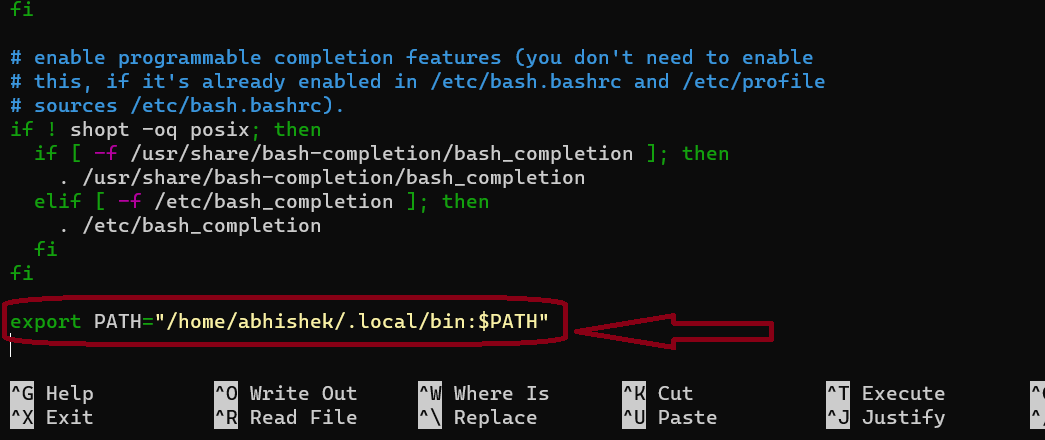
nano ~/.bashrc
Here, go at the end of the config file and add:
export PATH="$HOME/.local/bin:$PATH"
I have used the exact value instead of using the $HOME variable.
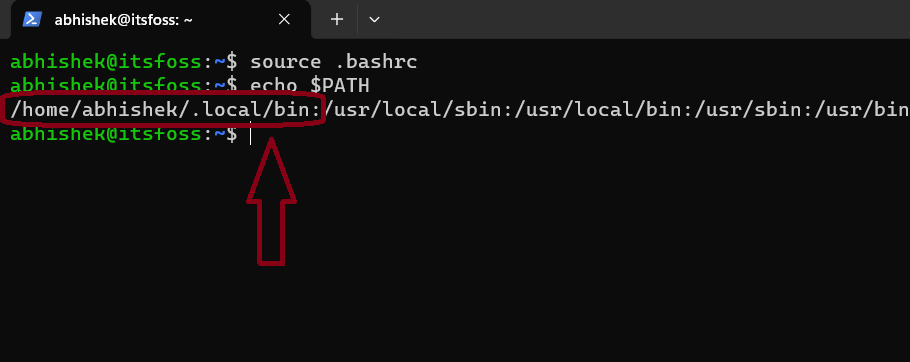
To save and exit out of nano press CTRL+X then press y and enter. Then to check if you have successfully added the path type:
source .bashrc
echo $PATH
The output will be something like this:
Now let's check the version of the Poetry that we have installed. It is supposed to be 1.7 or above.
poetry --version
In my case, the output is :
Poetry (version 1.7.1)
Step 4. Setting up PrivateGPT
First, you need to clone the Private GPT repository in our system. I presume you have Git installed on your system.
git clone https://github.com/imartinez/privateGPT
Then enter the cloned repository:
cd privateGPT
Now you need to set up a new environment so that the entire system does not get messed up:
python3 -m venv venv
A new folder named venv has been created and to activate the virtual environment, type:
source venv/bin/activate
Step 5. Installing ui, local in Poetry:
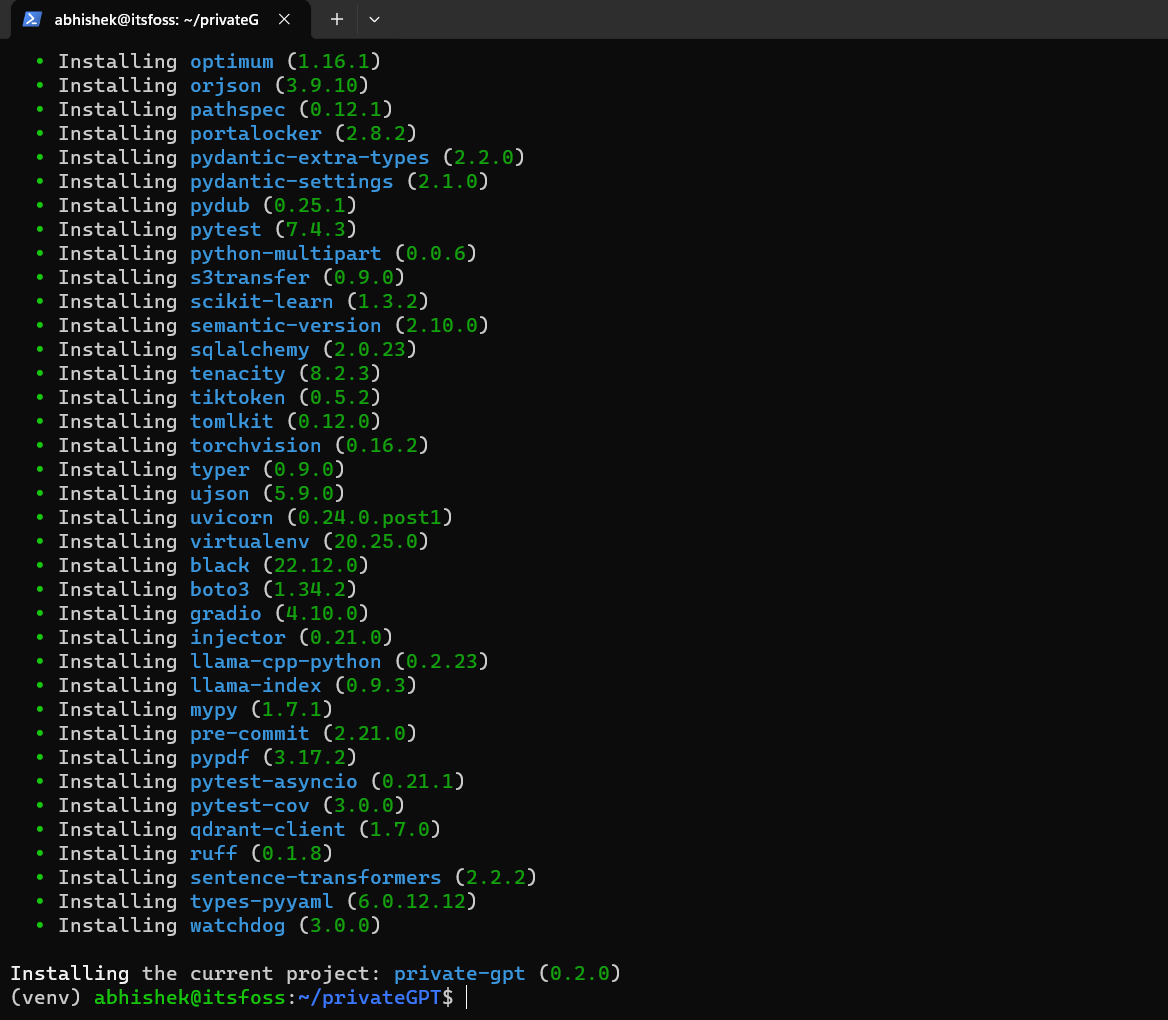
Because we need a User Interface to interact with our AI, we need to install the ui feature of poetry and we need local as we are hosting our own local LLM's.
poetry install --with ui,local
It'll take a little bit of time as it installs graphic drivers and other dependencies which are crucial to run the LLMs.
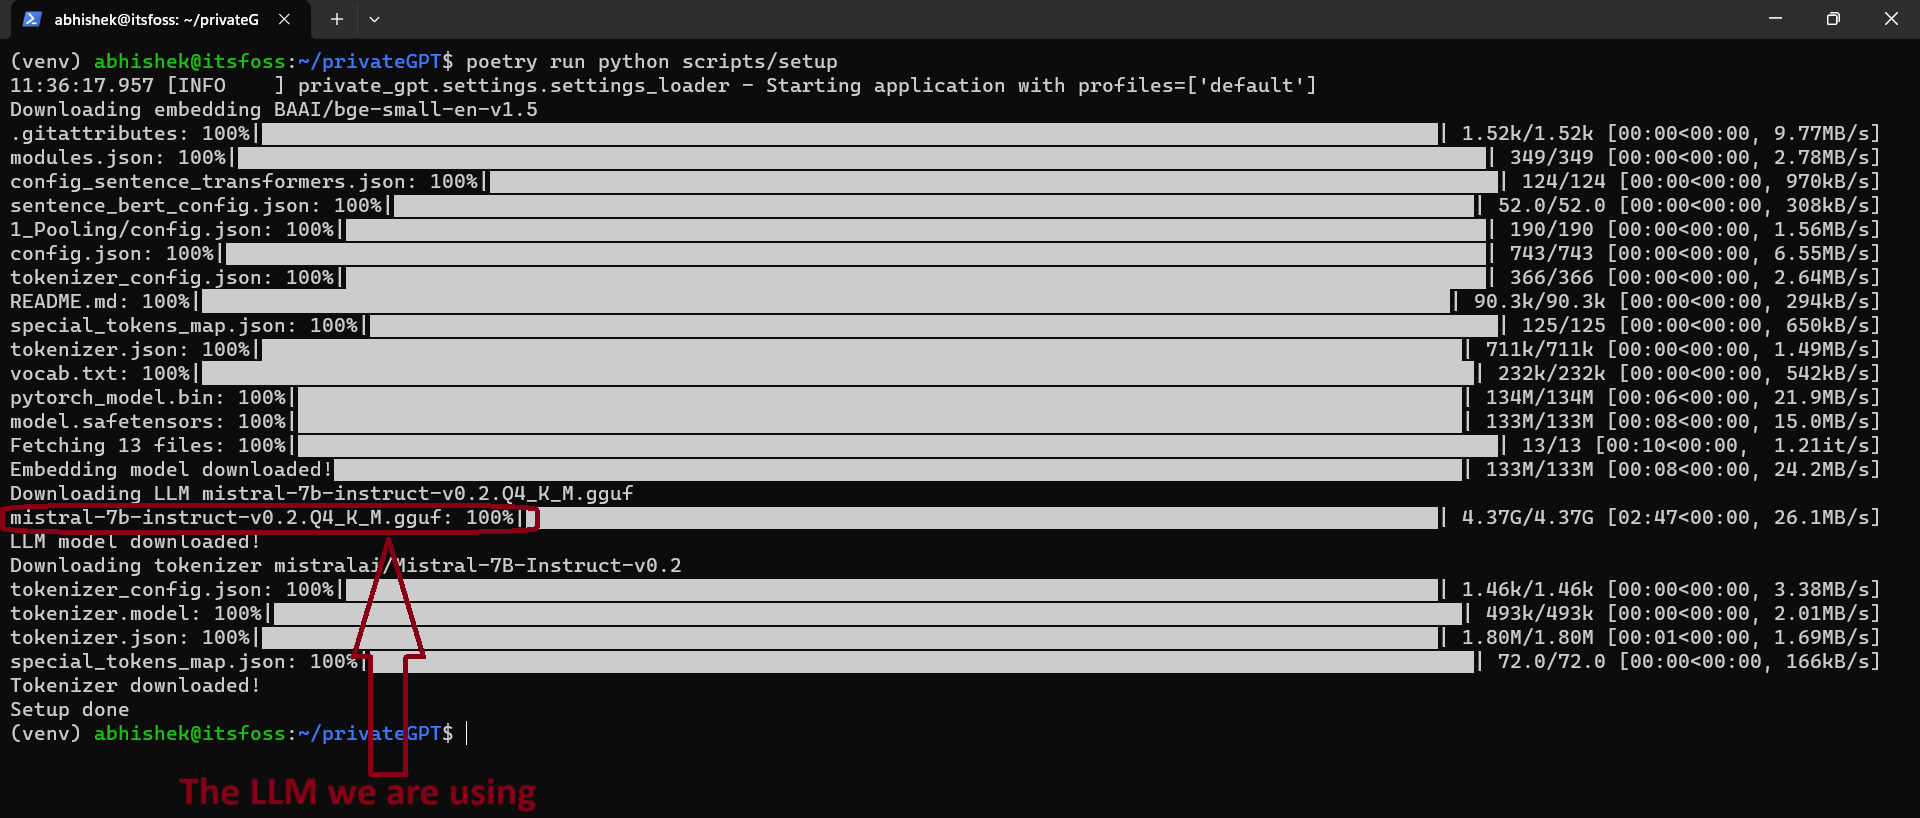
Step 6. Installing the LLM model
As most of the work has been done now and all you need is your LLM model to start chatting with your documents.
To install an LLM model:
poetry run python scripts/setup
This process will also take a long time, as the model first will be downloaded and then installed. The size of the models are usually more than 4 GB.
Step 7. Installing Nvidia CUDA toolkit
If you are thinking to run any AI models just on your CPU, I have bad news for you. I mean, technically you can still do it but it will be painfully slow. It might not even work.
So it's better to use a dedicated GPU with lots of VRAM. I have an Nvidia GPU with 2 GB of VRAM.
sudo apt install nvidia-cuda-toolkit -y
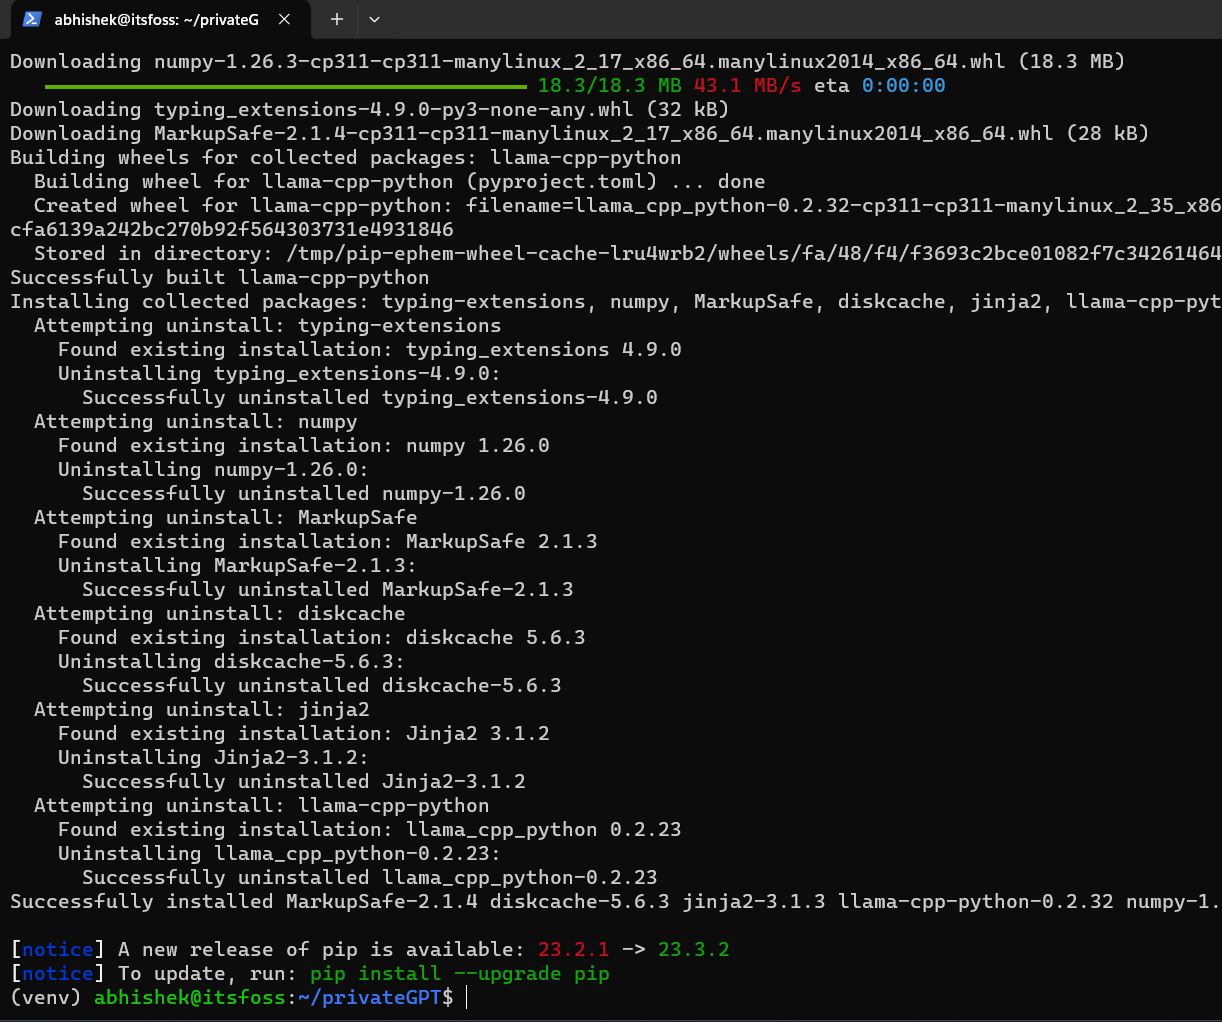
8. Compiling the LLMs
All you need to do is compile the LLMs to get started.
CMAKE_ARGS='-DLLAMA_CUBLAS=on' poetry run pip install --force-reinstall --no-cache-dir llama-cpp-python
9. Run privateGPT
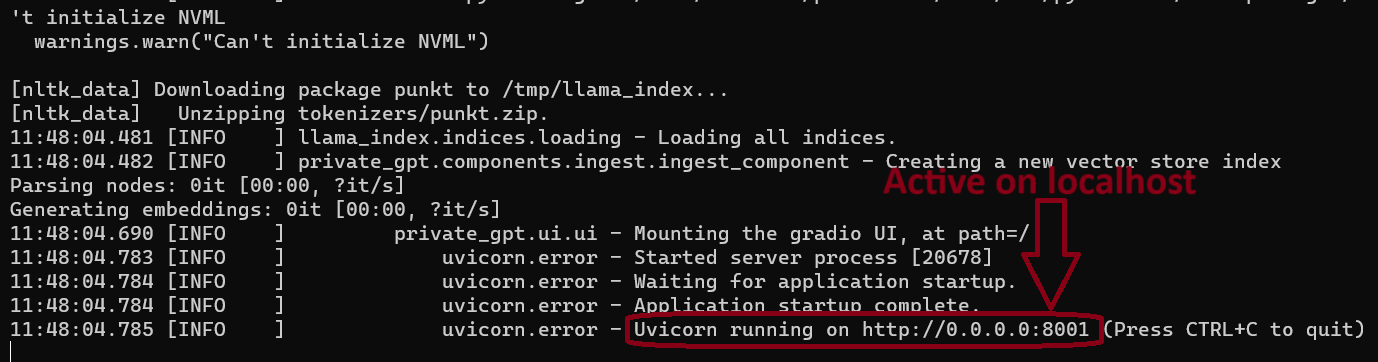
This step requires you to set up a local profile which you can edit in a file inside privateGPT folder named settings-local.yaml but to not make this tutorial any longer, let's run it using this command:
PGPT_PROFILES=local make run
It should look like this in your terminal and you can see below that our privateGPT is live now on our local network.
Step 10. Let's chat with the documents
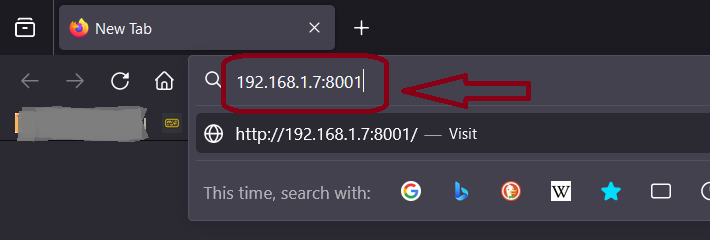
To open your first PrivateGPT instance in your browser just type in 127.0.0.1:8001 . It will also be available over network so check the IP address of your server and use it.
In my case, my server has the IP address of 192.168.1.7
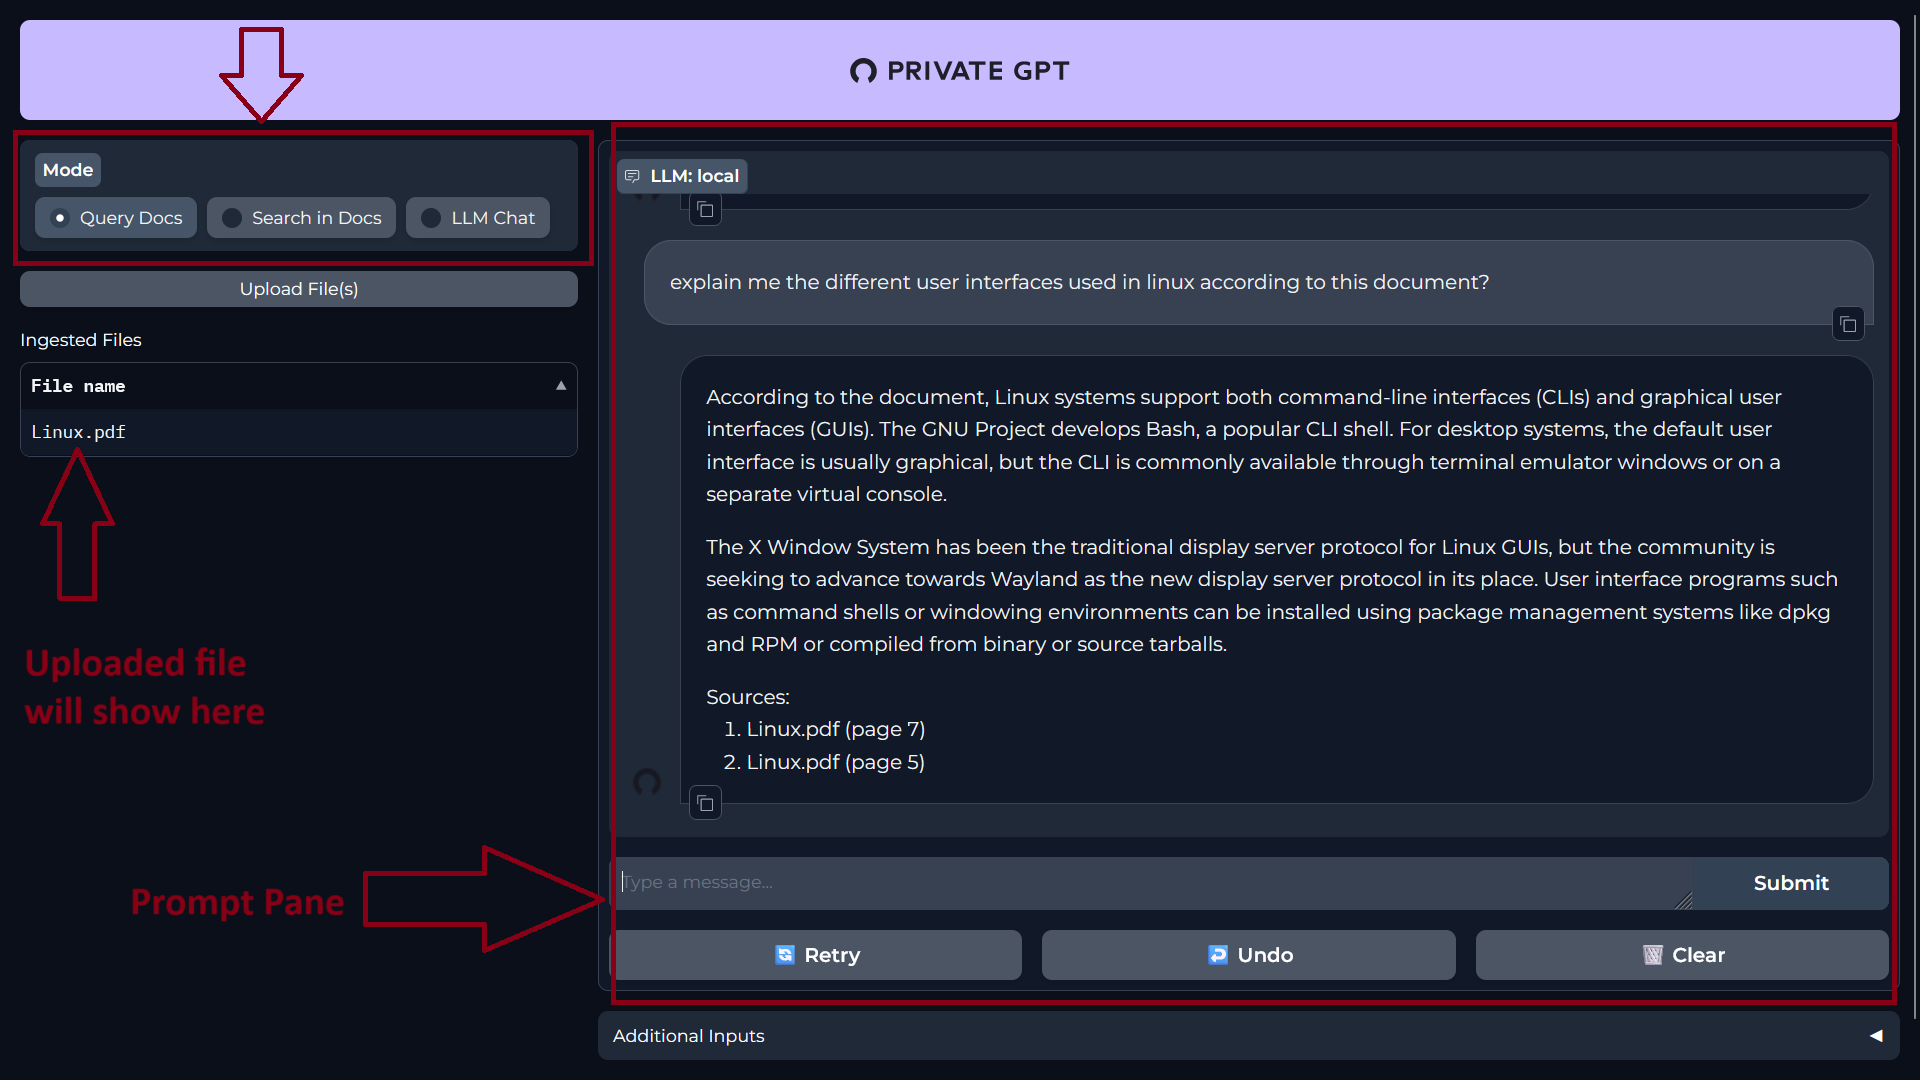
Once your page loads up, you will be welcomed with the plain UI of PrivateGPT.
On the left side, you can upload your documents and select what you actually want to do with your AI i.e. “Query Docs, Search in Docs, LLM Chat” and on the right is the “Prompt” pane. Here you will type in your prompt and get response.
I am using an article on Linux that I have downloaded from Wikipedia. It's a 28 page PDF document.
Here's me asking some questions to PrivateGPT:
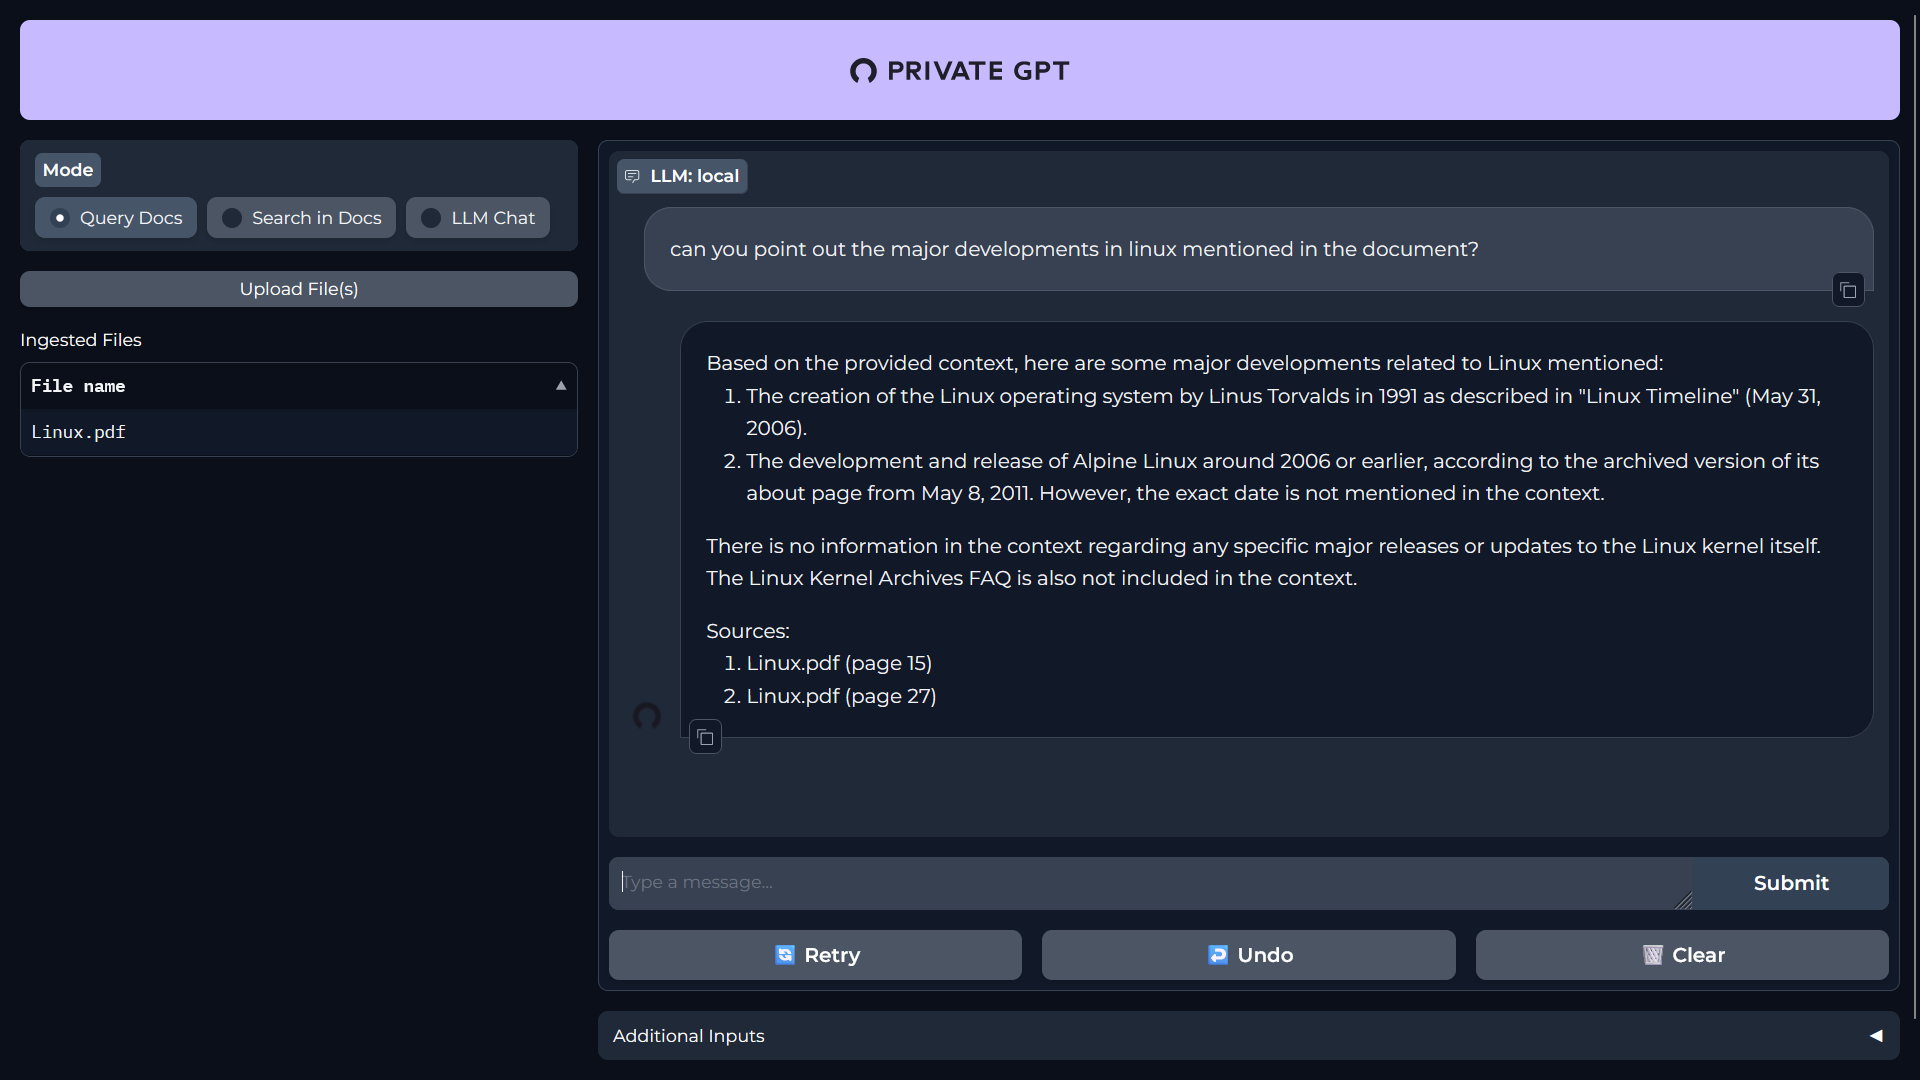
Here is another question:
You can also chat with your LLM just like ChatGPT.
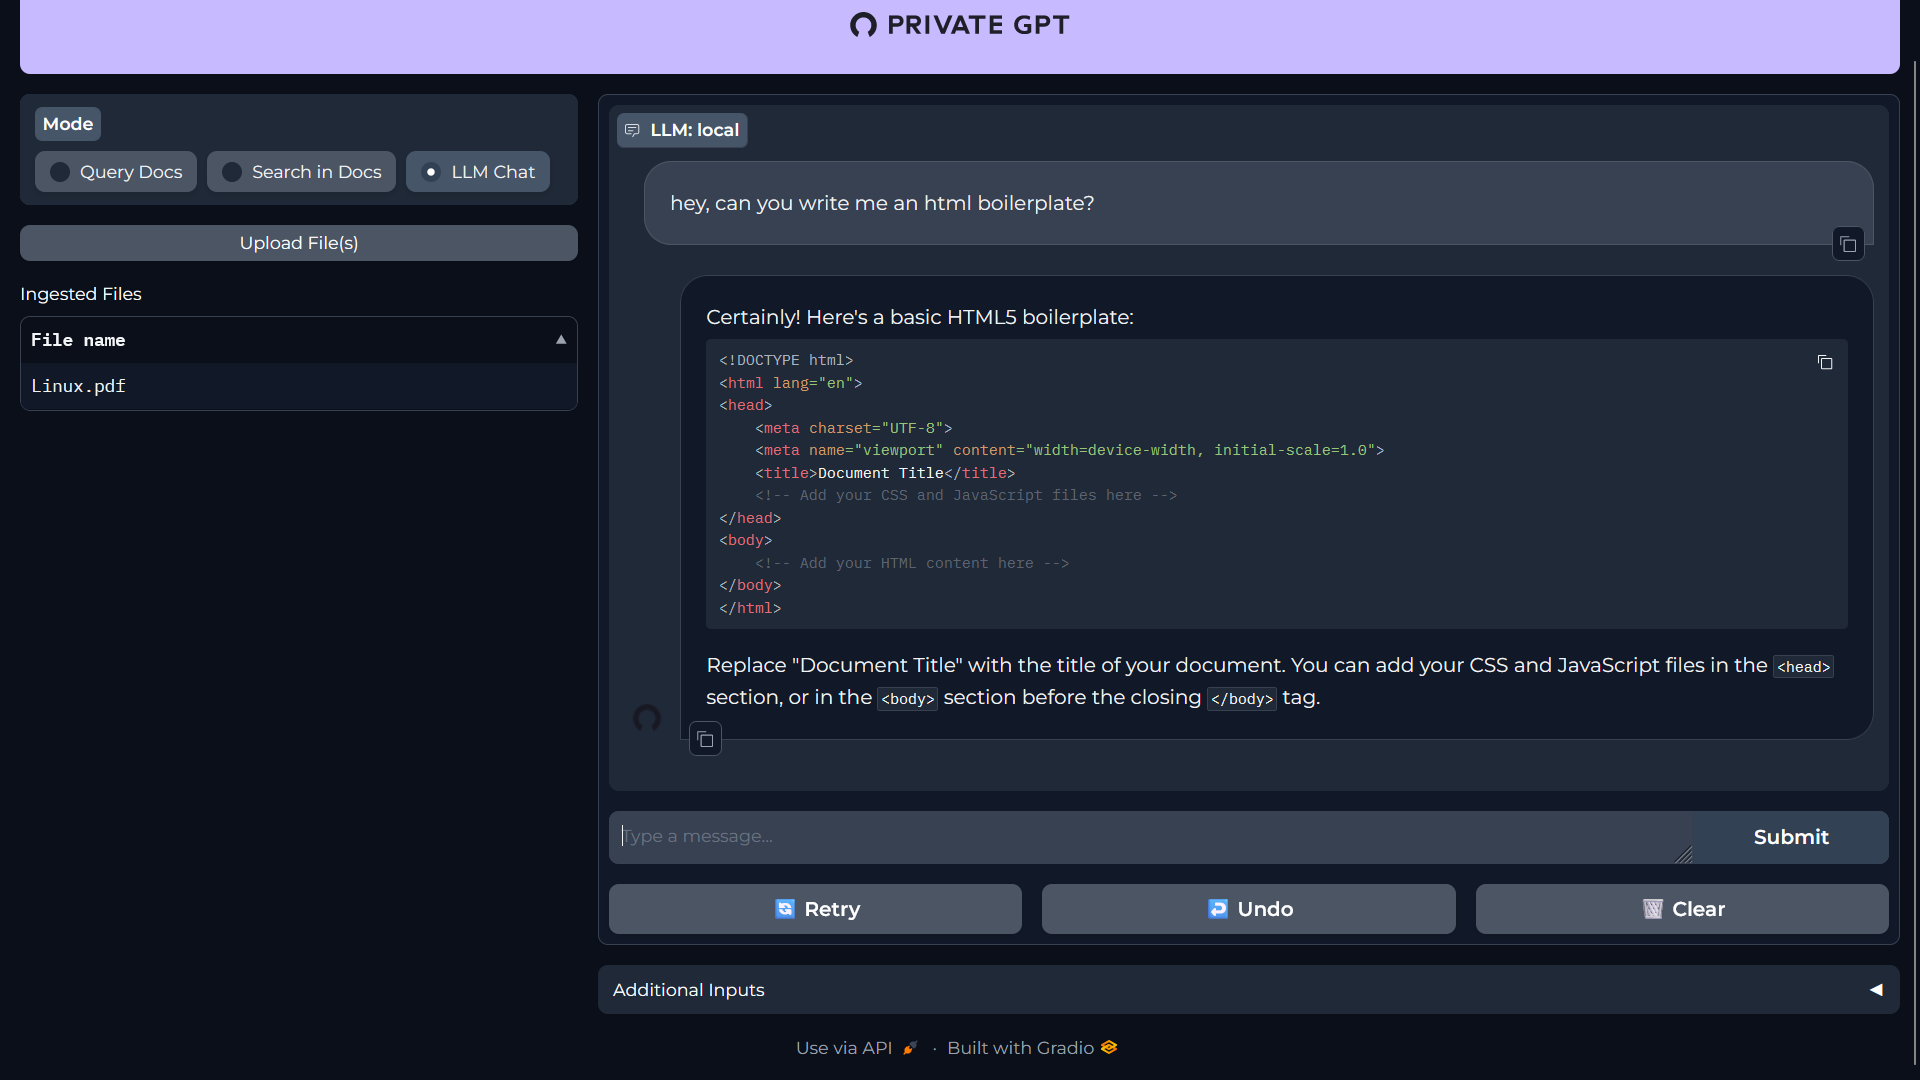
You can give more thorough and complex prompts and it will answer. During my testing, I found out that the response time will highly vary because of your system. I had to wait approx. 2 mins just to get one response as I have an older system.
Conclusion
Et voilà! That's how you set up and host your own PrivateGPT. You can actually port forward this to a domain and access it outside your home network.
I know this solution is not for everyone and this project is also in constant development, but it's a good starting point for enthusiasts who want to board the open source AI train.
If you want to try many more LLMs, you can follow our tutorial on setting up Ollama on your Linux system.
 Abhishek Prakash
AndPlease let me know your views, questions and suggestions on PrivateGPT setup and usage. I hope to share more cool AI stuff in the future.
If this helped you, consider supporting It's FOSS
It's FOSS has been helping people use Linux for the past 14 years. Help us stay independent from big tech. Become a Plus member, enjoy ad-free reading and get 5 eBooks.

