Us Linux users have access to a large selection of system monitoring tools that help us know the state of our computers. In some cases, these even let us tweak certain parameters of the hardware to eke out better performance or battery life.
While these utilities may not yet match the polish and maturity of their Windows counterparts, they have made significant progress in recent years.
auto-cpufreq is one such tool that automatically optimizes CPU speed and power consumption on Linux systems to save battery life, and it just received a feature-packed 3.0 release.
auto-cpufreq 3.0: What's New?

The release comes packed with the ability to manually control CPU turbo boost, where you can now manually override auto-cpufreq's automatic decisions and set turbo to Auto, Never, or Always. This works through both the command-line interface and the GUI app, though the option only shows up in the GUI if your CPU supports turbo boost.
Battery handling has gotten better too. You can now tell auto-cpufreq which specific battery device to monitor if your laptop has multiple power supply devices listed or if the automatic detection picks the wrong one.
And, for ASUS laptop owners, there's now support for battery charge thresholds, so you can set a maximum charging percentage to help preserve your battery's health over time.
There were also several important bug fixes in this release. The tool now properly reads CPU frequency information and scaling limits, fixing an issue where the --monitor mode would show incorrect values.
If you're running NixOS or Pop!_OS, you'll find some welcome improvements. NixOS users won't run into the "awk: command not found" error anymore, and Pop!_OS installations should go smoothly without PyGObject failures.
The changelog has the complete list of changes and the source code if you want to go deeper into this release.
Get Started with auto-cpufreq
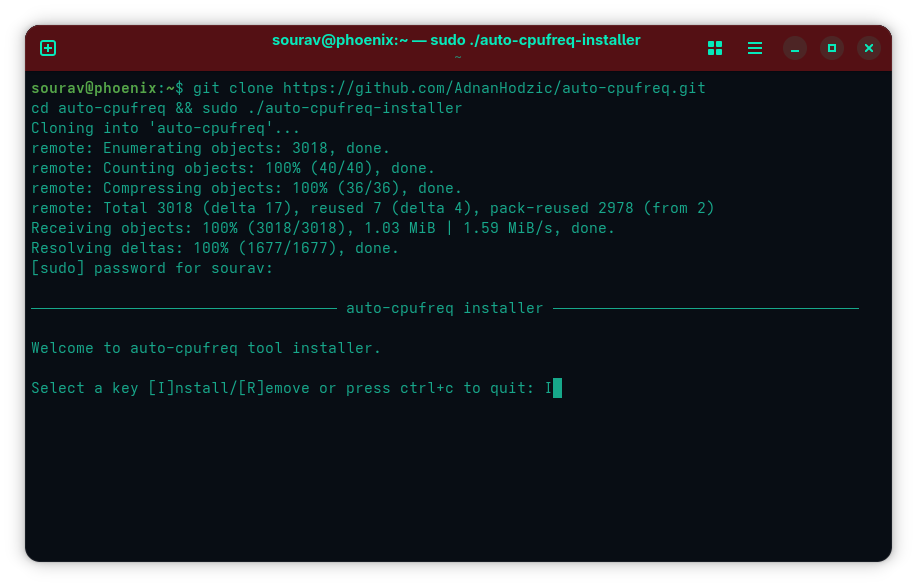
The recommended way to install auto-cpufreq is by building it from source, and don't worry, it is quite straightforward! First, you have to clone the GitHub repository to your system, create a new directory for it, and launch the installer by running these commands together:
git clone https://github.com/AdnanHodzic/auto-cpufreq.git
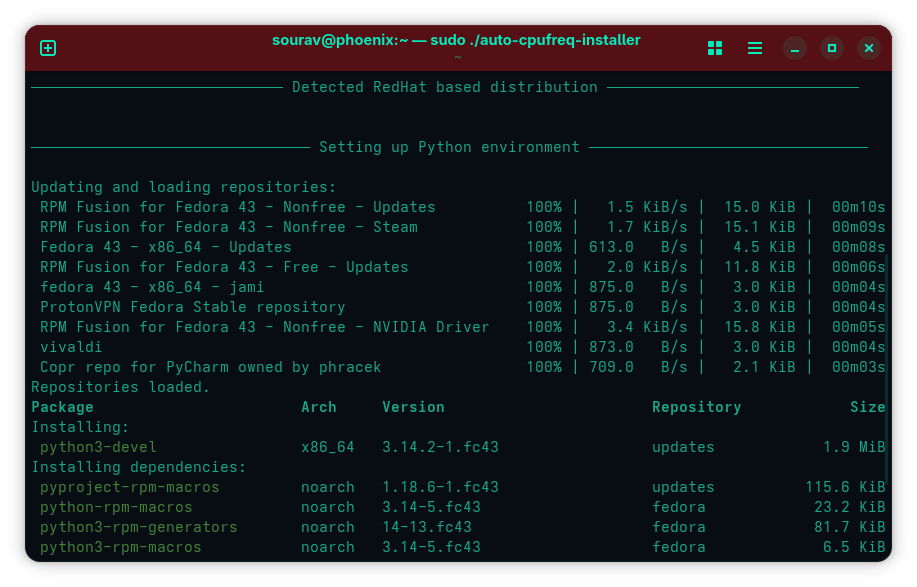
cd auto-cpufreq && sudo ./auto-cpufreq-installerWhen you do that, you will be asked to enter your account password. Do it and verify the list of packages shown to you.
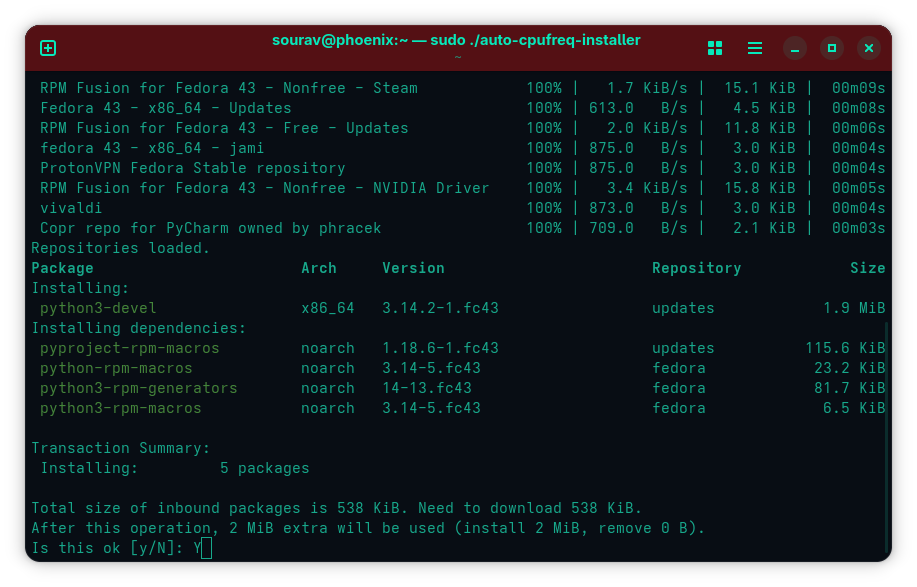
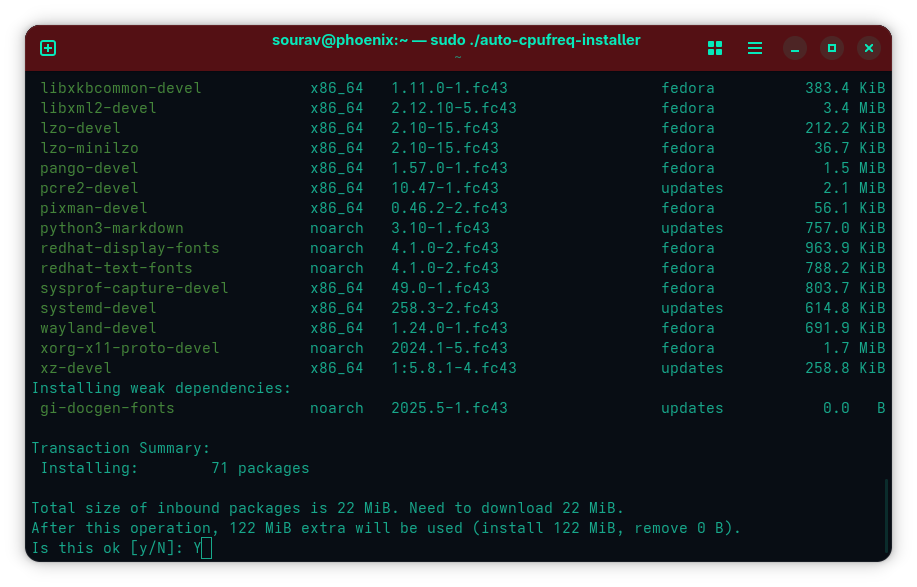
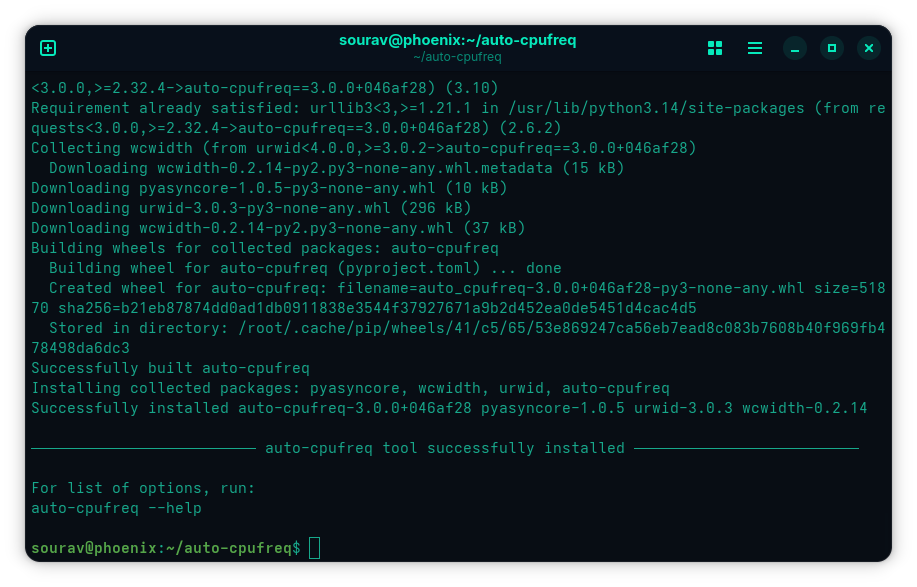
When prompted, press "Y" to confirm the installation of these new packages, and wait for the installation to complete. Once everything is set, you can start using the CLI version of auto-cpufreq by using the following command:
sudo auto-cpufreqThere's also a GUI version that needs some additional configuration once you launch it from the app launcher. It will show you the steps for that, which involves installing the daemon for auto-cpufreq.
For users of Ubuntu and its derivatives, this release of auto-cpufreq is also available on the Snap Store and via the following command:
sudo snap install auto-cpufreqIf you need pointers on how to operate this CLI tool, then the lead developer of this project, Adnan Hodzic, has an AI-powered chatbot up on his website, which should work well for any questions you have.
Suggested Read 📖: This System Monitor Offers Something More