

You probably already know that you can create a live USB of a Linux distribution and try it on any system without installing it. If you like the distribution, you can then choose to install it.
Usually, you put one Linux distribution on a single USB stick. If you want to use another distribution, you have to format the USB and burn the other distribution on it.
What if I told you you could use multiple Linux on a single USB? Yes! That’s totally possible.
In this tutorial, I’ll show you how to create multi boot USB.
Ventoy: The swiss army knife for creating bootable USBs
Ventoy is a “tiny OS” that boots your ISO.
When you create a bootable drive in the traditional way – by using a tool like Rufus, Etcher or dd on Linux, the drive only boots that particular distribution. When you use Ventoy, it makes a tiny bootable EFI partition on your USB drive and gives you the remaining space to simply copy ISO files to it.
This means, you create a Ventoy disk once and then all you have to do is update the ISO files like a normal USB stick. Pretty cool because it allows you to have multiple operating systems on one USB disk.
Of course, your USB disk should have enough space to accommodate all the Linux distributions you want.
Ventoy is available on Linux, Windows and ARM platforms like Raspberry Pi.
What do you need to create the bootable USBs?
Here’s what you need to have to follow this tutorial:
- A computer with active internet connection (to download Ventoy and the Linux ISOs)
- A USB disk with 16 GB or more (size varies as per the number of OS you want to use)
- Time and patience
Let’s see how to achieve it.
Using Ventoy to create bootable USB with multiple Linux distributions
Download Ventoy from its GitHub repository.
You should see multiple options for various operating systems. For now, you should only be concerned with the file “ventoy-<version_number>-linux.tar.gz” or with “ventoy-<version_number>-windows.zip”.
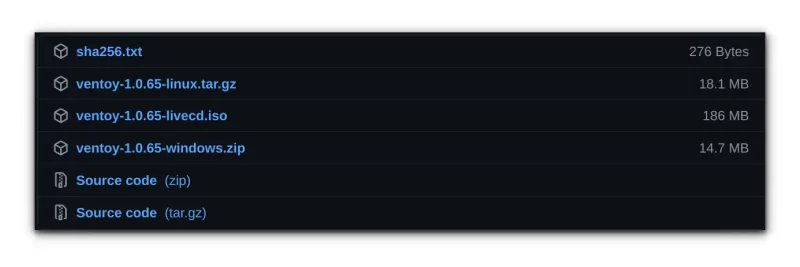
Download file for your operating system (Windows or Linux).
I am going to focus on using it in Linux but I have also quickly mentioned the installation steps for Windows.
Windows users should download “ventoy-<version>-windows.zip” file from their Github repository, unzip the file. Launch the “Ventoy2Disk.exe” executable file and select the drive that you want to make bootable. Create a partition called “Ventoy”, copy ISO files to the newly created partition. Boot to the Ventoy disk and enjoy
Creating a Ventoy disk from Linux
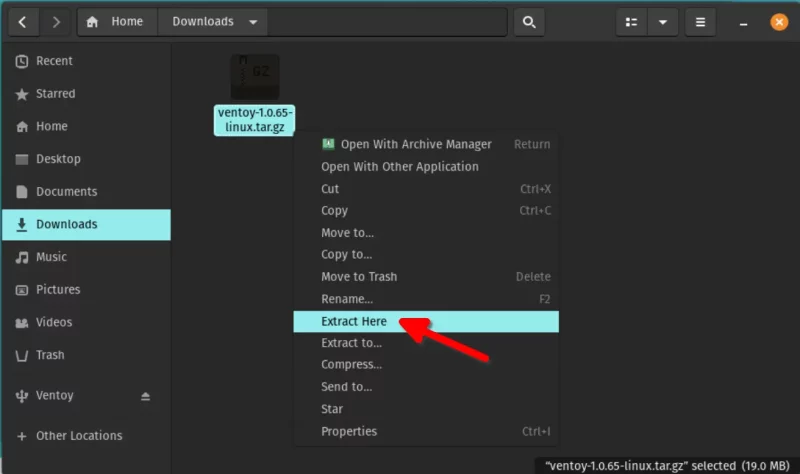
Open the Downloads folder in your file manager. You will find the downloaded tar file for Ventoy here. To extract it, right click on the file and click on the “Extract Here” option.
Enter in the extracted folder. You may have another Ventoy folder here. Enter and then you’ll see some folders and executable files. You should be concerned with the executable files.
If you are using a Raspberry Pi, go with aarch64 or else stick with x86_64 as “x86_64” extension is for 64-bit Intel and AMD computers (this is what the vast majority of computers are).

You can create a bootable disk with Ventoy by either using the GUI tool or by using the command line script.
Perform a right click on “VentoyGUI.x86_64” file and click on “Run”. That will open up an authentication screen, type in the password of your local user (the password that you type when you reboot your computer) and the GUI tool will launch.
Attention!
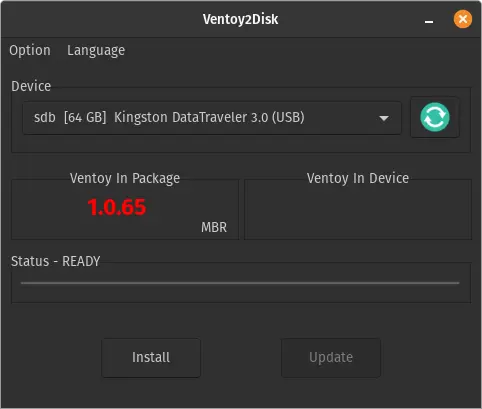
Ventoy usually automatically detects the USB but still make sure that the intended USB disk is selected in the tool.
There are other options for you to select, but I would not recommend changing the default options unless you know exactly what you are doing. The options include things like using GPT partitioning scheme, enabling secure boot support etc.
All you have to do is click on the “Install” button. It asks for your confirmation twice.
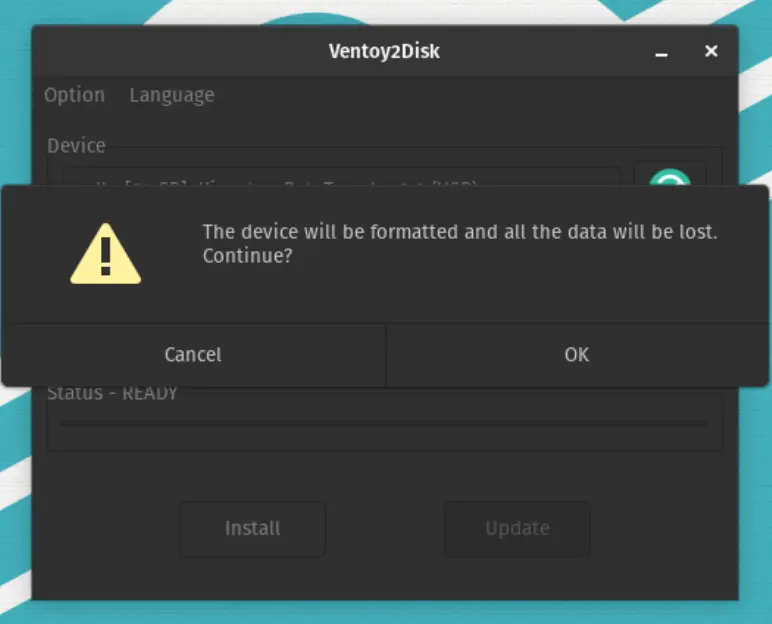
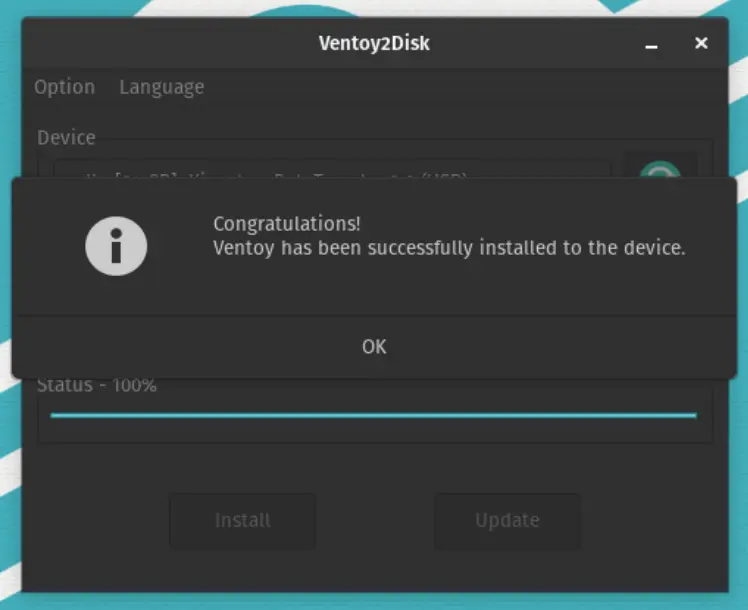
And it takes less than a minute to make a bootable disk out of the selected device. Note that there is no operating system on it yet. You should see a success message when the process completes.
Once Ventoy has been installed on the USB disk, you’ll have two partitions on it now.
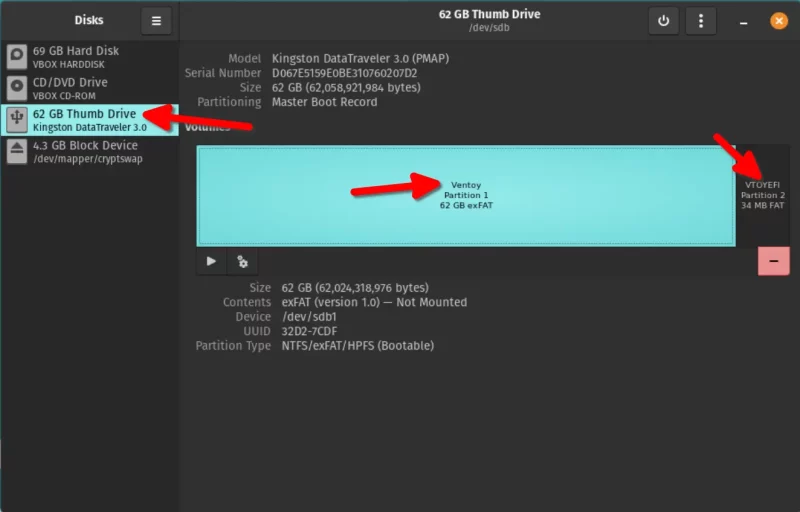
The partition named VTOYEFI is reserved for the boot files by Ventoy. The first partition, named Ventoy, is an exFAT partition. This is the partition which will be used for copying the ISO file.
Using ventoy to create multiboot USB
You have a bootable USB by Ventoy but there is no operating system on it yet.
The next step is to put your choice of Linux distributions on it. Download the ISO files from the official websites of the Linux distribution projects. Ventoy also has a full list of tested ISOs on its website.
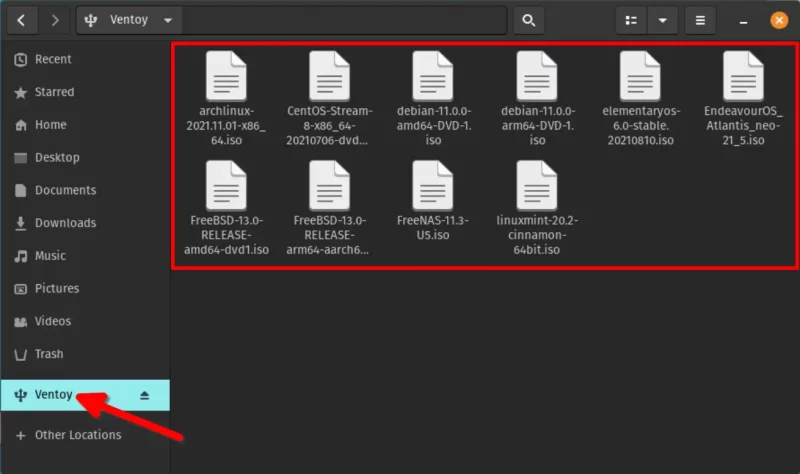
To show you as an example, I am going to use Arch Linux, CentOS, Debian, elementary OS.
All there is left for you to do is copy the ISO files onto the drive named Ventoy.
It may take some time to copy the large ISO files on the disk. Be patient here.
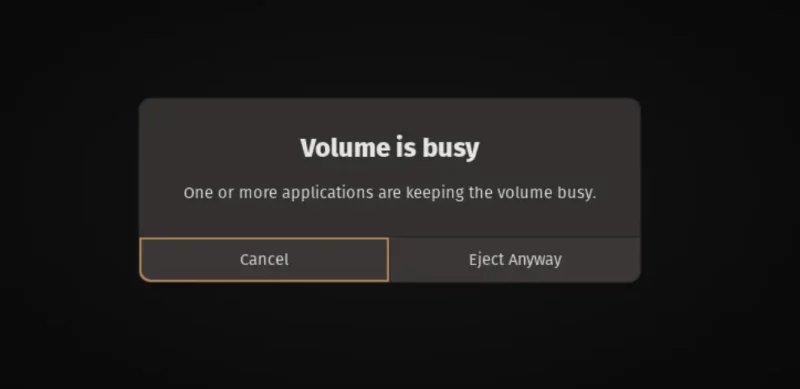
Even if it shows that the file transfer has been completed, don’t unplug the USB just like that. Click on the unmount option or right click the mounted USB and use the Eject option.
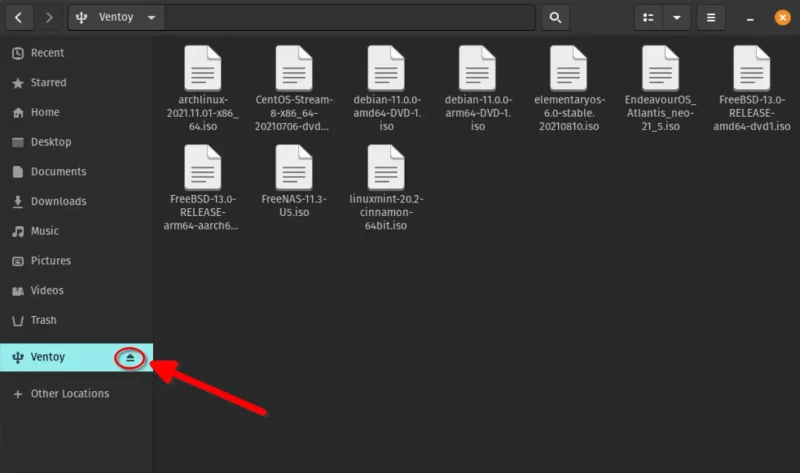
Why? Because the USB might still be in use by Ventoy for post-processing. Trying to safely remove the drive will give you a warning if the USB is in use. If you unplug it just like that, you may corrupt the USB.
So, here’s what my USB looks like with all the desired Linux ISOs copied on it. Since the same Ventoy drive will boot on an Intel/AMD (x86) machine and also on an ARM (Raspberry Pi – provided that you use Raspberry Pi 4 UEFI Firmware Image) machine. Here, I also copied ARM ISO files on it, and it boots the specified ISO flawlessly.
Safely eject the USB and it is time to use this multiboot Linux USB.
Using the multiboot USB
Plug in the USB to the system where you want to use it.
Reboot the computer and when you notice a splash screen from displaying your computer vendor’s name, make a note of if there is an option like “Press F12 to go in boot menu” or something along this line.
Press whichever key is specified and that will show you a list of all drives that are bootable. Select the drive that you installed Ventoy on, and Ventoy should start up in under 5 seconds.
As you can see, it gives me the option to boot into various distributions I had put on the USB.
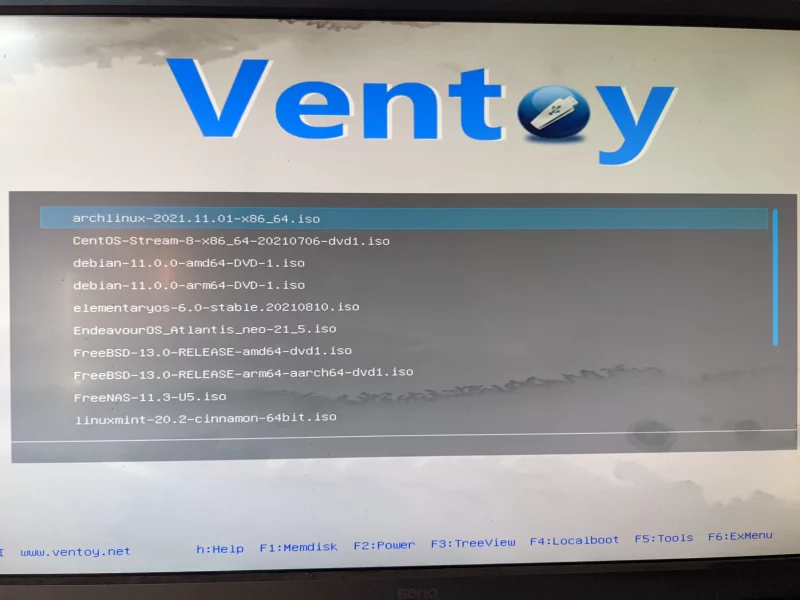
From the Ventoy boot menu, select an OS by using the up/down arrow keys and start it by pressing the Enter/Return key.
Conclusion
Ventoy is a tool that I rarely use but it is very handy when I need to install Linux on my machines or repair machines.
This trick saves a lot of effort when you want to test more than one Linux distribution over a period of time. You don’t need to format the USB again and again. Just add or remove the ISO files from the disk and you are good to go. Makes life so much simpler, isn’t it?
Ventoy is capable of doing a lot more. We have a detailed guide on Ventoy that you may want to check out.
 Sagar Sharma
I have tried to simplify the steps as much as possible but you may still encounter issues. Let me know if you need any help in the comment section.
If this helped you, consider supporting It's FOSS
It's FOSS has been helping people use Linux for the past 14 years. Help us stay independent from big tech. Become a Plus member, enjoy ad-free reading and get 5 eBooks.
