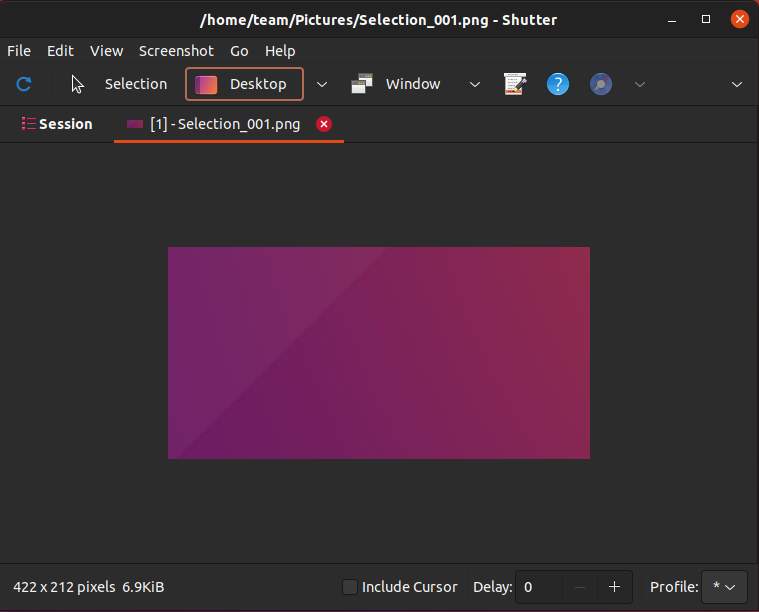
Shutter is my favorite tool for taking screenshots in Linux. You can take screenshots with it, and you can also edit screenshots or other images with it. It’s a nifty tool for adding arrows and text to the images.
You can also use it to resize images in Ubuntu or whichever Linux distribution you are using. Most of the screenshot tutorials (in the past) at It’s FOSS has been edited on Shutter.

Shutter has been a great tool so far, but its development was paused for several years. Even simple bugs like editing mode being disabled in Shutter were starting to be an annoyance.
Perhaps this was the reason some Ubuntu releases dropped their packages. But, now it’s back!
Fortunately, it received an overhaul in 2021, and now you install it without any hassle.
Thanks to Linux Uprising, the official PPA for Ubuntu is available in other versions as well.
Since there are different steps for different releases, please check your Ubuntu version first.
Installing Shutter on Ubuntu 22.04 and higher
Make sure that you have the universe repository enabled:
sudo add-apt-repository universeUpdate apt cache so that your system knows about the availability of software from Universe repository.
sudo apt updateAnd now you can install it in Ubuntu 22.04 and higher versions:
sudo apt install shutterInstalling Shutter on Ubuntu 20.04 & 18.04
Shutter is not available in Ubuntu 20.04. It is there in 18.04 but has some bugs. This is why installing it from a PPA is the better way here.
I hope you are familiar with the concept of PPA. If not, I highly recommend reading my detailed guide to know more about what is PPA and how to use it.
Now, open a terminal and use the following commands to add the repo and refresh the repository list:
sudo add-apt-repository ppa:linuxuprising/shutter
sudo apt update
Once done, you can use the apt command to install Shutter:
sudo apt install shutterThat’s it. You should have Shutter screenshot tool installed. You can search for it in the menu and start from there.
Removing Shutter installed via the Official PPA
I’ll complete this tutorial by adding the steps to uninstall Shutter and remove the repository you added.
First, remove Shutter from your system:
sudo apt remove shutterNext, remove the PPA from your list of repositories:
sudo add-apt-repository --remove ppa:linuxuprising/shutterYou may also want to take a look at Y PPA Manager, a tool for managing PPA graphically, if you require the need.

