

Node.js has become a major part of the modern web for quickly developing and deploying web apps.
Node.js (or Node) is supported by npm (Node.js Package Manager). It’s an open-source library of Node.js packages. So you can use one in your application without needing to rewrite the entire thing all on your own.
Node and npm are often installed and used together.
If you want to install Node.js on Ubuntu, there are three ways of achieving it:
- Using Ubuntu’s official repository: Easy to install using apt, but might have an older version.
- Using NodeSource repository: This is slightly more complicated, but you can choose to install from the currently available newer Node versions. I recommend this one.
- Using Node Version Manager (NVM): This is a per-user installation of Node.js, where you can switch between multiple versions.
- Using snap: Gives you the ability to use a more recent version of Node.js
I will discuss all three methods of installing Node and npm.
Method 1: Install Node.js and npm on Ubuntu using the official repository
As I said earlier, Node.js is available on Ubuntu. So, all you need to do is to open a terminal in Ubuntu and use the following command:
sudo apt install nodejs npmI included npm in the installation because you’ll need it anyway. Both Node.js and npm are quite small.
Create a symbolic link because the Node program looks for the binary with path /usr/bin/node whereas the installed path here is /usr/bin/nodejs. If you don't do this, you'll get a "/usr/bin/env: node: No such file or directory" error.
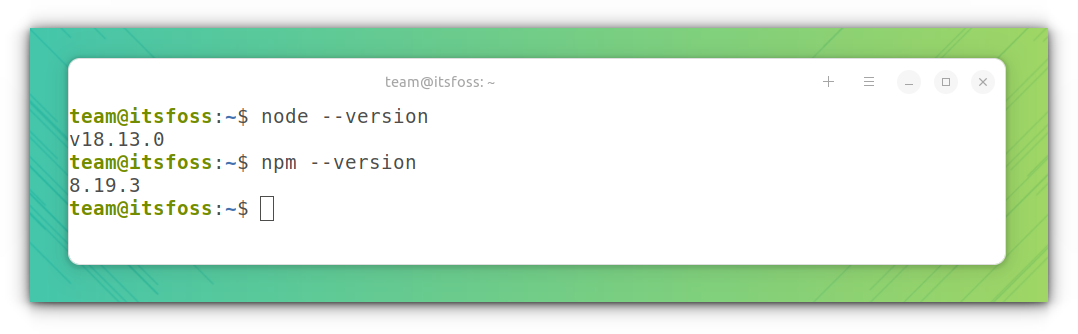
ln -s /usr/bin/nodejs /usr/bin/nodeOnce installed, you verify it by checking the installed version of Node.js and npm with this command:
node --version
npm --version
The output should be like this:
For working on Node.js, you can use any good code editor for Linux or an IDE.
I’m not going to show you how to get started with Node.js because that’s not the purpose of this quick tutorial.
Remove Node.js
If you want to remove Node.js and npm, you can use the command below:
sudo apt remove nodejs npmNow that you learned the most straightforward method, let's see another way of getting Node straight from its developers.
Method 2: Install Node.js and npm using the NodeSource repository
You can install Node.js and npm directly from the NodeSource repository. Node.js provides an easy-to-use shell script for this purpose.
You need to install curl, before setting up Node.js. Open a terminal and run:
sudo apt update
sudo apt install -y curlLet’s say you want to install Node.js version 18. First, go to the NodeSource repo and check the supported version for your distribution.
At the time of updating this, for Ubuntu 22.04 LTS and Debian Bookworm, Node.js versions 18 and 20 and 21 are supported.
Once you found a version of Node.js, you can install it using the command below.
curl -fsSL https://deb.nodesource.com/setup_18.x | sudo -E bash - &&\
sudo apt-get install -y nodejs
This will take care of dependencies and other packages and will set both Node.js and NPM on your system.
Remove Node.js
To remove Node.js, run:
sudo apt purge nodejs
sudo apt autoremove
After that, remove the sources file and GPG key to complete uninstallation.
sudo rm -r /etc/apt/sources.list.d/nodesource.list
sudo rm -r /etc/apt/keyrings/nodesource.gpg
sudo rm -r /usr/share/keyrings/nodesource.gpgTroubleshooting Tip: Node.js script deprecation notice
In case, those who are trying to install Node.js and land in a warning message about deprecation.
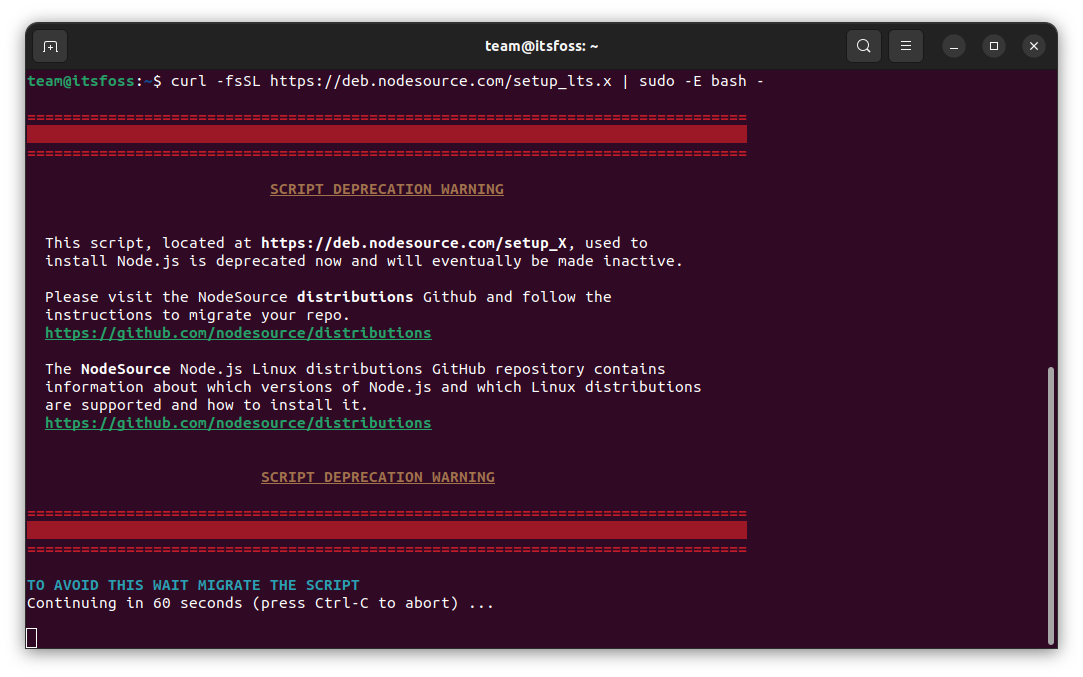
Since you can install Node.js by official repositories, those installation scripts are no longer required. So, they will be deprecated and will not receive any new updates. If you have installed through that script, you need to migrate to the new method.
First, remove the GPG key and sources list file.
sudo rm /etc/apt/keyrings/nodesource.gpg
sudo rm /usr/share/keyrings/nodesource.gpg
sudo rm /etc/apt/sources.list.d/nodesource.list
Now, initialize the new repository:
NODE_MAJOR=18
sudo apt update
sudo apt install -y ca-certificates curl gnupg
sudo mkdir -p /etc/apt/keyrings
curl -fsSL https://deb.nodesource.com/gpgkey/nodesource-repo.gpg.key | sudo gpg --dearmor -o /etc/apt/keyrings/nodesource.gpg
echo "deb [signed-by=/etc/apt/keyrings/nodesource.gpg] https://deb.nodesource.com/node_${NODE_MAJOR}.x nodistro main" | sudo tee /etc/apt/sources.list.d/nodesource.list
And install Node.js:
sudo apt update
sudo apt-get install -y nodejs
That's it. You are now moved to the supported method. Check the version using:
nodejs --versionMethod 3: Install Node.js and npm using the Node Version Manager
Node version manager is an easy-to-use per-user installation of Node.js and npm. With the help of NVM, you can install and switch between different versions of Node.js.
To install it, use the following command:
curl -o- https://raw.githubusercontent.com/nvm-sh/nvm/v0.39.3/install.sh | bashThis will clone the NVM repository in ~/.nvm and tries to add all the required entries to your shell configuration files.
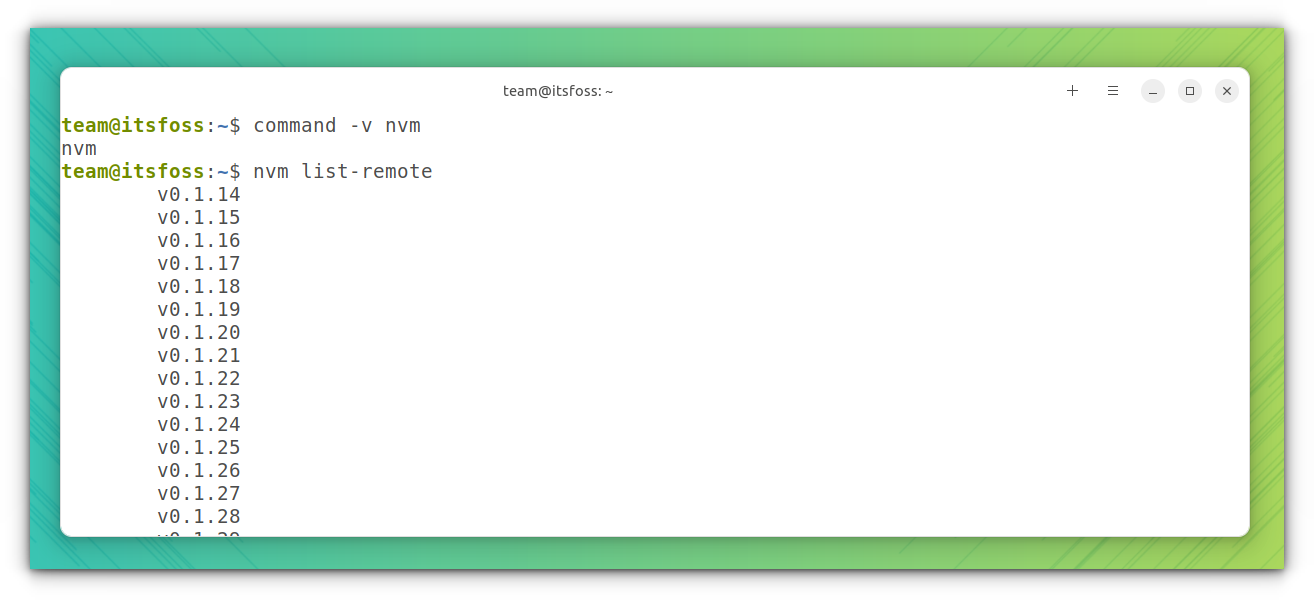
Once set up, restart your current shell. To check the status of NVM, use:
command -v nvmIt would output the following if the setup is a success:
team@itsfoss:~$ command -v nvm
nvm
Now, you can run the following command to list all available versions of Node.js:
nvm list-remoteYou will get a long list of versions, as shown in the screenshot below:
Once you confirmed the Node.js version, use the following command to install it:
nvm install <nodejs-version-number>The above command will install the specified Node version and a compatible NPM version. You can give any version number to install that particular version of Node.js and a corresponding NPM.
To switch to an installed Node.js version, use:
nvm use <any-of-your-installed-version-number>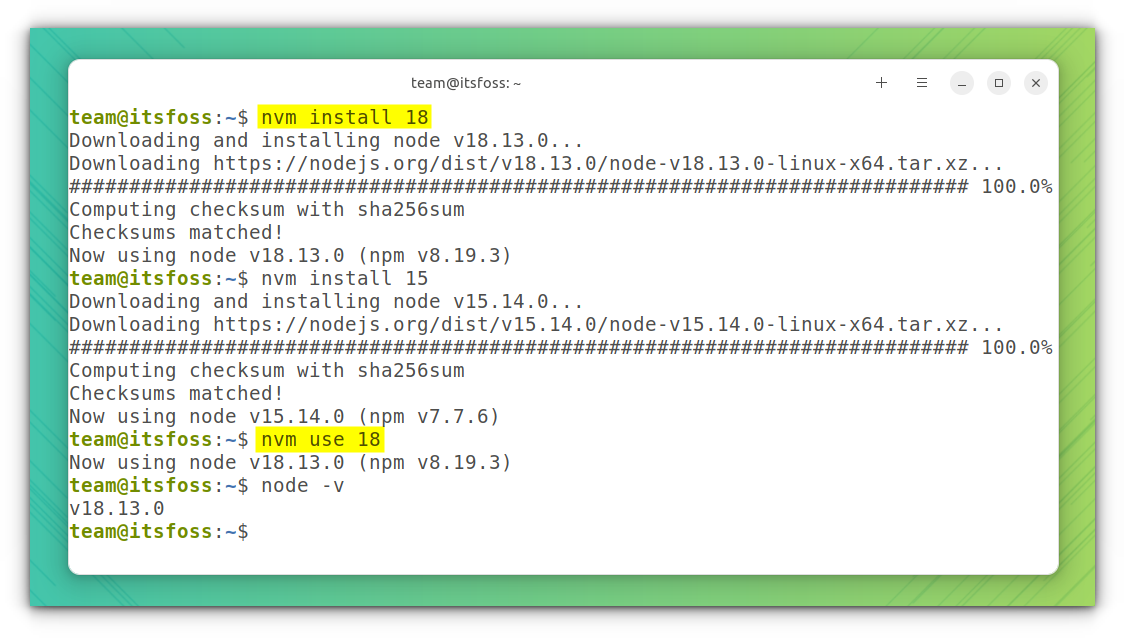
Remove NVM versions
To uninstall a version of Node.js installed with nvm, use:
nvm uninstall <version>And to remove the NVM completely, use the following command:
rm -rf "$NVM_DIR"Now, remove the following lines from your ~/.bashrc:
export NVM_DIR="$HOME/.nvm"
[ -s "$NVM_DIR/nvm.sh" ] && \. "$NVM_DIR/nvm.sh" # This loads nvm
[[ -r $NVM_DIR/bash_completion ]] && \. $NVM_DIR/bash_completion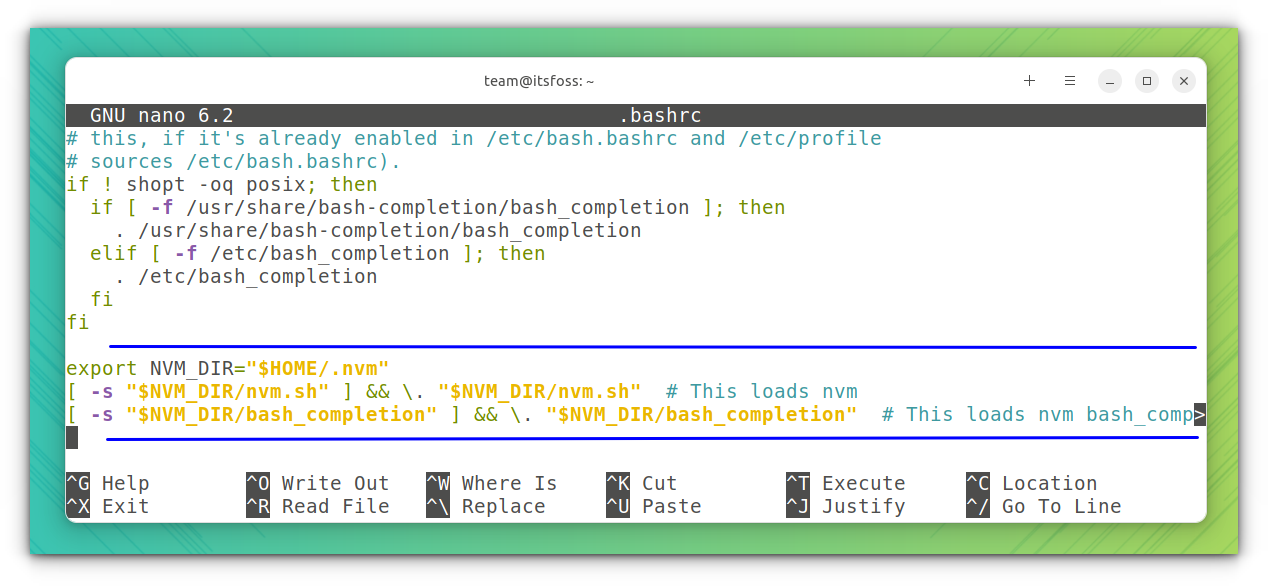
Method 4: Install Node.js in Ubuntu using snap
Snaps come pre-configured in Ubuntu and you can install Node.js as a snap package and also allows you to choose between stable and edge releases. So let's start with installing the stable release:
Install stable release of Node.js using snap
As always, it only requires single command when installing snap packages and the same goes for Node.js:
sudo snap install node --classic
And as you can see, it gave me Node.js 18.17.1!
Install the most recent build of Node.js
I will not recommend this build to the general audience as it might have bugs and stability issues. To install the bleeding-edge version of Node.js, you just have to use the given command and it will utilize the edge channel:
sudo snap install node --channel=latest/edge --classic
And it got me a nightly build running Node.js 21.0!
Remove Node in snap format
Whether you went with the bleeding-edge version or the stable, the command will remain the same for the uninstallation process:
sudo snap remove nodeThat's it!
Enjoy using Node.js on Ubuntu.
Wrapping Up
I focused on the installation part here, but I won't leave you just at that. Here's a cheat sheet that lists basic node and npm commands for your quick reference.
There are other methods to install Node.js in Ubuntu and other Linux distributions, like installing from the source, using pre-built binaries, etc. Please refer to the Node.js official documentation for more details.
That’s all you need to do to install Node.js on Ubuntu. I hope you found this quick tip helpful. If you have questions or suggestions, feel free to leave a comment below.
After that, if you love Node.js, you should check out NodeOS, a Linux distribution for Node.js users.
If this helped you, consider supporting It's FOSS
It's FOSS has been helping people use Linux for the past 14 years. Help us stay independent from big tech. Become a Plus member, enjoy ad-free reading and get 5 eBooks.
