

Linux Mint is considered one of the best distributions for new Linux users. Its flagship Cinnamon DE is one of the most popular desktop environments giving your system the look and feel of a classic Window-styled desktop.
If you want to try Linux Mint and see if it fits your needs, you could try installing it in a virtual machine.
This way, you run Linux Mint inside your current system without changing your system’s partition or boot order. One of the safest ways out there as you get to run Linux like a regular desktop application inside your current operating system.
Oracle’s open source virtualization tool VirtualBox is available for free on all major desktop operating systems i.e., Windows, Linux and macOS.
In this beginner’s tutorial, I’ll show you the steps for installing Linux Mint in VirtualBox. I am including the screenshots for each step so you can easily follow the tutorial.
Installing Linux Mint in VirtualBox
You can follow the steps on any operating system be it Windows, Linux or macOS. You just need to install VirtualBox on your operating system and rest of the steps remain the same.
Step 1: Download VirtualBox from its website and install it by double-clicking on the downloaded file.
Next, install the latest version of Linux Mint’s ISO file from its website.
Step 2: Once your virtual Box is up & running we are ready to get started. Click the New button, click Next on the virtual machine wizard.
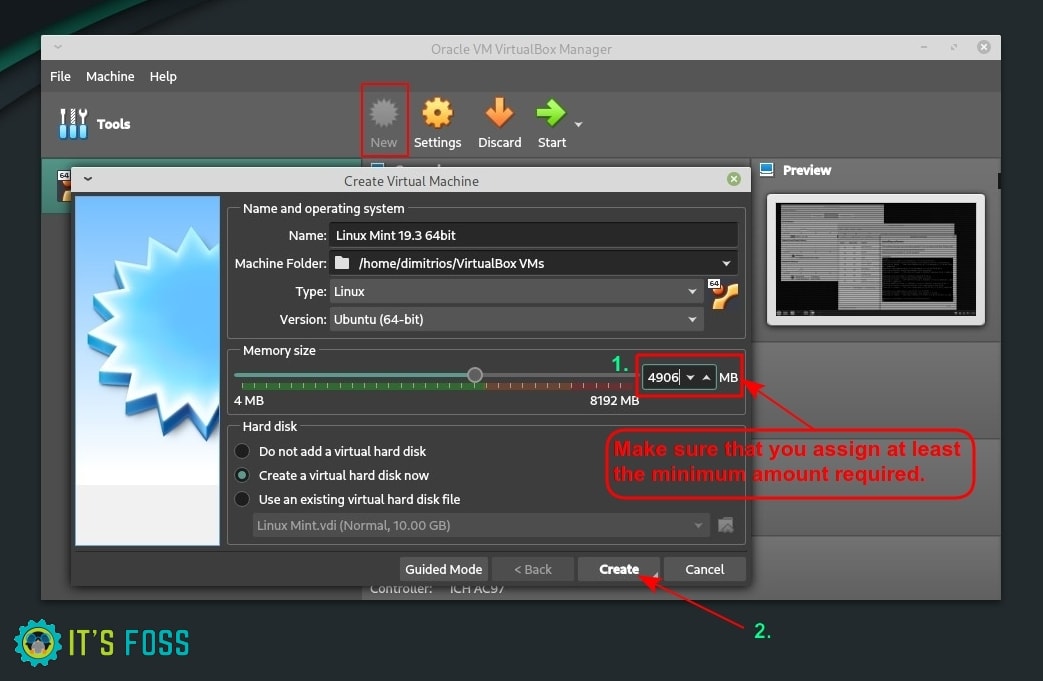
Initially, you need to specify the following:
- Name: Any preferred name for your VM like Linux Mint
- Type: Linux
- Version: Ubuntu (64 bit) as Linux Mint is an Ubuntu-based distribution
Before configuring any hardware resource value, please make sure that are aware of the system requirements.
2 GB RAM would be okay but won’t give you a good experience. 3 GB is a comfortable amount if your system has 8 GB of RAM. I choose to set my Virtual Machine to 4096 MB (4 GB) because my system has plenty of RAM.
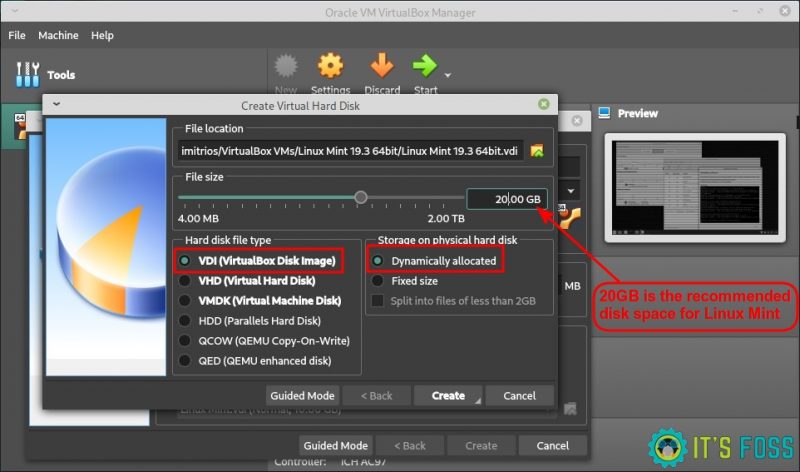
Step 3: Next, choose a Virtual Hard disk now option and click create.
Choose the virtual storage allocation method (Recommended Dynamically allocated). Set your storage location for virtual hard disk by browsing drive and then specify the size of virtual hard disk (it could be anything from 12-20 GB).
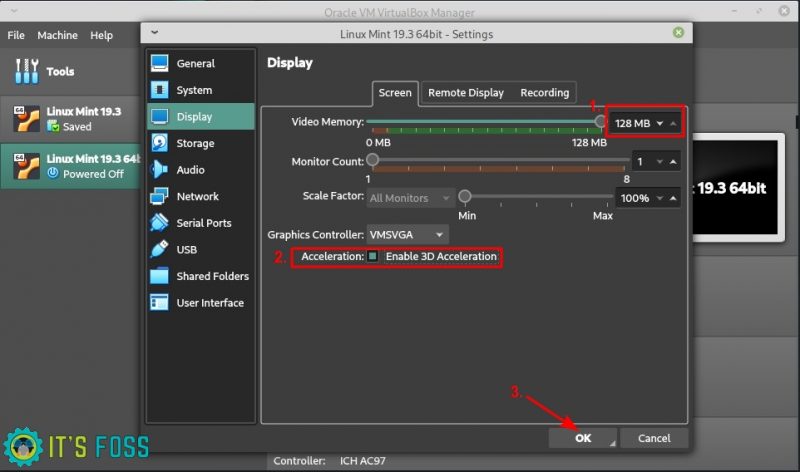
Step (4 (optional advanced settings): Once Virtual machine has been created, click on the settings button in menu:
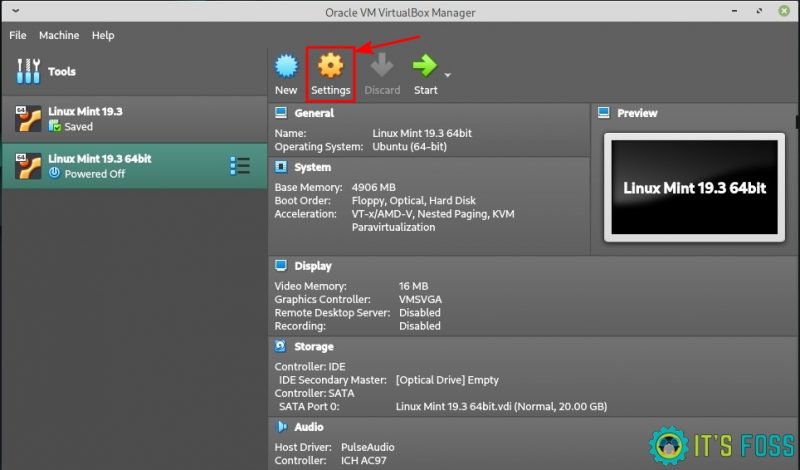
Now, go to the Display section. Specify the Video memory (128 MB) and check “Enable 3D Acceleration”.
Then click on System Tab → Processor and choose how many threads would you like to allocate.
My system is a 4 core/4 thread system and I choose to assign half of the CPU capability i.e. 2 threads.
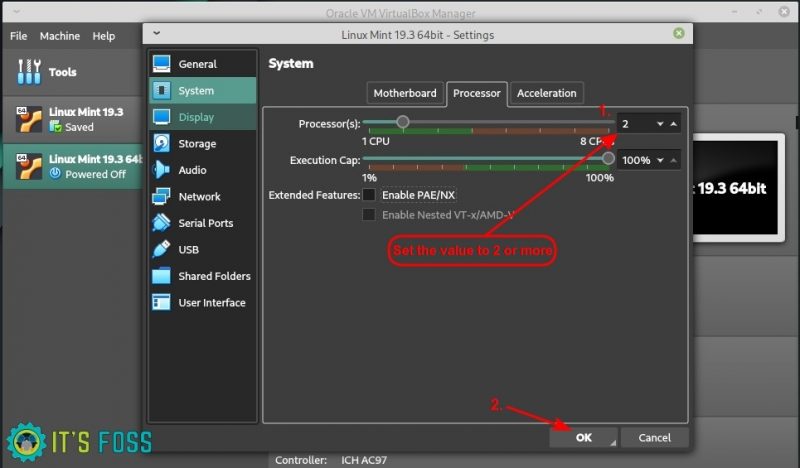
Once you have configured everything click ok.
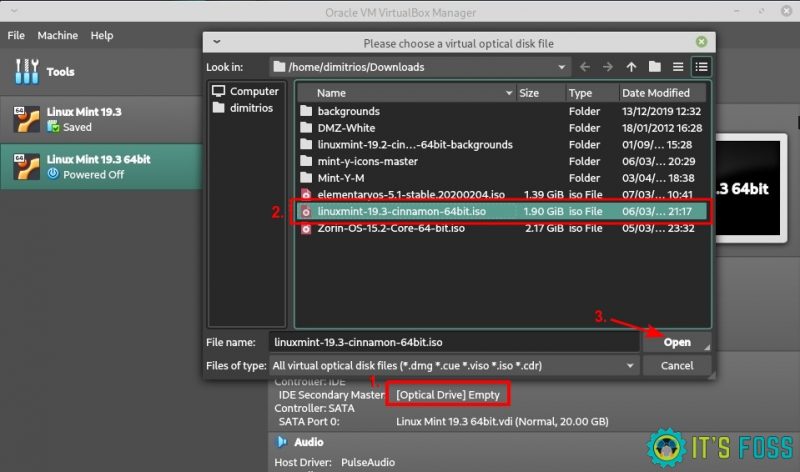
Step 5: In the System settings, go to Storage (from the left sidebar). Click on the [Optical Drive] Empty as shown in the image below.
You’ll be asked to browse to the Linux Mint ISO file you had downloaded earlier.
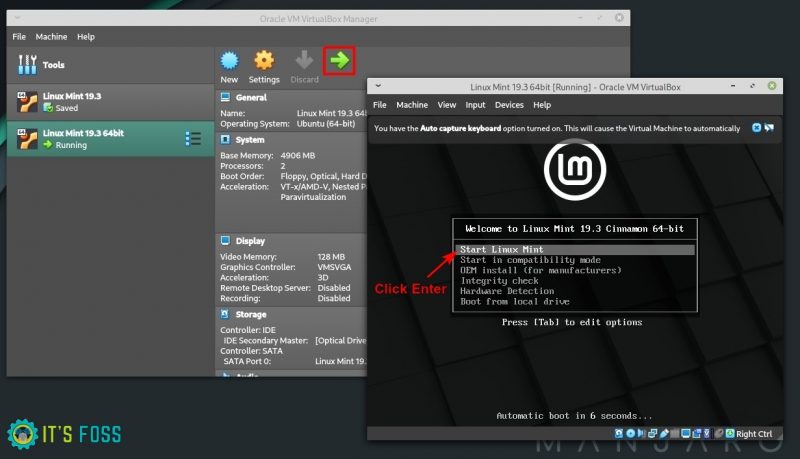
Once you select your ISO, click on the start button and that’s it! Now the ISO will start running as if you are booting from a live USB.
Next, you need to press enter whilst your option is start Linux Mint as per the picture below.
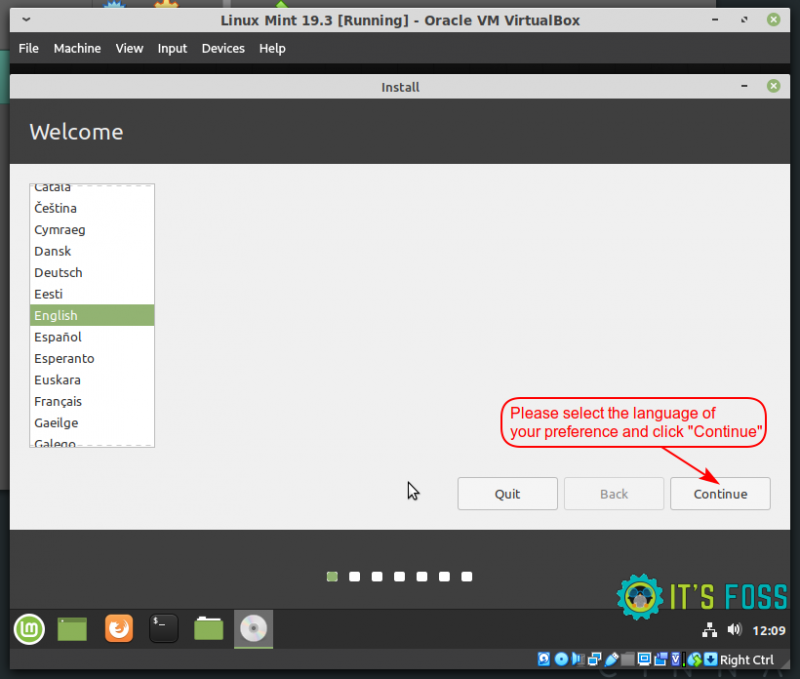
Step 6: Let’s start the installation procedure.
Choose the language you want for your Linux Mint virtual machine.
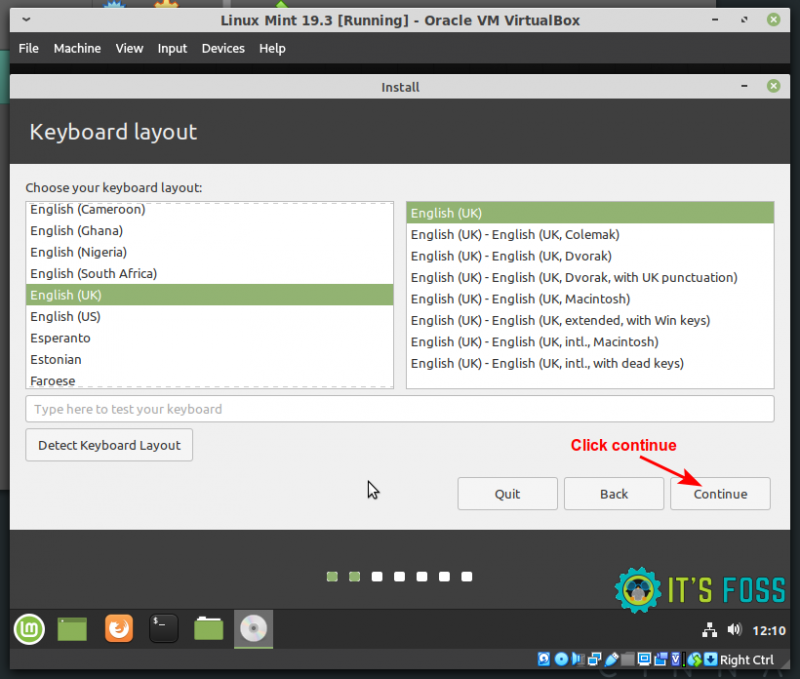
I’m based in the UK, so I have a UK keyboard layout. You can choose the one you want.
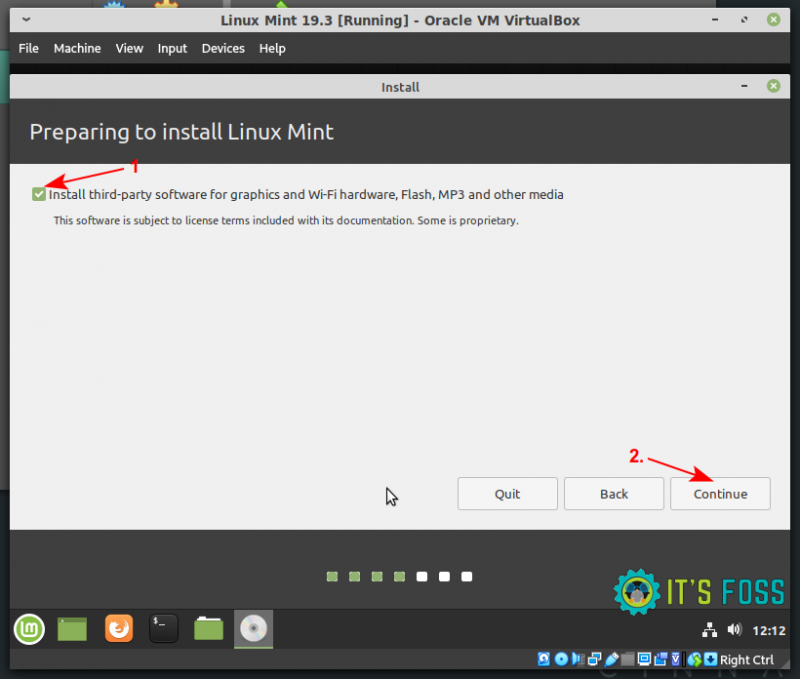
You may check the box to download and install any third-party software during the installation.
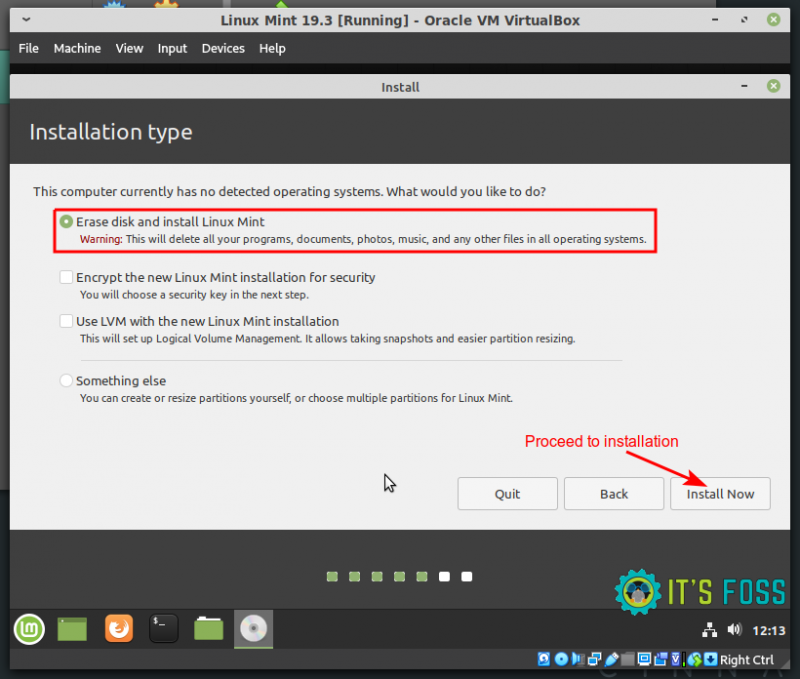
You can proceed to erase the disk and install Linux Mint.
Next, select your time zone and click continue. You may change time zone in Linux later as well.

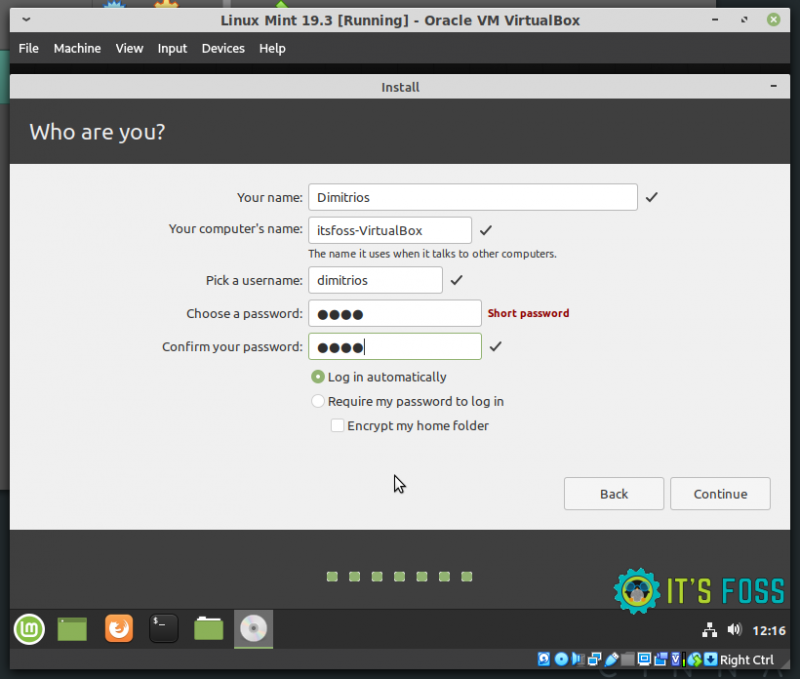
You will be prompted to create your user account, your host name (computer’s name) and to choose a password. Once done, click continue to finalize the installation.
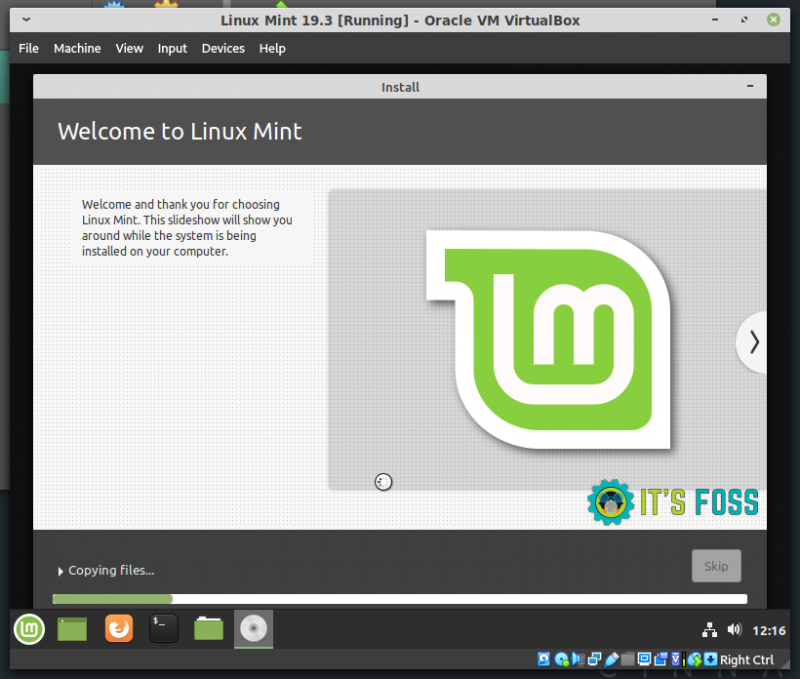
Please wait a few minutes for the process to complete.
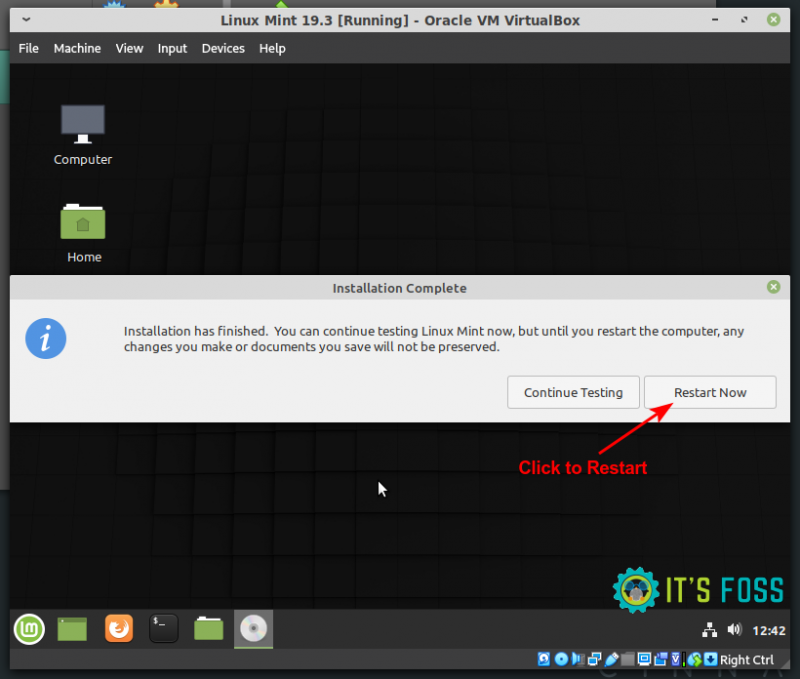
The installation has now finished. Click on “Restart now”.
When you reach this step, Linux Mint will be installed and ready to use!
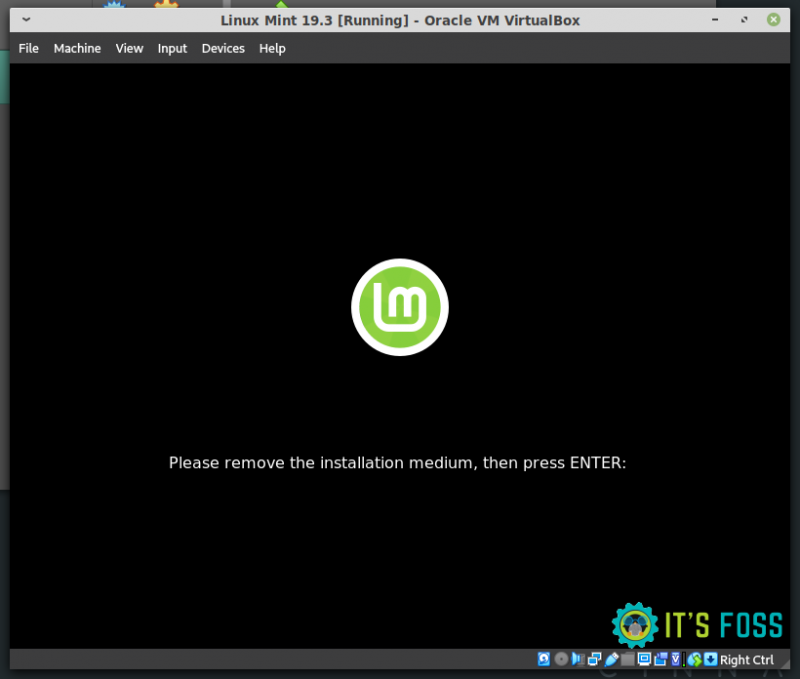
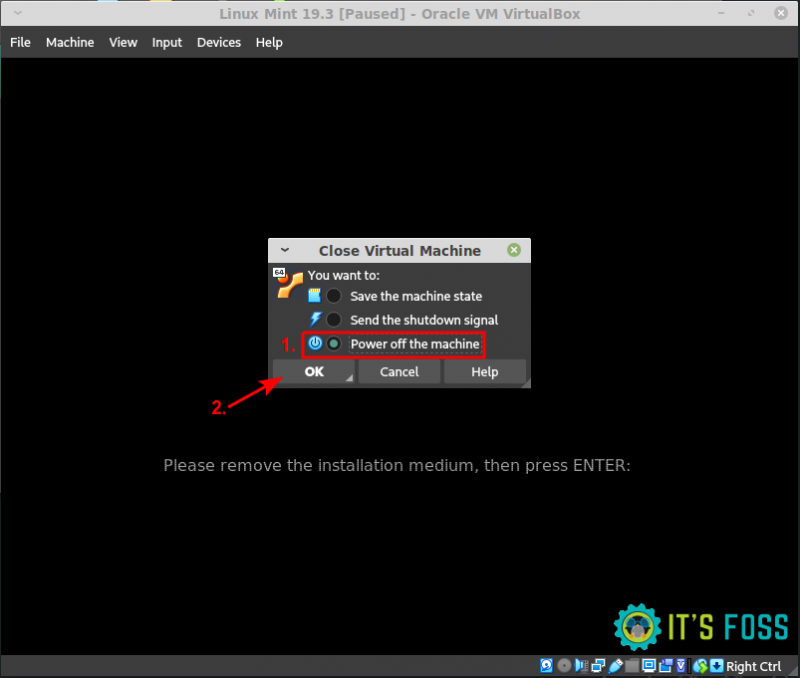
You don’t have an installation medium so just power off the virtual machine.
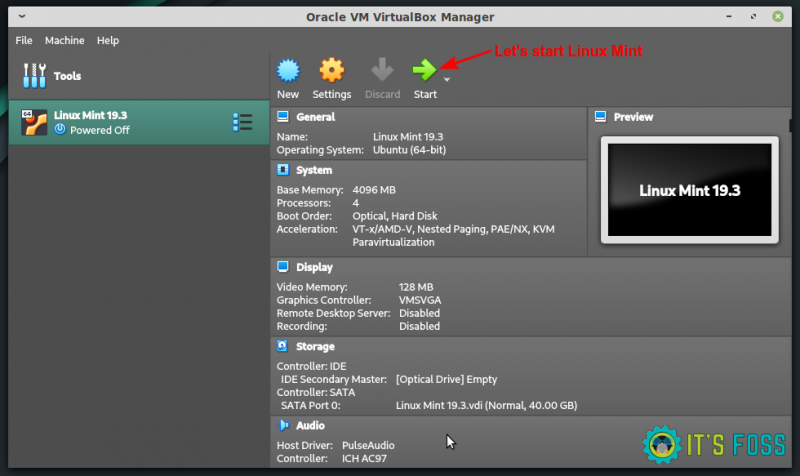
Now to use your virtual machine, click on the start button.
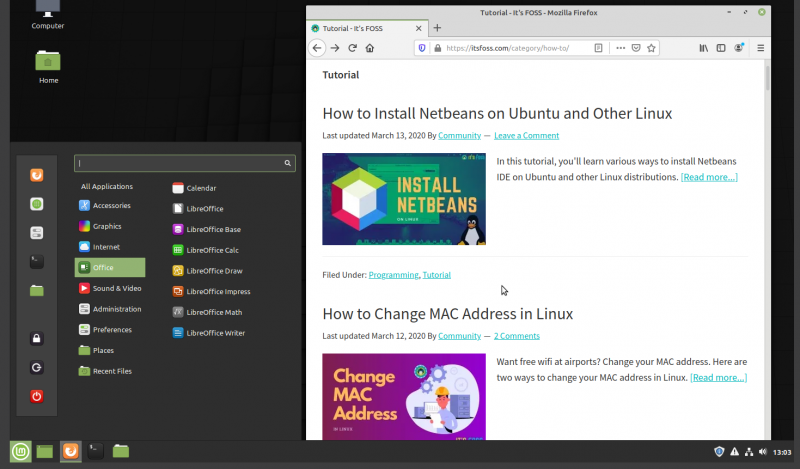
You can explore a fully functional system, and at this time if you shut down Linux Mint like it was physically installed, it will automatically power off the virtual machine.
Enjoy Linux Mint in VirtualBox. I hope you were able to install Linux Mint in VirtualBox. If you face any issues, please let me know in the comment section. I’ll try to help you out.
If this helped you, consider supporting It's FOSS
It's FOSS has been helping people use Linux for the past 14 years. Help us stay independent from big tech. Become a Plus member, enjoy ad-free reading and get 5 eBooks.
