

What's the best code editor available for Linux?
If you ask experienced Linux users, their answers would probably include Vim, Emacs, Nano, etc. No doubt these are exceptional editors, but I’m not talking about terminal-based text editors here.
In this article, I’m going to take a look at the best open-source code editors for Linux that provides a rich user experience along with all the necessary features.
Best Modern Open-Source Text Editors for Linux
Just because I primarily use Ubuntu, you may also consider it as some of my favorite open-source code editors for Ubuntu. But, this list is also applicable for every other Linux distribution out there.
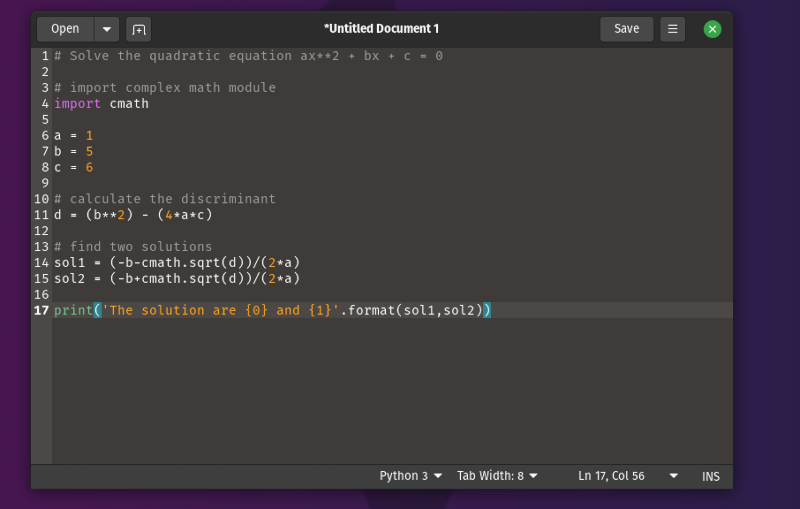
1. Visual Studio Code
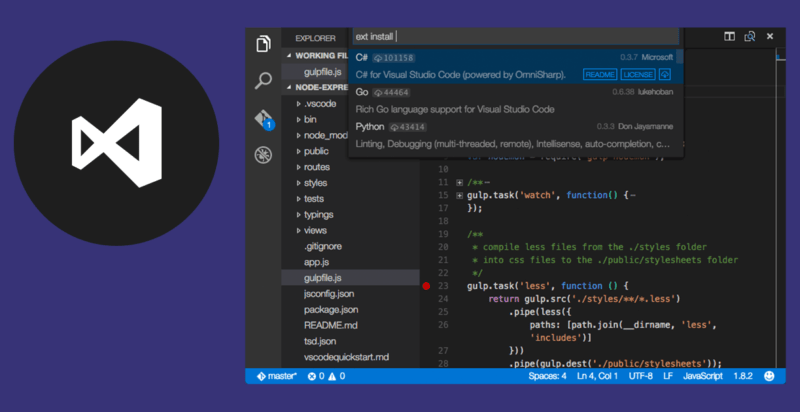
Visual Studio Code is a popular code editor from Microsoft. Now don’t push the panic button just yet. Visual Studio Code is completely open-source.
Visual Studio Code was among the first few ‘peace offerings’ from Microsoft to the Linux and open-source world.
Visual Studio Code is an excellent code editor for all kinds of tasks. It’s lightweight as well. Some key features are:
- Intellisense provides useful hints and auto-completion features
- Built-in Git support
- Built-in extension manager with plenty of extensions available to download
- Integrated terminal
- Custom snippet support
- Debugging tools
- Support for a huge number of programming languages
- Cross-platform
Because of their similarity, it was often difficult to choose between Atom and VS Code. Both are owned by Microsoft, after all. Now that Atom has been discontinued, VS Code takes the lead.
Installing Visual Studio Code on Ubuntu and other distributions, such as Fedora-based ones, is very easy, thanks to Snap and Flatpak packages.
Alternatively, you can also download .deb/.rpm packages for Ubuntu, Fedora, and other Linux distributions from its official website.
2. VSCodium
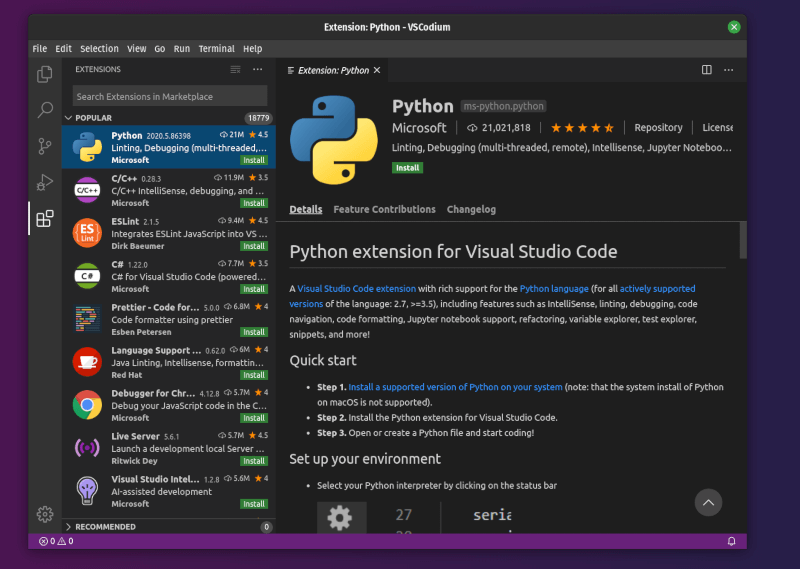
If you want to get rid of the telemetry, branding, and licenses of Visual Code Studio, VSCodium is for you.
VSCodium is essentially the same minus Microsoft telemetry and branding.
You can find .deb/.rpm packages along with files for Windows or ARM-based systems on their GitHub page. If you prefer to use Flatpak, you can also find it listed on Flathub. For reference, you can take a look at our Flatpak guide for help.
3. Kate
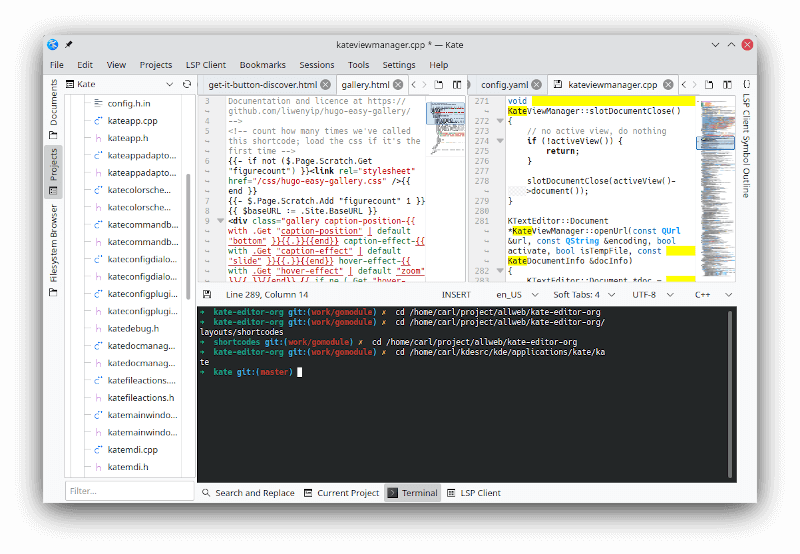
Kate is an underrated modern text editor developed by KDE.
Kate can prove to be a potential alternative to Microsoft’s Visual Studio Code. It may not offer the same features/plugins that you find with Visual Studio Code, but you should get all the essentials to get started.
Some of the features are:
- Split window
- Multiple document editing
- Session support
- Code folding
- Cross-platform support
- Integrated Git support
- Autocomplete feature
- Plugins to extend functionality
If you want a different code editor with similar features as VS Code, you should try Kate editor.
You can find an AppImage file and a Snap package to install it on any Linux distribution.
In either case, you may find it listed in your software center (check for the version available), or you can build it from the source.
4. CudaText
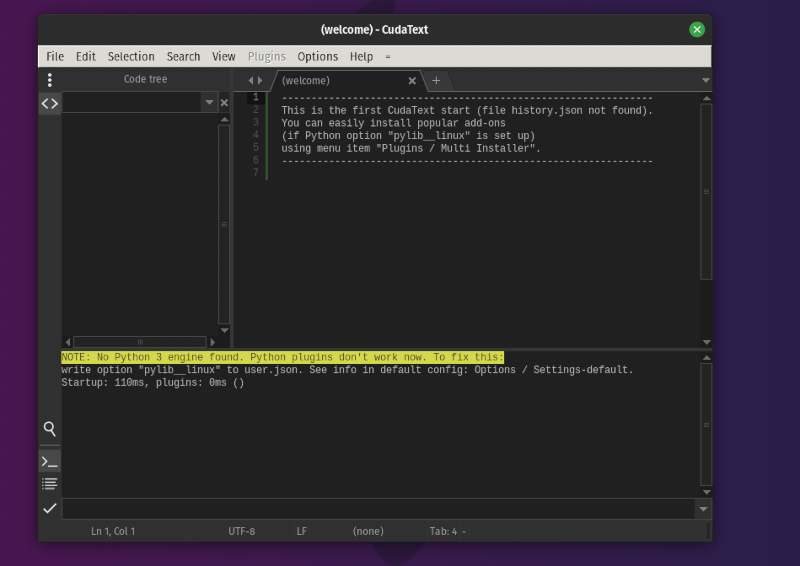
CudaText is a neat open-source text editor, and a cross-platform option that includes Linux support.
It may not be the best, but it is suitable for HTML/CSS coding; it allows you to tweak the editor’s theme with a couple of options available.
If you want a simpler and faster solution with a modern look/feel, you should try CudaText. Here are some key features that it offers:
- Syntax highlighting
- Code tree
- Code folding
- Binary/hex viewer
- Cross-platform support
You can get the latest release files to install from FossHub. Also, you may check our separate article on CudaText to explore more about it and how to install it.
In either case, head to their official website for more information.
5. Gedit
If you want a simple yet elegant experience, Gedit is a great option.
Of course, it may not give you a rich UI—but it is a clean and modern-looking text editor compared to some others.
Some of the key features it offers are:
- Full support for internationalized text
- Syntax highlighting
- Word auto-completion
- Spell-checking
- Text wrapping
- Cross-platform
It comes pre-installed by default on Linux distributions with the GNOME desktop environment. But, if you do not have it installed, you can install it from your package manager or the Software Center.
You can even find it available for Windows 10 and macOS. For more details, you should check out their official GNOME wiki page.
Suggested Read 📖
 Pratham Patel
6. Lite
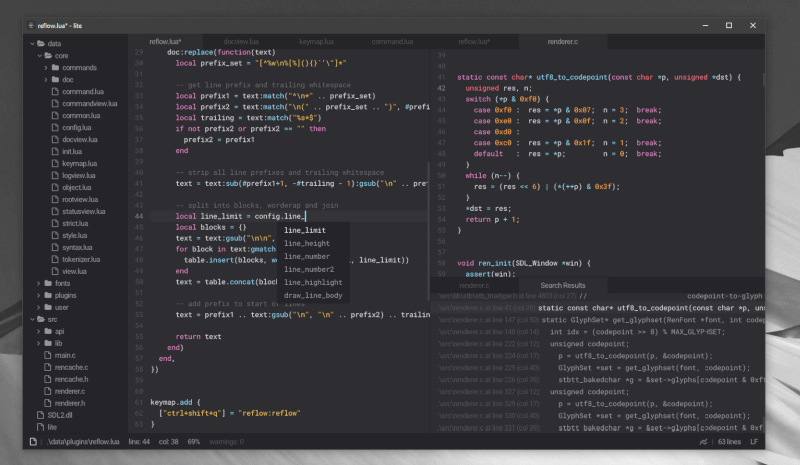
A fairly new text editor for coding on Linux (and for Windows). Compared to others, this editor aims to provide a fast experience without compromising the user experience.
Unfortunately, there’s no easy way to install it; you have to build it from a source on Linux.
You can check out their GitHub page for more information on the source.
7. Geany
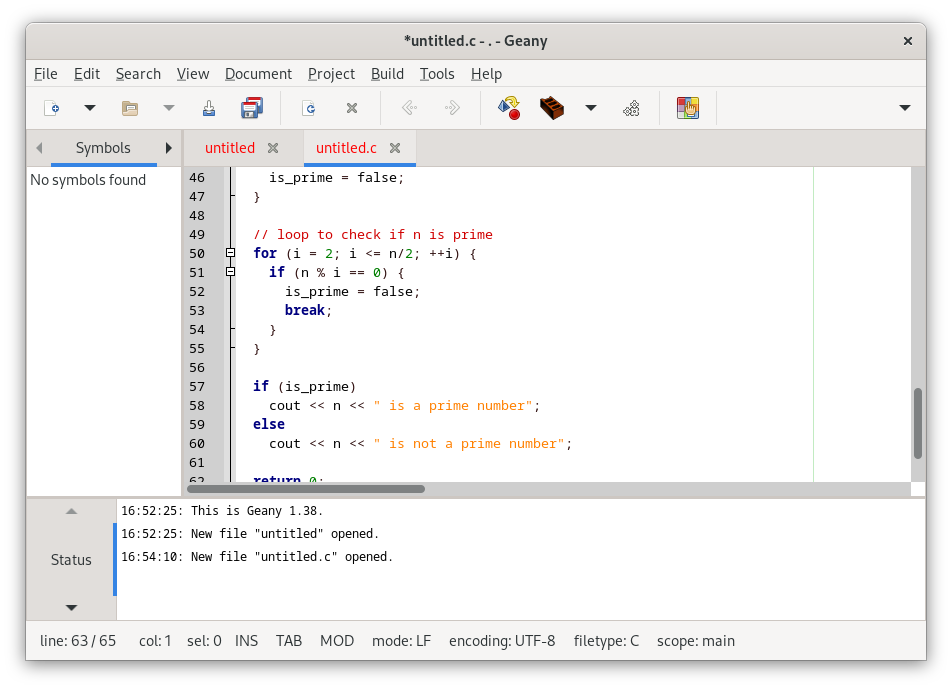
Geany is a popular but underrated text editor that a programmer can use. Not to forget, one of the best Notepad++ alternatives for Linux.
It packs many essential features supporting various programming languages with cross-platform support. One of the highlights is that it is a fast, powerful, and lightweight.
Some of the features include:
- Easily customizable
- Various plugins available
- Variety of filetypes supported (including SQL files, ini-style config files, and more)
You can explore more about it on its official website or GitHub page.
8. Lapce
Lapce is a Rust-based code editor that aims to perform fast while offering a rich feature set—a cross-platform solution at its early stages of development.
However, it has garnered much attention from the community because of its promising advancements in its development stage.
Some of the features include:
- Vim-like modal editing
- WASI plugin system where you get to write a plugin for the code editor as per your requirements
- Built-in terminal
You can head to its GitHub page to learn more about it. To start, you can run the executable from its archived package or refer to its wiki on installing it using package managers.
What’s your pick?
Here, we’ve limited our choices with open-source options that are potentially modern text editors for coding. Of course, you have plenty of other options such as Notepad++ alternative Notepadqq or SciTE, and many more.
There are some upcoming but interesting ones as well.
 Sourav Rudra
And you may also want to check this list of vibe code editors for Linux.

So, among these, which is your favorite text editor for Linux? Feel free to let me know!
If this helped you, consider supporting It's FOSS
It's FOSS has been helping people use Linux for the past 14 years. Help us stay independent from big tech. Become a Plus member, enjoy ad-free reading and get 5 eBooks.
