GNOME kinda gets a bad rep because of the changes it made since GNOME 2. But what many people don’t realize is that GNOME has grown highly flexible and customizable. There are extensions powerful enough to change each and every aspect of GNOME desktop. Everything can be tweaked according to the user’s preferences and needs. Extensions can even be used to add features and stuff that you find helpful. With GNOME there’s a lot happening. You just need to explore a bit.
With Ubuntu rolling with GNOME henceforward, it might not be a bad idea to check out GNOME and it’s handy extensions. Well, a discussion about extensions is for another day. Today, we’ll be having a look at GNOME Layout Manager. GNOME Layout Manager is a bash script written by Bill Mavromatis that batch installs and tweaks GNOME extensions as well as GTK/Shell themes. There are currently three theme options available.
- Unity
- Windows 10
- MacOS
I’ve tried a lot of look-changers and theming applications but GNOME layout manager is downright stunning. It works on all the Linux distros, whether Debian based, Arch based or RPM ones. And it gets every detail of the target theme right. Downloads the wallpaper, icon themes, shell themes and integrates it all so perfectly. I mean just look at this Windows 10 theme.
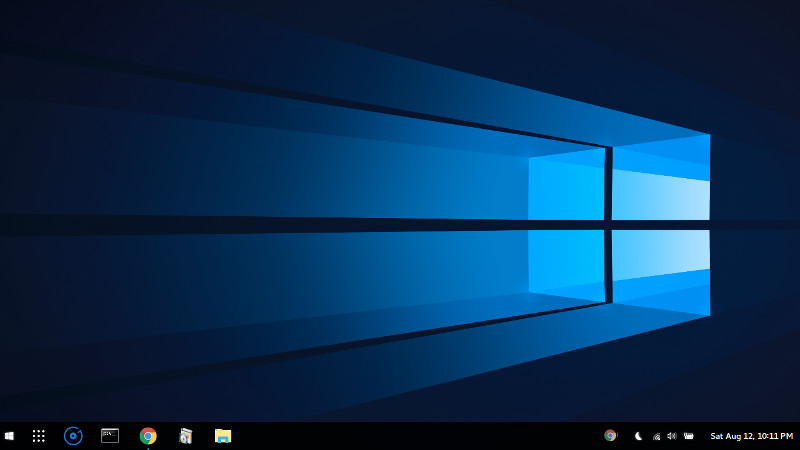
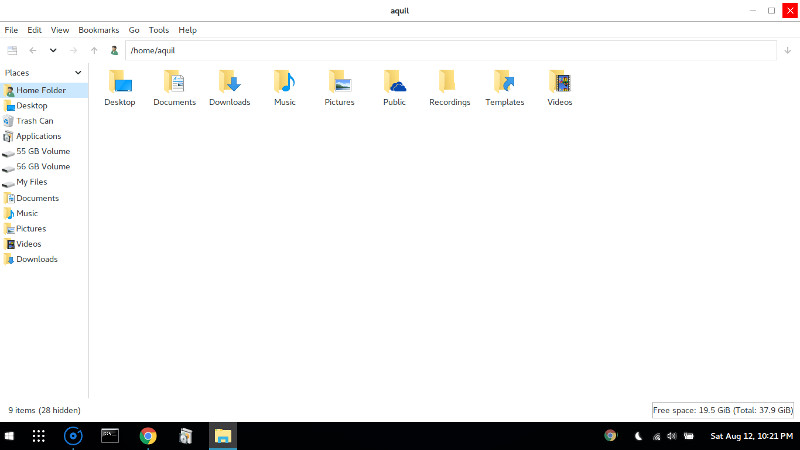
This is my GNOME desktop transformed by the GNOME layout manager. Is it not impeccable? Without giving it a real close look, it’ll easily pass for a Windows 10 desktop. And it’s not just the desktop that’s transformed, the theme applies to all the applications. My file manager transforms flawlessly into Windows file explorer.
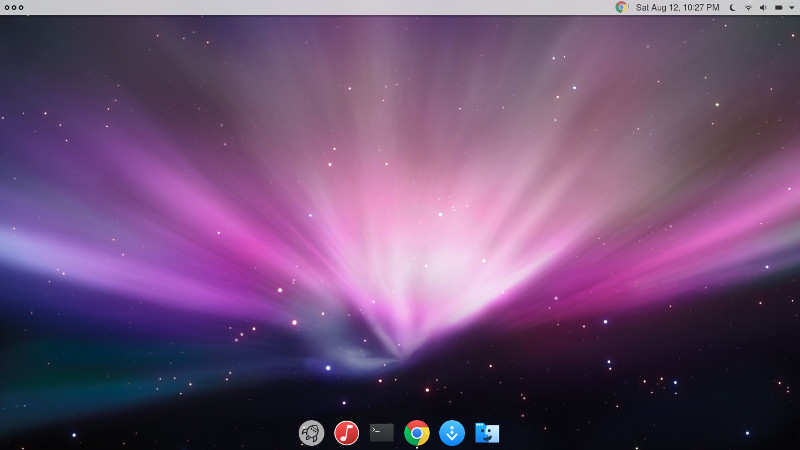
And if you’re into the MacOS look, satisfaction guaranteed.
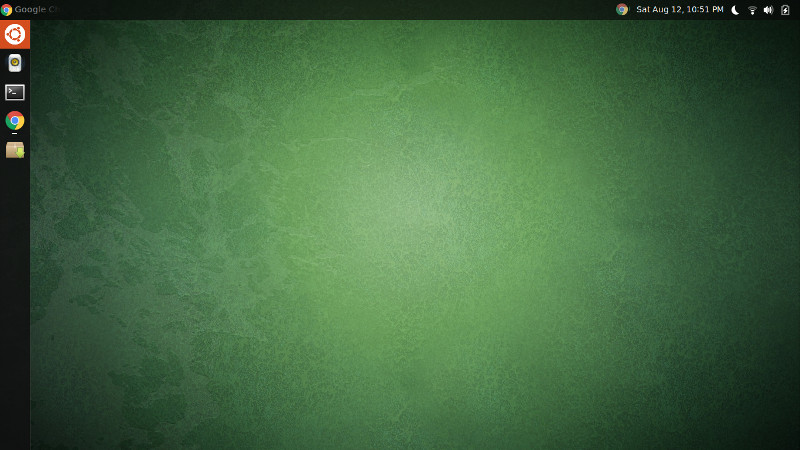
Ubuntu’s Unity desktop environment is being discontinued. But if want to replicate that look on some other distro running GNOME desktop environment or if you simply want to mix and match the best of the two desktop environments then GNOME layout manager is your man.
Although I did find a tiny bit of issue while applying the Unity theme. The Dash to Dock did not get set up in panel mode. Which you can easily turn on using the tweak tool. No problem with anything else. It even gives the Unity global menu on GNOME!
Installing and using GNOME Layout Manager
The installation instructions are the same for all the Linux distros. Run the below commands one by one.
wget https://raw.githubusercontent.com/bill-mavromatis/gnome-layout-manager/master/layoutmanager.sh
chmod +x layoutmanager.sh
GNOME layout manager can be launched by running the below command at the download location.
./layoutmanager.sh
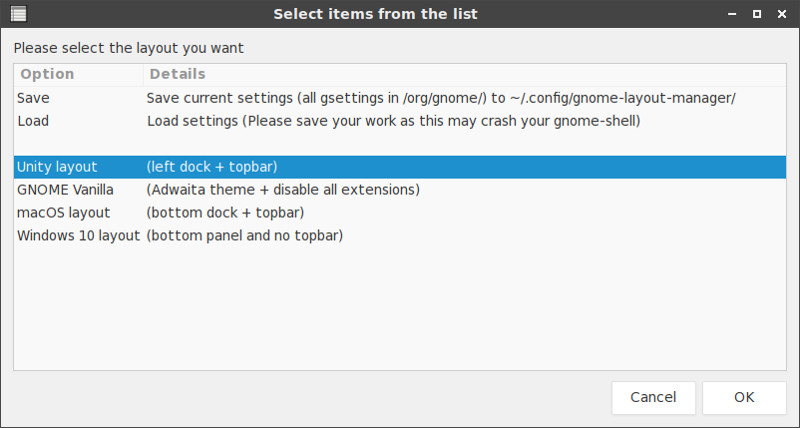
It will pop up the application window and you can choose the desired option by double-clicking the entry.
The first two options can be used to save and restore your current theme and customization. I suggest you save your current theme before applying any other theme.
Applying themes might take a minute or two as wallpapers and extensions will have to be downloaded.
If you want to use the Unity theme, then make sure to install the unity gtk module using the commands below.
Ubuntu/Mint: sudo apt-get install unity-gtk2-module unity-gtk3-module
Arch/Antergos/Manjaro: yaourt -S unity-gtk-module-standalone-bzr
Fedora: sudo dnf install unity-gtk-module-common
openSUSE: sudo zypper install unity-gtk-module
There you go. All set. If you’ve already done some customization on your existing theme, then you better save the current theme. GNOME layout manager provides options to save and load applied themes. That way you can roll back to your previous theme anytime.
That’s it, people. Do check out the GNOME layout manager and if you have any questions or comments, use the comments section below. Don’t forget to share this article. Cheers.

