

This simple tutorial explains the steps to outline text in GIMP. The text outline helps you highlight text against the background of other colors.

Let’s see how you can add a border around your text.
Adding text outline in GIMP
The entire procedure can be described in these easy steps:
- Create your text and copy its outlined path
- Add a new transparent layer and add the outlined path to this layer
- Change the size of the outline, add a different color to it
That’s all. Don’t worry, I am going to show each steps in detail with proper screenshots. By following this tutorial, you should be able to add outline to text even if you never used GIMP before.
Just make sure that you have GIMP installed on Linux or whatever operating system you are using.
This tutorial has been performed with GIMP 2.10 version.
Step 1: Create your primary text and copy its outline
Open GIMP and create a new file by going to the top menu->File->New. You can also use Ctrl+N keyboard shortcut.
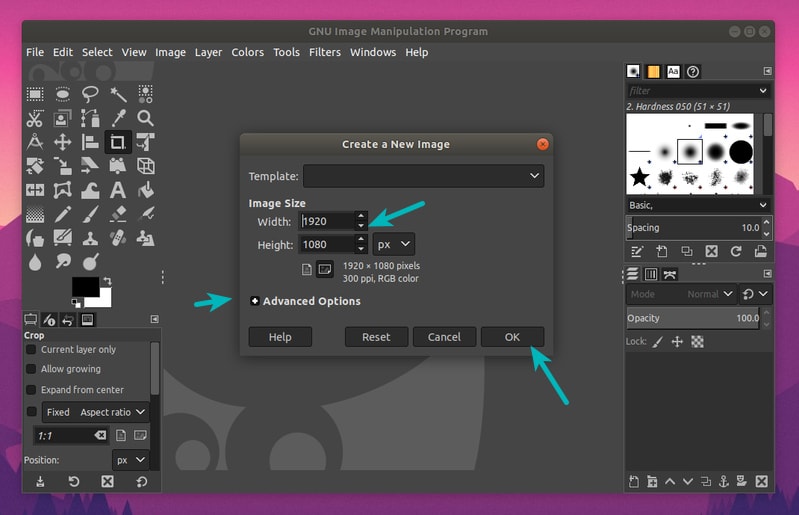
You can select the size of your canvas here. You may also choose if you want white background or a transparent background. It is under the Advanced Options->Color profile.
I have chosen the default white background. It can be changed later.
Now select the Text tool from the toolbox in the left sidebar.
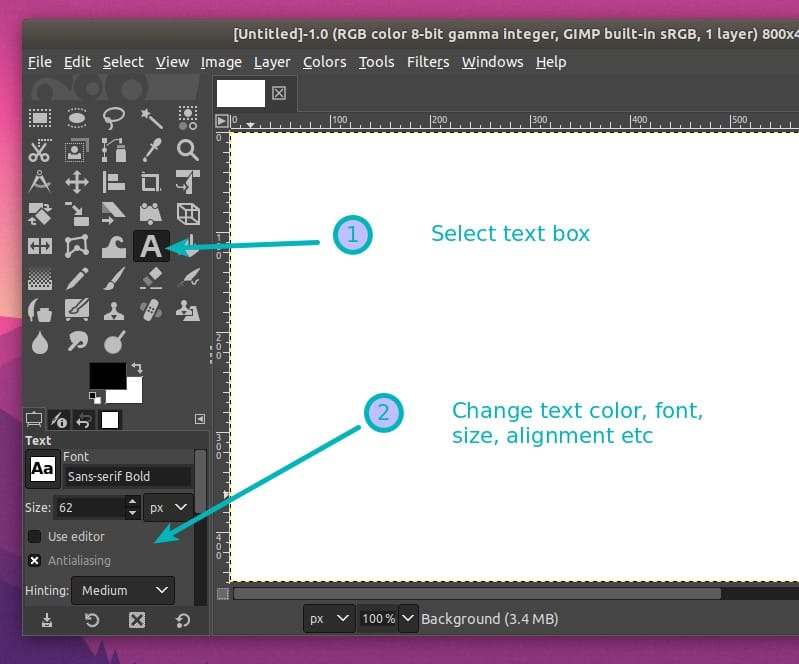
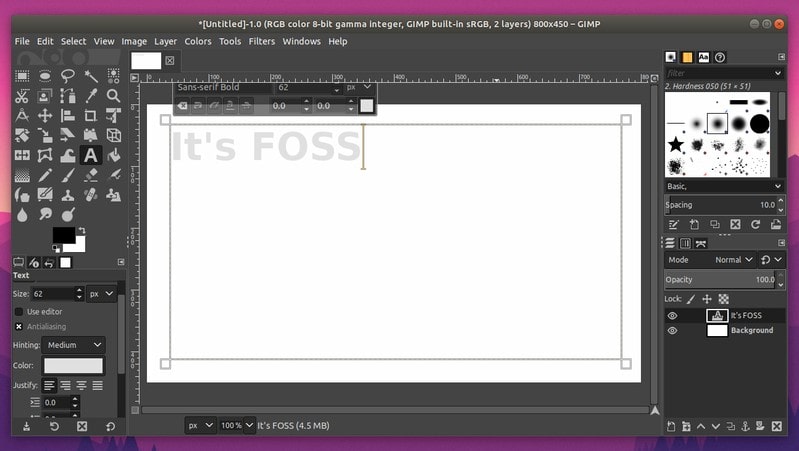
Write the text you want. You can change the font, size and alignment of the text as per your choice. I have kept the default left alignment of the text for this article.
I have deliberately chose a light color for the text so that it is difficult to read. I’ll add a darker outline to this light text in this tutorial.
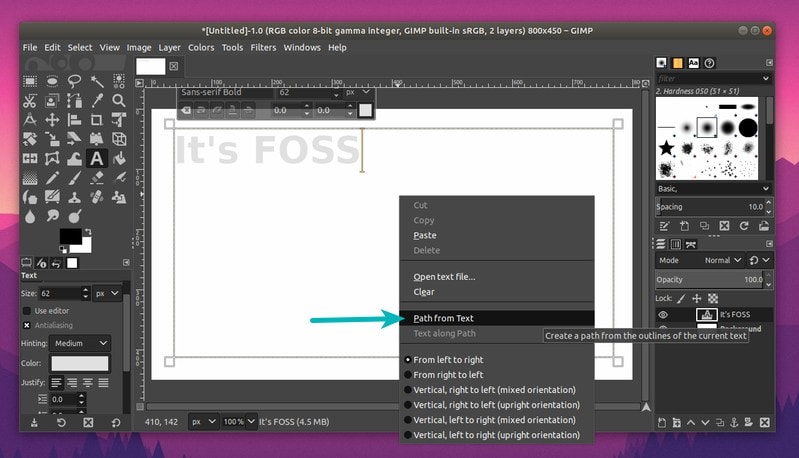
When you are done writing your text, right click the text box and select Path from Text.
Step 2: Add a transparent layer with the text outline
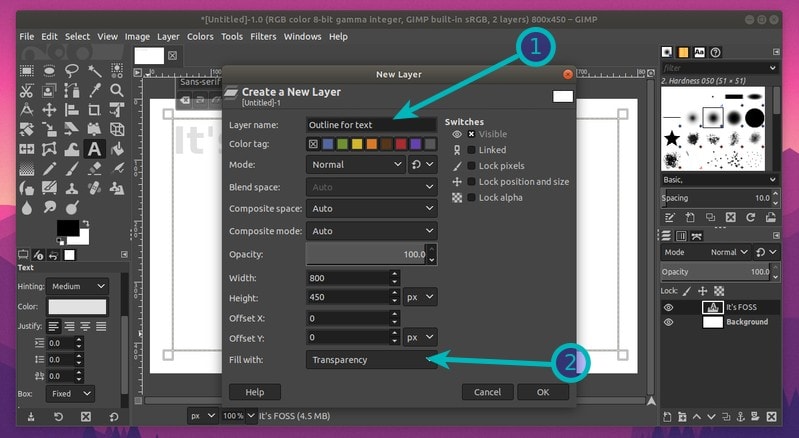
Now, go to the top menu, go to Layer and add a new layer.

Make sure to add the new layer as transparent. You can give it a suitable name like ‘outline for text’. Click OK to add this transparent layer.
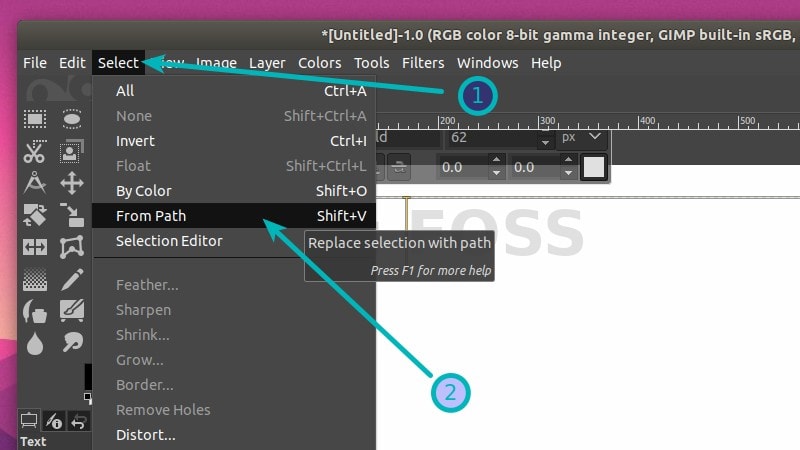
Go to the menu again and this time go to Select and click From path. You’ll see that your text has been highlighted.
Basically, you just created a transparent layer that has the same text (but transparent) as your original text. What you need to do now is to increase the size of the text on this layer.
Step 3: Adding the text outline by increasing its size and changing its color
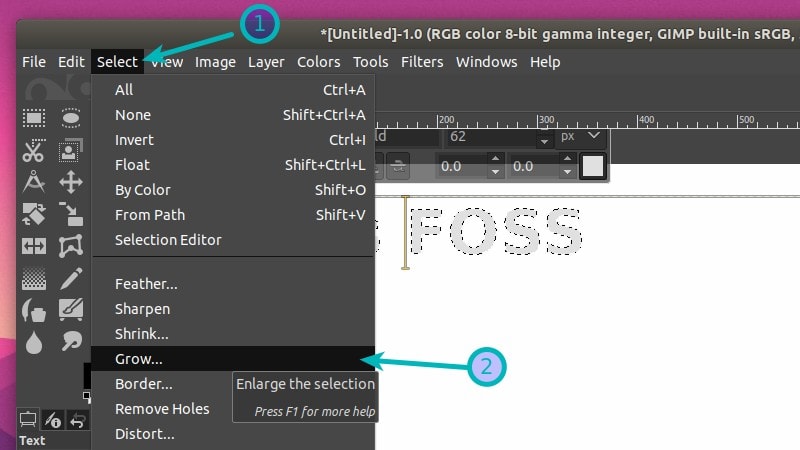
To do that, go to Select in menu once again and this time choose Grow. This will allow you to grow the size of the text on the transparent layer.
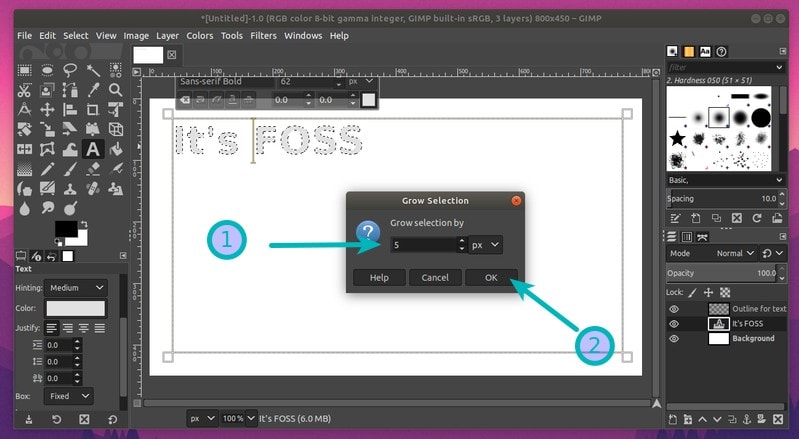
Grow it by 5 or 10 pixel or whatever you prefer.
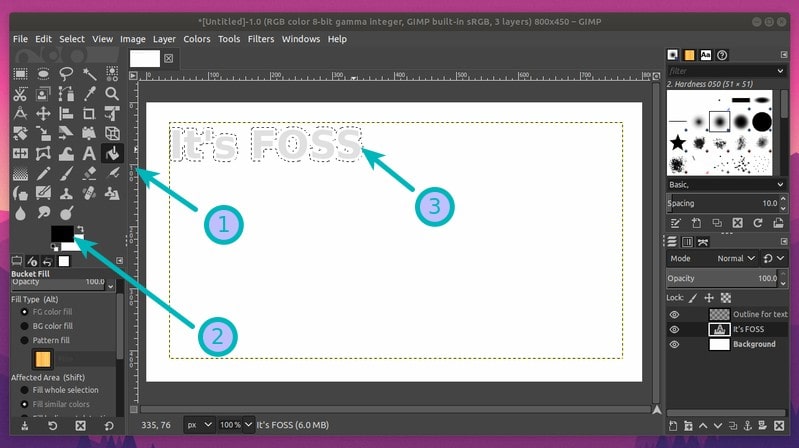
What you need to do now is to fill this enlarged selection with a choice of your color. Since my original text is of light color, I am going to use back color for the outline here.
Select your main image layer if it’s not already selected. The layers are visible at the right sidebar. Then go to the toolbox and select the bucket fill tool. Select the desired color you want for the outline.
Now use the tool to fill black color to your selection. Mind that you fill the outer outline of the text, not the text itself.
You are pretty much done here. Use Ctrl+Shift+A to de-select your current selection.
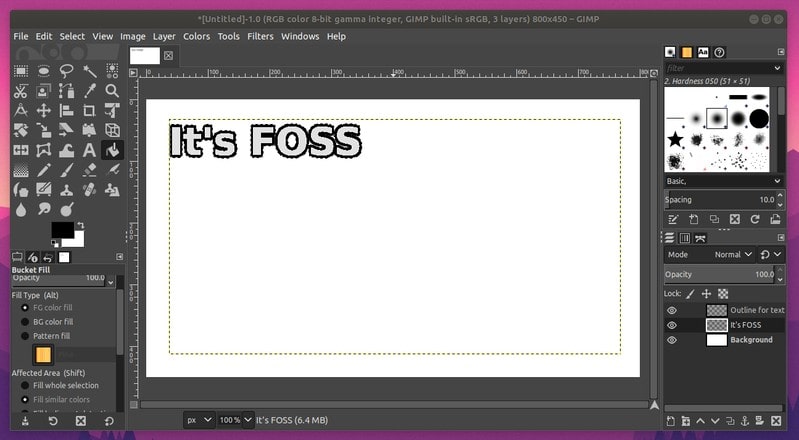
So now you have successfully added outline to your text in GIMP. It is on white background and if you want a transparent background, just delete the background layer from the layer menu in the right sidebar.
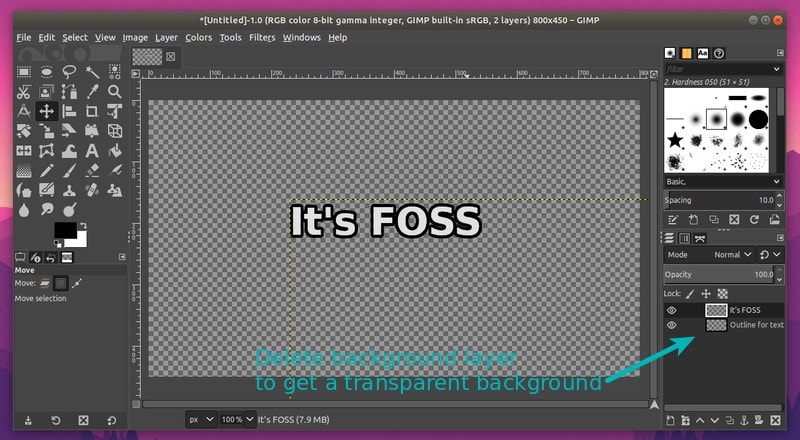
If you are happy with the result, save the file as PNG file (to keep transparent background) or whichever file format you prefer.
Did you make it work?
That’s it. That’s all you need to do to add a text outline in GIMP.
I hope you find this GIMP tutorial helpful. You may want to check out another simple tutorial about adding a watermark in GIMP or adding brushes in GIMP.
If you have questions or suggestions, please feel free to leave a comment below.
