
Science becomes extra difficult when you have to work with large numbers, complex equations, or when you need fast calculations. But in the recent years, these problems have been considerably reduced thanks to the computers and more specifically, thanks to the open-source projects focused on bringing a better understanding and experience at the time of making computations.
As a student of Physics, I use several specialized tools and most of them are open source. I am going to share one of them today which is called Elk code, an open source project focused on Solid State Physics.
Though it is available in the Ubuntu repositories, there are several dependencies you need to explicitly install and configure.
What is Elk code?

In a few words and thanks to its official page, Elk code is an all-electron full-potential linearised augmented-plane wave code with a strong role inside the field of density functional theory.
What it does is to determine the properties of crystalline solids with many advanced features like geometry optimization, 2D and 3D plots, etc.
Install Intel Fortran compiler on Ubuntu
It could be a little bit hard to get started with it, but the key is on installing math libraries and compilers in your system before installing Elk code.
Compilers like GNU Fortran or Intel Fortran are available for the process, however, it’s recommended to install the Intel Fortran compiler because most of the issues inside the code are solved with it.
The Intel Fortran compiler comes in two parts:
- The first one Intel oneAPI Base Toolkit, brings us the math libraries.
- The second one Intel oneAPI HPC Toolkit, brings us the Fortran libraries for the correct computing of the Elk code.
Getting Intel oneAPI Base Toolkit
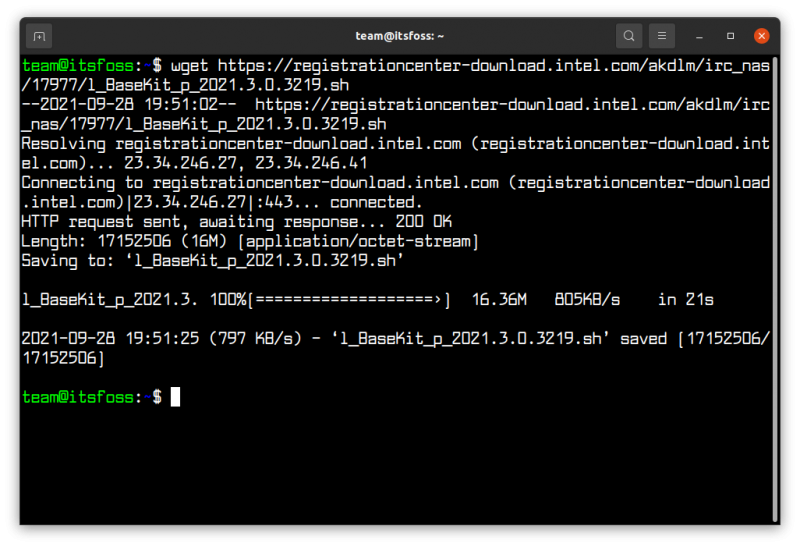
Let’s start! Open a terminal in Ubuntu and use the following command to download the required part:
wget https://registrationcenter-download.intel.com/akdlm/irc_nas/17977/l_BaseKit_p_2021.3.0.3219.shIt should look like this:
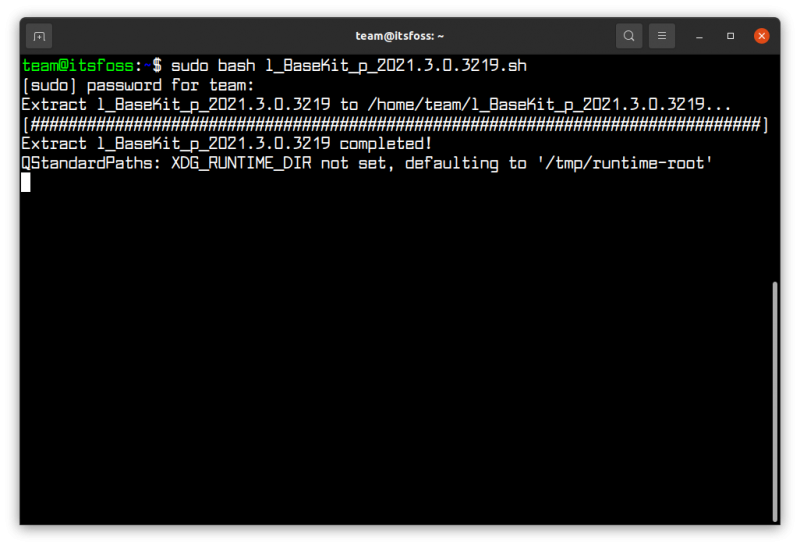
After that, in the same terminal, type the next command:
sudo bash l_BaseKit_p_2021.3.0.3219.shYou’ll be watching something like this on your terminal before a new window opens, don’t worry! It’s part of the process.
It will open a GUI interface:
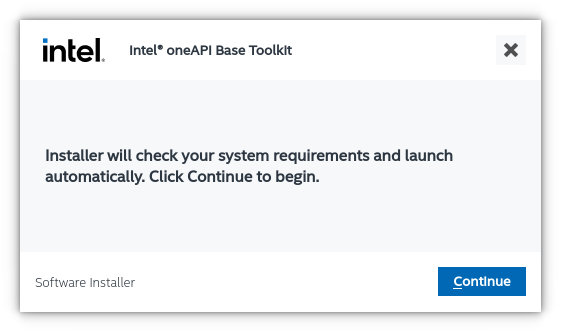
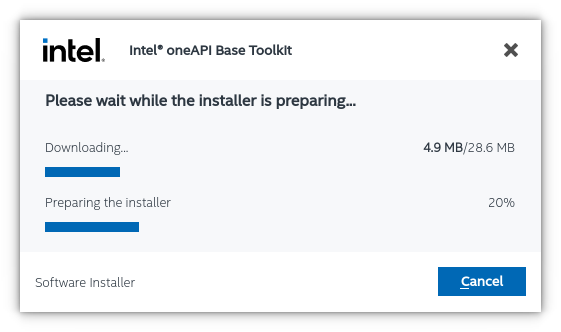
Click on the “Continue” button, and Intel oneAPI Base Toolkit will start downloading:
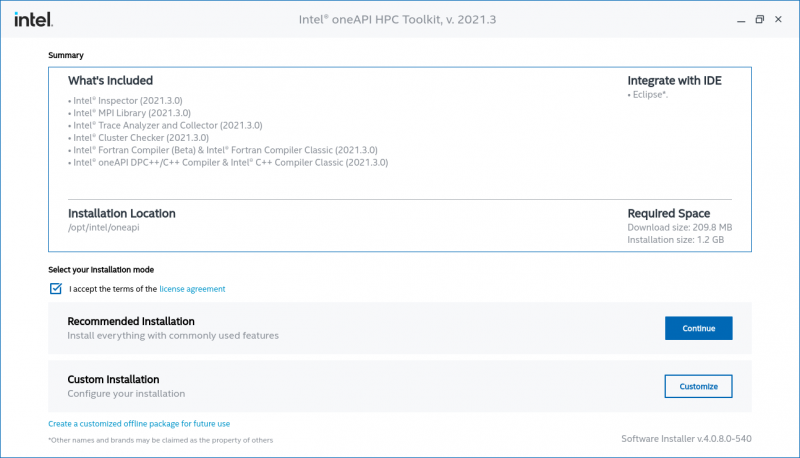
Once the download finishes, you should see this window:
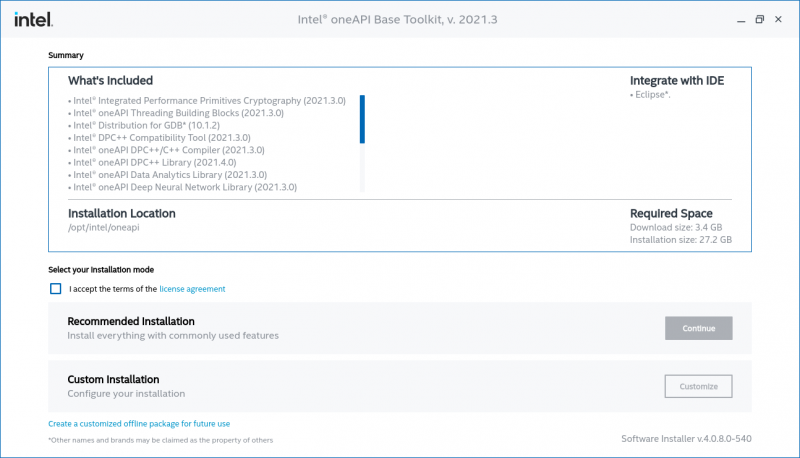
You will see what is included exactly in this API. It’s strongly recommended installing every package it contains. Accept the terms of the license agreement and push on the “Continue” button.
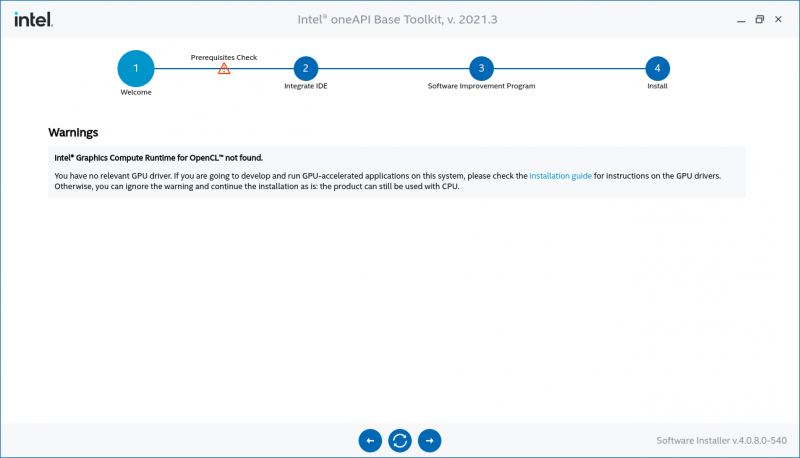
After that, the next page is a kind of validation one. If something is missing, it warns you.
For example, in this case, we got a warning about the GPU driver, but let’s just skip it and continue with the process, because, as we can see, the product can still be used with CPU.
So just click on the right arrow button.
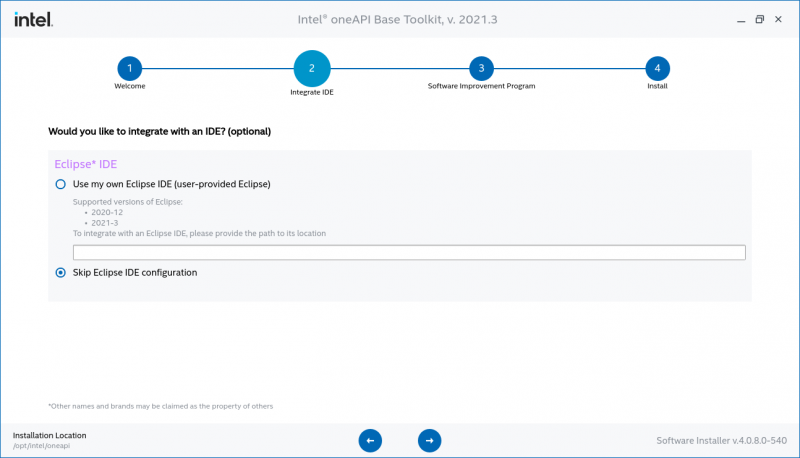
In this part, if you have installed Eclipse IDE and want to integrate the libraries into it, select the first, otherwise, just skip the integration and click on the right arrow button. Once done, you’ll be able to see the last part before the complete installation.

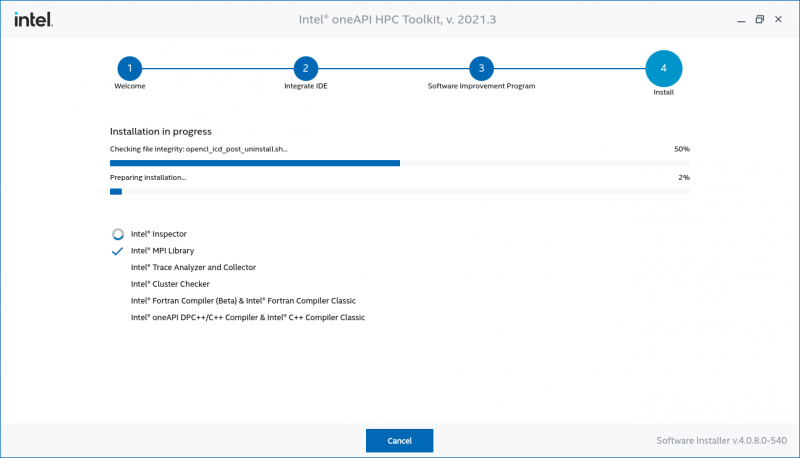
Read the Intel Software Improvement Program and enter your choice on the collection of your information, and push the “Install” button. Finally, the installation will be starting.
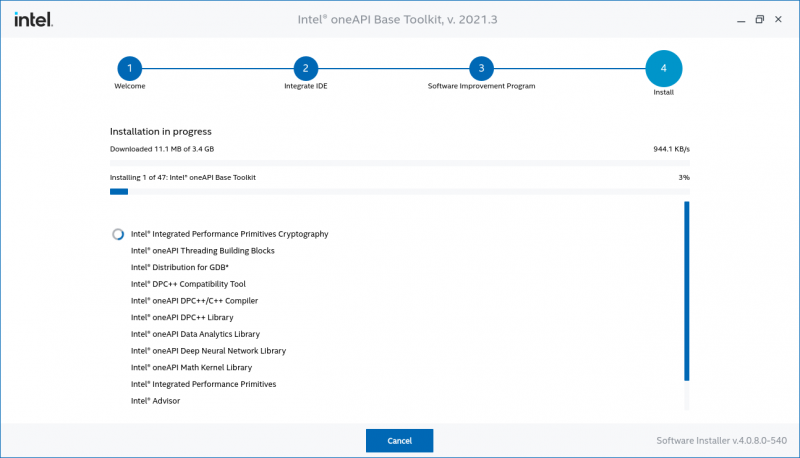
The duration of the installation will depend on how fast your internet connection is, be patient and let Intel finish the task.
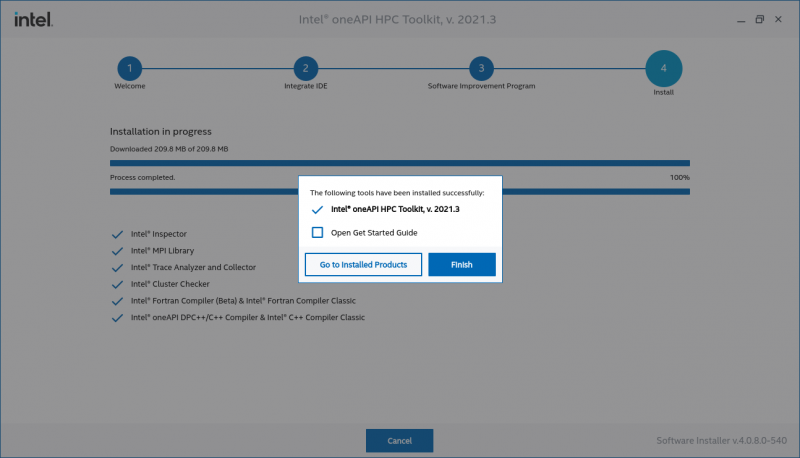
Once the task finishes, you’ll see something like this:
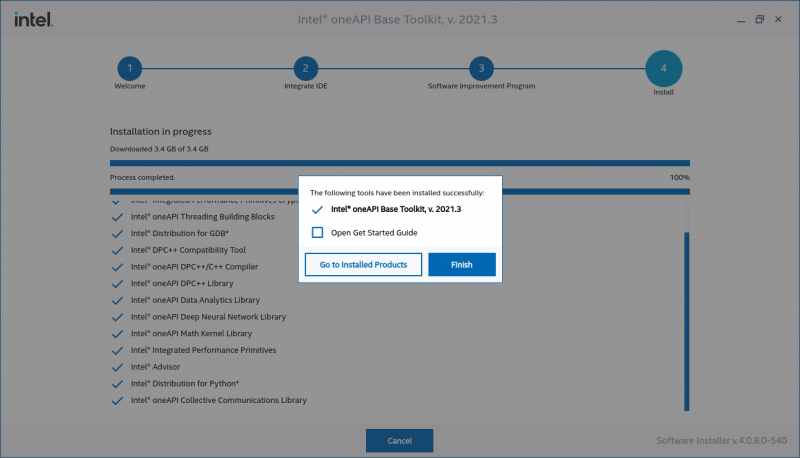
It means the installation of Intel oneAPI Base Toolkit has finished; now, let’s start with the next one.
Installing Intel oneAPI HPC toolkit
To be honest, it’s almost the same process, so it’s going to be a little bit faster.
Let’s start by using this command:
wget https://registrationcenter-download.intel.com/akdlm/irc_nas/17912/l_HPCKit_p_2021.3.0.3230.sh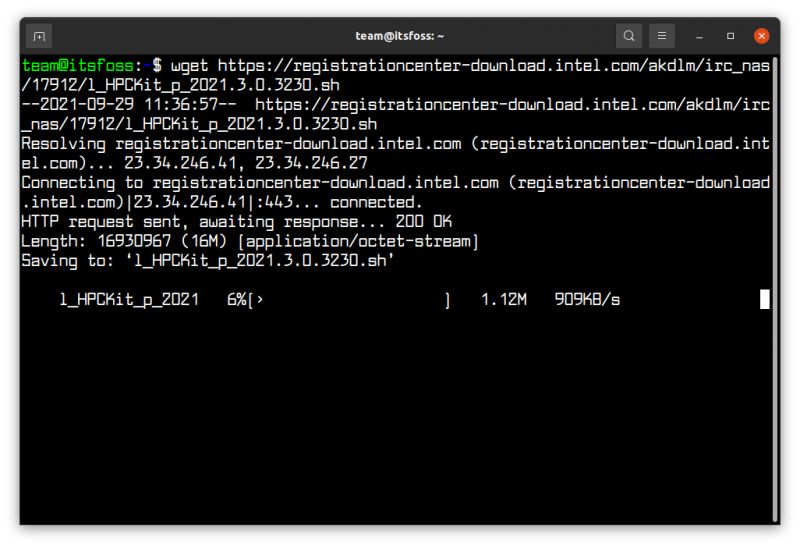
Once the above process finishes, use the next command:
sudo bash l_HPCKit_p_2021.3.0.3230.sh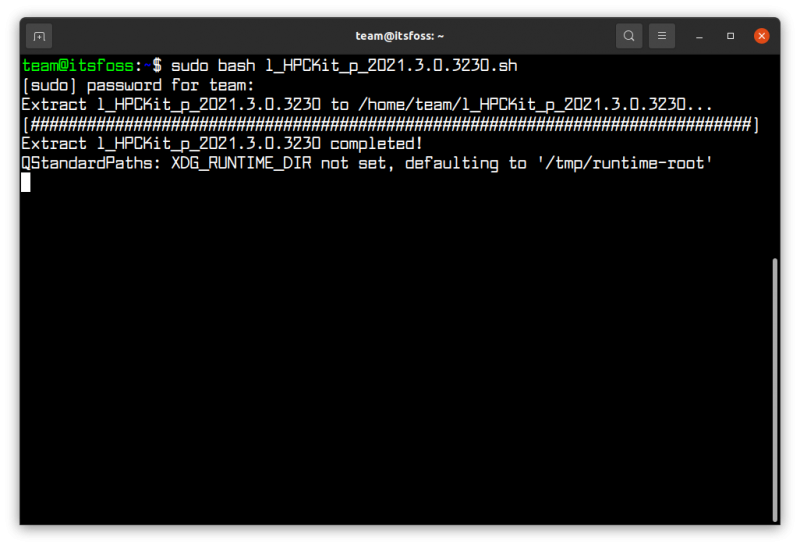
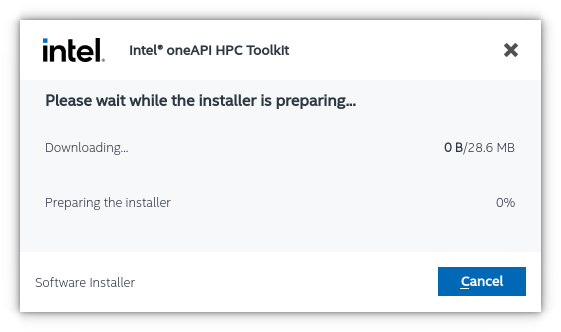
After that, the installation process will start like the one you saw before.

Click on the continue and it starts downloading:
Once finished (this download is really fast), the next window will appear on your desk. Accept the terms and conditions and click Continue.
As it was done before, let’s skip the integration of the libraries with any IDE.

And finally, enter your choice for the collection of your information and click on the “Install” button.

The libraries will start to be downloaded and installed into your system, just wait until this process finishes. Remember, the speed of the download depends on your internet connection, so be patient.
When the process finishes, click the Finish button.
And that is practically the key to the complete Elk-code installation and functionality. These two libraries are essential for the correct execution.
Configure the compilers
Finally, let’s run the next command line to start these two libraries inside the terminal:
source /opt/intel/oneapi/setvars.sh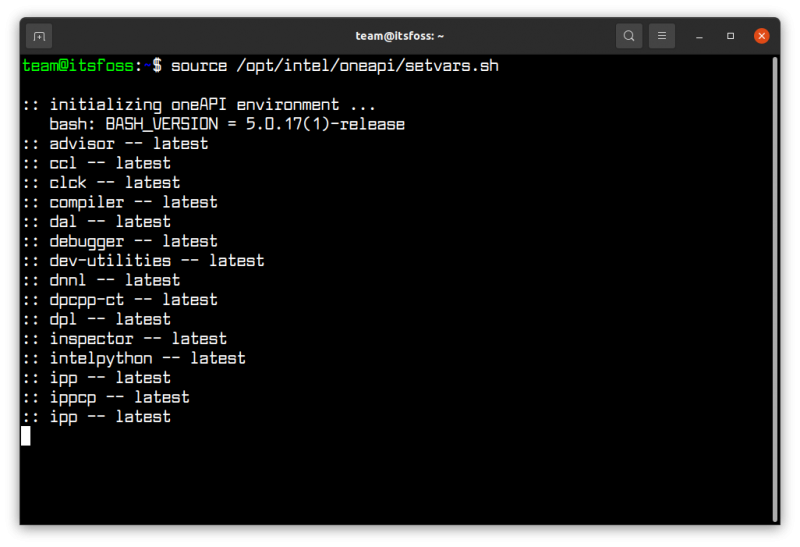
Now go to this directory:
cd /opt/intel/oneapi/mkl/2021.3.0/interfacesInside this folder, you’ll find others, but the important ones are:
- fftw2xc
- fftw2x_cdft
- fftw2xf
- fftw3xc
- fftw3x_cdft
- fftw3xf
- mklmpi
Inside every folder shown above, you will have to run the next command:
make libintel64One important thing is that from now, every time you use Elk-code, you have to run the next line on your terminal to habilitate these two libraries.
source /opt/intel/oneapi/setvars.shWith these steps before, you’re ready for the most important step, the installation of Elk-code on your Linux distribution.
Installing Elk code on Ubuntu
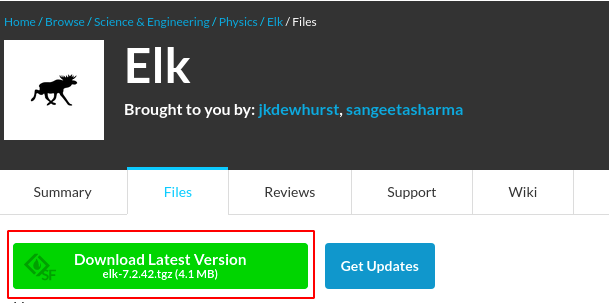
Let’s start downloading, of course, the Elk code, which latest version is located on the SourceForge page.
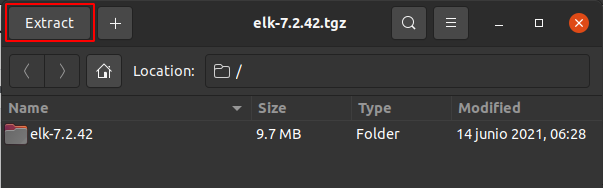
Extract the downloaded folder.
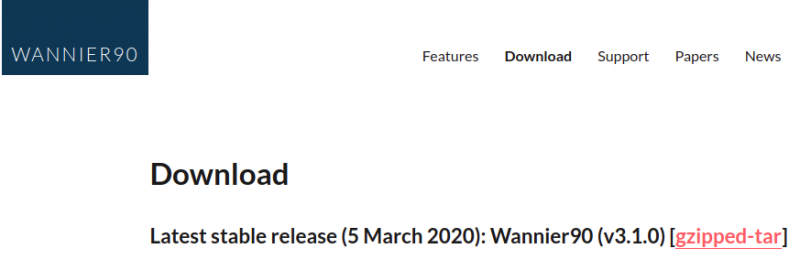
Now, let’s download the Wannier90 latest stable version library, which will help you to compute advanced electronic properties of materials with high efficiency and accuracy, from its official website.
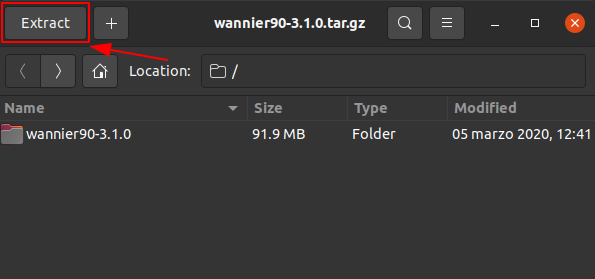
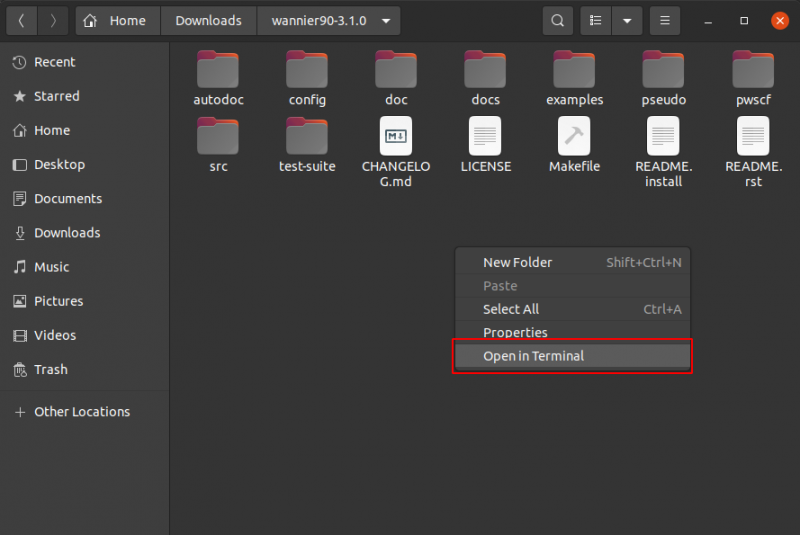
Once downloaded the .tar.gz file, let’s located it on the Files app and do double click on it to extract its content.
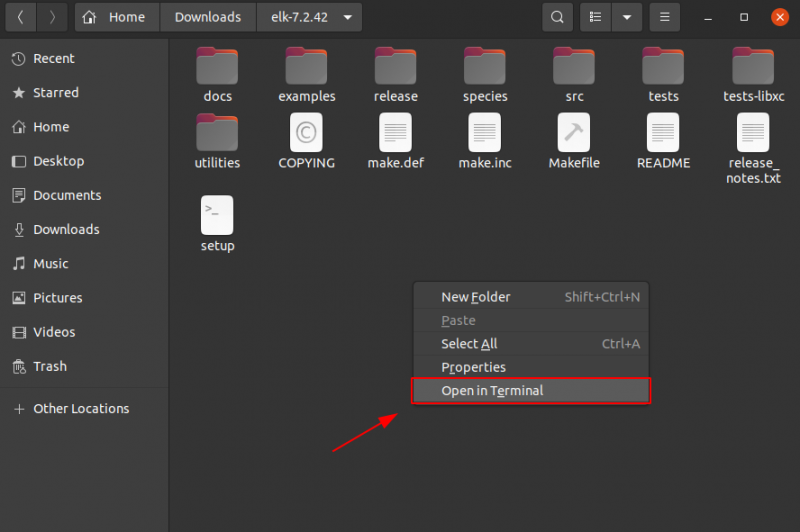
Navigate into the extracted folder and open it in the terminal.
Type these commands one by one:
source /opt/intel/oneapi/setvars.sh
cp ./config/make.inc.ifort ./make.inc
make
make lib
cp libwannier.a ../elk-7.2.42/src/
cd ../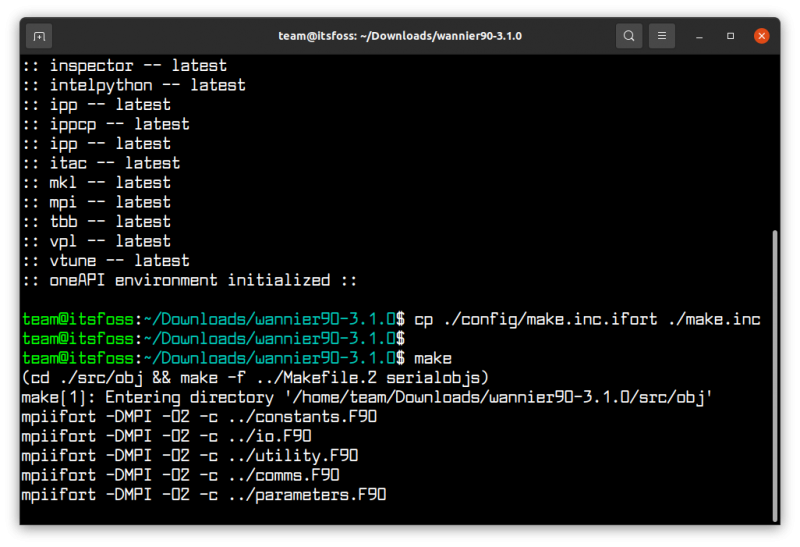
We’re about to finish. Continue typing the next command on your terminal, one by one.
wget http://www.tddft.org/programs/libxc/down.php?file=5.1.4/libxc-5.1.4.tar.gz
Now run these command one by one:
mv down.php\?file\=5.1.4%2Flibxc-5.1.4.tar.gz libxc-5.1.4.tar.gz
tar -zxvf libxc-5.1.4.tar.gz
cd libxc-5.1.4
./configure CC=icc FC=ifort
make
make check
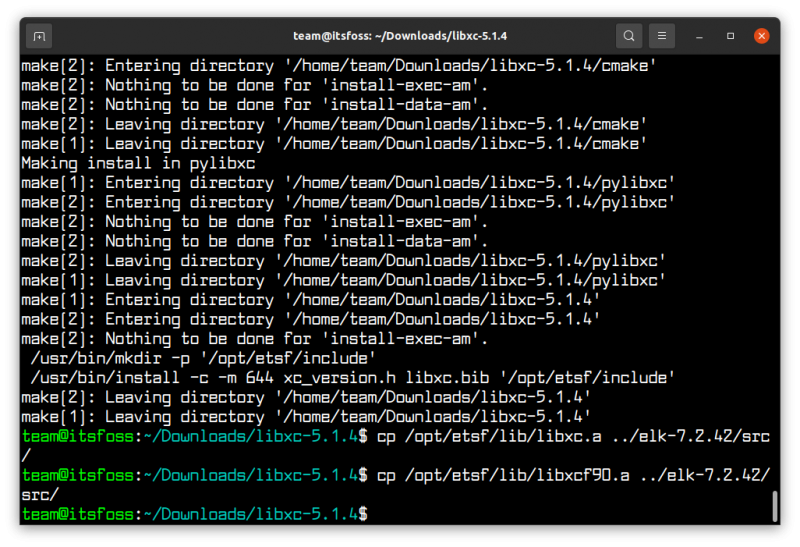
sudo make install
cp /opt/etsf/lib/libxc.a ../elk-7.2.42/src/
cp /opt/etsf/lib/libxcf90.a ../elk-7.2.42/src/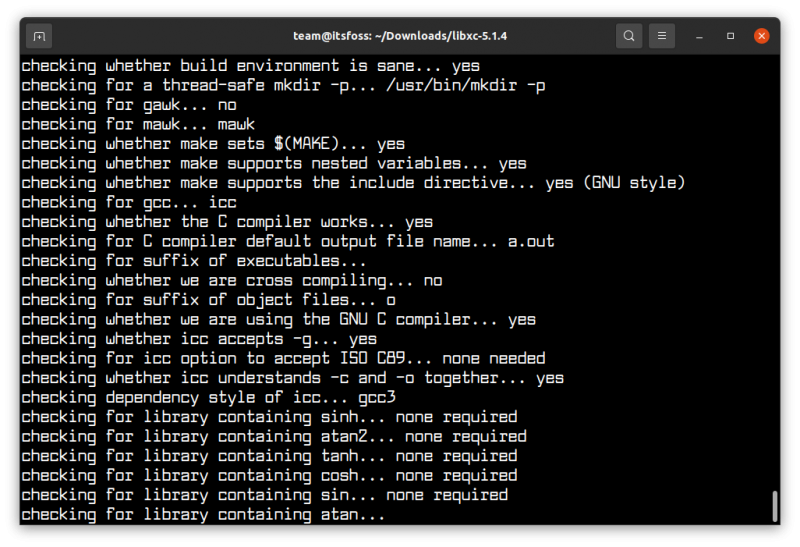
At the end of the process, you’ll have something like this on your terminal:
Please, close the terminal and, finally, it’s time to do the last part, let’s go direct to the previous Elk code folder extracted. Once there, open the folder into the terminal.
And type the next two commands:
source /opt/intel/oneapi/setvars.sh
cp /opt/intel/oneapi/mkl/2021.3.0/include/mkl_dfti.f90 src/
Almost there. Start the setup:
./setupYour terminal should look like this:
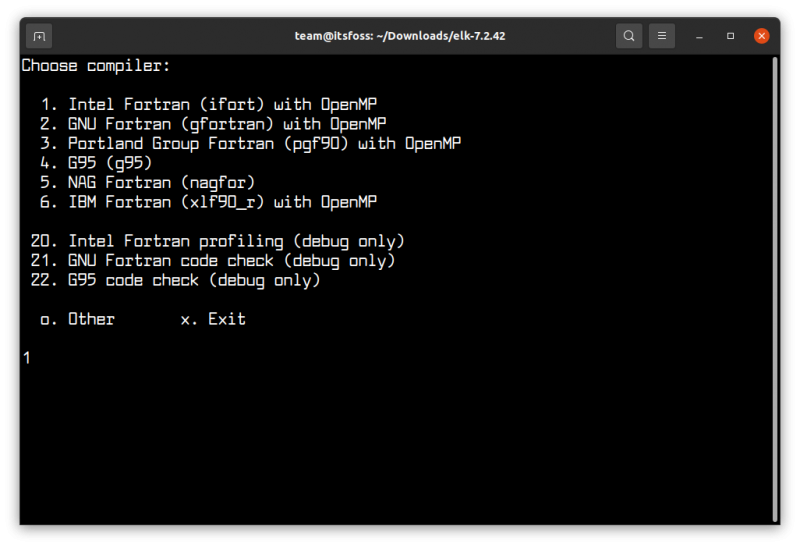
You write number 1 because you have installed the Intel Fortran compiler.
Don’t close the terminal; let’s return to the Elk code folder on the Files app and open the file called “make.inc”:
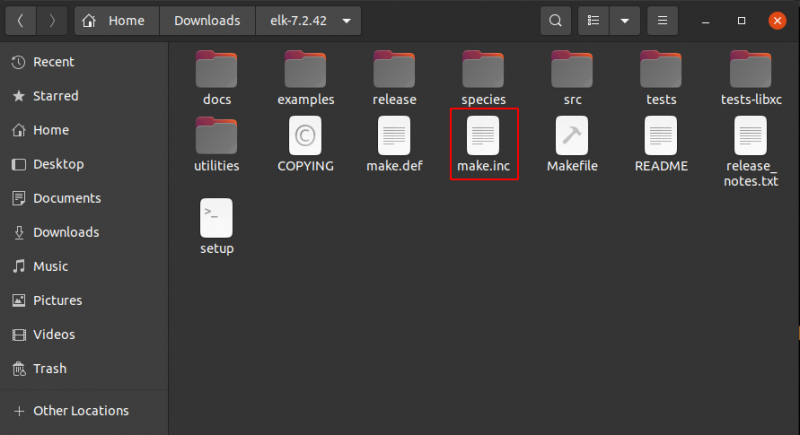
Erase every word it contains, and enter this instead:
MAKE = make
F90 = mpiifort
F90_OPTS = -O3 -ip -xHost -qopenmp
F77 = mpiifort
F77_OPTS = -O3 -ip -xHost -qopenmp
AR = xiar
LIB_SYS =
SRC_OMP =
SRC_MPI =

LIB_LPK = -lmkl_intel_lp64 -lmkl_intel_thread -lmkl_core -liomp5 -lpthread
#LIB_LPK = -L/opt/intel/oneapi/mkl/2021.3.0/lib/intel64 -lmkl_cdft_core -lmkl_intel_ilp64 -lmkl_intel_thread -lmkl_core -lmkl_blacs_intelmpi_ilp64 -liomp5 -lpthread -lm -ldl
SRC_MKL =

LIB_libxc = libxcf90.a libxc.a
SRC_libxc = libxcf90.f90 libxcifc.f90

SRC_FFT = mkl_dfti.f90 zfftifc_mkl.f90

LIB_W90 = libwannier.a
SRC_W90S =

SRC_OBLAS = oblas_stub.f90
SRC_BLIS = blis_stub.f90
Save the file and return to the terminal. Finally, just type:
make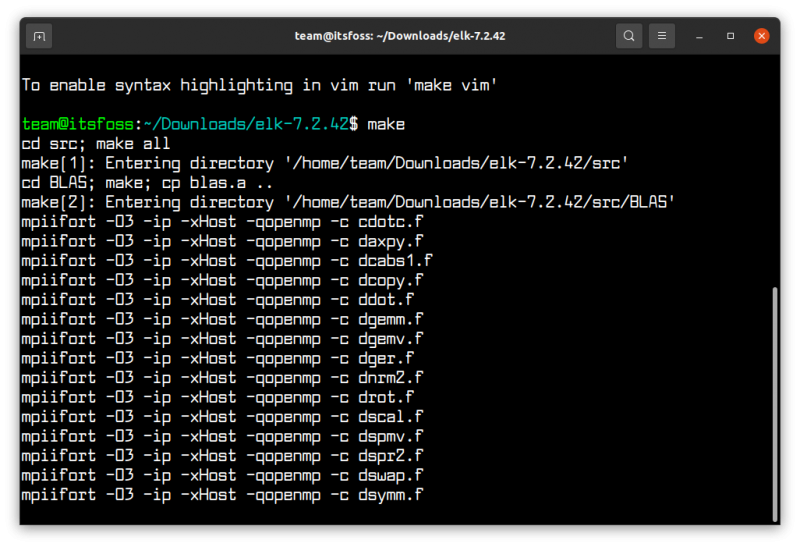
And all right! After this last step finishes, you’ll have installed Elk code on your Linux system.
Great! This last step is a little bit dilatory, but relax, it was all you have you do. You have finally finished all the processes. Congratulations!
Personal conclusion
This process could be a little bit exhaustive, but every step is very important for the correct functionality of the software. I really hope that if you are a scientist or you just want to be curious about this topic, this post results very helpful for you.
On the other hand, if you want to know more about how Elk code can help you on calculations, there is a great video about obtaining an equation of state using Elk code. Good luck!

