

Mostly I use Ubuntu, but I keep on trying other Linux distributions now and then.
Not going into the Ubuntu vs Fedora debate, this community offering from Red Hat is a solid distribution worth checking out.
You could always install Fedora in a virtual machine, that's the safest way. However, I prefer testing a distro in a live environment as it runs on bare metal and there are better chances to notice any issues like Wi-Fi or graphics driver issue.
In this tutorial, I’ll share the following methods for creating a live USB of Fedora:
- Use Etcher tool: works on any Linux, Windows and macOS
- Use GNOME Disk: Works on Linux distributions with GNOME desktop
- Use Rufus: Works on Windows
Once you have the live USB, you can test it out and if you like it well enough, you can choose to install Fedora.
Method 1: Creating Fedora Live USB using Etcher (All OS)
Etcher is an easy-to-use utility to create Live USBs of various distributions.
Step 1: Download Etcher
Until now, Unetbootin has been my go-to tool for creating live USBs in Ubuntu. But a popular cross-platform, open-source tool has now grabbed my attention. It’s called Etcher.
It has a sleek and good-looking modern interface, and works fine. You can download the AppImage of Etcher for Linux and run it.
Check how to use AppImages in Ubuntu and other Linux distributions if you are a new user.
For Windows/macOS, you can download the available packages and get it installed. A portable version is available for Windows.
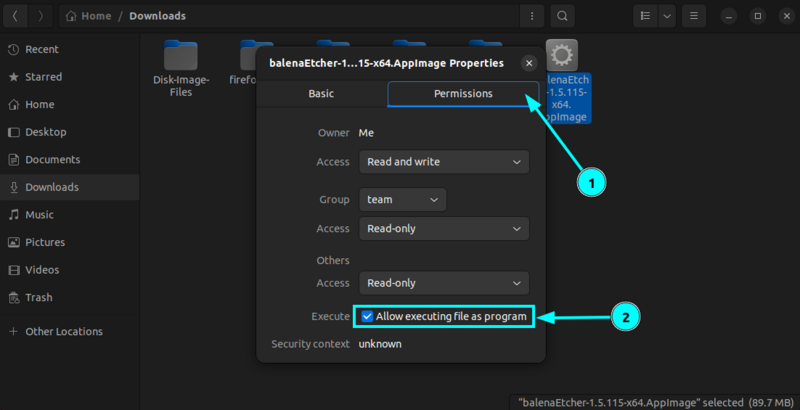
Once downloaded and unzipped. You need to make it executable. Right-click on the AppImage file and go to its properties.
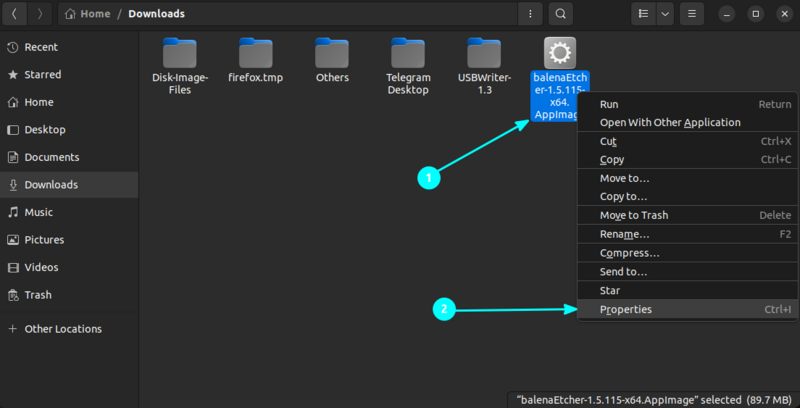
And in here, check the “Allow executing file as program” option:
Once you do that, we are good to go.
Step 2: Burn the ISO to USB
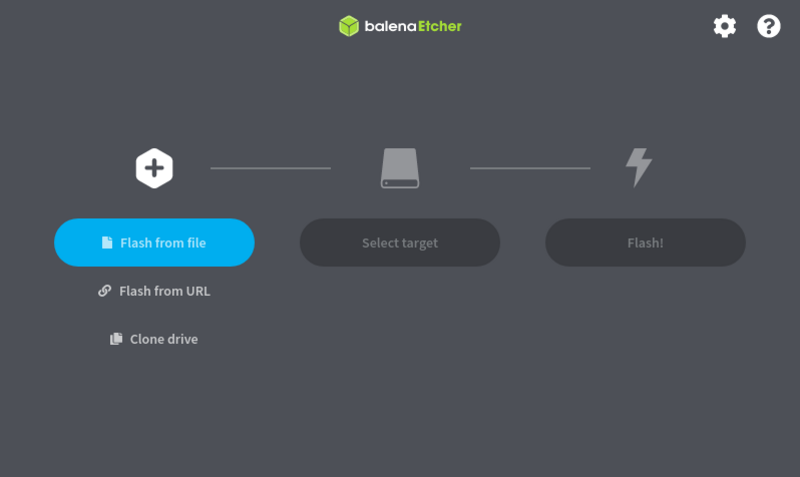
Run Etcher and plug in your USB. Format it as FAT 32, if required. Run Etcher by double-clicking the downloaded AppImage (which is executable now).
You’ll see an interface like this. Click on Flash from file and browse to the location where you have downloaded the Fedora ISO.
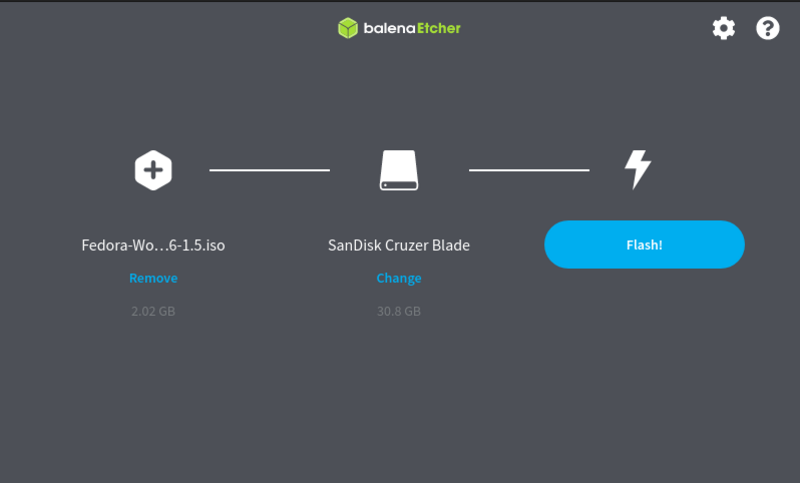
Etcher automatically recognizes the USB drive. You can change it if you have multiple USBs plugged in. Once it has selected the ISO and USB drive, it will allow you to flash the ISO. Click on Flash to proceed:
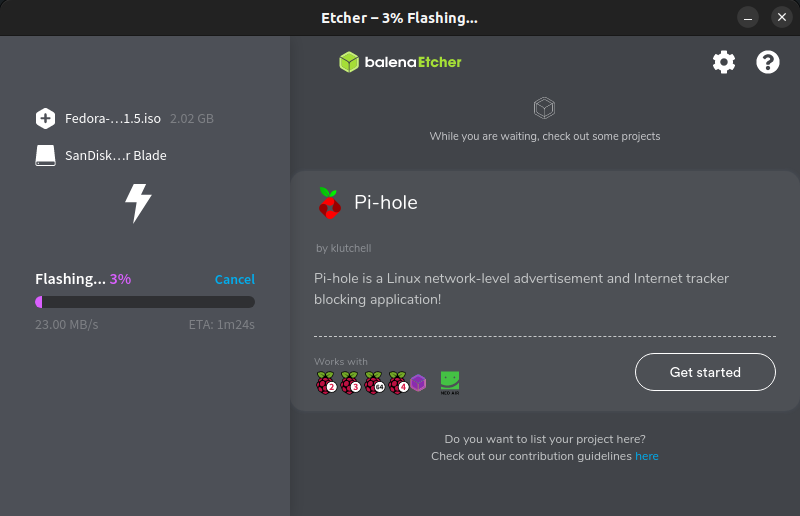
Once proceed, you can see the status of the flashing process:
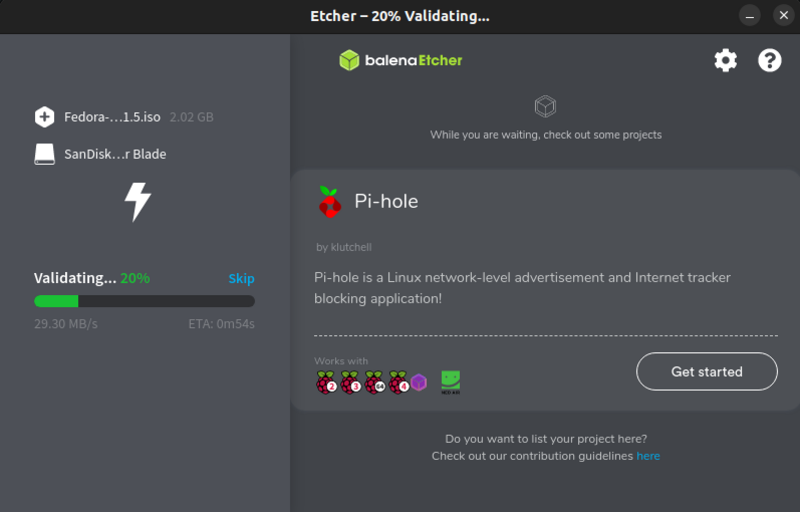
The tool verifies the process after it is done.
If you see a success message, it is done!
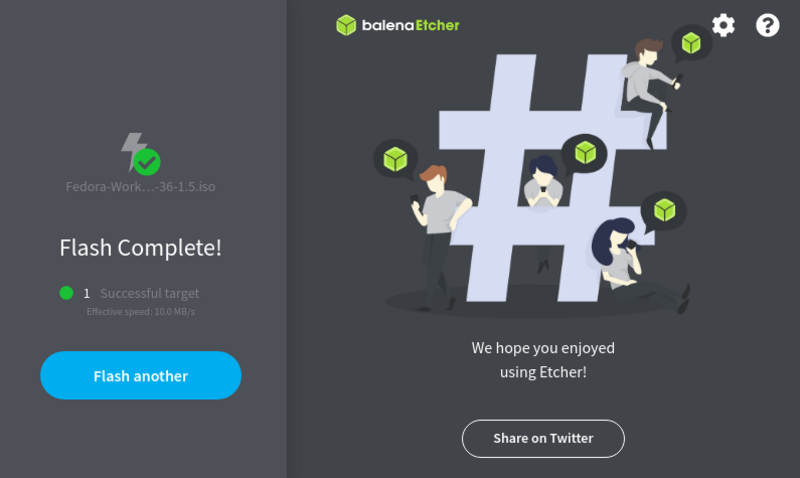
Now, you have your Fedora live USB ready. You can test it now.
Method 2: Use GNOME Disks to create Fedora Live USB (works on Linux)
Let’s see how to create a live USB of Fedora in Ubuntu and other Linux distributions with GNOME desktop environment.
Step 1: Download Fedora
Go to the Fedora website and download the desired version. Here, I am assuming that you are a desktop user. So you should download the Fedora Workstation. Go to the link below and download the ISO:
Step 2: Run a checksum (optional, yet recommended)
Running a checksum is always helpful to determine if the file you downloaded is healthy or not. If the checksum fails, your downloaded ISO is corrupted, and your live USB will run into trouble.
You can do this easily in the terminal or use GUI apps available for both Linux and Windows. Read more about it in our article on checksum verification.
Step 3: Burn the ISO to USB
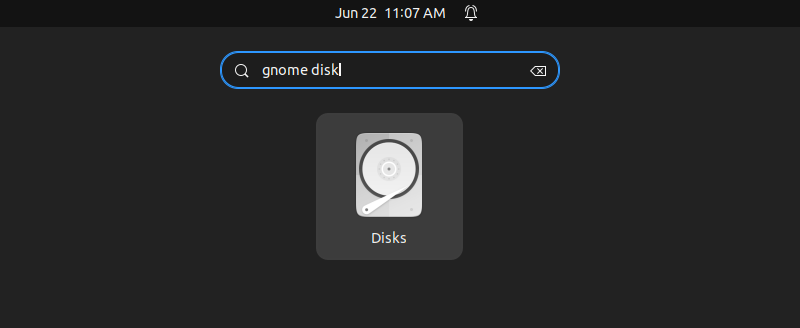
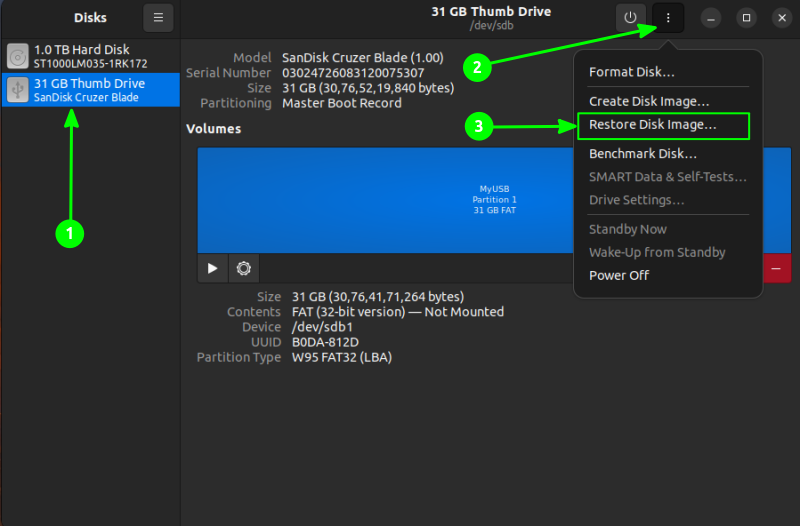
Open the Disks utility from the overview.
Now Select the USB you want to write. From the three-dot button on the top right, choose to restore Disk Image.
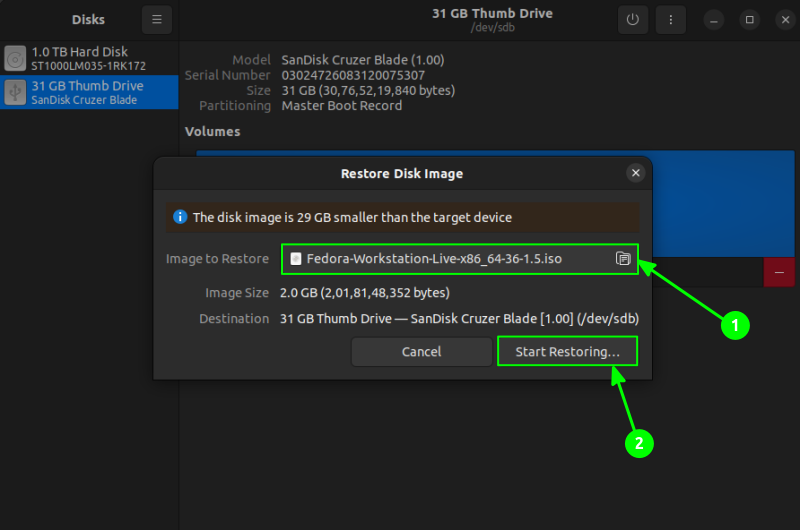
Choose the downloaded Fedora image and press Start Restoring.
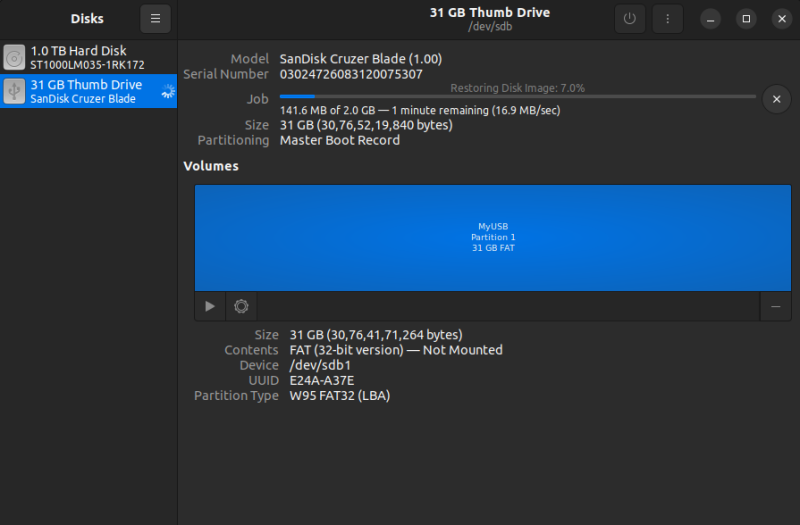
This will take some time to complete.
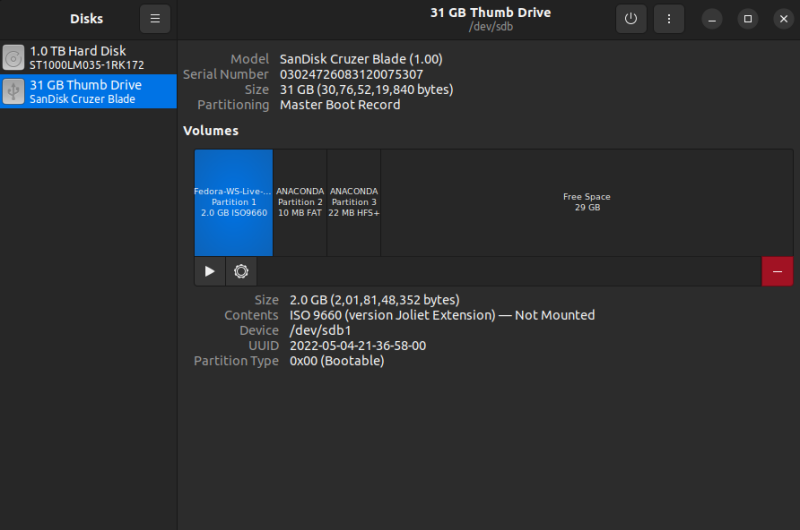
Once completed, safely remove your USB and plug it into the required system.
Method 3: Creating Fedora Live USB with Rufus [Windows only]
Rufus is a popular tool available for Windows for creating Live USBs. It is a simple and straightforward tool.
Step 1: Download Rufus
You can download Rufus from the button below. There is an installer and a portable file, download as per your requirements.
Step 2: Write the ISO to the USB
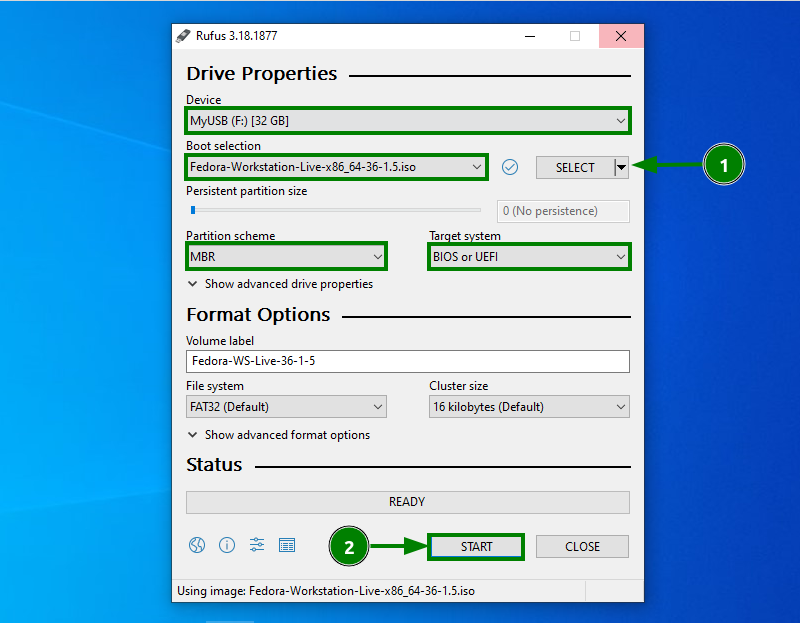
Rufus automatically detects your USB device on startup. Select the downloaded Fedora Workstation image and press hit START.
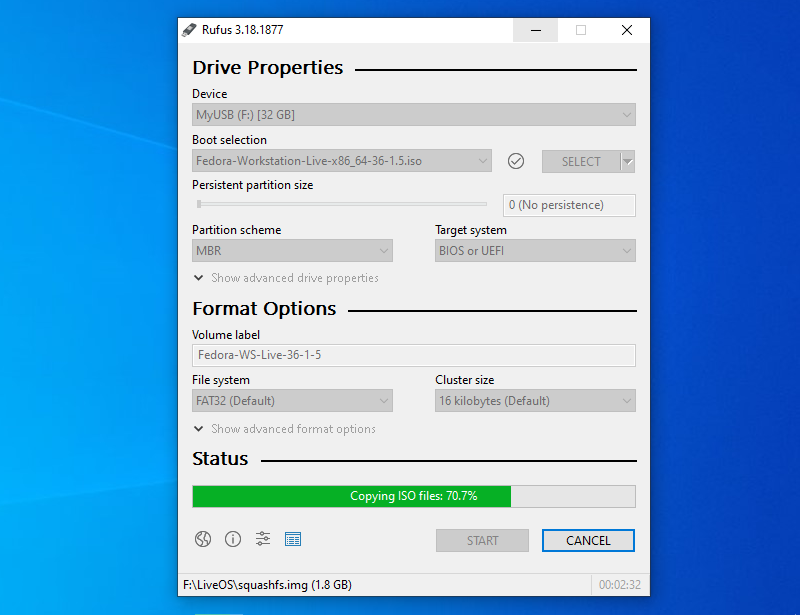
It will start writing the image, and you have to wait a couple of minutes for it to complete.
Once done, close the window or hit the CLOSE button.
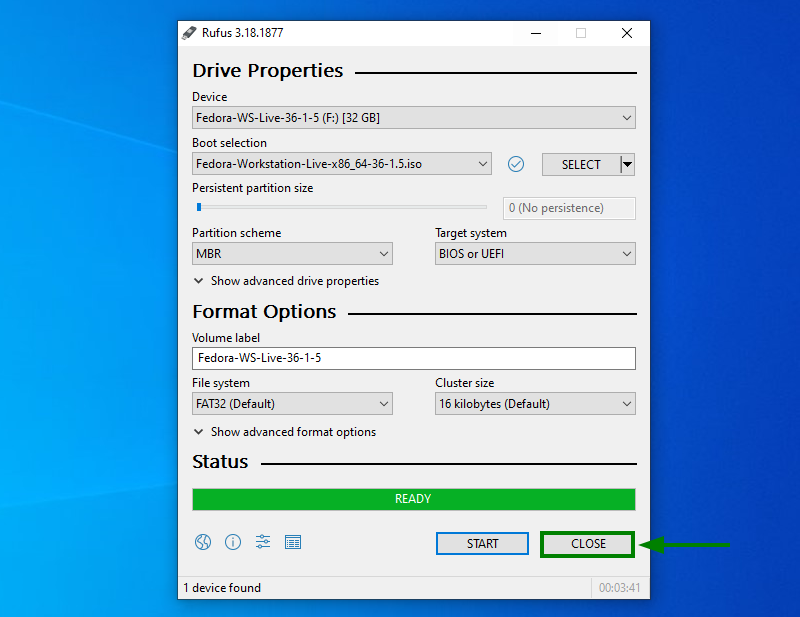
Now, you have the Live Fedora USB, which can be plugged in and used in any system.
Don’t forget to change your BIOS or UEFI settings to change the boot order to boot from removable media/USB.
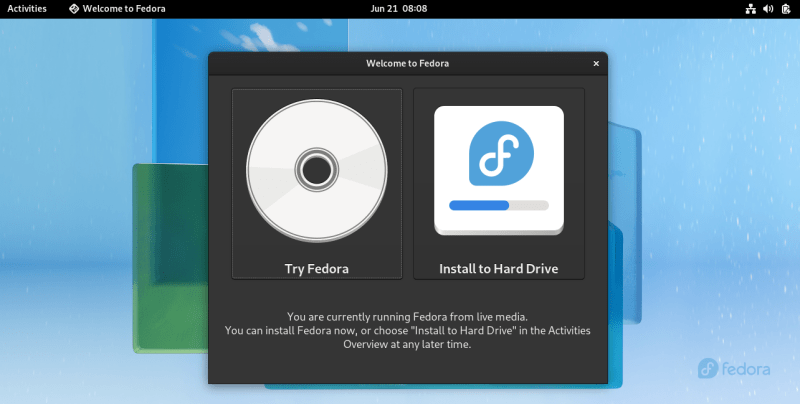
In the live session, you’ll have the option to try or install Fedora. The choice is yours here.
I hope this tutorial helped you to create a live USB of Fedora. Now you can install Fedora in dual boot or simply as the only operating system on your computer.
If you have questions or suggestions, drop a comment.
