

Before I show you how to change the MAC address in Linux, let’s first discuss why you would change it in the first place.
You may have several reasons. Maybe you don’t want your actual MAC address (also called physical address) to be exposed on a public network? Other cases can be that the network administrator might have blocked a particular MAC address in the router or firewall.
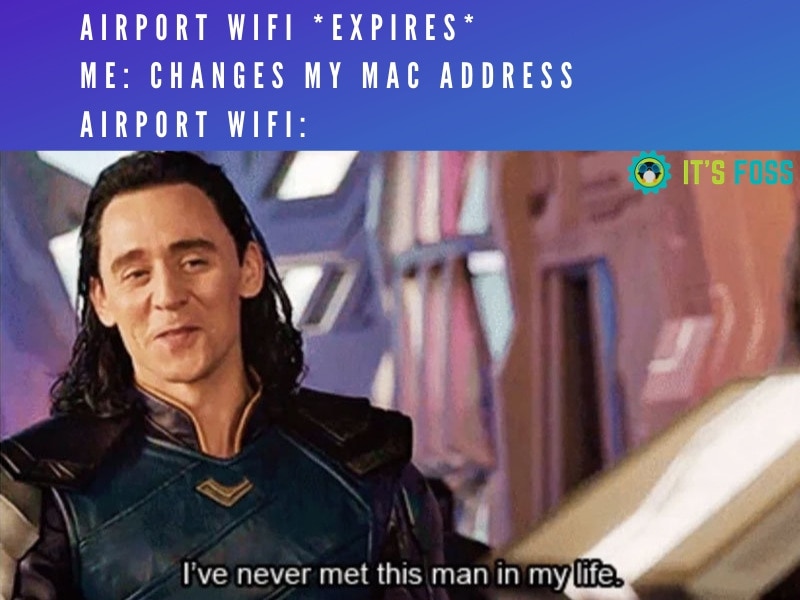
One practical ‘benefit’ is that some public network (like Airport WiFi) allows free internet for a limited time. If you want to use the internet beyond that, spoofing your Mac address may trick the network into believing that it’s a new device. It’s a famous meme as well.
I am going to show the steps for changing MAC address (also called spoofing/faking MAC address). Let’s go through each step:
Step 1: Find your MAC address and network interface
Let’s find out some details about the network card in Linux. Use this command to get the network interface details:
ip link showIn the output, you’ll see your IP address, MAC address and other details:
1: lo: <LOOPBACK,UP,LOWER_UP> mtu 65536 qdisc noqueue state UNKNOWN mode DEFAULT group default qlen 1000
    link/loopback 00:00:00:00:00:00 brd 00:00:00:00:00:00
2: eno1: <NO-CARRIER,BROADCAST,MULTICAST,UP> mtu 1500 qdisc fq_codel state DOWN mode DEFAULT group default qlen 1000
    link/ether 94:c6:f8:a7:d7:30 brd ff:ff:ff:ff:ff:ff
3: enp0s31f6: <BROADCAST,MULTICAST,UP,LOWER_UP> mtu 1500 qdisc noqueue state UP mode DORMANT group default qlen 1000
    link/ether 38:42:f8:8b:a7:68 brd ff:ff:ff:ff:ff:ff
4: docker0: <NO-CARRIER,BROADCAST,MULTICAST,UP> mtu 1500 qdisc noqueue state DOWN mode DEFAULT group default
    link/ether 42:02:07:8f:a7:38 brd ff:ff:ff:ff:ff:ff
Output of ip link show
As you can see, in this case, my network interface is called enp0s31f6 and its MAC address is 38:42:f8:8b:a7:68.
You may want to note it down in a secure place to revert to this original MAC address later on.
Now you may proceed to change the MAC address.
Step 2: Changing MAC address in Linux
There's a popular tool dedicated to changing MAC addresses (macchanger), or you could use the ip command as well. We'll go through both of them.
If you say ifconfig, remember that you're officially living in the past, since it's now one of the deprecated Linux commands. Adieu, net-tools!
Method 1: Change MAC address using Macchanger
Macchanger is a simple utility to view, modify, and manipulate MAC addresses for your Network interface cards. It is available in almost all GNU/Linux operating systems and you can install it using the package installer of your distribution.
On Arch Linux or Manjaro:
sudo pacman -S macchangerOn Fedora, CentOS, RHEL:
sudo dnf install macchangerOn Debian, Ubuntu, Linux Mint, and Kali Linux:
sudo apt install macchanger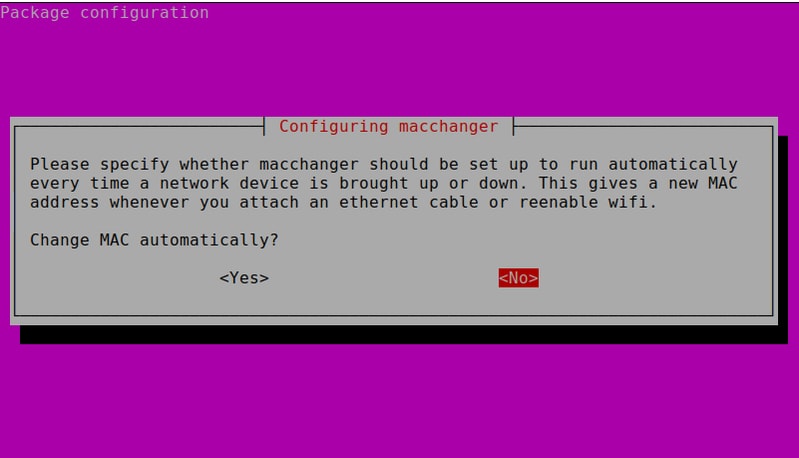
I recommend not running it automatically unless you really need to change your MAC address every time. So, choose No (by pressing the tab key) and hit Enter key to continue.
How to Use Macchanger to change MAC address
Do you remember your network interface name? You got it in Step 1 earlier.
Now, to assign any random MAC address to this network card, use:
sudo macchanger -r enp0s31f6After changing the MAC id, verify it using the command:
ip addrYou will now see that MAC has been spoofed.
To change the MAC address to a specific value, specify any custom MAC address using the command:
macchanger --mac=XX:XX:XX:XX:XX:XX where XX:XX:XX:XX:XX:XX is the new MAC id that you want to change.
Finally, to revert the MAC address to its original hardware value, run the following command (where -p tag refers to the permanent/original MAC address of the hardware):
macchanger -p enp0s31f6However, you don’t have to do this. Once you reboot the system, the changes will be automatically lost, and the actual MAC address will be restored again.
You can always check the man page of macchanger for more details.
Method 2: Changing Mac address using iproute2 [intermediate knowledge]
I would recommend using Macchanger but if you don’t want to use it, there is another way to change the MAC address in Linux.
First, turn off the network card using the command (this was the warning, you're manually restarting the network here):
sudo ip link set dev enp0s31f6 downNext, set the new MAC for the network card using the command:
sudo ip link set dev enp0s31f6 address XX:XX:XX:XX:XX:XXFinally, turn the network back on with this command:
sudo ip link set dev enp0s31f6 upNow, verify the new MAC address:
ip link show enp0s31f6That’s it. You have successfully changed the MAC address in true Linux style. Interested in Linux networking? Check out these commands.
 Sagar Sharma
Stay tuned with It’s FOSS for more Linux tutorials and tips.
If this helped you, consider supporting It's FOSS
It's FOSS has been helping people use Linux for the past 14 years. Help us stay independent from big tech. Become a Plus member, enjoy ad-free reading and get 5 eBooks.
