
Brief: This beginner’s guide shows you how to change the default applications in Ubuntu Linux.
Installing VLC media player is one of the first few things to do after installing Ubuntu 18.04/19.10 for me. One thing I do after installing VLC is to make it the default application so that I can open a video file with VLC when I double click it.
As a beginner, you may need to know how to change any default application in Ubuntu and this is what I am going to show you in this tutorial.
But before we do that, I recommend that you also read my guide on how to install/remove software in Ubuntu – in case you’re still confused about that.
Changing default applications in Ubuntu
There are basically two ways you can change the default applications in Ubuntu:
- via system settings (valid for changing the default web browser, email client, calendar, music application, video player and image viewer)
- via right-click menu (valid for applications other than the above mentioned ones)
If you prefer videos, you can watch the video below:
1. Change default applications in Ubuntu from System Settings
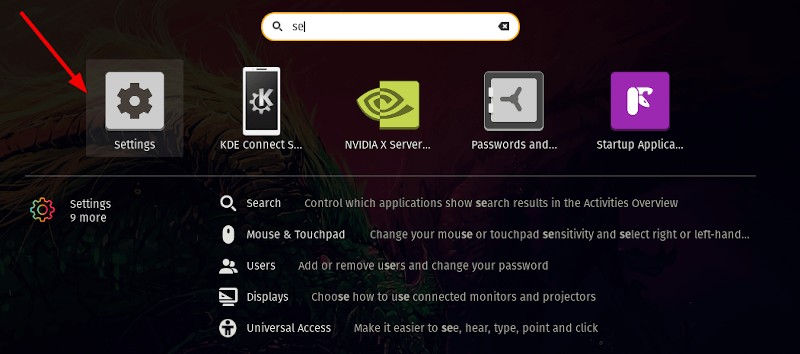
Simply head to the System Settings:
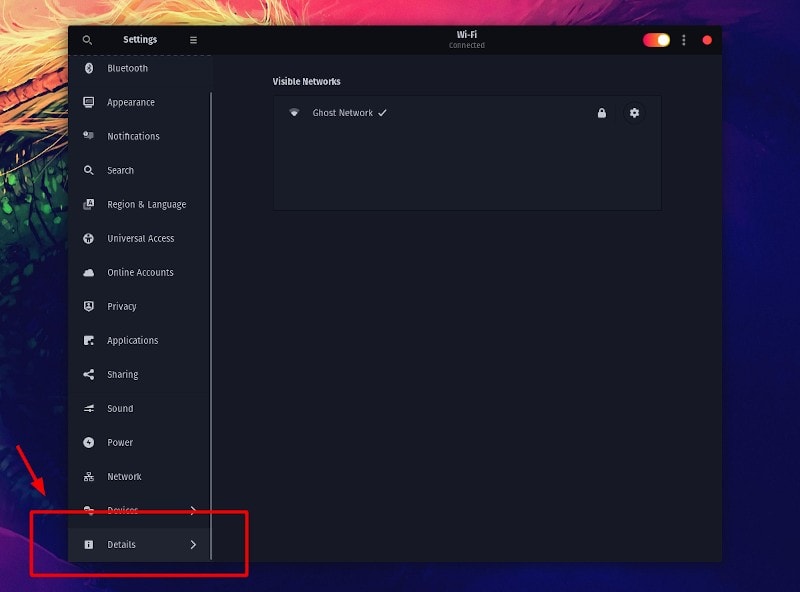
In the System Settings, click on the Details option:
Now, click on the “Default Applications” option as highlighted in the screenshot below:
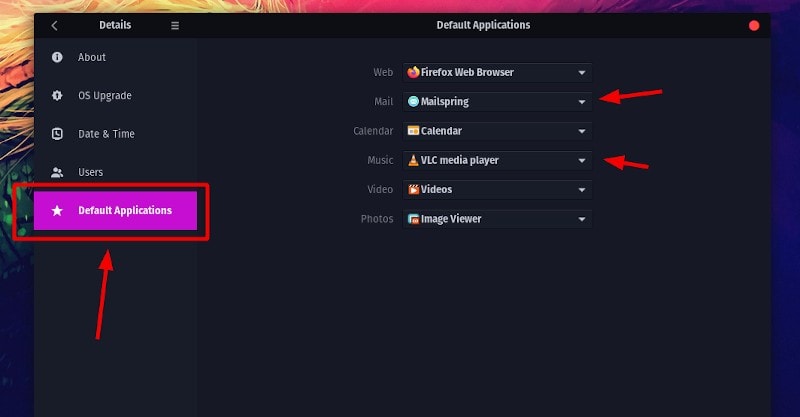
As you can see, there are only a few kinds of default applications that can be changed here. You can change the default applications for web browsers, email clients, calendar apps, music, videos and photo here. What about other kinds of applications?
Don’t worry. To change the default applications not listed here (for instance – text editor), we’ll use the option in the right-click menu.
2. Change default applications in Ubuntu from right-click menu
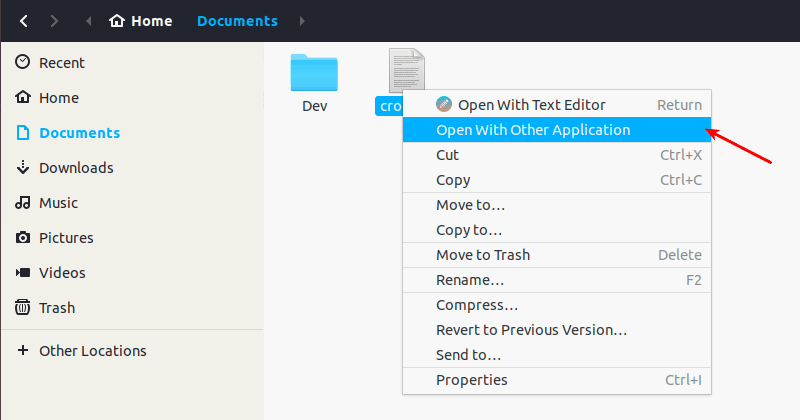
Let’s say you have a markdown file (.md) which opens in Gedit text editor by default. But you want to use some other applications to open markdown files. Here’s what you need to do.
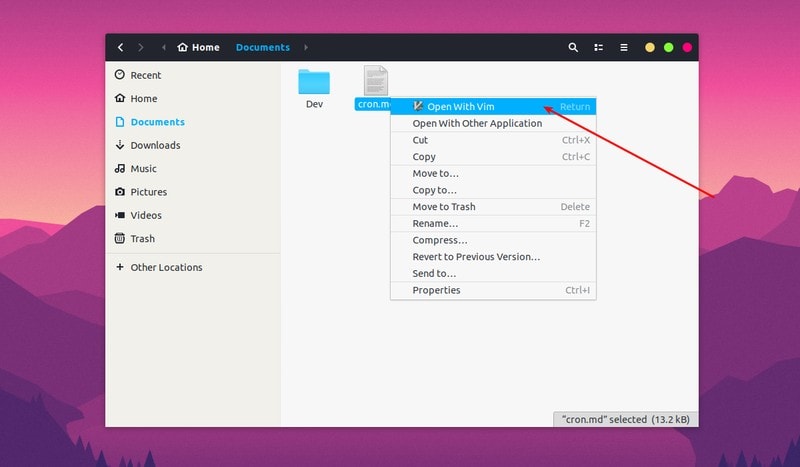
Right click on the file and then select Open with Other Application:
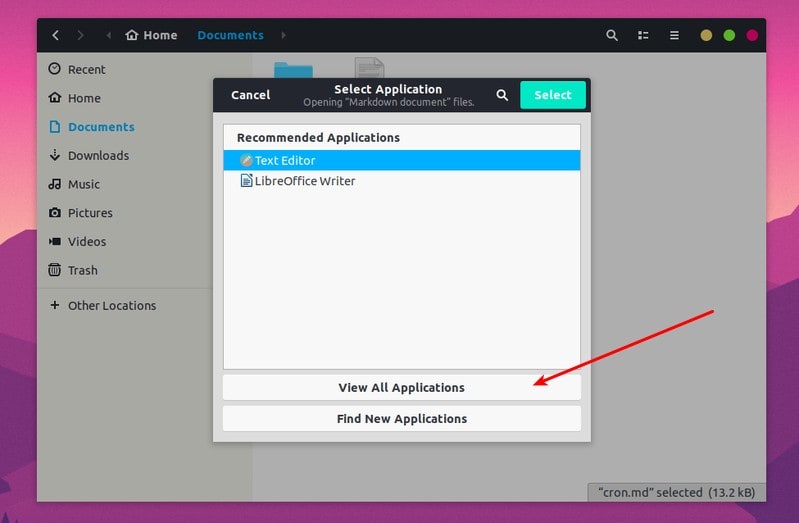
If you don’t see your choice of application, click on the View All Applications:
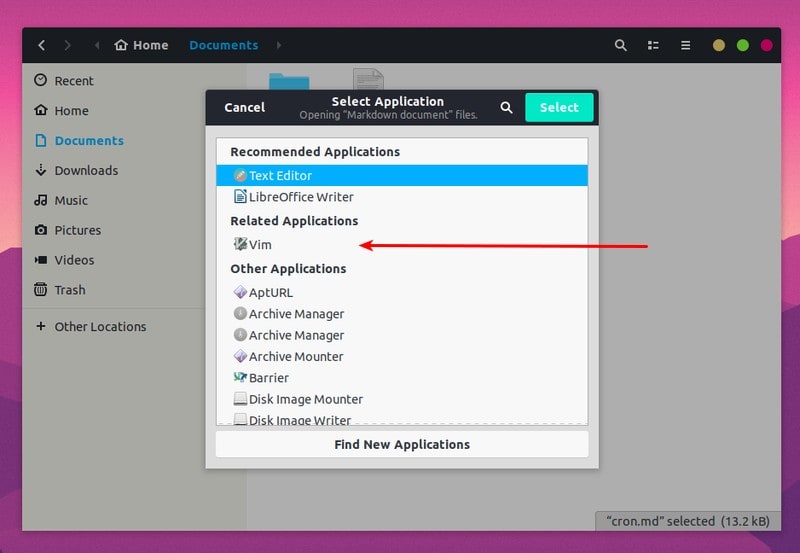
Locate the desire application and select it:
This will open the file in your chosen application.
The thing here is that the file manager automatically recognizes your choice and the next time you double click on the file to open it, it will open it with the application you last chose.
Keep in mind that this behavior is not applicable to web browsers, music players, video players, email clients, calendars and photo viewer. For that you need to use the first method described here.
If you want to change the default terminal emulator, the steps are entirely different.
Troubleshoot: Application not available in ‘open with’ list
In some rare cases, the application may not even be available in the list of open with applications.
I encountered this issue with Pinta a few years back and here’s what I did to fix it.
To add any program in the list of the open with applications, open a terminal and use the following command:
sudo gedit /usr/share/applications/XXX.desktopPlease note two things. In XXX.desktop, XXX is the name of your application. And then use of gedit. You can use any other editor. I used Vim. If you use Gedit, it will dispaly some warning messages in the terminal but will open the file in a GUI.
In this desktop file, look for a line that looks like this:
Exec=XXXIf you have something like this, replace this line with:
Exec=XXX %F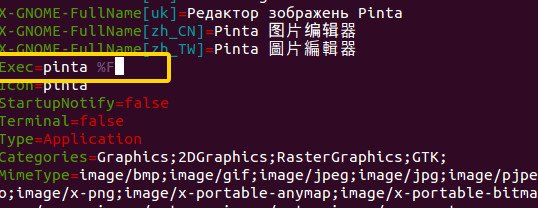
Save it and exit/close the desktop file. No need to restart or anything. It should be working instantly.

Explanation
Now to explain what this %F means. %F is actually an Exec Key. It means the program will be supplied with multiple file inputs at the same time (arguments). So if I have this %F set in Pinta, I can open multiple images in the same instance of Pinta (think it like tabs in a web browser). But the program must support this feature.
The question which you might be wondering why it was not showing in the list of applications before and why after adding %F, it is working. The reason is that when there is no such Exec Key, the program will not accept any argument, which means you can not “open with” a file with this application as “open with” supplies the file as the argument.
You can read more about Exec Key here.
I hope you found this beginner’s tutorial to change default applications in Ubuntu helpful. If you have any questions or suggestions, feel free to drop a comment below.
