You learned to create new files in the previous chapter of the Terminal Basics series.
In this chapter, you'll learn to read the files. I'll be discussing the most common Linux commands to display the contents of a text file.
Before you do that, let's create our 'playground' with sample files. Let's create a directory first and switch to it.
mkdir display_files && cd display_filesCopy a huge text file here.
cp /etc/services .And then, create a new file named columbo.txt with the following text (use the cat command with >> as discussed in the previous chapter):
Prescription: Murder
Ransom for a Dead Man
Murder by the Book
Death Lends a Hand
Dead Weight
Suitable for Framing
Lady in Waiting
Short Fuse
Blueprint for Murder
You don't have to type it all by yourself. You can copy-paste in the terminal using Ctrl+Shift+V. Most terminals support this shortcut.
With things set, let's see various ways of viewing files in the Linux terminal.
Use cat command to display file content
The cat command is the most popular method to view files in Linux.
It is dead simple to use. Just give it the file name and it displays the file content on the screen. Things cannot go simpler than this.
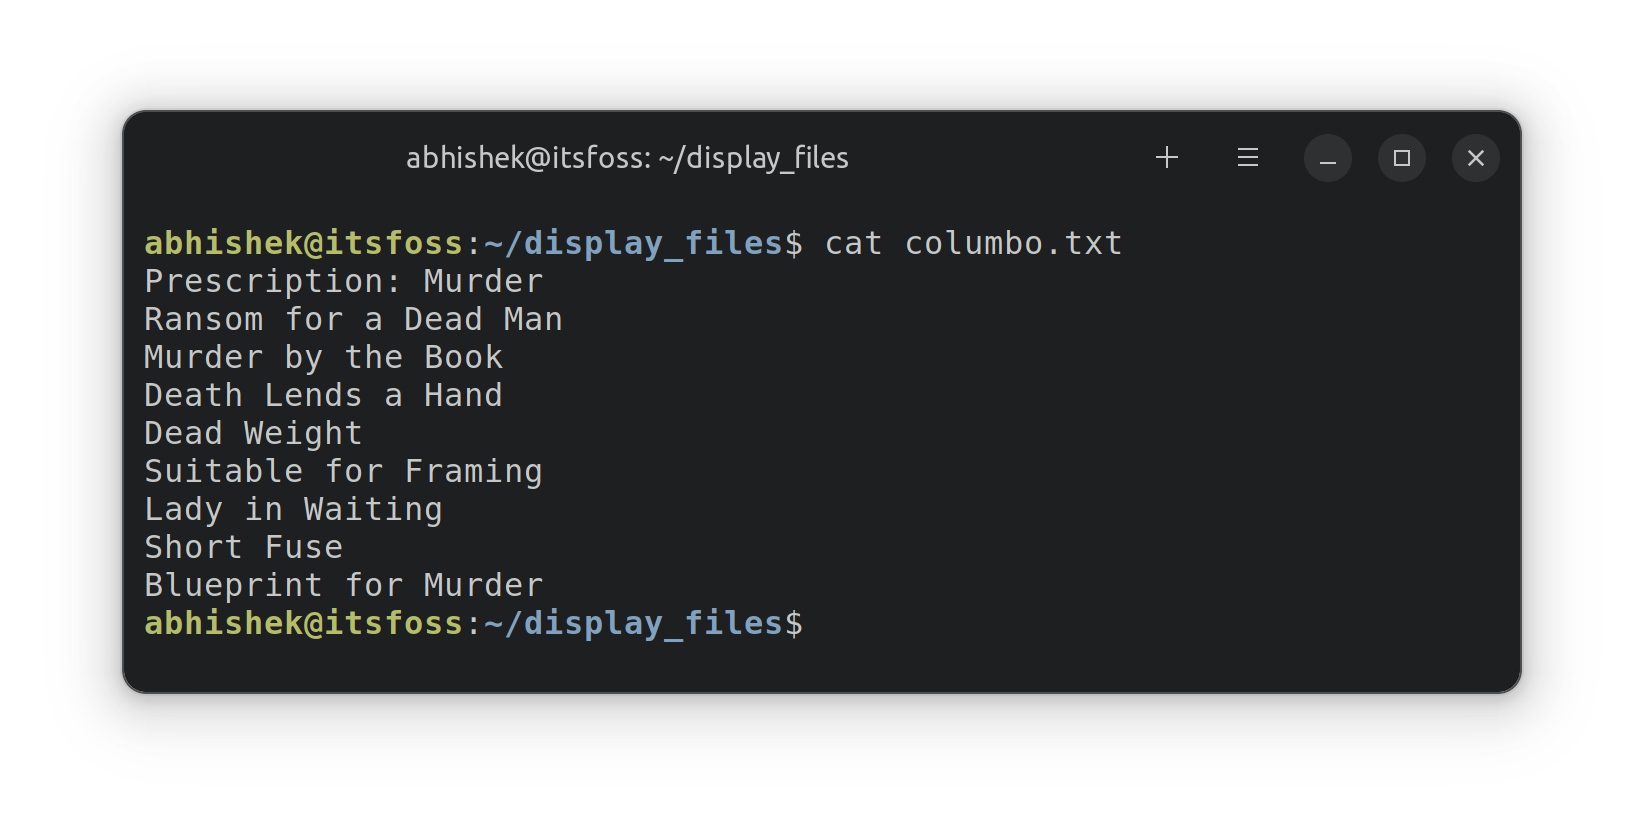
cat filenameCan you try displaying the contents of the columbo.txt file?
cat columbo.txtThis is the output it shows:

Using the less command to read large text files
The cat command is so simple. In fact, it is too simple. And simple doesn't work in complicated scenarios.
Try using the cat command to view the content of the services file.
cat servicesThis services is a huge file with hundreds of lines. When you use cat, it floods the entire screen with the entire text.
This is not ideal. Can you read the first line of the file? Yes, you can but you have to scroll all the way up. If the file has thousands of lines, you won't even be able to scroll back to the first few lines.
This is where the less command comes into the picture. It lets you read the contents of a file in a page-by-page manner. You exit the viewing mode and your terminal screen is clean as ever.
Use the less command to read the services file:
less servicesNow you are in a different viewing mode. You can use the arrow keys to move line by line. You can also use the Page Up and Page Down keys to move up and down by pages.
You can even search for certain text using /search_term.
When you are done reading the file, press Q key to exit the less view and go back to the normal terminal viewing.

This table will help you use less:
| Keys | Action |
|---|---|
| Up arrow | Move one line up |
| Down arrow | Move one line down |
| Space or PgDn | Move one page down |
| b or PgUp | Move one page up |
| g | Move to the beginning of the file |
| G | Move to the end of the file |
| ng | Move to the nth line |
| /pattern | Search for pattern and use n to move to next match |
| q | Exit less |
From viewing files in real time to bookmarking text, less can do a lot more. Read this to learn more about it.

Head and tail to show part of text files
If you only want to see certain parts of the text file in cat-styled display, use the head and tail commands.
By default, the head command displays the first 10 lines of a file.
head filenameBut you can modify it to show the first n lines as well.
head -n filenameThe tail command displays the last 10 lines by default.
tail filenameBut you can modify it to show n lines from the bottom.
tail -n filenamePractice examples
Let's see some examples. Generate an easy-to-follow file using this script:
#create or clear the content of the file
echo -n > sample

#put content to the file
for i in {1..70}
do
  echo "This is the line $i" >> sample
done
Create a new file named script.sh and copy-paste the above script content into it. Now run the script like this to generate your sample file:
bash script.shNow, you have got a file named sample that contains lines like "This is the line number N" for every 70 lines.
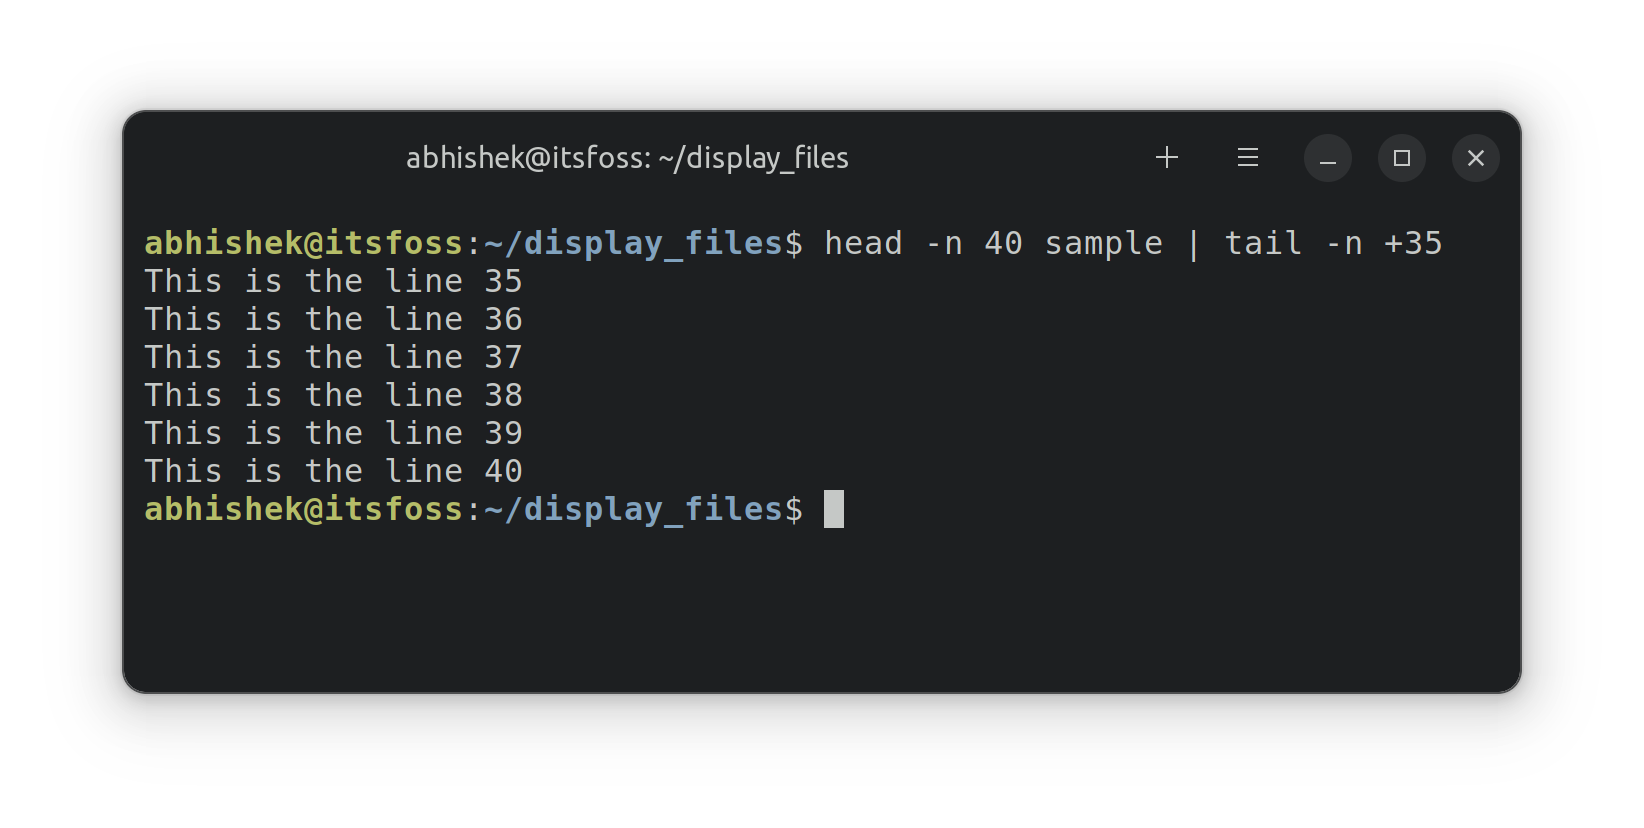
Let's take it to the next level. You can combine them both to show specific lines of a file. For example, to show lines from 35 to 40, use it like this:
head -n 40 filename | tail -n +35Here:
head -n 40 filenamewill display the first 40 lines of the file.tail -n +35will display the lines from the 35th line to the end of the output from theheadcommand. Yeah! Mind the + sign that changes the normal behavior of the tail command.

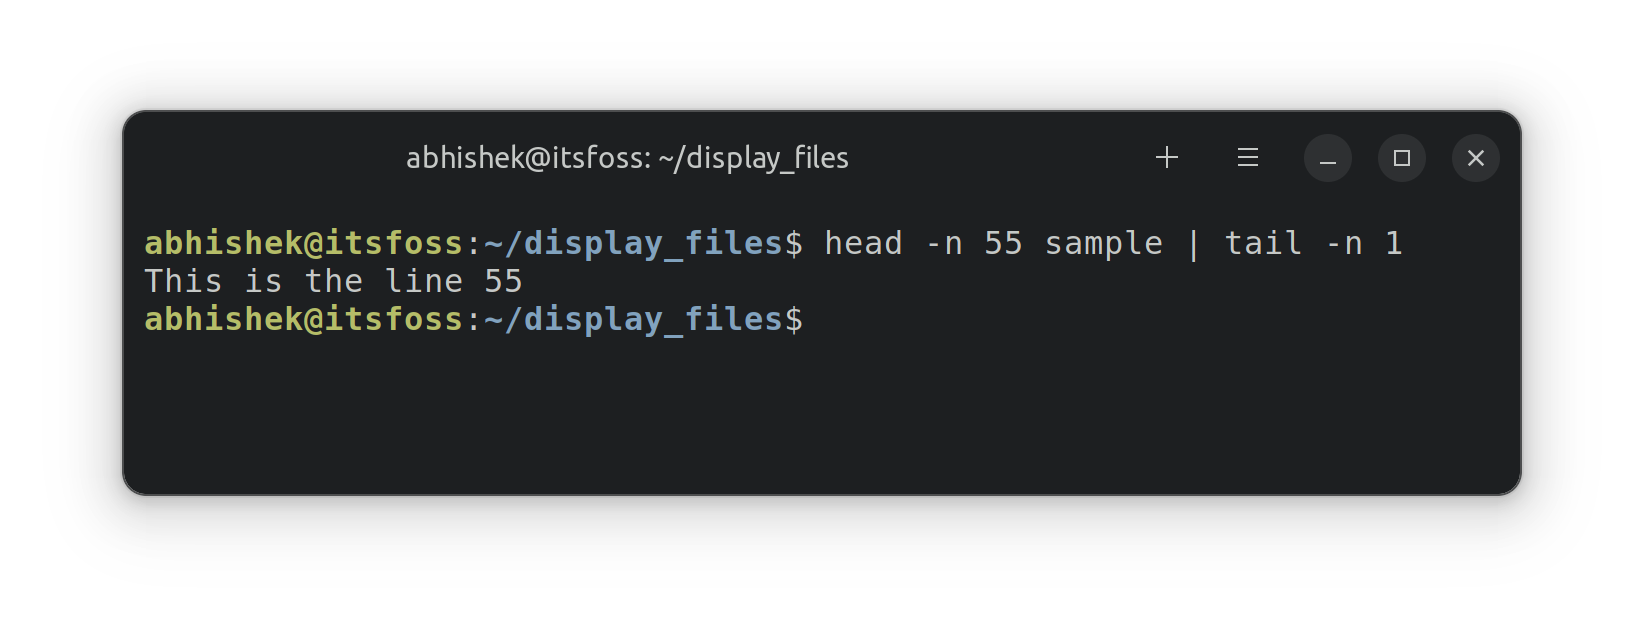
You can also combine them to show only a particular line. Let's say you want to display the 55th line; combine head and tail like this.
head -n 55 filename | tail -n 1Here:
head -n 55 filenamewill display the first 55 lines of the file.tail -n 1will display the last line of the output from theheadcommand, which will be the 55th line of the file.

📝 Test your knowledge
Time for you to exercise your grey cells and practice what you learned in this chapter.
- Use the same
samplefile and display lines from 63 and 68. - Now display the lines from 67 to 70.
- How about displaying the first line only?
- What do you see in the /etc/passwd file? Display its content.
That's it for this chapter. Next, you'll learn about removing files and folders in the command line. Stay tuned.


