

Workspaces are virtual desktops that allow you to juggle and organize a collection of application windows.
Instead of cluttering all the windows in one screen, you can have multiple windows in different workspaces. This way, your desktop workspace stays organized, and you can quickly access the desired window/app.
Modern desktop environments provide several ways to organize your virtual desktops.
The latest releases of Ubuntu use GNOME 40 and above. With them, you get a horizontal alignment of workspaces and impressive touchpad gesture support for the Wayland display server.
Using the Default Ubuntu Workspaces
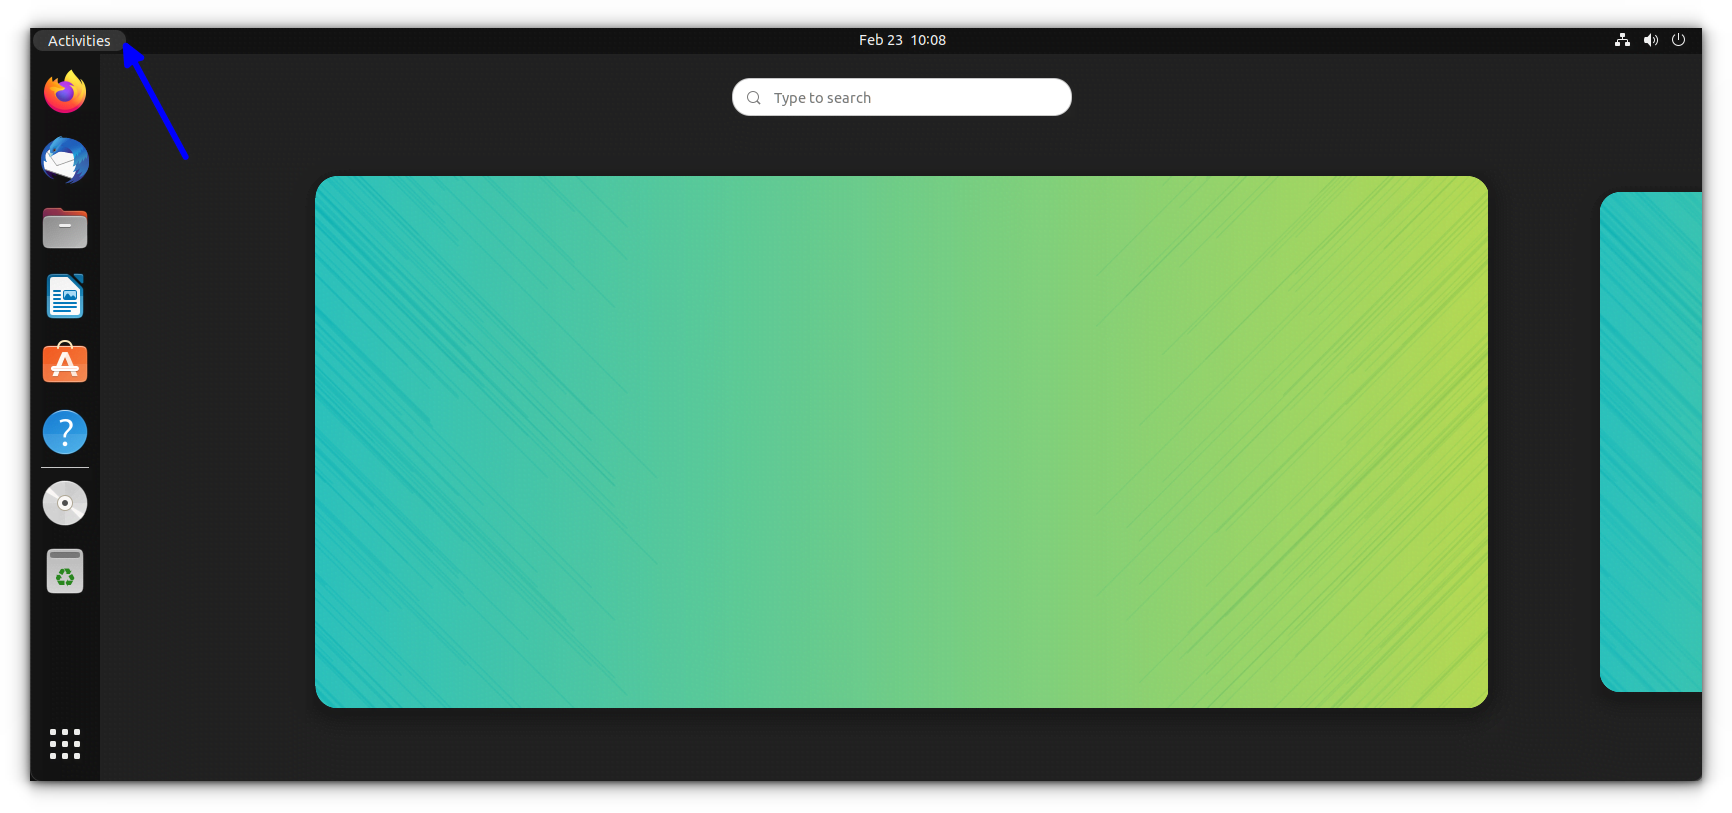
Whether you use Ubuntu or any other distribution with GNOME, you can access the workspace overview by pressing the Super key (which should be the Windows key in most keyboards). You get an overview of the two workspaces (and anything in it).
You can also access the workspaces using the top Activities button.
By default, the workspaces are dynamically allocated and start at 2.
In other words, a new workspace will be appended when you move a window to the last workspace.
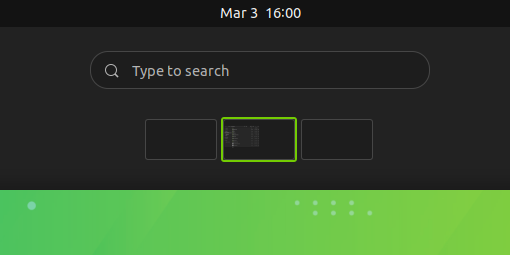
And if you remove all the windows from any of the extra workspaces, those workspaces will be automatically closed.
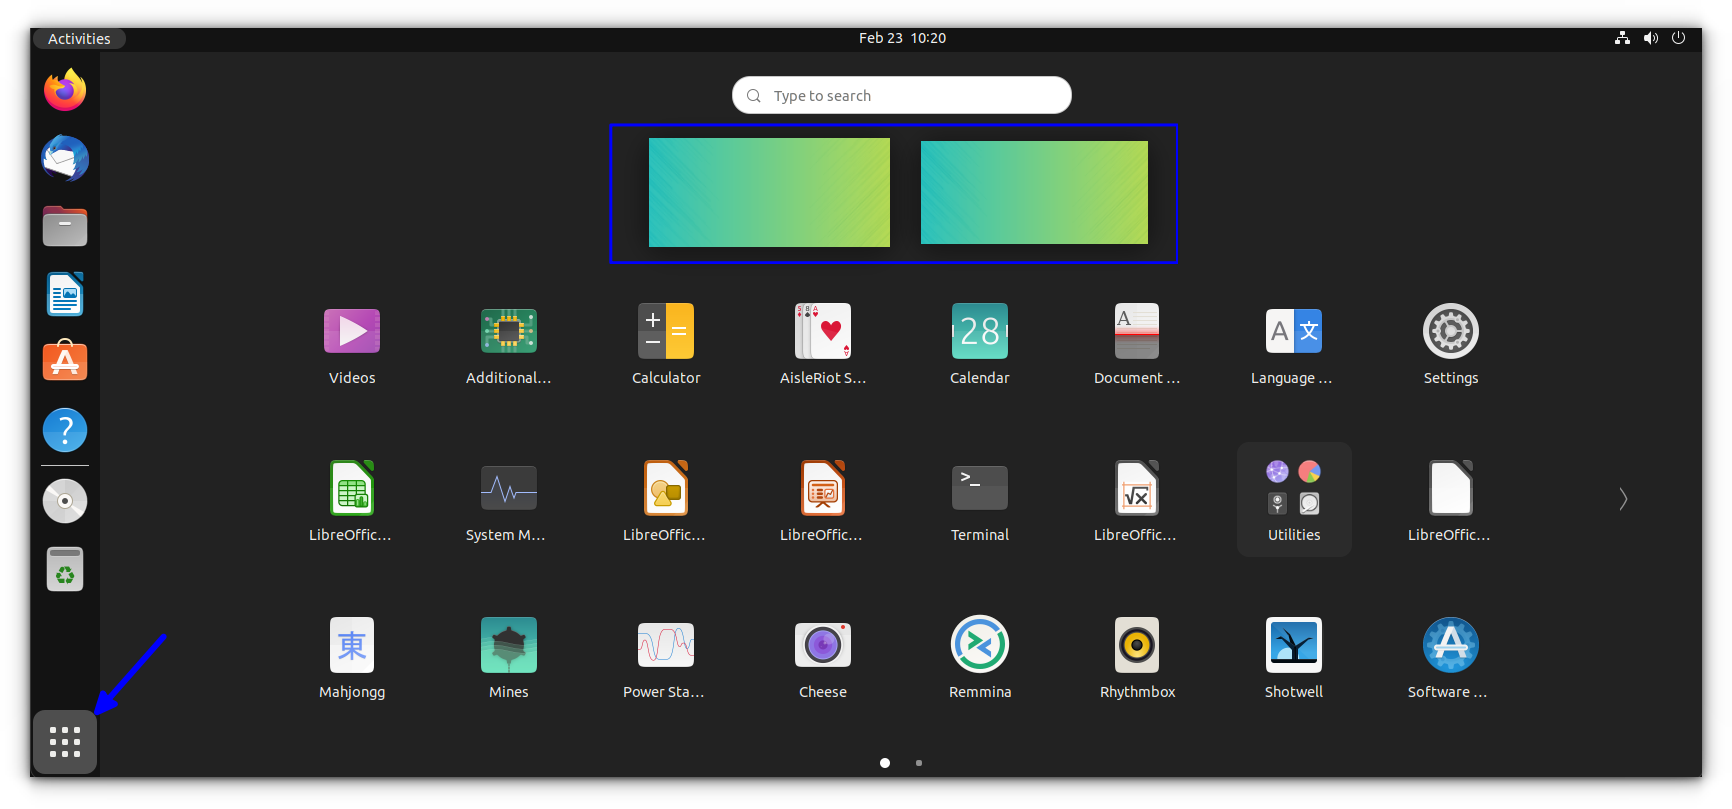
In addition, if you press the super key twice or click the bottom left Applications button, you will get an overview of workspaces along with the application grid as shown below:
Now that you know how to access a workspace, you might want to learn the shortcuts to navigate through it efficiently before you customize it to your requirements.
Workspace Navigation Shortcuts
Remember, super key is likely to be the Windows key.
| Description | Use |
|---|---|
| Move to workspace on the left | Super + PageUp |
| Move to workspace on the right | Super + PageDown |
| Move window one workspace to the left | Shift + Super + PageUp |
| Move window one workspace to the right | Shift + Super + PageDown |
| Switch to workspace 1 | Super + Home |
| Switch to the last workspace | Super + End |
| Move a window to workspace 1 | Shift + Super + Home |
| Move a window to last workspace | Shift + Super + End |
You can download a cheatsheet for these shortcuts using the PDF file linked below:
Configuring the Workspaces
While the default settings are more than enough for most users, sometimes, you may want to configure them to suit your needs.
There are several ways you can tweak the default workspace behavior. I am using Ubuntu GNOME here, and the same steps should work on almost all GNOME-based Linux distributions.
Enabling the Hot Corner Feature
By default, the hot corner feature is disabled in Ubuntu. To enable it, open settings and go to the Multitasking tab. And, toggle the Hot Corner option, as shown in the screenshot below.
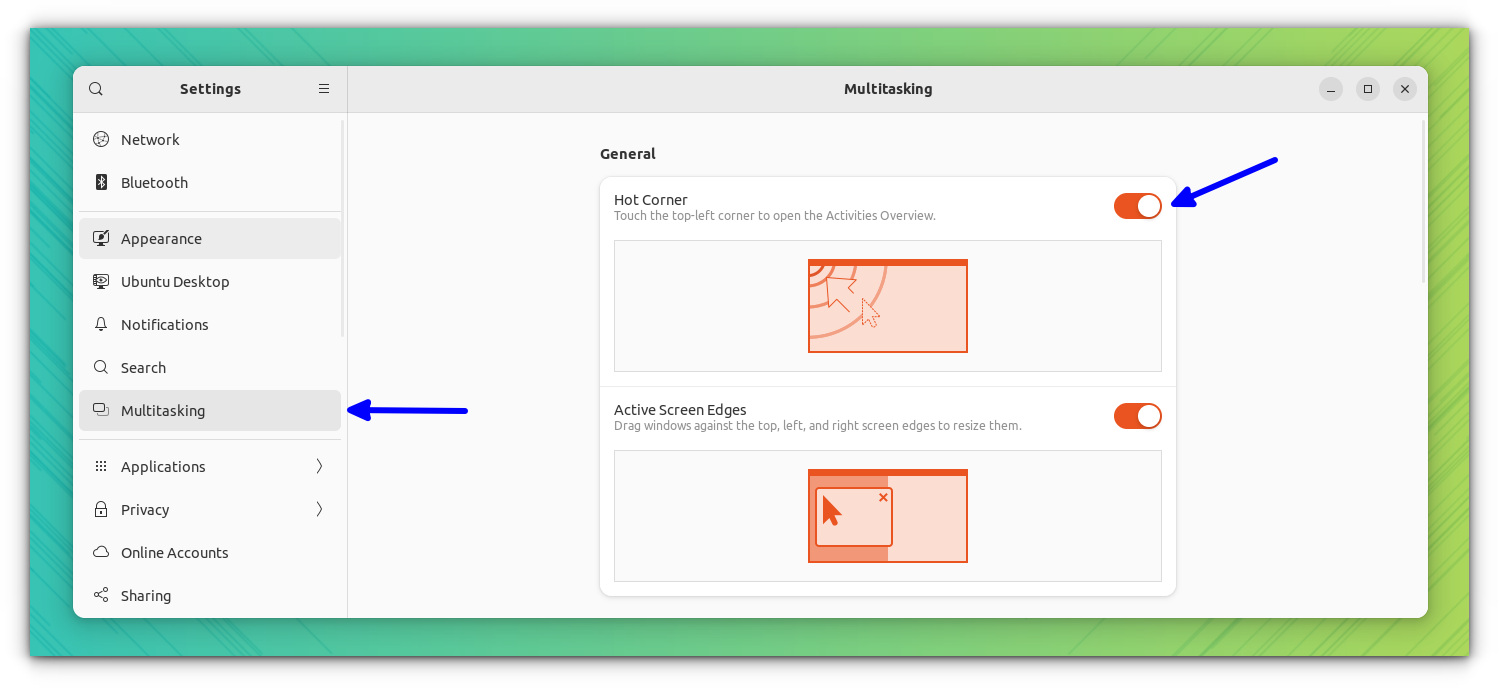
You can now hover on the top left corner to get the overview of workspaces. This is very useful if you are using the mouse frequently.
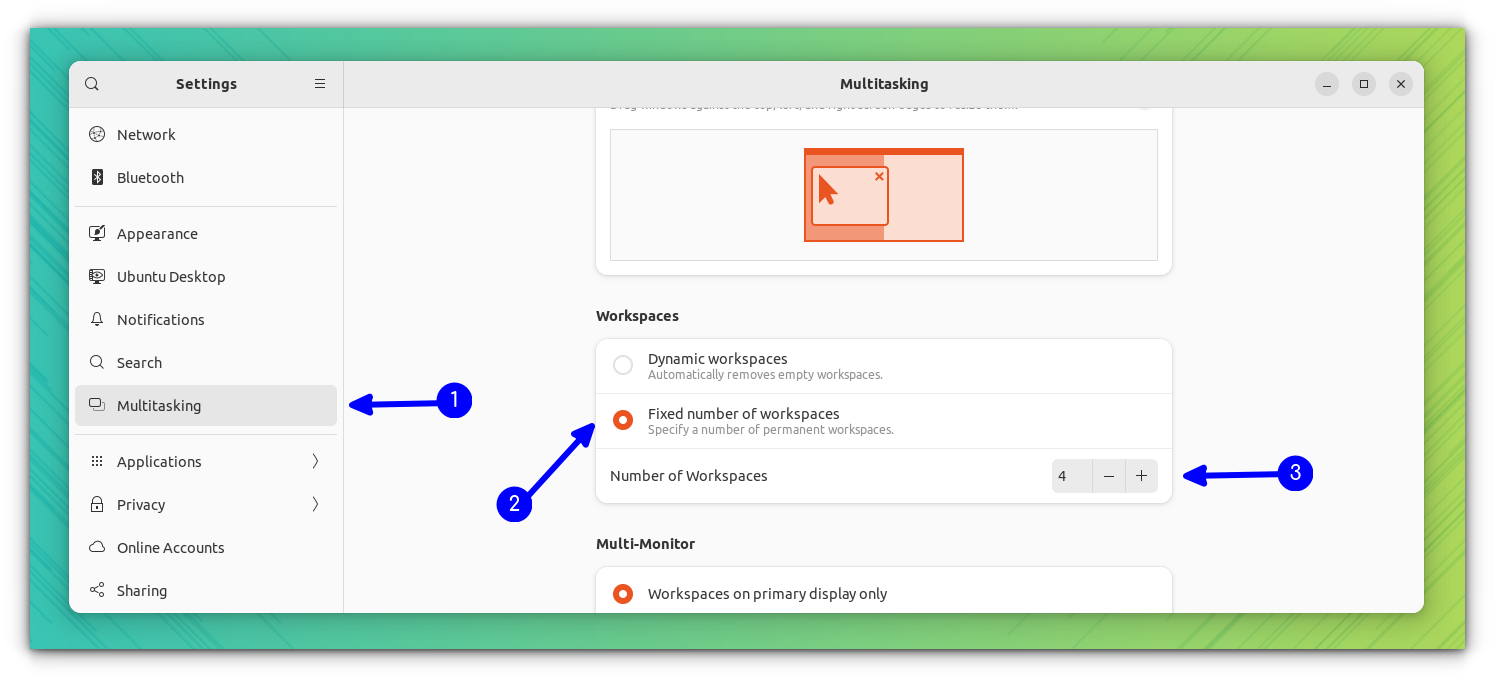
Fixed Number of Workspaces
As mentioned, Ubuntu uses dynamic workspaces by default.
However, you can change it to a fixed number of workspaces if you need.
Note that this will remove the automatic appending of workspaces. So, whenever you think you need another workspace, you have to come back to this setting and change the number of workspaces.
To proceed with this, head to the Multitasking tab, enable fixed workspaces, and change the number to your liking.
Workspace Settings for Multi-Monitor Setup
This is one of the most essential features for those with several monitors who want to increase productivity.
The default setting for this is workspace on Primary display only.
This means your virtual desktops are confined to your primary monitor. The other monitors can stick to any dedicated use-case you want (or assume it as a single workspace).
Say, for example, use your virtual desktops on the primary monitor for various editing tasks while using the external monitor for presentation purposes.
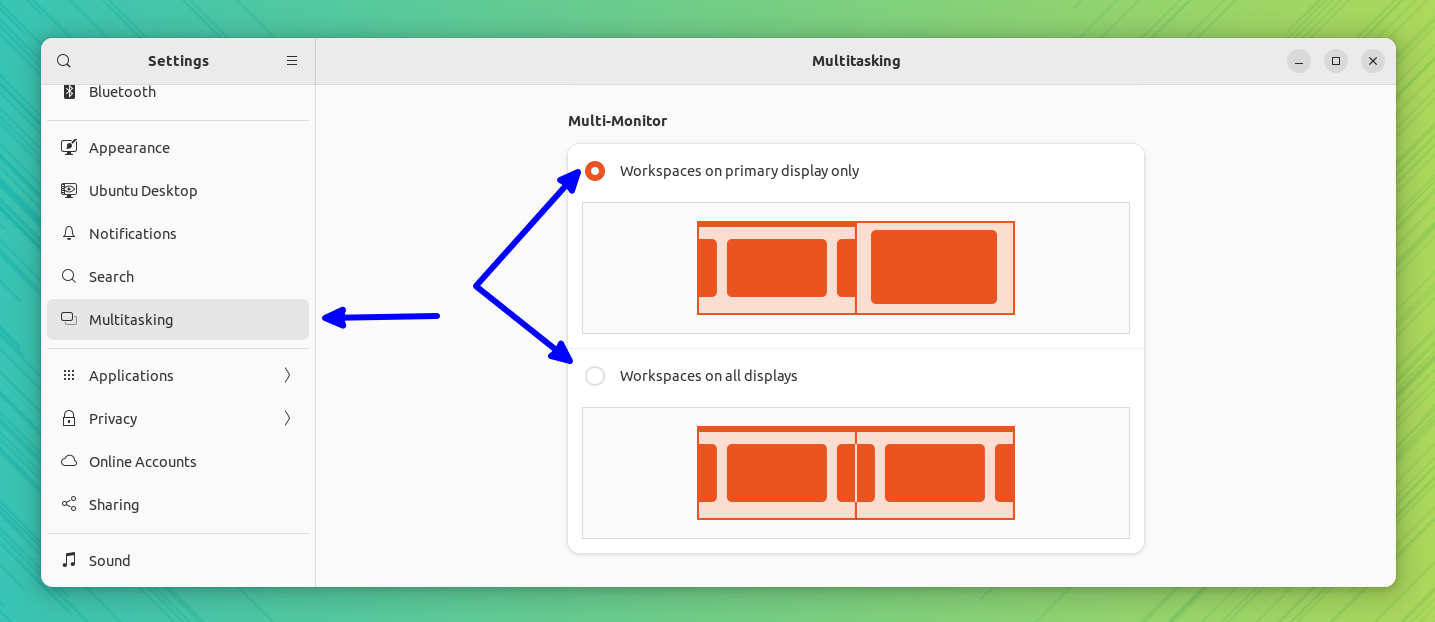
Now, if you have several monitors, you can tweak it to Workspaces on all displays, making your workspace available to all the monitors, just like a single big monitor.
It can be helpful for enhanced productivity as per your requirements. Under this setting, you can seamlessly move your windows to any monitor.
Tweak Application Switching between Workspaces
By default, the application switching is set to "application windows from all workspaces" and "application windows from all monitors".
This means you can switch between app windows opened on different workspaces or monitors from any workspace. You can use either a keyboard shortcut or Ubuntu Dock to do it.
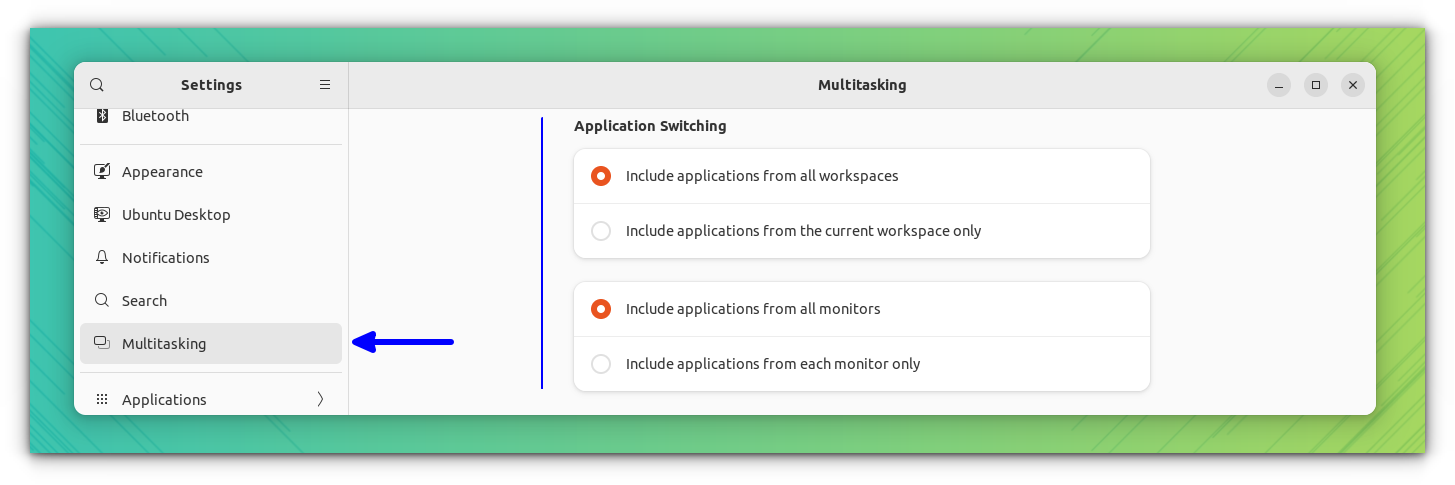
If you set it to "Include application from current workspace only," then you can only switch between applications on your current workspace.
To go to a window on a different workspace, you need to first go to that workspace.
If you like to juggle between things quickly, the default settings should suffice. And, if you want more control, you may need to tweak the settings as mentioned above.
More to Tweak
I have discussed the basic tweaks to the workspace available out of the box.
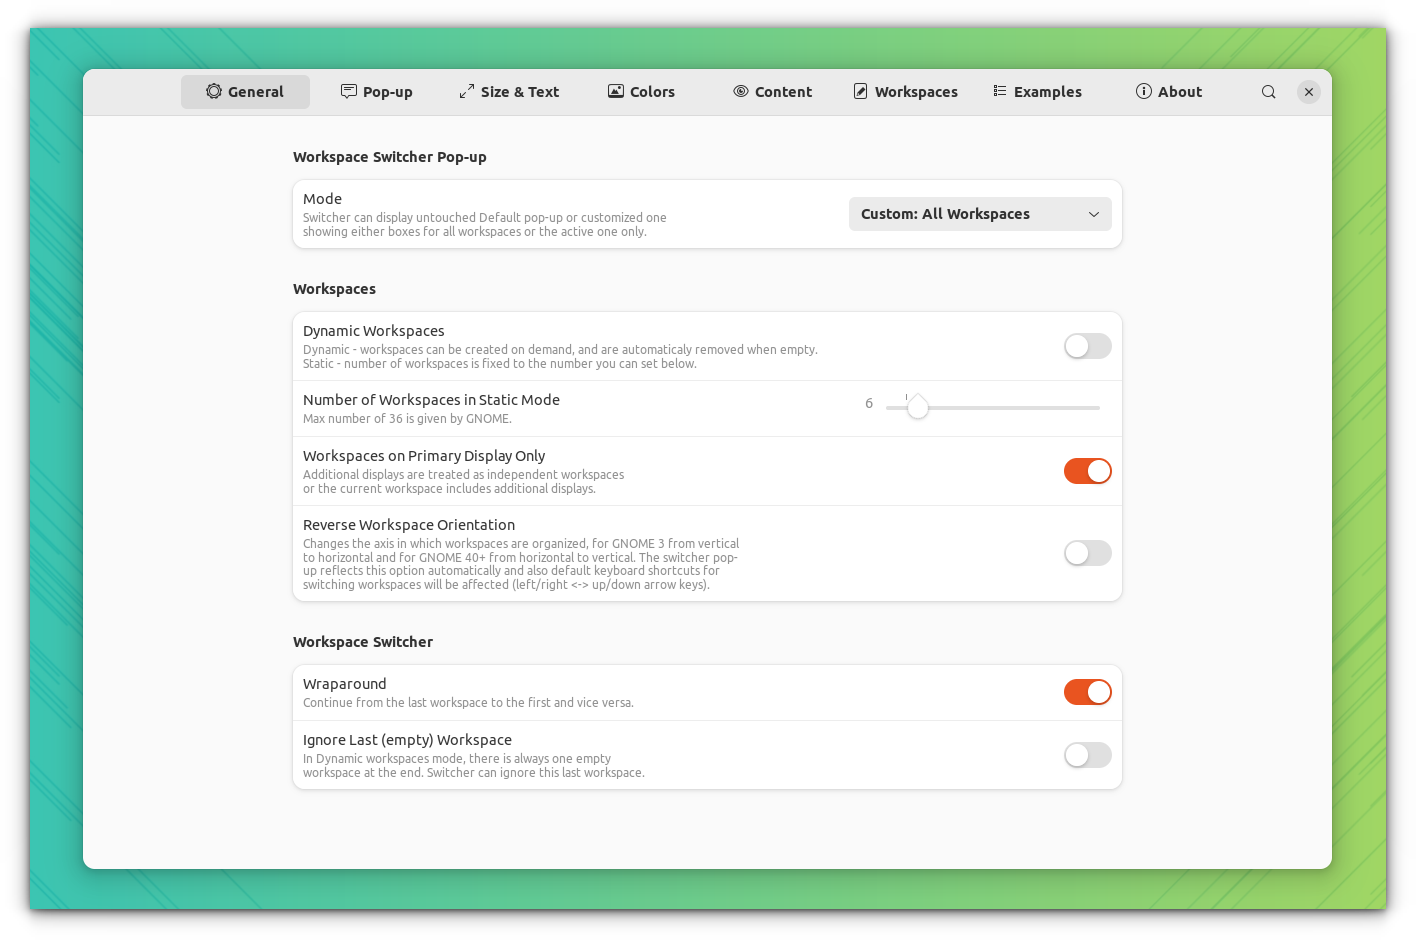
But there are several other things that you can use for more improvements. One such aid is the Workspace Switcher Manager GNOME extension.
With this extension, you can do several tweaks to the default workspace switcher, accessible through the shortcut Super + PageUp/Down, like giving names to workspaces, displaying the active window title on each workspace, etc.
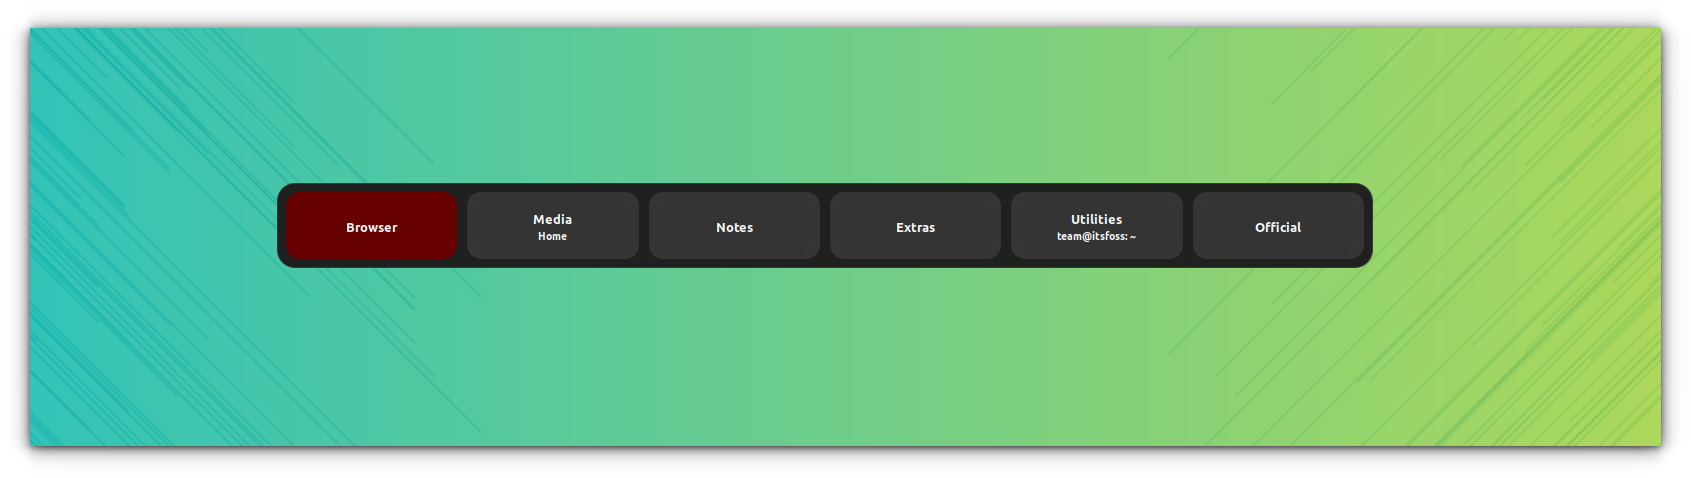
Once you install this GNOME extension, you can tweak it according to your liking from the extension settings.
💬 Do you use workspaces often? Share your thoughts on your experience in the comments.
If this helped you, consider supporting It's FOSS
It's FOSS has been helping people use Linux for the past 14 years. Help us stay independent from big tech. Become a Plus member, enjoy ad-free reading and get 5 eBooks.

