
When Microsoft released WSL first, it was revolutionary as it allowed to run Linux commands on Windows.
A few years later, Microsoft took it to the next level by releasing WSL 2. The new version of WSL allowed running GUI Linux apps on Windows.
It's not that Windows has a dearth of GUI apps. But when working in the Linux environment inside WSL, using the GUI apps could come in handy.
For example, you have to edit a config file and are uncomfortable with the command line text editors like Nano. You use Gedit GUI text editor to make the changes. It simplifies the life of Windows users who have to use Linux for their work.
Wondering how to run Linux GUI apps on Windows? There are the main steps for that:
- Enable WSL 2 and install a Linux distribution with it
- Install appropriate graphics driver for WSL
- Install and use GUI Linux apps
Let's see about the steps in detail.
Requirements
As stated above, running Linux GUI applications is not available for all Windows versions. To do this, your system should be:
- For x64 systems: Version 1903 or later, with Build 18362 or later.
- For ARM64 systems: Version 2004 or later, with Build 19041 or later.
- The installed Linux distribution should use WSL2
Remember that, the requirements above are solely for running Linux GUI apps. WSL is supported for some of the Windows 10 versions also. Please refer to the dedicated article detailing how to install WSL in Windows for more about WSL and its uses.
Step1: Installing Linux Distribution with WSL 2
This is a lot easier on Windows 11 which comes with built-in support for WSL 2.
On Windows 11
You can use the Microsoft Store but I find it easier to use the command line.
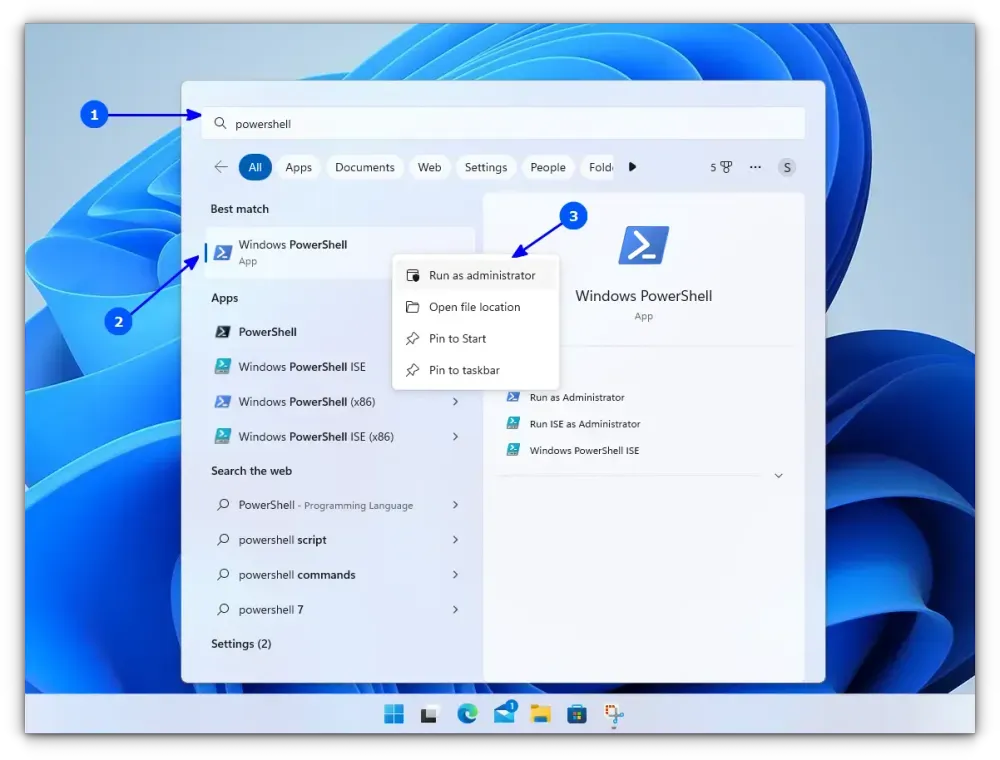
You need to open PowerShell with admin privileges. For this, search for Powershell in the start menu, right-click on Powershell and select Run as Administrator.
Enter the following command to install WSL.
wsl --installBy default, Ubuntu will be installed as the Linux distribution. If you want to install any other distribution, use the command below:
wsl --list --onlineThis will list all the available Linux distributions. Once you decide on the distribution, use the below command to install it.
wsl --install <Distribution Name>Once finished downloading and installing, you need to reboot to apply the changes.
On Windows 10
This is a bit complicated and takes some time and effort to run WSL version 2 on Windows 10.
Ensure that the Windows Subsystem for Linux feature is turned on. Execute the following command in Powershell with admin rights:
dism.exe /online /enable-feature /featurename:Microsoft-Windows-Subsystem-Linux /all /norestartReboot the device once the command is completed.
After this, you need to enable the Virtual Machine Platform feature. Open the Powershell with admin privileges and enter the following command:
dism.exe /online /enable-feature /featurename:VirtualMachinePlatform /all /norestartOnce again, restart the device to complete the WSL install and update to WSL 2.
Now, download the Linux Kernel Update Package for x64 machines from the official website. If you are using ARM64 devices, use this link to download the latest kernel update package.
If you are not sure about the device architecture, enter the command below in Powershell to get the type:
systeminfo | find "System Type"When the file is downloaded, double-click on it and finish the installation of the Kernel update package. Now, open PowerShell and run this command to set WSL 2 as the default version when installing a new Linux distribution:
wsl --set-default-version 2Once WSL2 is set as the default version, you can now install the Linux distribution of your choice.
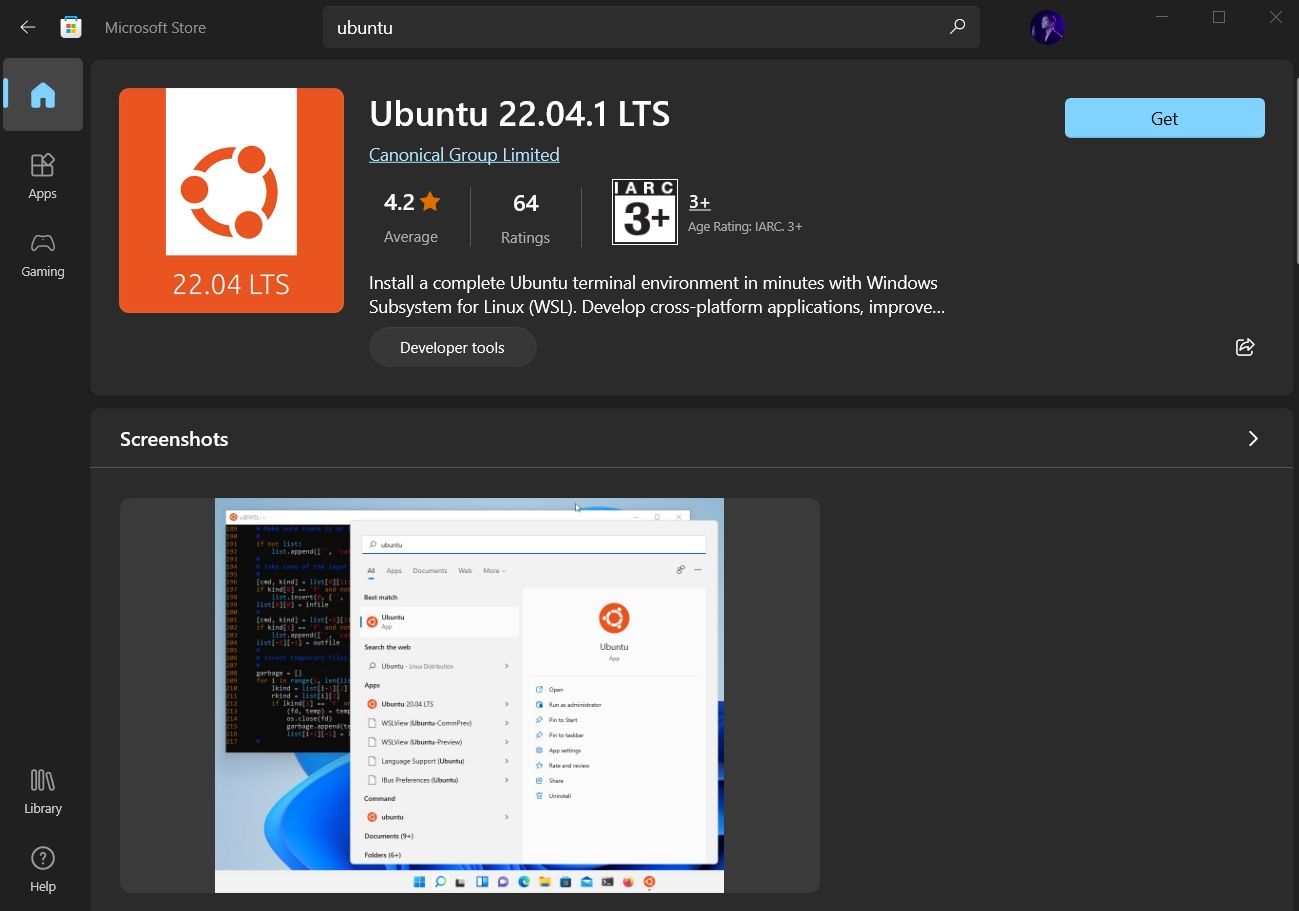
Go to Windows Store and install Ubuntu.
🛠️ Configure the newly installed Ubuntu
Whether you installed WSL and Ubuntu using the Microsoft Store or the command line, you need to configure it.
Here's how it is done:
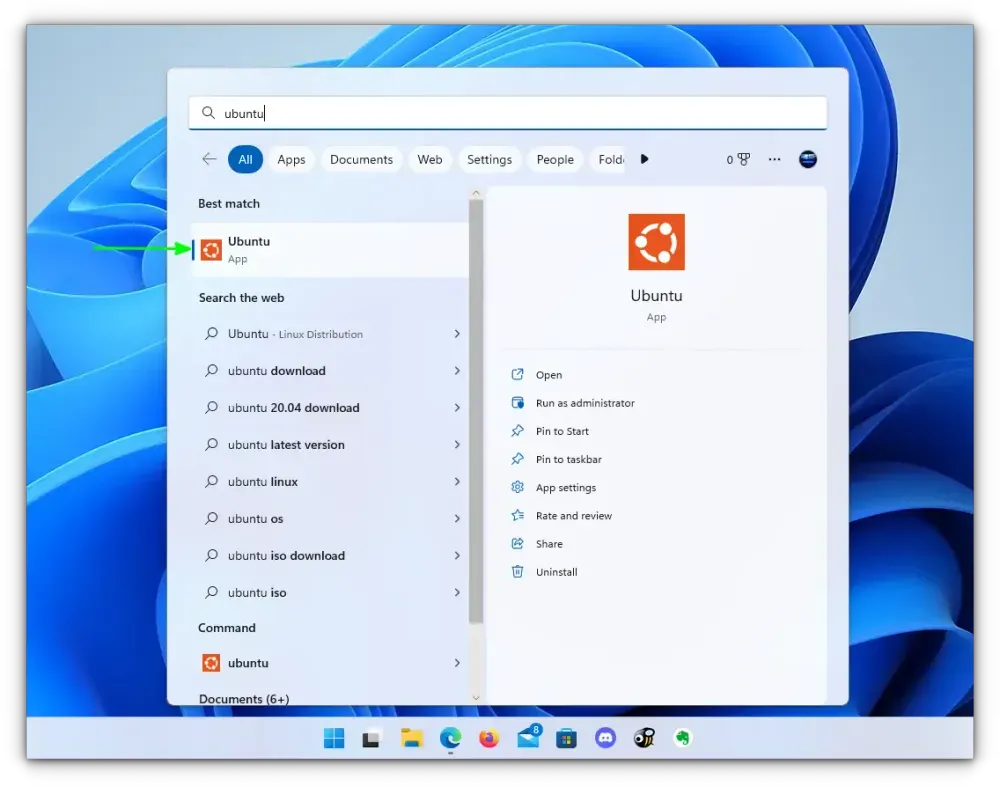
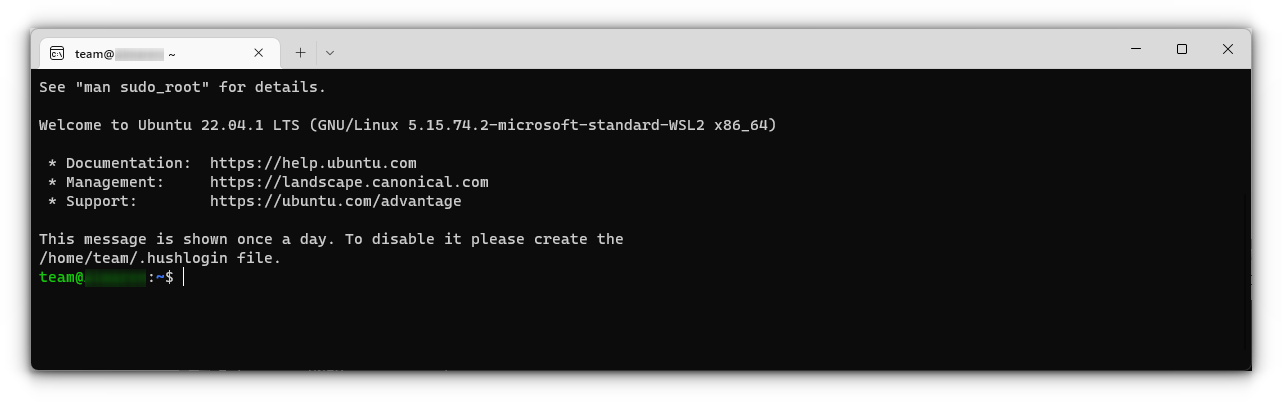
Once you rebooted after installing Ubuntu, search for Ubuntu in Start Menu and open it.
It will ask you to enter a UNIX Username and Password. Enter these details and press enter key.
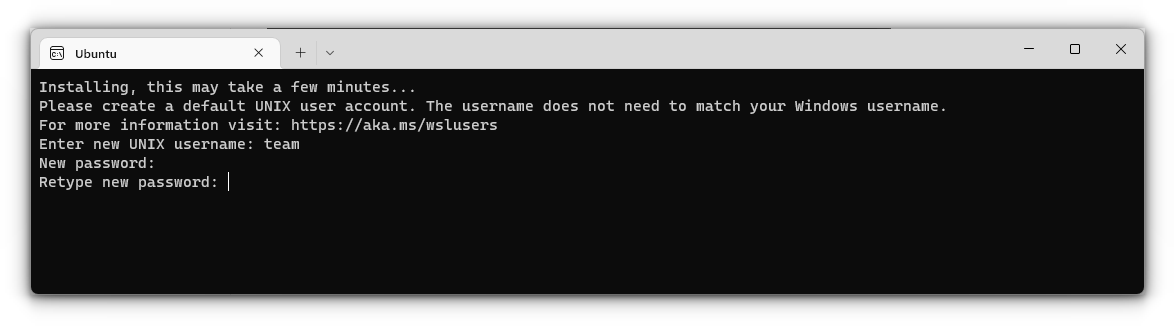
You will now be inside the terminal window of Ubuntu.
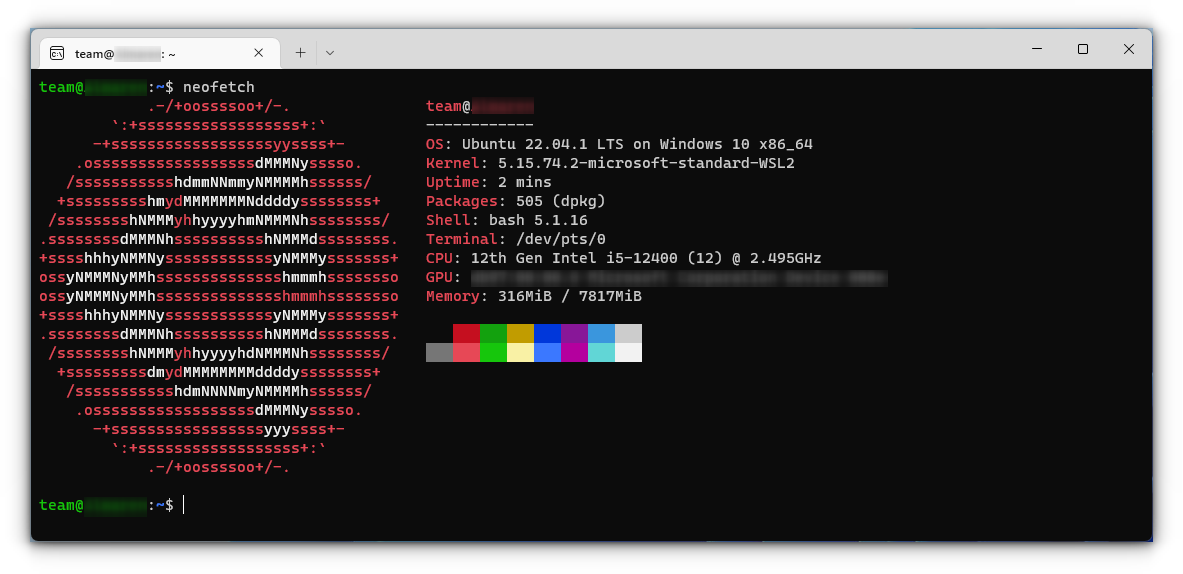
Once logged in, you need to update the installed Ubuntu. For this, enter the following commands one by one:
sudo apt update
sudo apt full-upgrade
After completing the update, you are good to go with Ubuntu in WSL.
Step 2: Installing GUI Applications
Once you are all set with the Linux distribution inside WSL, now is the time to install the Linux GUI application. It is done in two parts as described below.
Download and Install Graphics drivers
To run GUI apps, you need to install appropriate graphics drivers. You can use the following link to download the drivers according to your provider.
Once installed, you are all done.
Install some GUI Apps
Now, go to your Ubuntu app and install any GUI app using the APT package manager. You should note that running apps from other sources like flatpak are problematic within WSL.
For this article, I installed the Gedit text editor using the following command:
sudo apt install gedit -yThis will install several MB of packages including required libraries. Once completed, you can run the following command to start the GUI Gedit app in Windows:
gedit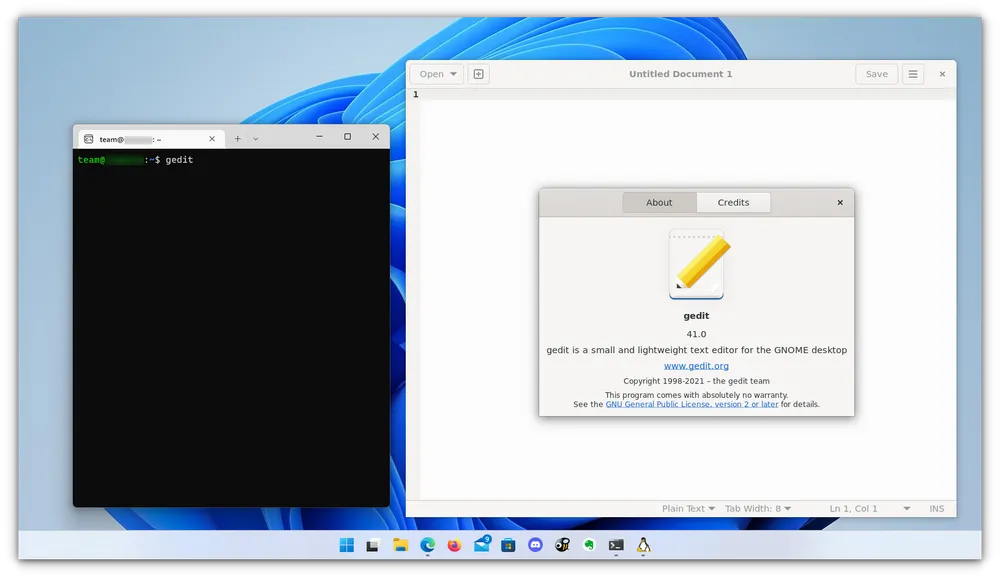
Similarly, you can install all the popular applications available to Linux, including Nautilus file manager, GIMP, etc. You can refer to the official documentation for more about running GUI applications in WSL.
Wrapping Up
With WSL, Microsoft has provided a comfortable way of using Linux within Windows. It keeps on improving with each major version. Running GUI Linux apps on Windows feature is proof of the same.
As you can see, it is rather simple to use WSL 2 on Windows 11. Running it on Windows 10 takes some effort.
I hope you find this tutorial helpful. Let me know if you face any difficulties.
