

If you have messed up your Ubuntu system and after trying numerous ways to fix it, you finally give up and take the easy way out: you reinstall Ubuntu.
We have all been in a situation when reinstalling Linux seems a better idea than try to troubleshoot and fix the issue for good. Troubleshooting a Linux system teaches you a lot but you cannot always afford to spend more time fixing a broken system.
There is no Windows like recovery drive system in Ubuntu as far as I know. So, the question then arises: how to reinstall Ubuntu? Let me show you the steps for the same.
How to reinstall Ubuntu Linux

Here are the steps to follow for reinstalling Ubuntu.
Step 1: Create a live USB
First, download Ubuntu from its website. You can download whichever Ubuntu version you want to use.
Once you have got the ISO image, it’s time to create a live USB from it. If your Ubuntu system is still accessible, you can create a live disk using the startup disk creator tool provided by Ubuntu.
If you cannot access your Ubuntu system, you’ll have to use another system. You can refer to this article to learn how to create live USB of Ubuntu in Windows.
Step 2: Reinstall Ubuntu
Once you have got the live USB of Ubuntu, plugin the USB. Reboot your system. At boot time, press F2/10/F12 key to go into the BIOS settings and make sure that you have set Boot from Removable Devices/USB option at the top. Save and exit BIOS. This will allow you to boot into live USB.
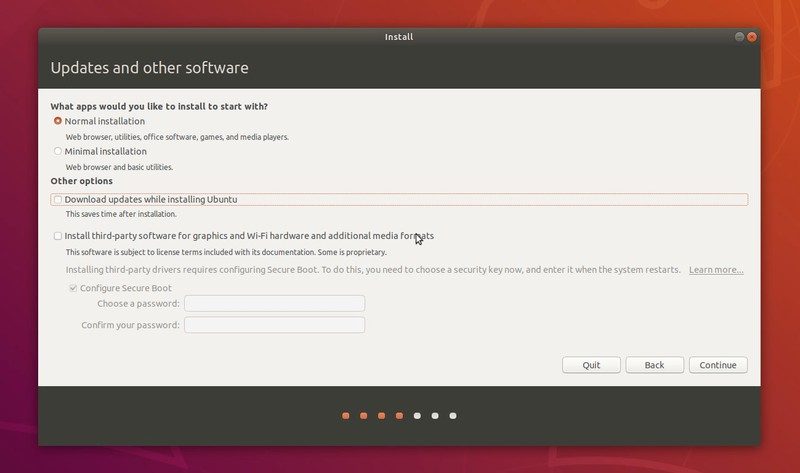
Once you are in the live USB, choose to install Ubuntu. You’ll get the usual option for choosing your language and keyboard layout. You’ll also get the option to download updates etc.
The important steps come now. You should see an “Installation Type” screen. What you see on your screen here depends heavily on how Ubuntu sees the disk partitioning and installed operating systems on your system.
Be very careful in reading the options and its details at this step. Pay attention to what each option says. The screen options may look different in different systems.

In my case, it finds that I have Ubuntu 18.04.2 and Windows installed on my system and it gives me a few options.
The first option here is to erase Ubuntu 18.04.2 and reinstall it. It tells me that it will delete my personal data but it says nothing about deleting all the operating systems (i.e. Windows).
If you are super lucky or in single boot mode, you may see an option where you can see a “Reinstall Ubuntu”. This option will keep your existing data and even tries to keep the installed software. If you see this option, you should go for it it.
For me, there was no reinstall and keep the data option so I went for “Erase Ubuntu and reinstall” option. This will install Ubuntu afresh even if it is in dual boot mode with Windows.
The reinstalling part is why I recommend using separate partitions for root and home. With that, you can keep your data in the home partition safe even if you reinstall Linux. I have already demonstrated it in this video:
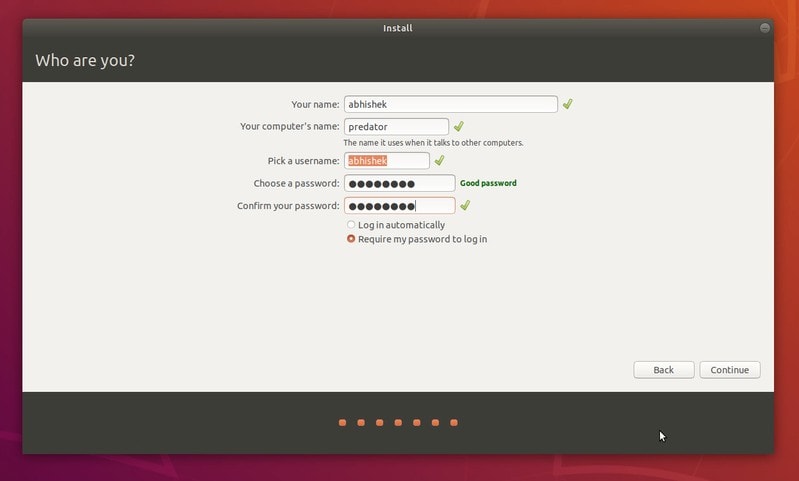
Once you have chosen the reinstall Ubuntu option, the rest of the process is just clicking next. Select your location and when asked, create your user account.
Once the procedure finishes, you’ll have your Ubuntu reinstalled afresh.
In this tutorial, I have assumed that you know things because you already had Ubuntu installed before. If you need clarification at any step, please feel free to ask in the comment section.
If this helped you, consider supporting It's FOSS
It's FOSS has been helping people use Linux for the past 14 years. Help us stay independent from big tech. Become a Plus member, enjoy ad-free reading and get 5 eBooks.
