
I’m a big fan of all the Raspberry Pi boards and have quite a few of them in my homelab. Using them day after day has made me appreciate the desktop environment that Raspberry Pi OS ships with, it’s so lightweight on resources, yet fully functional.
The thing about the Raspberry Pi OS is that it can also be installed on a regular computer. It is Debian under the hood, after all. This makes it an excellent choice of Linux distribution to run on an older computer since Raspberry Pi OS with the Pixel desktop environment is pretty lightweight.
In this guide, you’ll learn how you can install Raspberry Pi Desktop on your PC as the main operating system, giving you that Pi experience even without a Pi.
Let’s dive into the installation process step-by-step.
Step 1: Gather what you’ll need
Before you begin, make sure you have the following:
- A PC: Raspberry Pi OS can be installed on most Intel or AMD-based PCs.
- A USB drive (at least 8 GB): This will be used to create a bootable installer.
- Internet connection: For downloading the OS image and any additional software.
- Backups of important data: Installing Raspberry Pi OS will overwrite your current OS, so make sure you back up any critical files.
Step 2: Download the Raspberry Pi OS image
- Head to the official Raspberry Pi OS download page. Under the Raspberry Pi Desktop section, download the ISO file.
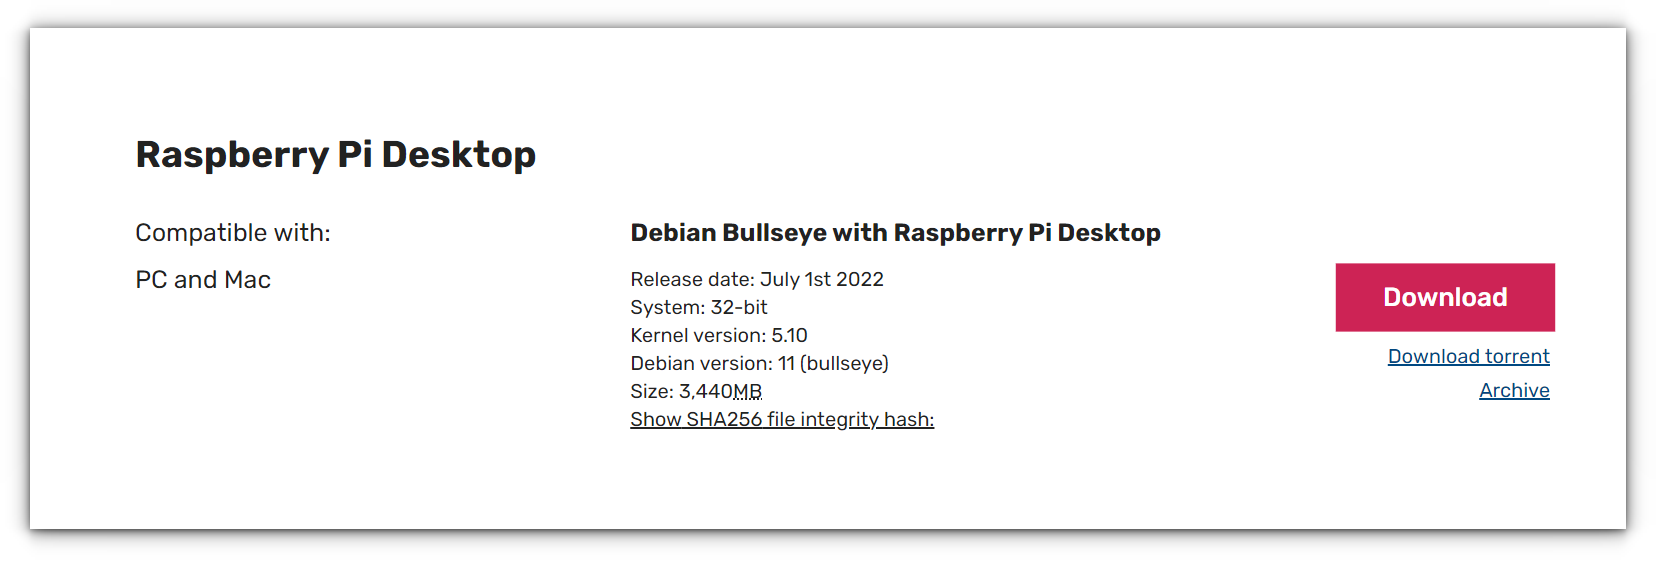
This ISO file will be used to create a bootable installer for your PC.
Step 3: Create a bootable USB installer
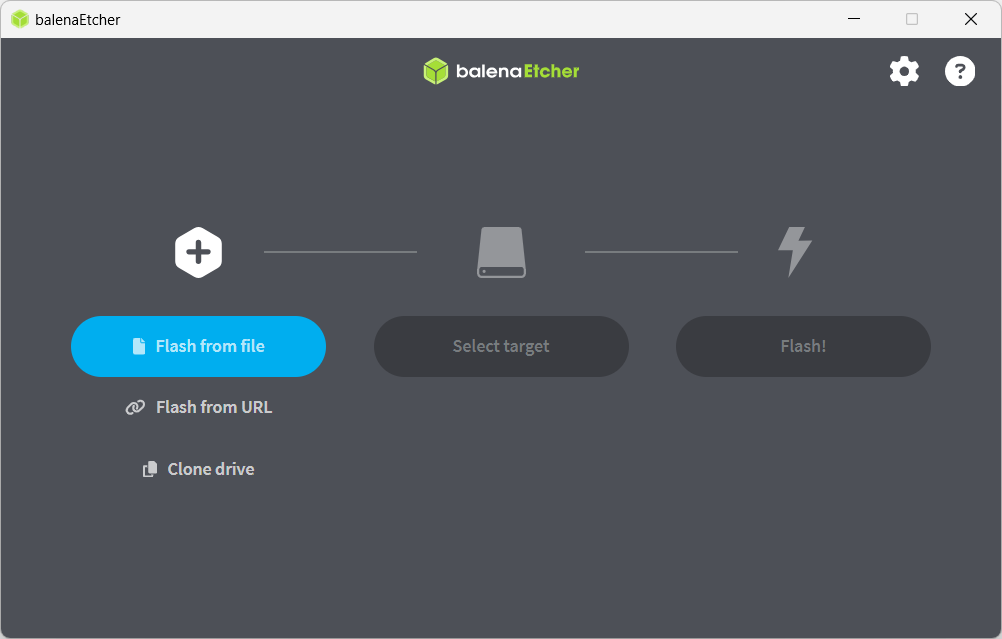
To install Raspberry Pi OS on your PC, you’ll need to create a bootable USB drive. You can use software like Rufus (Windows) or Etcher (available for Windows, macOS, and Linux) for this.
Step 4: Boot from the USB drive
Now that your USB drive is ready, it’s time to boot from it on your PC.
- Shut down your computer.
- Insert the USB drive into a USB port.
- Power on your computer, and during the startup, press the appropriate key to enter the Boot Menu (usually F12, F2, ESC, or DEL, depending on your system).
- In the boot menu, select your USB drive to boot from it.
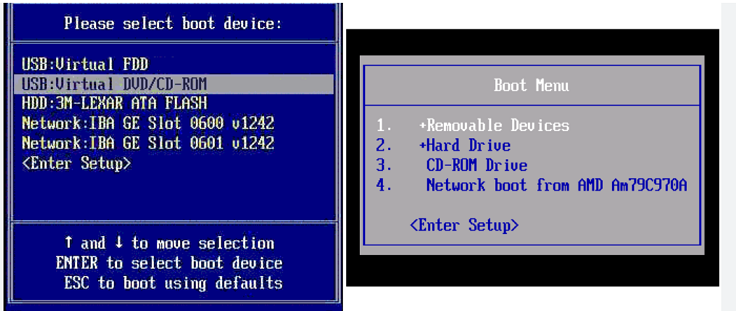
If successful, your PC should boot into the Raspberry Pi OS installer.
Step 5: Install Raspberry Pi OS on your computer
Once the installer loads, follow these steps:
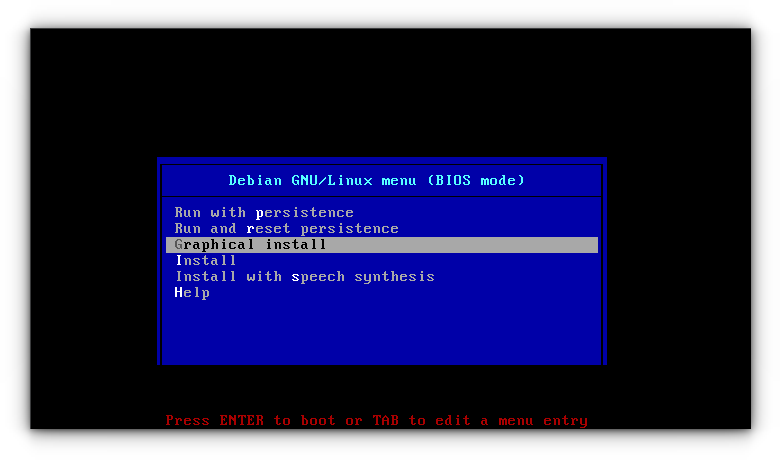
- On the main menu, select Graphical install and press Enter.
- Language: Select your preferred language.
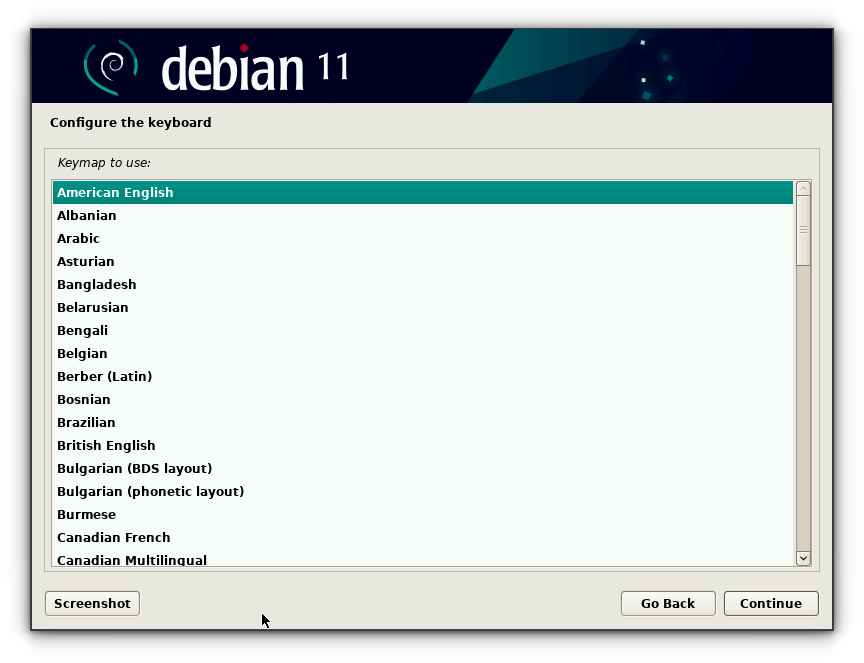
Configure the Disk Partitioning: This step is important, as it will erase your current operating system.
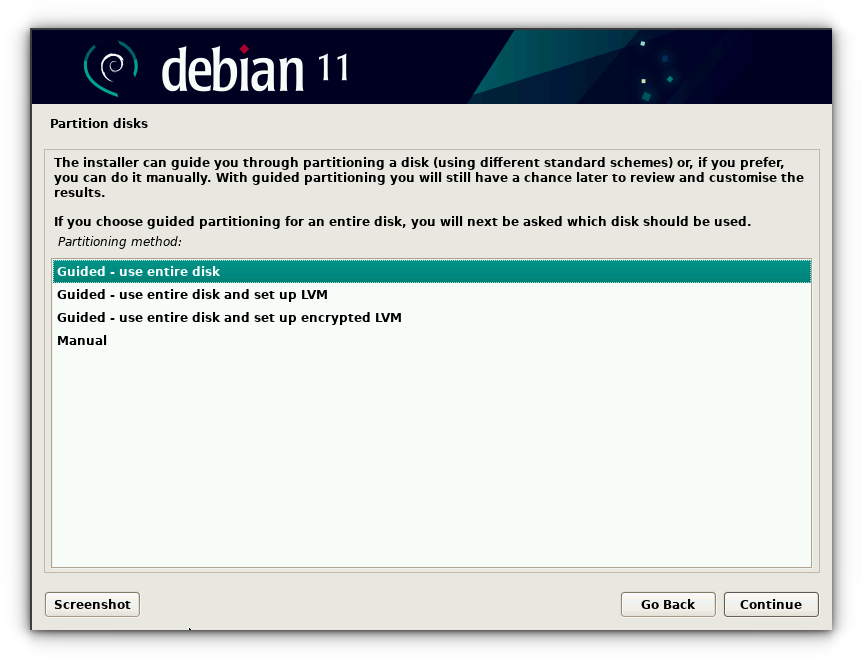
If you’re planning to use Raspberry Pi OS as the primary OS on your PC, choose the option to use the entire disk.
Confirm Partition Changes: The installer will ask for confirmation before making changes. Select Yes and proceed.
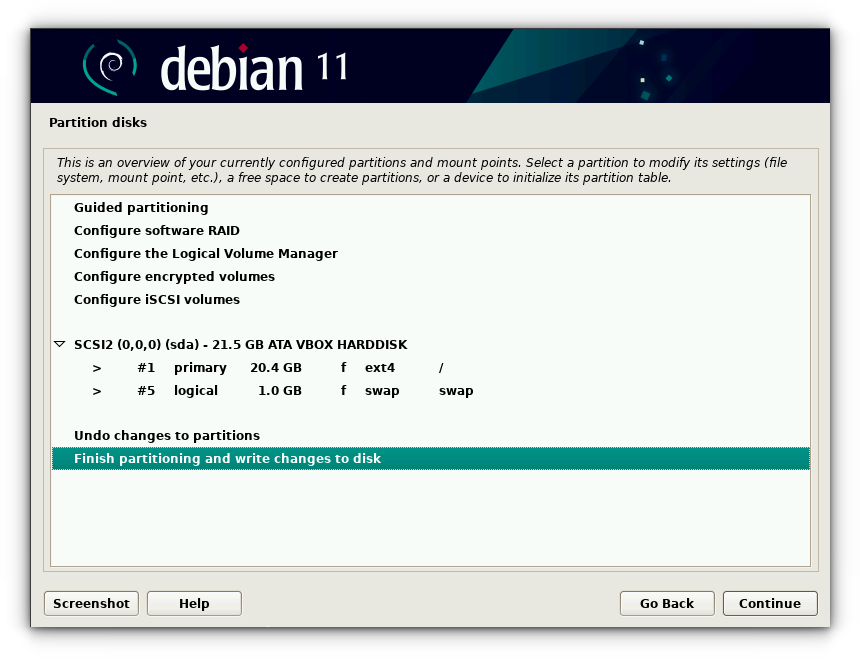
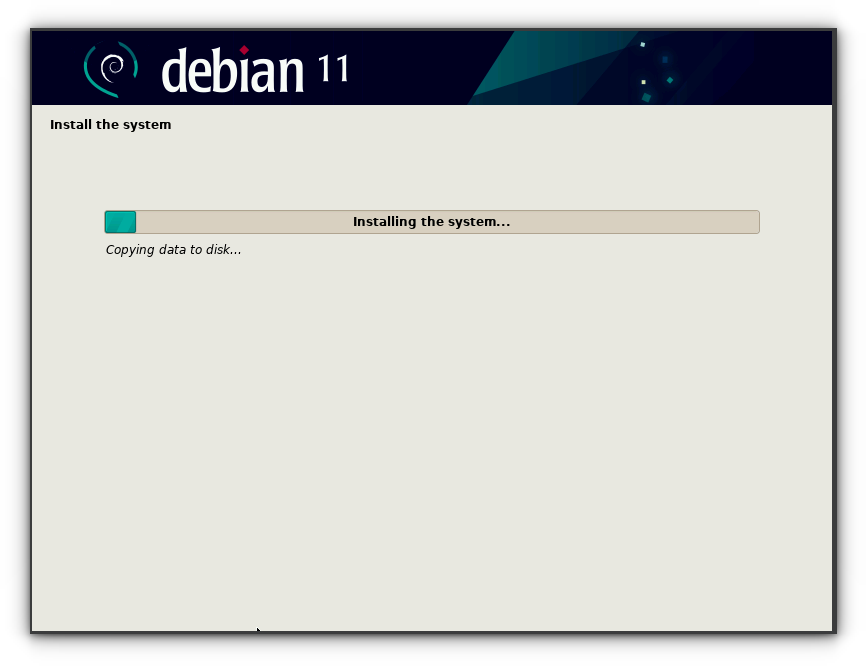
After confirming, the installation will begin. This process can take several minutes.
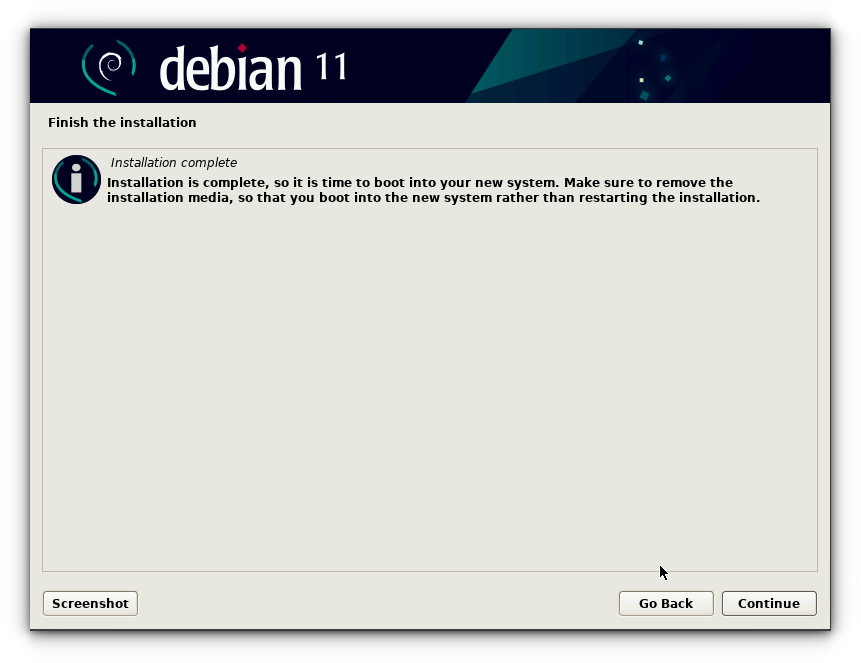
And then you need to reboot the system:
Step 6: Set up user accounts and time zone
Once the OS is installed, you’ll be greeted with a welcome screen.
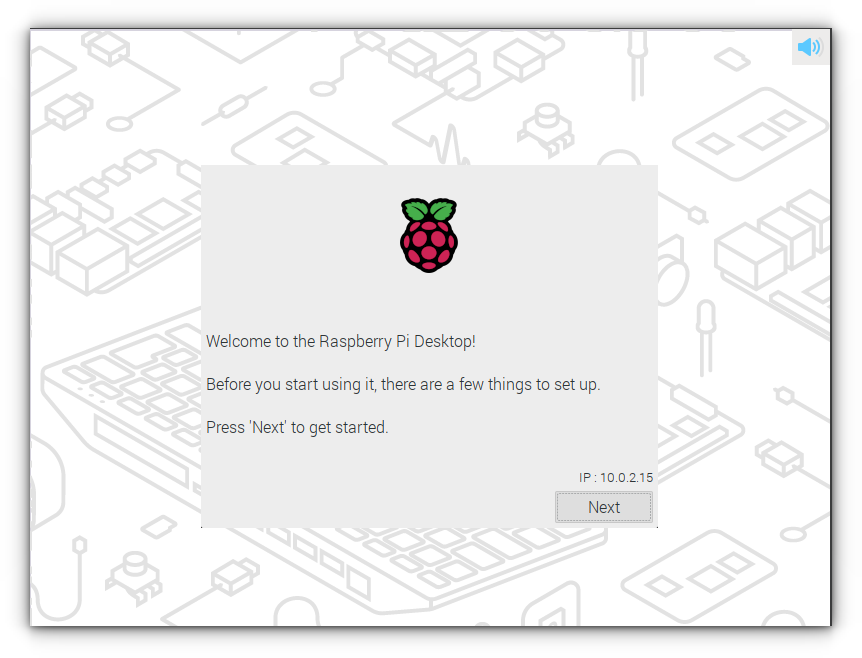
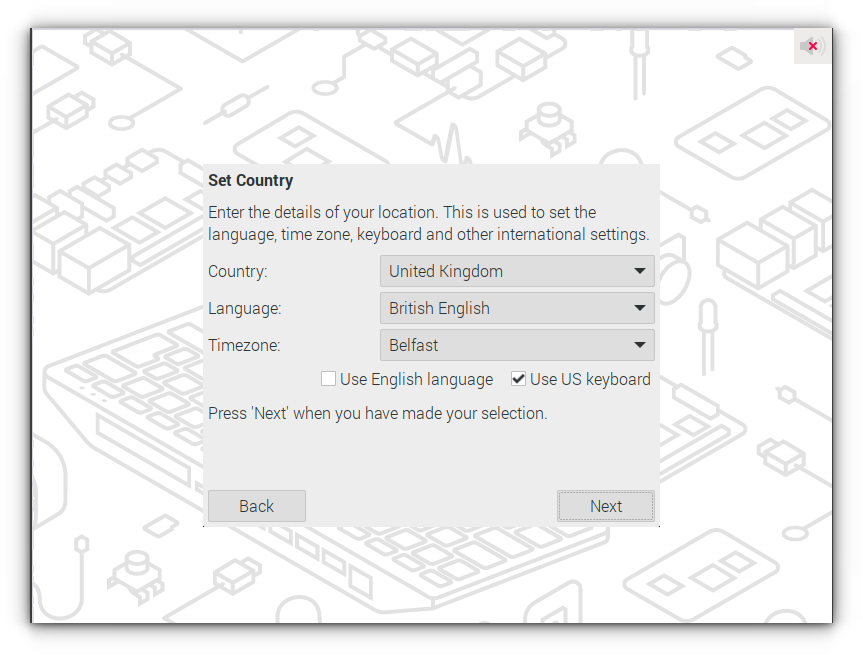
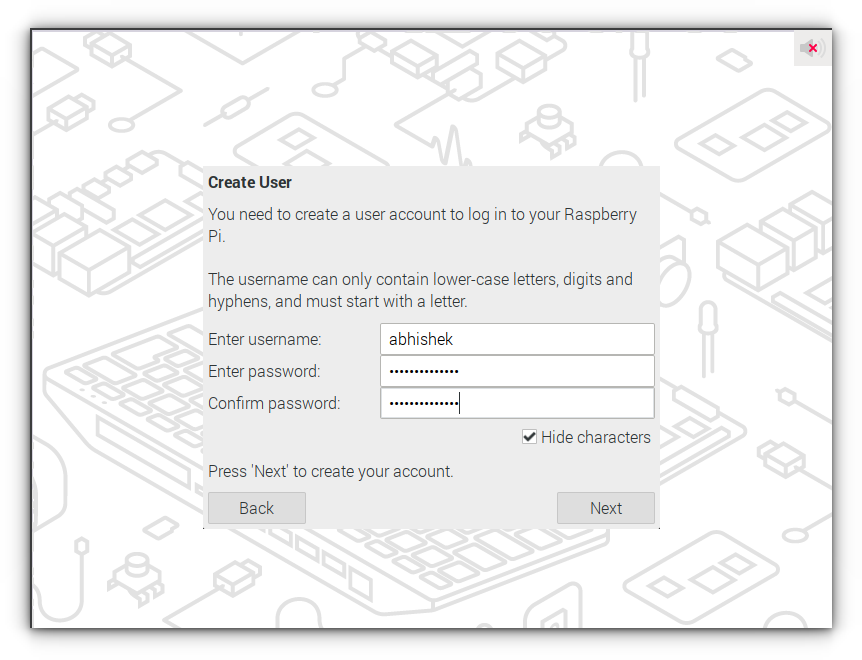
And when pressing Next, it will prompt to set up the following:
Language & locale setting: Choose your preferred language and location to configure the system’s default language and regional settings.
User Account: Set up a regular user account for daily use. Choose a username, password, and configure other basic settings.
Update: It will prompt you to install any available updates to ensure you have the latest security patches and features.
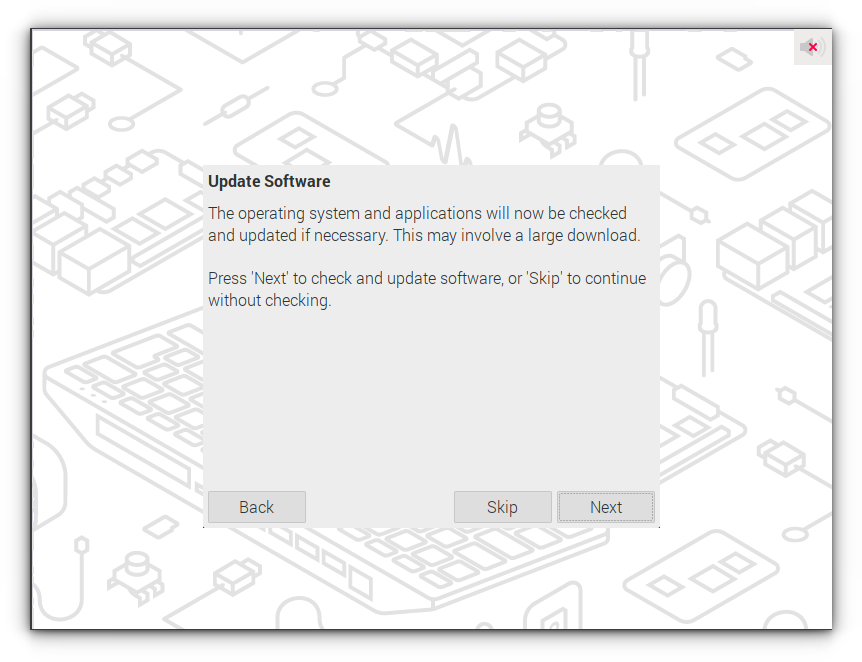
After entering these details, the installer will finalize the setup, installing any necessary drivers and additional packages.
Step 7: Reboot into awesomeness
Once the installation completes, remove the USB drive and click Reboot.
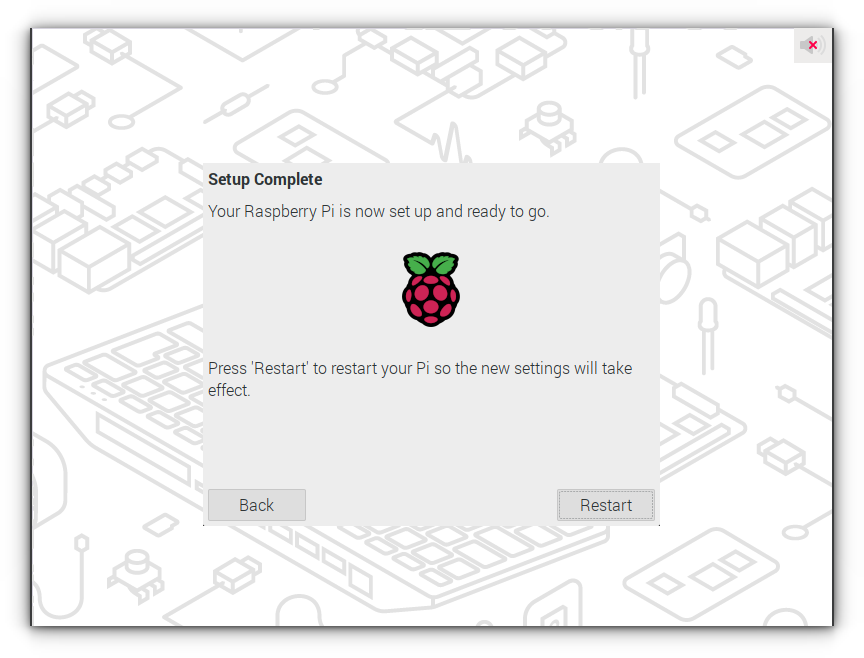
Your PC will now boot into Raspberry Pi OS.
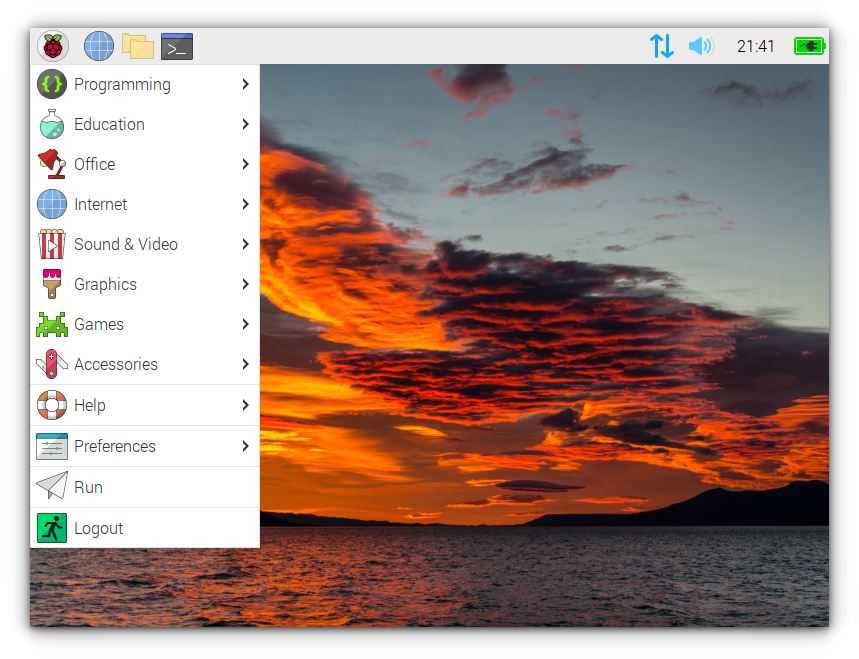
Customization tips
Raspberry Pi OS offers plenty of options for customization to make it feel like home. Here are some suggestions:
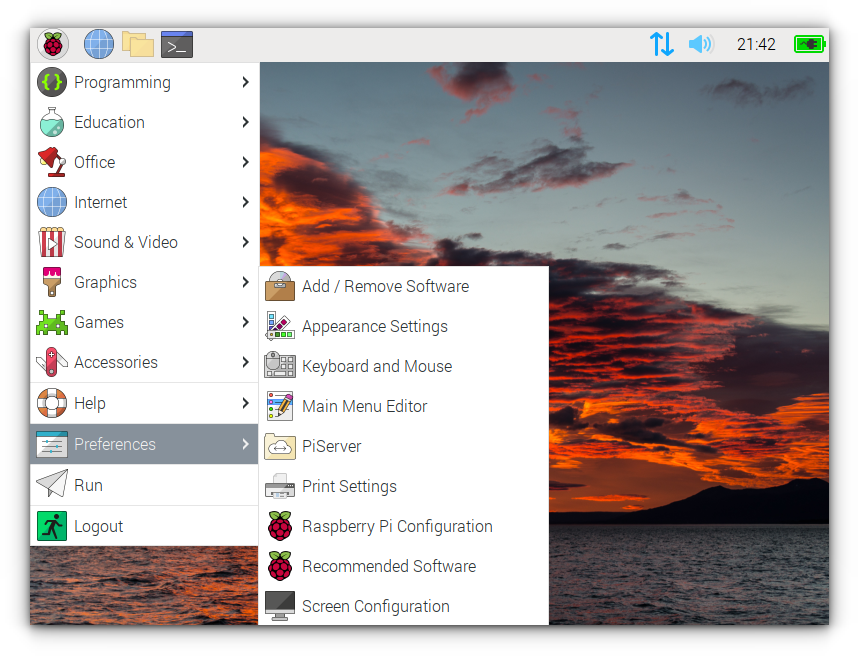
- Appearance: Go to Preferences > Appearance Settings to adjust themes, wallpapers, and icon sets.
- Install development tools: If you’re interested in coding, you can install tools like Visual Studio Code, or experiment with Python and the built-in Thonny IDE.
- Enable remote access: You can install SSH or VNC to access your PC remotely, which is a handy option for working from other devices.
Should you install Raspberry Pi OS on a regular computer?
While Raspberry Pi OS was originally built for Raspberry Pi hardware, it’s actually an excellent OS for desktops and laptops as well.
Here are some reasons you might want to consider it:
- Lightweight and Efficient: Raspberry Pi OS is designed for low-power devices, so it’s highly efficient. If you have an older PC or a laptop that struggles with heavier operating systems, Raspberry Pi OS can give it a new lease on life.
- Debian-Based Stability: It is a modified version of Debian, renowned for its stability and extensive software repositories.
- Great for Coding and Learning: The OS comes with built-in development tools, making it a great environment for coding or for experimenting with Linux without the bloat of other distros.
Conclusion
And there you have it, Raspberry Pi OS running as the main OS on your PC!
This setup combines the resource efficiency of Raspberry Pi OS with the power of a full-sized computer, offering a smooth and minimalist computing experience.
Whether you're breathing new life into an older machine or just experimenting with the lightweight OS, you’ll now be able to use Raspberry Pi OS’s simplicity and performance advantages right on your desktop or laptop.
Give it a spin, and happy tinkering!

