

When you combine Docker with the compact, affordable Raspberry Pi, you’ve got a powerful setup that’s perfect for both developers and hobbyists.
Whether you’re building a mini server, automating tasks, or just tinkering for fun, Docker has unlimited usage.
This guide will show you how to get Docker up and running on your Raspberry Pi in no time.
Prerequisites
- Raspberry Pi with Raspberry Pi OS installed: Any model will work, but newer models like the Raspberry Pi 5 offer better performance.
- Ethernet cable or Wi-Fi connection: To connect your Raspberry Pi to the internet.
- Keyboard and Monitor (optional): For initial setup (For this tutorial I have just SSH into my Pi using my Windows machine).
Step 1: Update your System
Before diving into the Docker installation, it's a good practice to ensure your Raspberry Pi OS is up-to-date. Open a terminal and run the following commands:
sudo apt update && sudo apt upgrade -yThis will fetch and install the latest package lists and updates. It might take a few minutes, so grab a cup of tea while your Pi gets ready.
Step 2: Installing Docker
Installing Docker on Raspberry Pi OS is quite straightforward, thanks to a handy installation script provided by Docker.
There are two ways of doing it:
- Use a script provided by Docker and let it handle the things
- Use the traditional Debian way of adding repositories, GPG key to your system and then install the Docker package.
In both cases, you need to install some dependencies first:
sudo apt install ca-certificates curl-
ca-certificatesensures your system can securely verify SSL/TLS certificates, which is important for secure internet communications. curlis great command line tool for downloading files from the internet. (I am sure that you have definitely used curl before.)
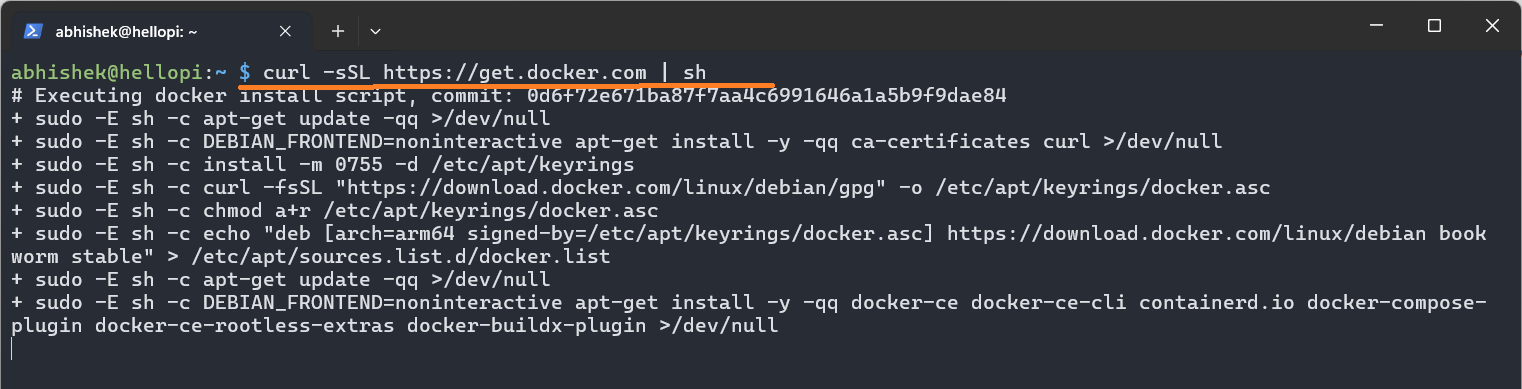
Method 1: Use the official script to install Docker
Run the following command in your terminal:
curl -sSL https://get.docker.com | shThe script will automatically detect your Raspberry Pi's architecture and install the correct version of Docker for you.
Method 2: Use the traditional Debian way of installing Docker
If you want to take a long route and install via apt repository you need to setup few things first like adding the docker repository:
Add Docker's official GPG key
The first step remains the same as above regarding the Installation of required packages.
Next, create a directory for Docker’s GPG Key:
sudo install -m 0755 -d /etc/apt/keyringsThis install command creates a directory called /etc/apt/keyrings with the appropriate permissions (0755), where you’ll store Docker’s GPG key.
Download Docker’s GPG Key:
sudo curl -fsSL https://download.docker.com/linux/raspbian/gpg -o /etc/apt/keyrings/docker.ascThis key will ensure that the packages we download from Docker are genuine and haven't been tampered with.
sudo chmod a+r /etc/apt/keyrings/docker.asc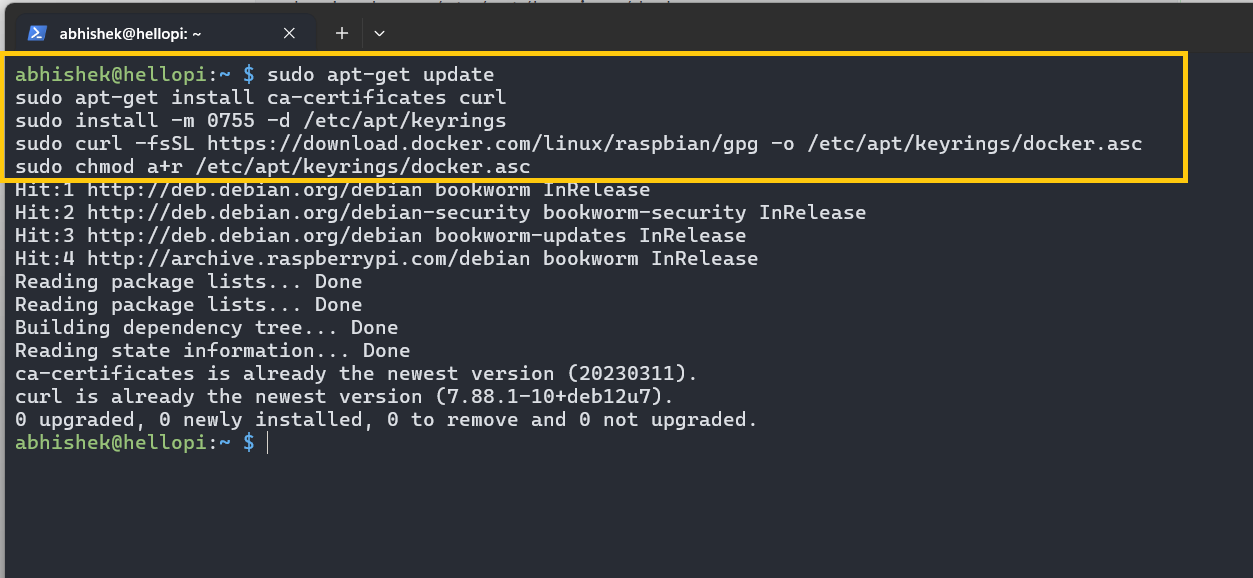
Add the repository to apt sources:
echo \
  "deb [arch=$(dpkg --print-architecture) signed-by=/etc/apt/keyrings/docker.asc] https://download.docker.com/linux/raspbian \
  $(. /etc/os-release && echo "$VERSION_CODENAME") stable" | \
  sudo tee /etc/apt/sources.list.d/docker.list > /dev/null
You do need to update our system again once all the above steps are done. That's because you have added an external repository to your system and updating it will let it know about the packages available from the newly added repository.
Install Docker package
Newer version of Docker has the compose subcommand. But most tutorials on the web still use the older Python-based docker-compose, so install that as well.
sudo apt install docker docker-compose -y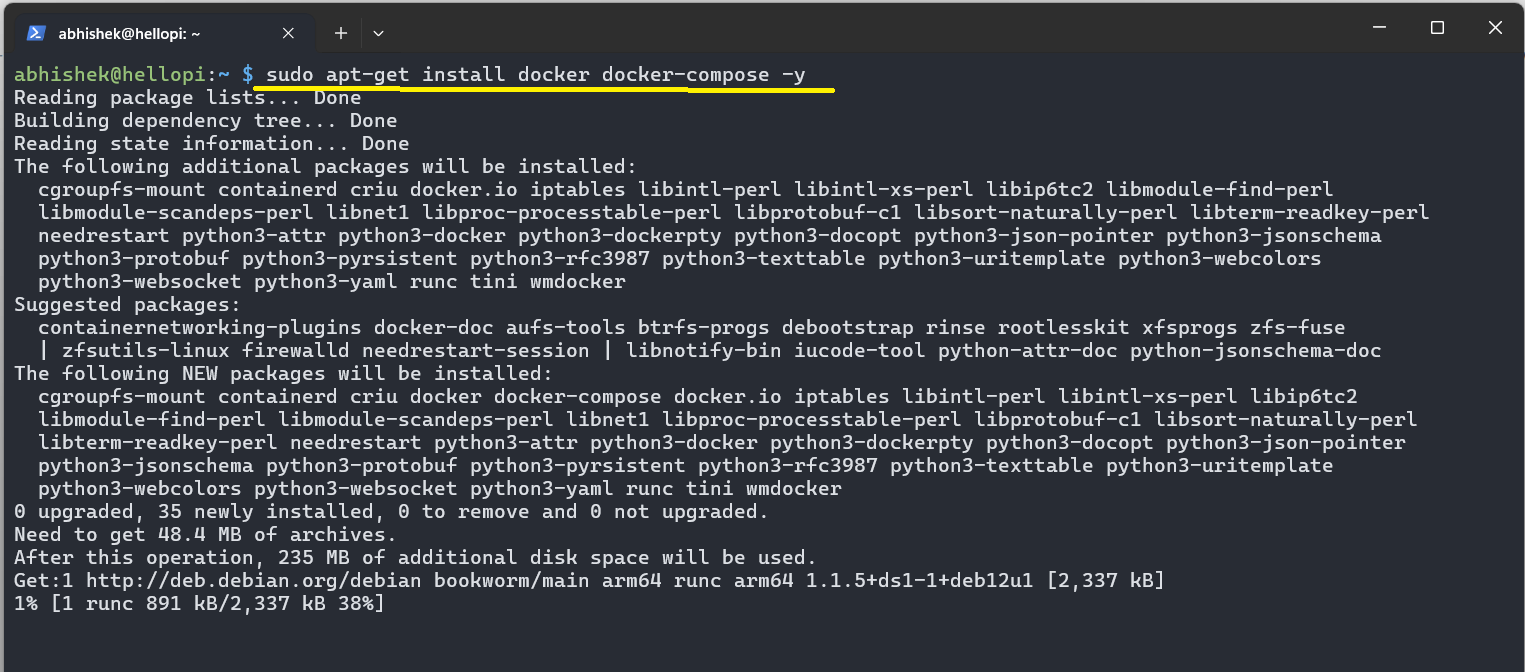
Step 3: Setting up the user for Docker
By default, Docker commands require superuser privileges, meaning you have to use sudo before every Docker command.
To make things more convenient, you can add your user to the Docker group, which allows you to run Docker commands without needing sudo.
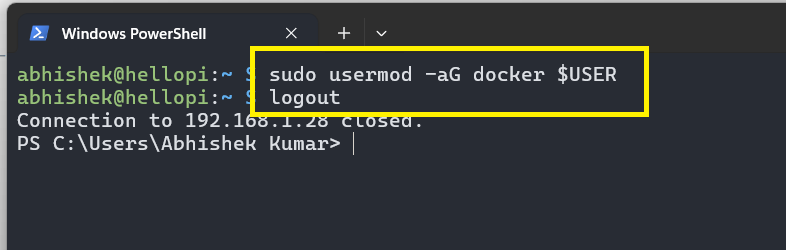
Run the following command to add your user to the Docker group:
sudo usermod -aG docker $USERAfter running the command, you’ll need to log out and log back in (or simply reboot your Raspberry Pi) for the changes to take effect.
You can check if the user has been added successfully or not:
groups

Step 4: Verify the installation
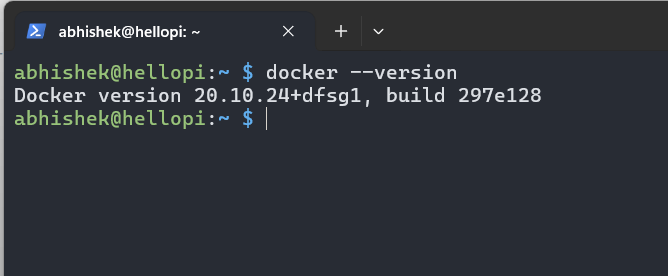
Now that Docker is installed, it's time to make sure everything is working correctly. Run the following command to check the Docker version:
docker --versionYou should see something like Docker version 20.10.XX, build XXXX.
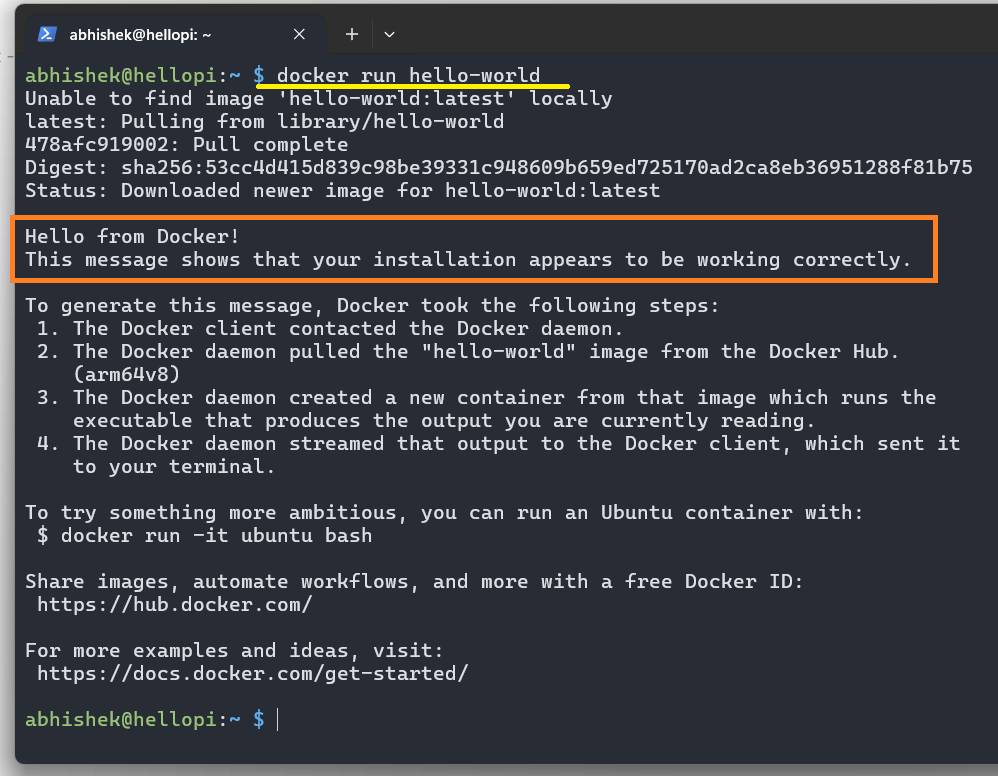
To further confirm Docker is up and running, try running the "Hello World" container:
docker run hello-worldDocker will download the "Hello World" image, run it in a container, and display a friendly message if everything is set up correctly.
Congratulations! You've successfully installed Docker on your Raspberry Pi. Now you can start exploring Docker containers, pulling images from Docker Hub, and even creating your own Dockerized applications.
Do more with Docker
Here are a few ideas to get you started:
- Host a Website: Run a simple web server using an Nginx or Apache container.
- Home Automation: Use Docker containers to set up home automation tools like Home Assistant.
- Media Server: Set up a media server using Plex or Jellyfin.
If you are new to Docker, you should check out this Docker course from our other website.


Troubleshooting Tips
If you run into any issues, here are a few common solutions:
- Permission Issues: Make sure you've added your user to the Docker group and rebooted your Pi.
- Outdated Packages: If Docker doesn't install correctly, double-check that your system is fully updated.
- Limited Resources: The Raspberry Pi, especially older models, has limited RAM and CPU power, so be mindful of the containers you run simultaneously.
Final Thoughts
So, there you have it—Docker on your Raspberry Pi.
But If you're serious about running Docker containers, especially multiple ones simultaneously, you'll want to invest in a model with at least 4GB of RAM. Believe me, your Pi will thank you.
While the Raspberry Pi is a fantastic platform for learning and experimenting, remember that a little extra horsepower can go a long way.
You can share your experiences with us in the comment section below.

