

Sometimes I do weird things for the sake of it. Like once, I used Raspberry Pi as a WiFi extender for fun. This is one of those stories.
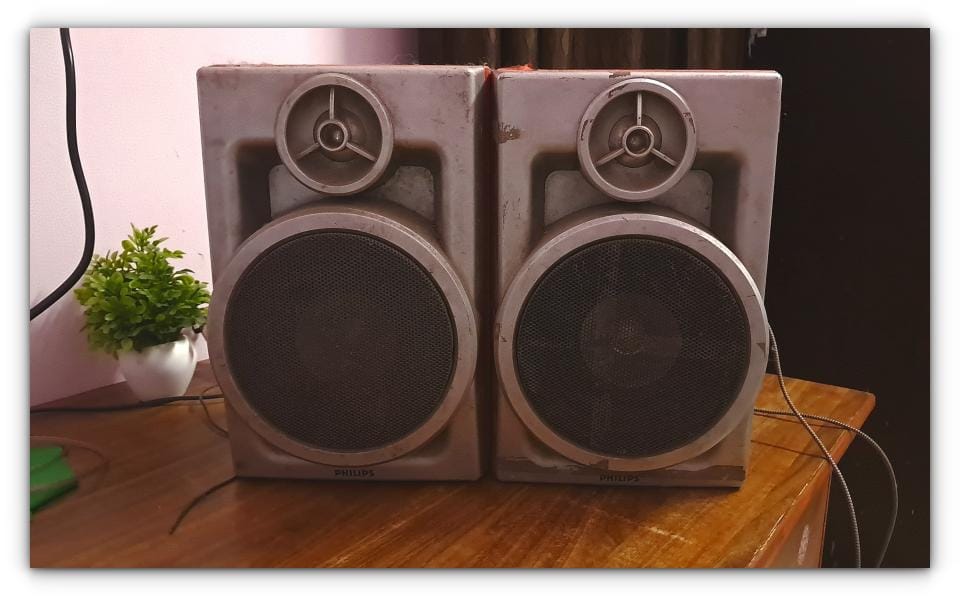
I had an old pair of hi-fi speakers gathering dust in a forgotten corner of the house.
The only problem? They needed a Bluetooth dongle and amplifier to work, and I didn’t have either. But with my love for DIY and a determination to salvage my musical aspirations, I decided to take a different route.
I thought of giving my old speakers a new life by if converting them into Bluetooth speakers. In this article, I’ll take you through my journey of reviving these old speakers.
From putting together a amplifier, connecting both speakers, and grappling with my first soldering iron (spoiler: it wasn’t pretty), to finally using my old Raspberry Pi 3 as the brains behind a fully functional Bluetooth speaker system.
It wasn’t perfect, but the experience taught me a lot and gave me a setup that delivers impressive sound without spending a fortune.
Let’s dive into the details!
What I used
I gathered a mix of new and existing components. Here’s everything I used for this project:
Two Hi-Fi Speakers: These were the stars of the show— old obviously that had been lying unused for years. Their sound potential was too good to ignore, and this project was all about giving them a second chance.
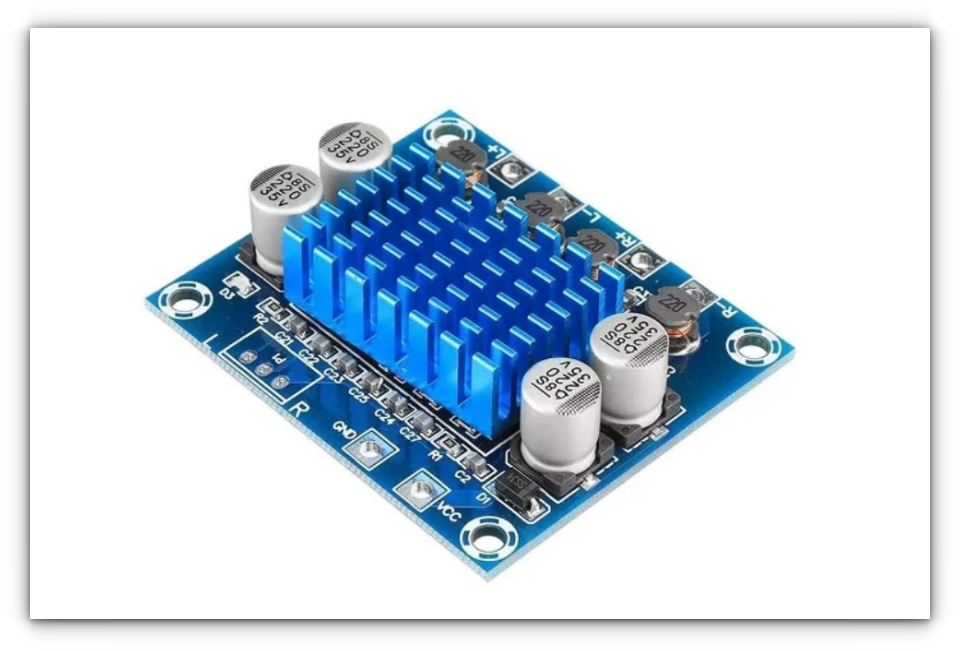
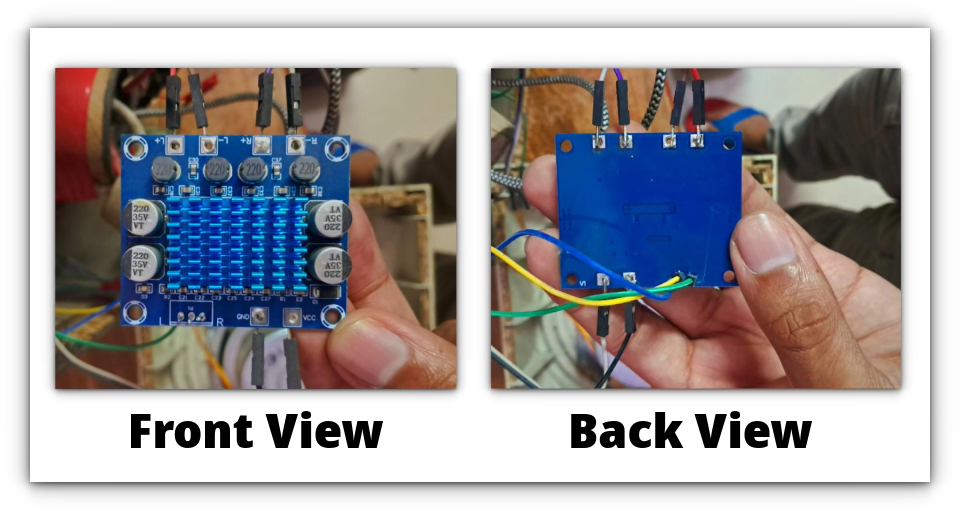
DAC Chipset: A Digital-to-Analog Converter (DAC) was essential to drive the speakers. I used a basic DAC module that supported input from a 3.5mm jack and output for the speakers.
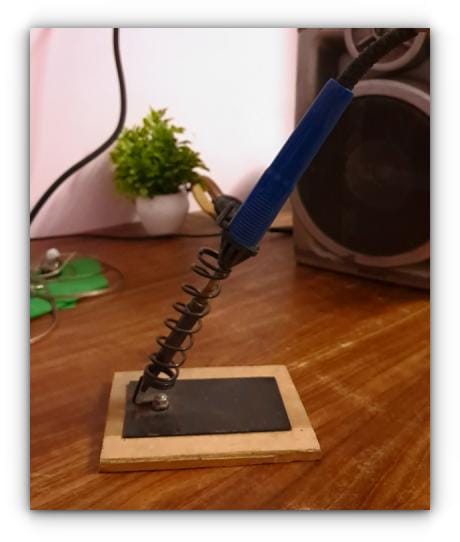
Soldering Iron: This was my first time using a soldering iron, and let’s just say my initial attempts were far from perfect. I used it to solder the speaker wires to the amplifier, which was crucial for connecting the entire system.
12V 2A Power Supply: To power the DAC/amplifier, I used a 12V 2A adapter. Make sure your power supply matches the specifications of your DAC module for safe and efficient operation.
3.5mm Audio Cable: This was used to connect the amplifier’s audio output to the Raspberry Pi’s 3.5mm jack.
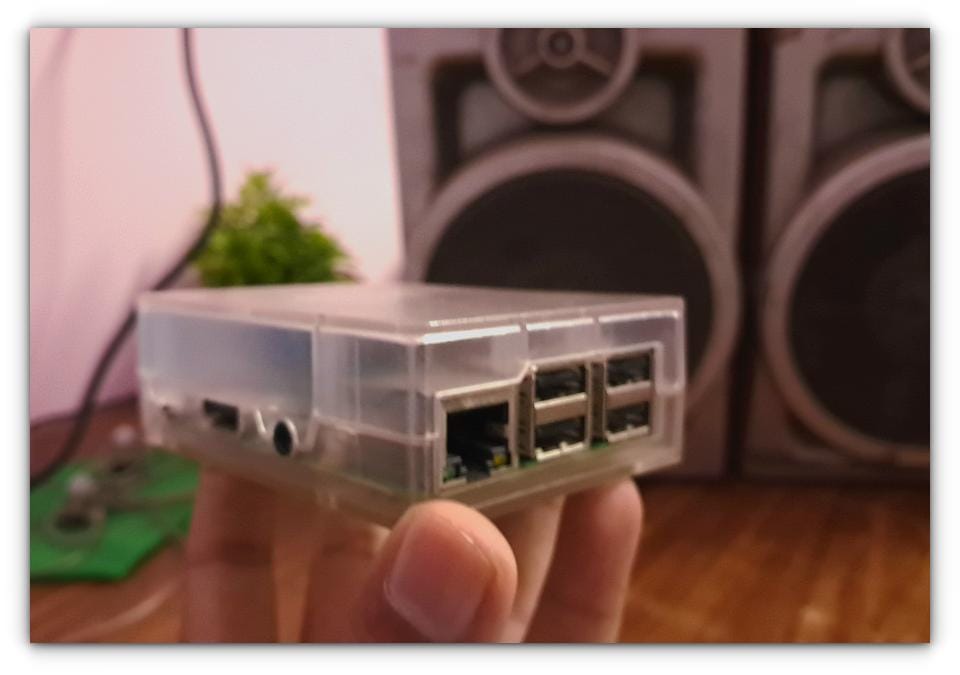
Raspberry Pi 3: I used an old Raspberry Pi 3 that I had lying around. Any Raspberry Pi model with a 3.5mm jack will work for this project, but if you have a newer model with HDMI-only output, additional configuration may be required.
With these items in hand, I was ready to transform my speakers into a powerful Bluetooth system.
If you’re planning to try or follow along this project, you should likely already have some of these components at home, making it a cost-effective way to repurpose old equipment.
Connecting the DAC/amplifier with the Speakers
The amplifier I ordered didn’t come with convenient connectors, so I had to get my hands dirty—literally.
I rummaged through my dad’s toolbox and found an old soldering iron, which I hadn’t used before. After watching a couple of quick tutorials online, I felt brave enough to give it a shot.
Soldering the speaker wires to the amplifier wasn’t as straightforward as I had imagined. But after a few tries, and a lot of patience, I managed to secure the wires in place.
Before closing the speaker lids, I decided to test the connection directly. I powered up the amplifer, connected it to the speakers, and played some music through a temporary audio input.
To my relief, sound filled the room. It wasn’t perfect yet, but it was enough to confirm that my soldering job worked.
With the amplifier connected, I was ready to move on to the next part of the build!
Adding Bluetooth functionality with Raspberry Pi
There are countless guides and projects for turning a Raspberry Pi into a Bluetooth receiver, but I stumbled upon a GitHub project that stood out for its simplicity. It is called Raspberry Pi Audio Receiver.
The project had a script that automated the entire setup process, including installing all necessary dependencies. Here’s how I did it:
Download the Installation Script
First, I downloaded the script directly from the GitHub repository:
wget https://raw.githubusercontent.com/nicokaiser/rpi-audio-receiver/main/install.sh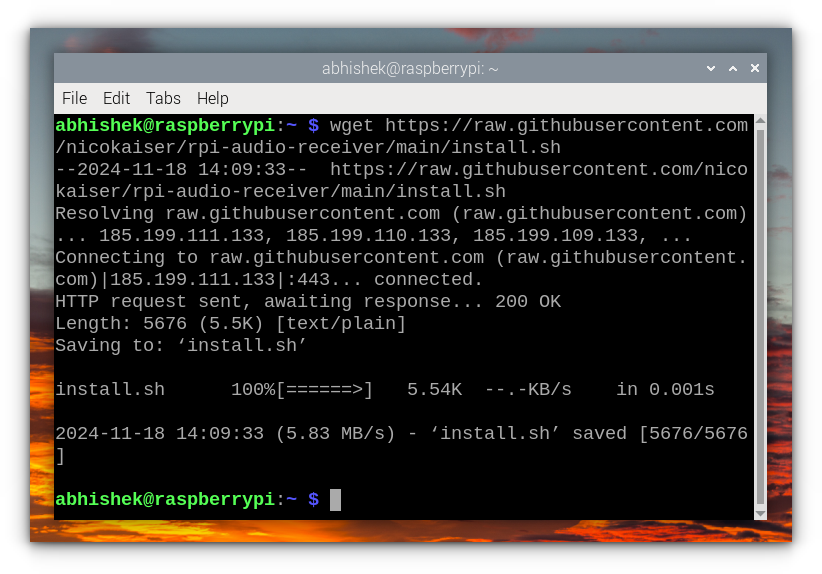
Run the Script
bash install.sh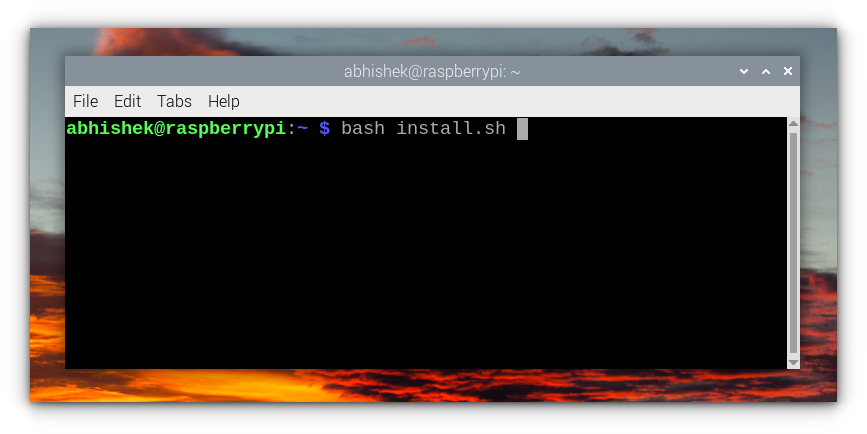
For first-timers or DIY enthusiasts new to this, the installation screen might seem a bit overwhelming. You’ll be prompted several times to install various components and make decisions about the setup.
Don’t worry, I’ll break down what’s happening so you can follow along with confidence.
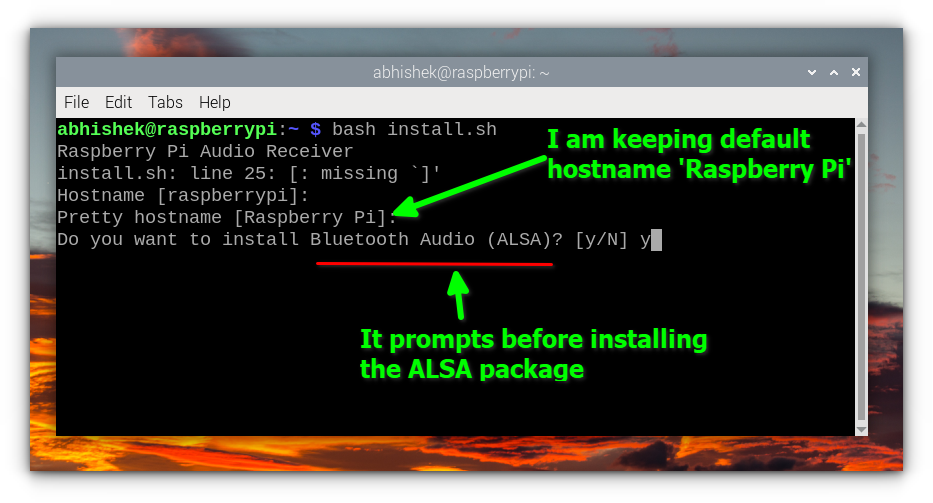
Hostname:
The script lets you set up the hostname (the internal name for your Raspberry Pi) and a visible device name (referred to as the "pretty hostname").
This visible name is what other devices will see when connecting via Bluetooth, AirPlay, or Spotify Connect. For example, you could name it something like DIY-Speakers.
Bluetooth Configuration:
The script installs Bluetooth-related packages and sets up an agent to accept all incoming connections.
The Pi is configured to play audio via ALSA (Advanced Linux Sound Architecture), and a smart script disables Bluetooth discoverability whenever the Pi is connected to a device.
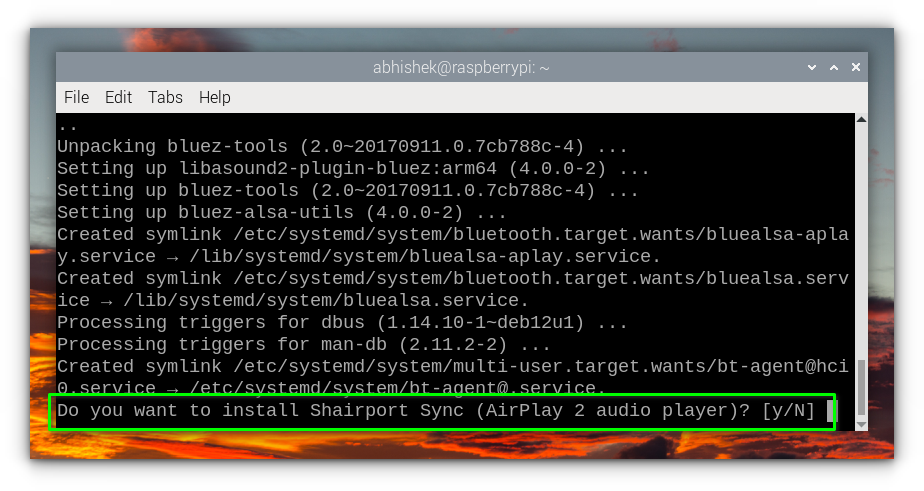
AirPlay 2 Setup:
This feature installs Shairport Sync, allowing the Raspberry Pi to act as an AirPlay 2 receiver. It’s perfect for Apple users who want to stream music directly from their devices.
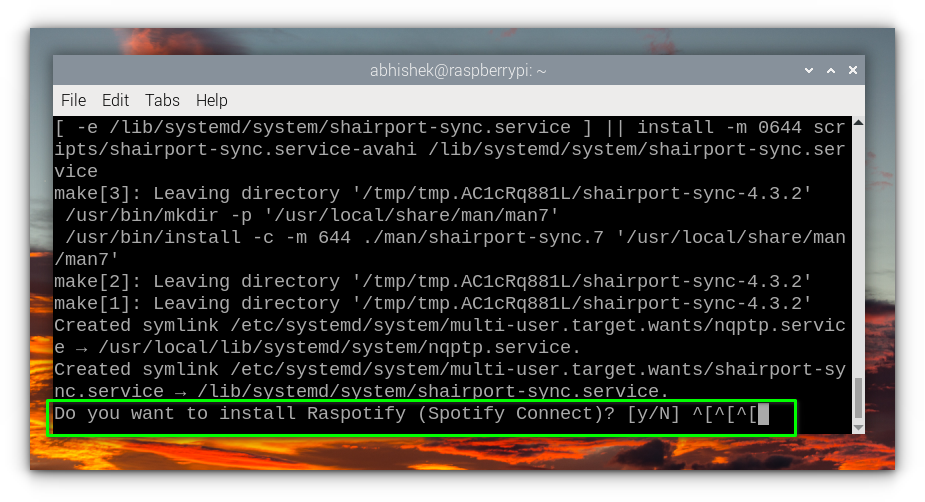
Spotify Connect:
Finally, the script installs Raspotify, an open-source Spotify client for Raspberry Pi. This enables the Raspberry Pi to act as a Spotify Connect device, letting you stream music straight from the Spotify app on your phone or computer.
Each step is straightforward, but you’ll need to be present during the installation to approve certain steps and provide input.
This process takes about 5 minutes to complete, but once done, your Raspberry Pi transforms into a multi-functional audio receiver, supporting Bluetooth, AirPlay 2, and Spotify Connect.
Testing the DIY Bluetooth speakers
With the hardware setup complete and the Raspberry Pi configured as a Bluetooth audio receiver, it was time for the moment of truth - testing the DIY speakers.
The goal was to see how well this entire setup performed and whether all the effort I put in was worth it.
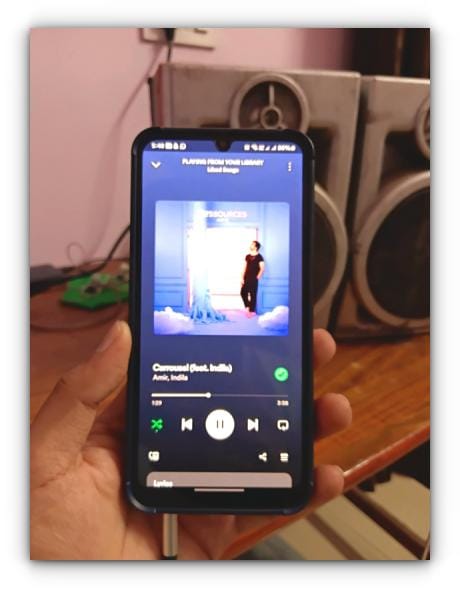
To test the system, I decided to connect the speakers to my smartphone via Bluetooth.
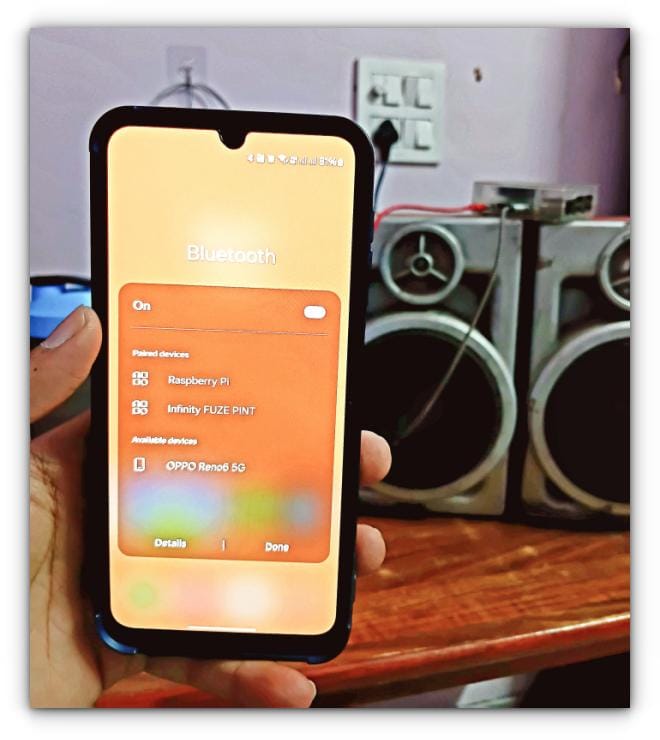
After pairing, I opened my music app and selected a random song to play. The sound flowed seamlessly through the speakers.
I’ll admit, hearing music come out of the old hi-fi speakers felt incredibly rewarding. It was proof that all the soldering, scripting, and configuring had paid off.
How did It perform?
- Audio Quality: The sound quality was surprisingly good for a DIY setup. The amplifier delivered clear audio with no noise, and the hi-fi speakers held up well despite being unused for a long time.
- Bluetooth Range: The range was decent since my Pi is in this plastic enclosure, I could move around my room and still maintain a stable connection.
- Responsiveness: There was no noticeable delay or lag in audio playback, whether I streamed music or used Spotify Connect.
Final thoughts
This project was a blend of frustration, curiosity, and pure DIY joy. What started as an attempt to salvage some old, forgotten hi-fi speakers turned into a rewarding learning experience.
From figuring out how to solder for the first time (and not doing a great job) to repurposing my old Raspberry Pi 3 as a Bluetooth receiver, every step had its challenges but that’s what made it so satisfying.
The best part? Hearing music blast through those old speakers again, knowing I brought them back to life with a bit of effort and creativity.
It’s proof that you don’t always need to spend a fortune to enjoy modern tech; sometimes, all it takes is what you already have lying around and a willingness to tinker.
If you’ve got old speakers collecting dust, I highly recommend giving this a shot. It’s not just about the outcome; the journey itself is worth it.
💬 And if you did something like this in your home setup, please share it in the comments. I and other readers may get some interesting ideas for the next weekend projects.

