

If you’ve got a Raspberry Pi, you’ve probably noticed those small rows of pins on the edge of the board - these are the GPIO (General Purpose Input/Output) pins.
They’re one of the most exciting features of the Raspberry Pi, giving you the ability to interact with a wide range of electronics, from simple LEDs to complex sensors and devices.
But before you dive in, let's take a closer look at each pin, its layout, and its specific function to ensure you're well-prepared for your project.
Raspberry Pi GPIO Pin Layout: A Closer Look
Most Raspberry Pi models, from the B+ to the latest Pi 5, come equipped with 40 GPIO pins.
If you're working with an older Raspberry Pi, like the original Model B, you’ll only have 26 pins.
But don’t worry, the layout of the 40-pin models has remained consistent across the years.
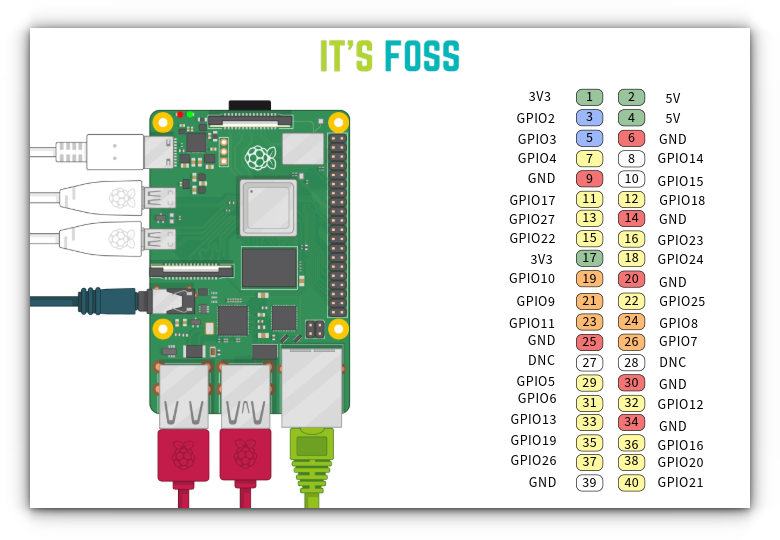
Here’s a quick breakdown of what these pins are and how they work:
- GPIO Pins: These are the general-purpose pins you can program to turn things on and off, like an LED. They don’t have any preset function until you define one.
- Power and GND Pins: Power pins pull electricity directly from your Pi, while GND (Ground) pins complete the circuit. Ground pins are all connected, so it doesn’t matter which one you use.
So, we’ve covered the physical GPIO pins and what they do, but how do you actually communicate with devices using these pins?
That’s where data protocols come in.
These protocols like I2C, SPI, and UART - are the methods your Raspberry Pi uses to talk to different components connected to those physical pins.
Here’s how it works:
- I2C Pins: I2C is a protocol for connecting multiple devices using just two pins. Think of it like a communication system between your Pi and other modules, like temperature sensors.
- SPI Pins: Another communication protocol, but this one’s a bit faster than I2C. SPI (Serial Peripheral Interface) is often used for devices like LCD screens.
- UART Pins: If you need to talk to another device via serial communication, you’ll use these pins.
Configuring the GPIO Pins
Now that we know what the pins do, let’s talk about getting them ready for action.
Raspberry Pi OS makes working with the GPIO pins straightforward, but there are a few steps to ensure everything works smoothly.
Update your Pi
Before you do anything else, it’s always good practice to update your Raspberry Pi to the latest software versions.
This ensures you’re working with the most stable and secure setup:
sudo apt update && sudo apt full-upgrade -yStep 2: Installing the GPIO Package
If you’re new to working with GPIO, you might need to install the necessary package.
This will allow you to control the pins via Python or other programming languages:
sudo apt install rpi.gpio
Once installed, you’re ready to start using the GPIO pins to control electronics and devices.
Configuring I2C and SPI Pins
For more advanced projects, you may need to enable the I2C or SPI protocols. Thankfully, enabling these is a breeze.
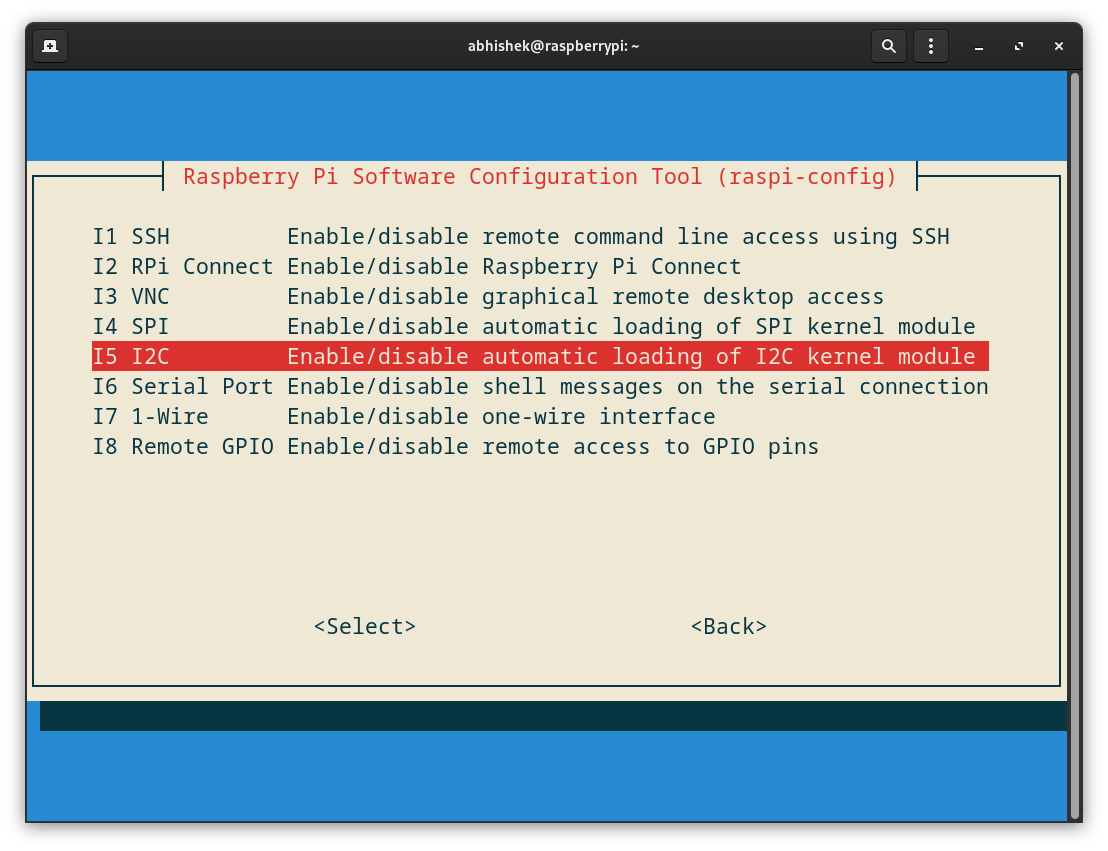
For I2C
Open the Raspberry Pi configuration tool:
sudo raspi-configGo to "Interface Options" and enable I2C.
After a reboot, your Pi will be ready to communicate with I2C devices.
For SPI
In the same raspi-config menu, go to "Interface Options" and enable SPI.
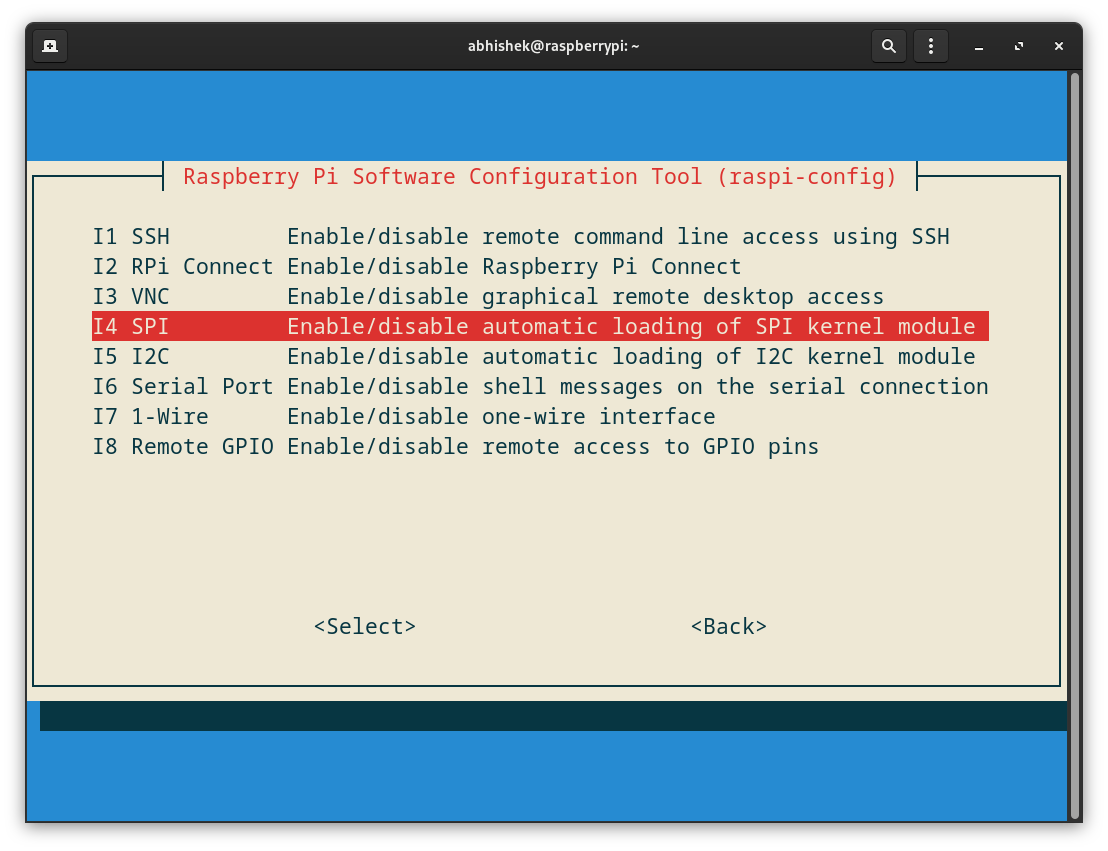
Reboot is required.
Project Ideas and Inspiration
Now that you understand the GPIO pins and communication protocols, let’s dive into some exciting projects you can create with your Raspberry Pi.
For Beginners
If you’re just starting out, these projects will help you get comfortable with GPIO pins and basic programming.
- Control LEDs
A perfect first step to understanding GPIO pins. You’ll learn how to control LEDs and gradually build up to more complex patterns. - Temperature and Humidity Monitor
Connect a simple sensor via I2C and write code to display real-time temperature and humidity data.
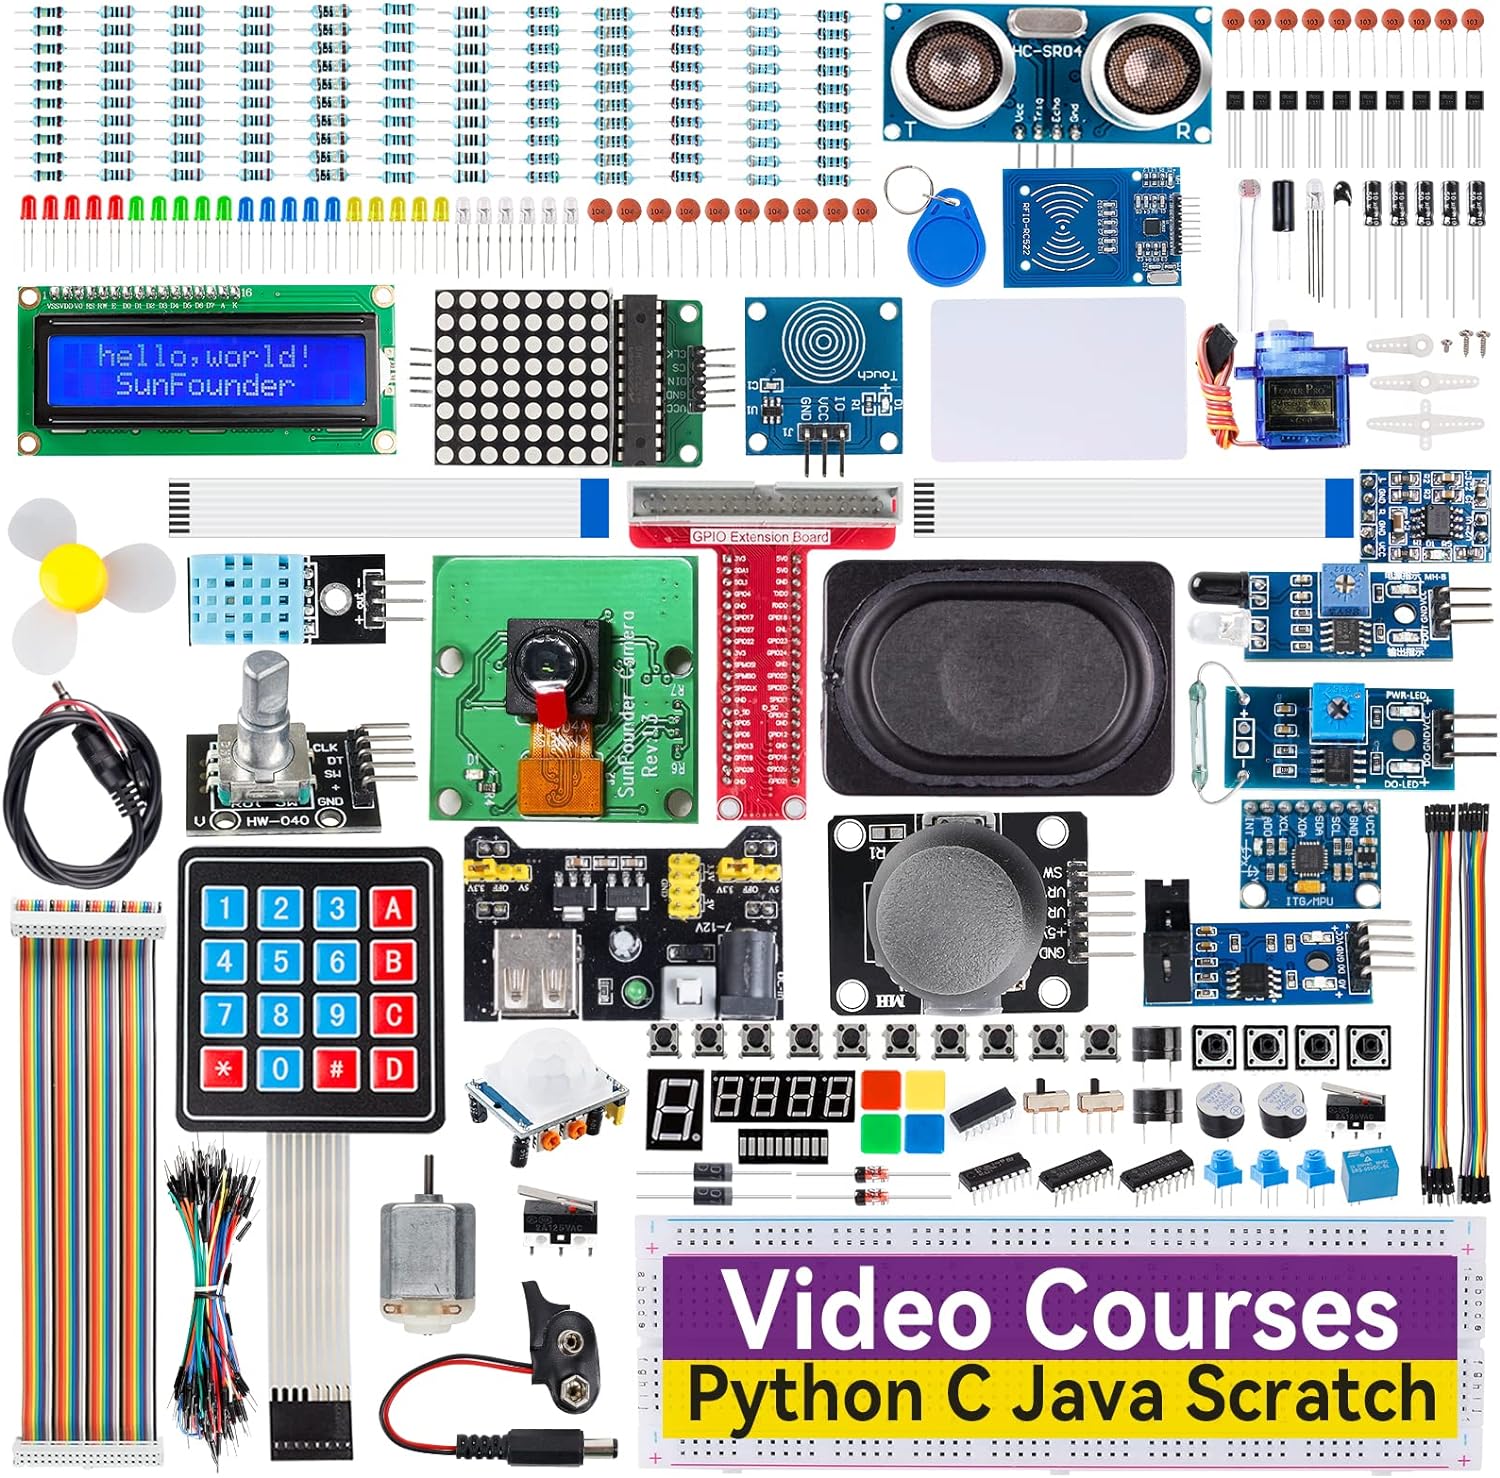
You can check out these Pi starter kits by SunFounder for your kids. They have everything a kid will need to start out.

For more Advance Users
Once you're comfortable with basic GPIO projects, these ideas will push your skills further, introducing more components and complex setups:
- Create a Home Automation System
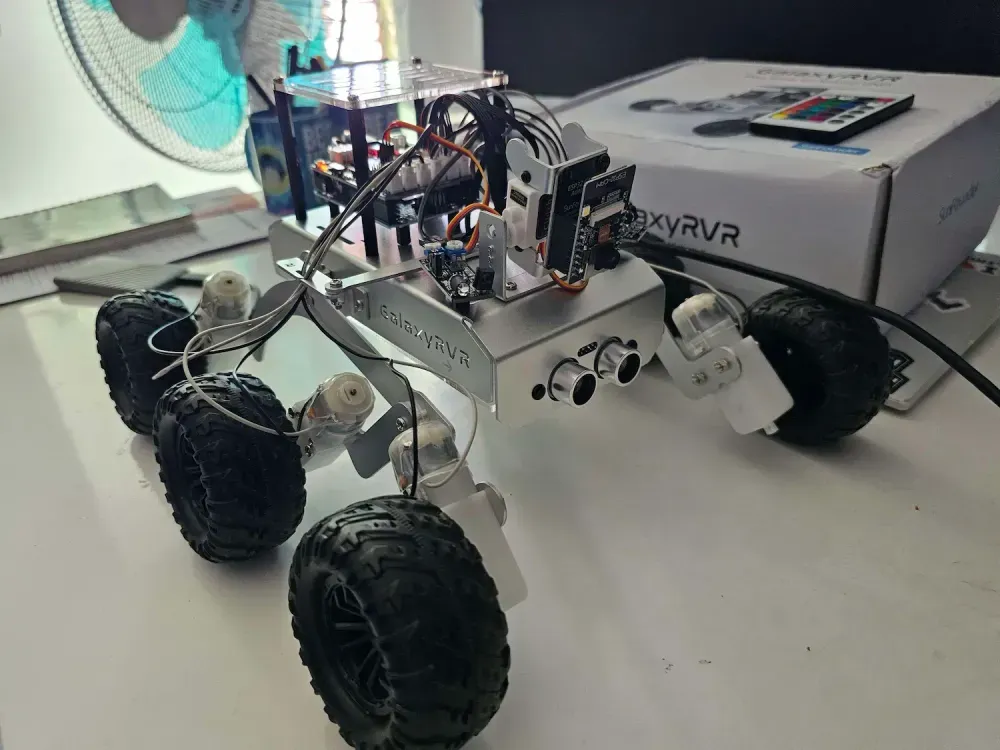
Use relays and GPIO to control lights or appliances around your home all while running Home Assistant to manage your entire smart home setup. - Build a Robot
Use motors, sensors, and remote controls to build a robot. For inspiration, check out Abhishek’s adventure in building his own Mars Rover. While his project was Arduino-based, you can easily create something similar with Raspberry Pi and customize it to your own theme!
Final Thoughts
The GPIO pins open up a world of possibilities with Raspberry Pi.
Whether you’re just turning an LED on and off or building an intricate project with multiple sensors, understanding the pin layout and how to configure them is the first step toward success.
And remember, with a little care and the right setup, you’ll be able to unlock the full potential of your Raspberry Pi without risking burnout!
Happy tinkering!

