
As regular It’s FOSS readers should know, I like diving into the world of BSDs. Recently, I came across an interesting BSD that is designed to live on a thumb drive. Let’s take a look at NomadBSD.
What is NomadBSD?
NomadBSD is different than most available BSDs. NomadBSD is a live system based on FreeBSD. It comes with automatic hardware detection and an initial config tool. NomadBSD is designed to “be used as a desktop system that works out of the box, but can also be used for data recovery, for educational purposes, or to test FreeBSD’s hardware compatibility.”
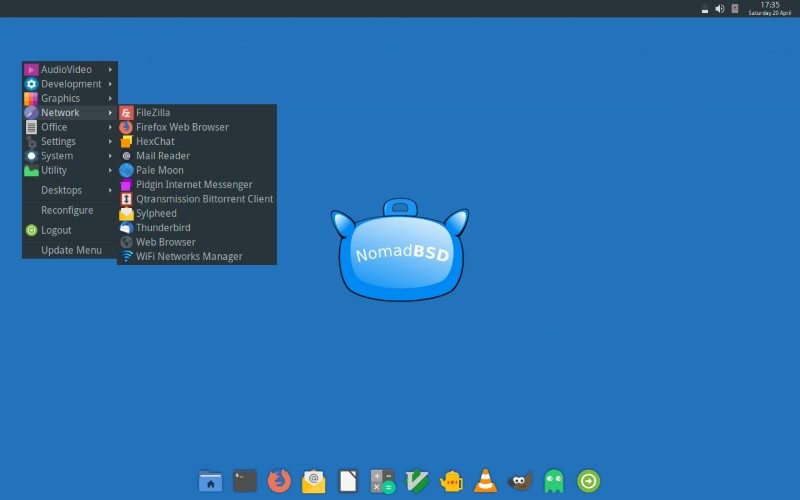
This German BSD comes with an OpenBox-based desktop with the Plank application dock. NomadBSD makes use of the DSB project. DSB stands for “Desktop Suite (for) (Free)BSD” and consists of a collection of programs designed to create a simple and working environment without needing a ton of dependencies to use one tool. DSB is created by Marcel Kaiser one of the lead devs of NomadBSD.
Just like the original BSD projects, you can contact the NomadBSD developers via a mailing list.
[irp posts=”40372″]
Included Applications
NomadBSD comes with the following software installed:
- Thunar file manager
- Asunder CD ripper
- Bash 5.0
- Filezilla FTP client
- Firefox web browser
- Fish Command line
- Gimp
- Qpdfview
- Git
- Hexchat IRC client
- Leafpad text editor
- Midnight Commander file manager
- PaleMoon web browser
- PCManFM file manager
- Pidgin messaging client
- Transmission BitTorrent client
- Redshift
- Sakura terminal emulator
- Slim login manager
- Thunderbird email client
- VLC media player
- Plank application dock
- Z Shell
You can see a complete of the pre-installed applications in the MANIFEST file.
Version 1.2 Released
NomadBSD recently released version 1.2 on April 21, 2019. This means that NomadBSD is now based on FreeBSD 12.0-p3. TRIM is now enabled by default. One of the biggest changes is that the initial command-line setup was replaced with a Qt graphical interface. They also added a Qt5 tool to install NomadBSD to your hard drive. A number of fixes were included to improve graphics support. They also added support for creating 32-bit images.
[irp posts=”30426″]
Installing NomadBSD
Since NomadBSD is designed to be a live system, we will need to add the BSD to a USB drive. First, you will need to download it. There are several options to choose from: 64-bit, 32-bit, or 64-bit Mac.
You will be a USB drive that has at least 4GB. The system that you are installing to should have a 1.2 GHz processor and 1GB of RAM to run NomadBSD comfortably. Both BIOS and UEFI are supported.
All of the images available for download are compressed as a .lzma file. So, once you have downloaded the file, you will need to extract the .img file. On Linux, you can use either of these commands: lzma -d nomadbsd-x.y.z.img.lzma or xzcat nomadbsd-x.y.z.img.lzma. (Be sure to replace x.y.z with the correct file name you just downloaded.)
Before we proceed, we need to find out the id of your USB drive. (Hopefully, you have inserted it by now.) I use the lsblk command to find my USB drive, which in my case is sdb. To write the image file, use this command sudo dd if=nomadbsd-x.y.z.img of=/dev/sdb bs=1M conv=sync. (Again, don’t forget to correct the file name.) If you are uncomfortable using dd, you can use Etcher. If you have Windows, you will need to use 7-zip to extract the image file and Etcher or Rufus to write the image to the USB drive.
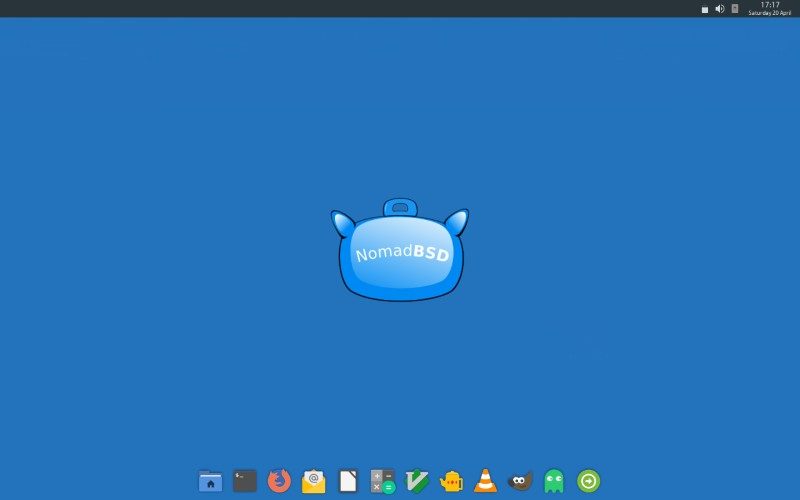
When you boot from the USB drive, you will encounter a simple config tool. Once you answer the required questions, you will be greeted with a simple Openbox desktop.
Thoughts on NomadBSD
I first discovered NomadBSD back in January when they released 1.2-RC1. At the time, I had been unable to install Project Trident on my laptop and was very frustrated with BSDs. I downloaded NomadBSD and tried it out. I initially ran into issues reaching the desktop, but RC2 fixed that issue. However, I was unable to get on the internet, even though I had an Ethernet cable plugged in. Luckily, I found the wifi manager in the menu and was able to connect to my wifi.
Overall, my experience with NomadBSD was pleasant. Once I figured out a few things, I was good to go. I hope that NomadBSD is the first of a new generation of BSDs that focus on mobility and ease of use. BSD has conquered the server world, it’s about time they figured out how to be more user-friendly.
[interaction id=”5cc2898b2ea93cfffc0b5868″]
Have you ever used NomadBSD? What is your BSD? Please let us know in the comments below.
If you found this article interesting, please take a minute to share it on social media, Hacker News or Reddit.
