
Usually, I dual boot Ubuntu and Windows but this time I decided to go for a clean Ubuntu installation, i.e., eliminating Windows completely.
After the clean install of Ubuntu, I ended up with a screen saying no bootable device found instead of the Grub screen. Clearly, the installation messed up with the UEFI boot settings.
My laptop screen looked like this:
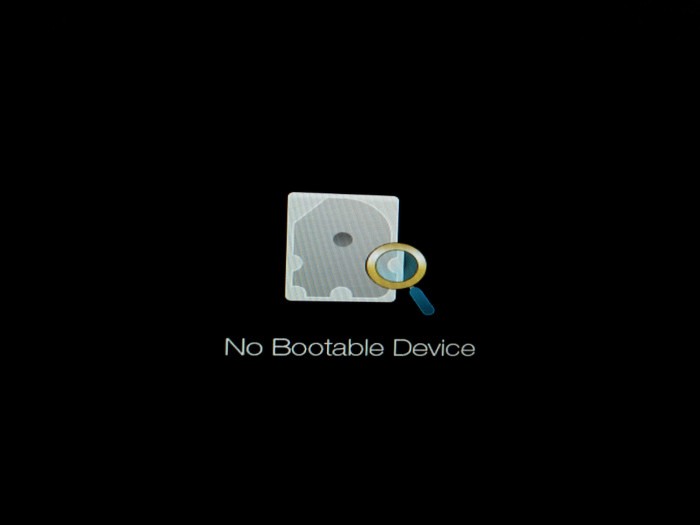
I am going to show you how I fixed no bootable device found error after installing Ubuntu in Acer laptops. It is important that I mention that I am using Acer Aspire R13 because we have to change things in firmware settings and those settings might look different from manufacturer to manufacturer and from device to device.
So before you go on trying the steps mentioned here, let’s first see what state my computer was in during this error:
- My Acer Aspire R13 came preinstalled with Windows and with UEFI boot manager
- Secure boot was not turned off (my laptop has just come from repair and the service guy had put the secure boot on again, I did not know until I ran up in the problem). You can read this post to know how to disable secure boot in Acer laptops
- I chose to install Ubuntu by erasing everything i.e. existing Windows, various partitions etc.
- After installing Ubuntu, I saw no bootable device found error while booting from the hard disk. Booting from live USB worked just fine
In my opinion, not disabling the secure boot was the reason of this error. However, I have no data to backup my claim. It is just a hunch. Interestingly, dual booting Windows and Linux often ends up in common Grub issues like these two:
If you are in a similar situation, you can try the fix which worked for me.
Fix no bootable device found error after installing Ubuntu
Pardon me for poor quality images. My OnePlus camera seems to be not very happy with my laptop screen.
Step 1
Turn the power off and boot into boot settings. I had to press Fn+F2 (to press F2 key) on Acer Aspire R13 quickly. You have to be very quick with it if you are using SSD hard disk because SSDs are very fast in booting. Depending upon your manufacturer/model, you might need to use Del or F10 or F12 keys.
Step 2
In the boot settings, make sure that Secure Boot is turned on. It should be under the Boot tab.
Step 3
Go to Security tab and look for “Select an UEFI file as trusted for executing” and click enter.
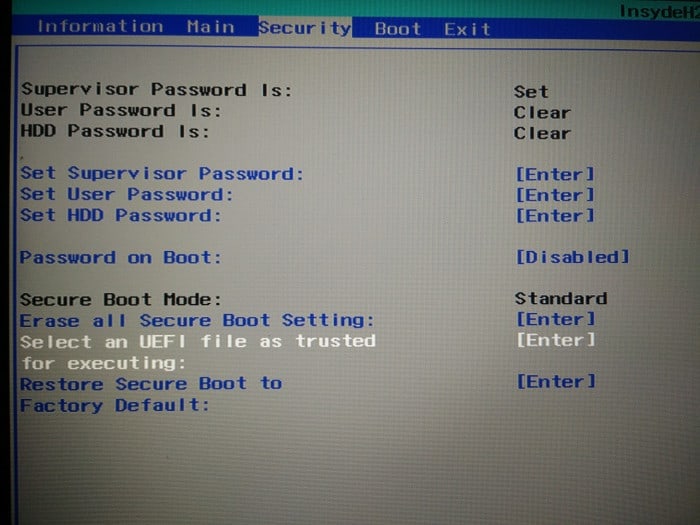
Just for your information, what we are going to do here is to add the UEFI settings file (it was generated while Ubuntu installation) among the trusted UEFI boots in your device. If you remember, UEFI boot’s main aim is to provide security and since Secure Boot was not disabled (perhaps) the device did not intend to boot from the newly installed OS. Adding it as trusted, kind of whitelisting, will let the device boot from the Ubuntu UEFI file.
Step 4
You should see your hard disk like HDD0 etc here. If you have more than one hard disk, I hope you remember where did you install Ubuntu. Press Enter here as well.

Step 5
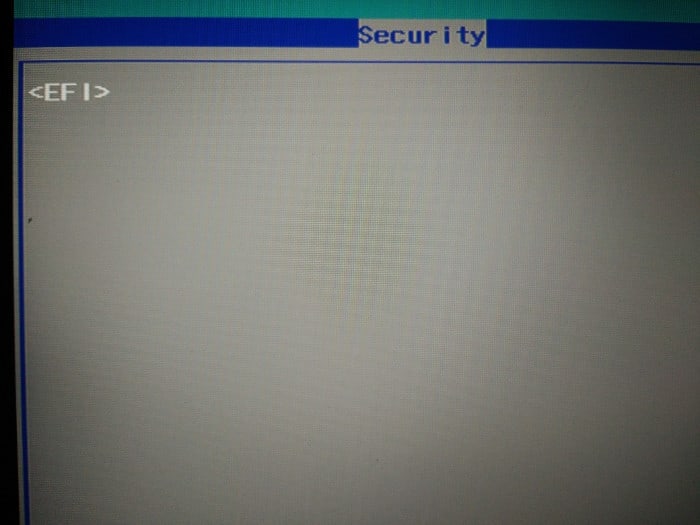
You should see <EFI> here. Press enter.
Step 6
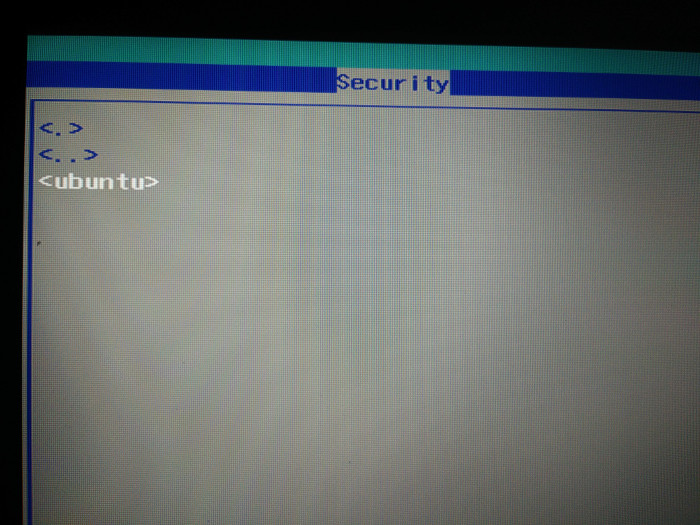
You’ll see <Ubuntu> in next screen. Don’t get impatient, you are almost there :)
Step 7
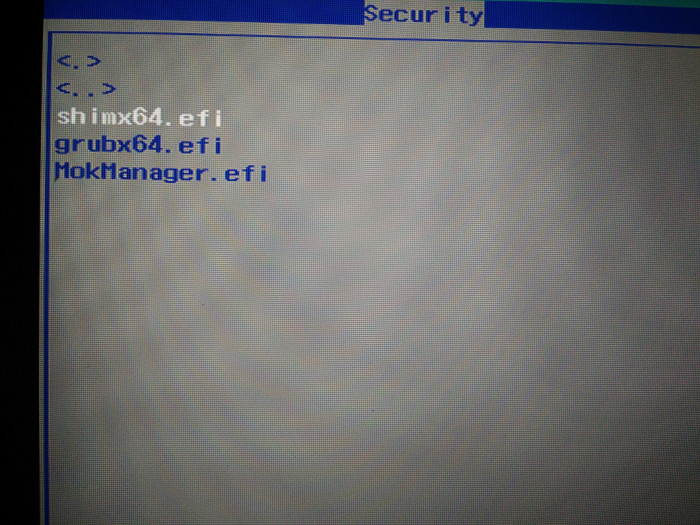
You’ll see shimx64.efi, grubx64.efi and MokManager.efi file here. The important one is shimx64.efi here. Select it and click enter.
In next screen, type Yes and click enter.
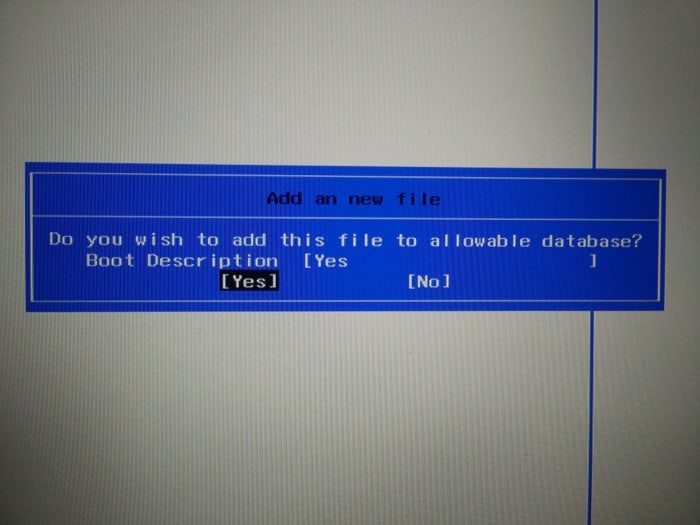
Step 8
Once we have added it as trused EFI file to be executed, press F10 to save and exit.
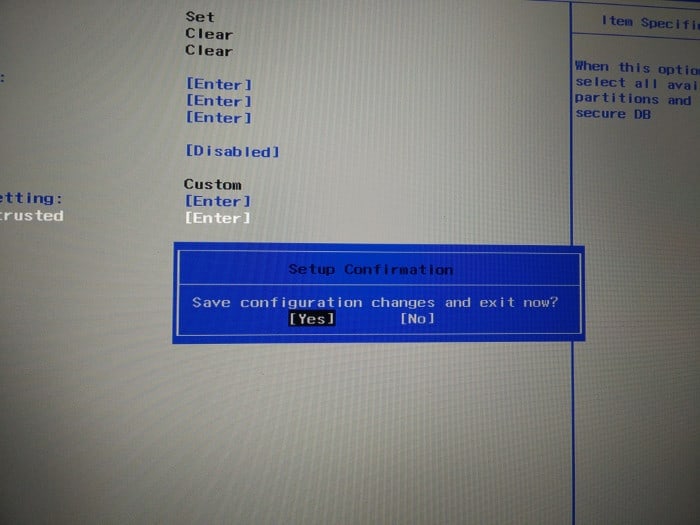
Reboot your system and this time you should be seeing the familiar Grub screen. Even if you do not see Grub screen, you should at least not be seeing “no bootable device found” screen anymore. You should be able to boot into Ubuntu.
If your Grub screen was messed up after the fix but you got to login into it, you can reinstall Grub to boot into the familiar purple Grub screen of Ubuntu.
I hope this tutorial helped you to fix no bootable device found error. Any questions or suggestions or a word of thanks is always welcomed.

