

PyCharm is considered one of the best Python IDE by Python experts.
The IDE comes in professional and community editions.
- The community edition is free of cost
- The professional edition costs money but has more features.
The full list of features can be found here. You can read this comparison between professional and community editions to decide which version suits you.
The installation steps are pretty much the same for all PyCharm editions.
Method 1: Install PyCharm in Ubuntu and other Linux using Snap [Easy]
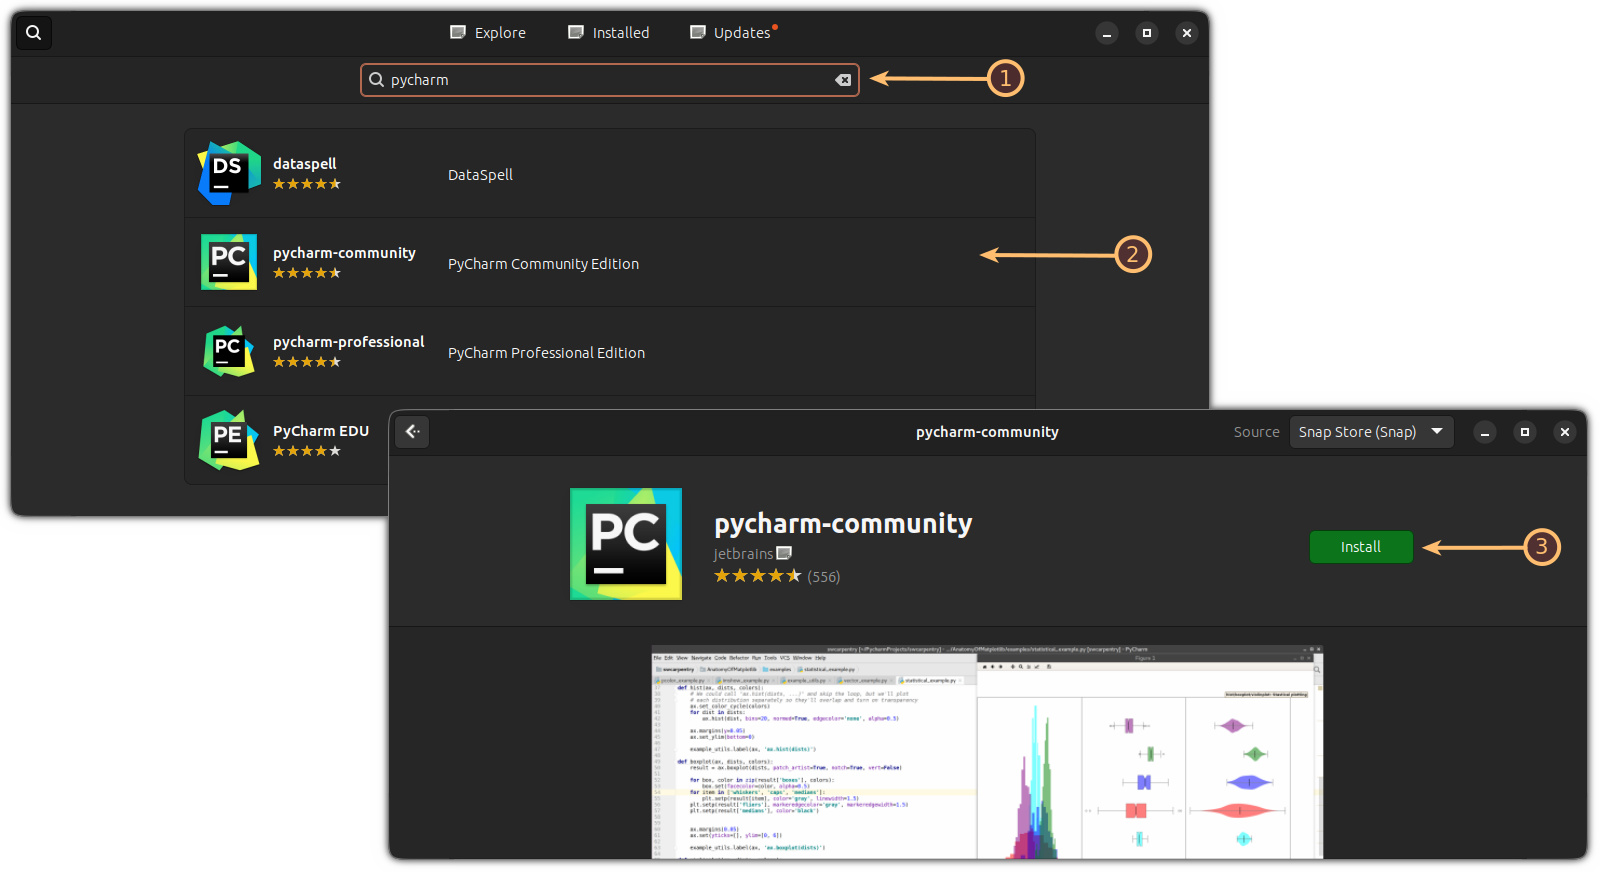
The good news is that PyCharm is available in the Ubuntu Software Center as a Snap package. This means that you can search for it in the software center and install it from there.
If you are using some other Linux distribution, enable snap support first and then use the snap command to install the PyCharm Community Edition:
sudo snap install pycharm-community --classic
Remove PyCharm
If you wish to remove the snap version of PyCharm, all you have to do is use the following command:
sudo snap remove pycharm-community
Method 2: Install PyCharm using official Linux installer from JetBrains [Intermediate level]
If you do not like Snap packages, there are other ways to install PyCharm. PyCharm provides an installer for Linux and I am going to show you how to use it.
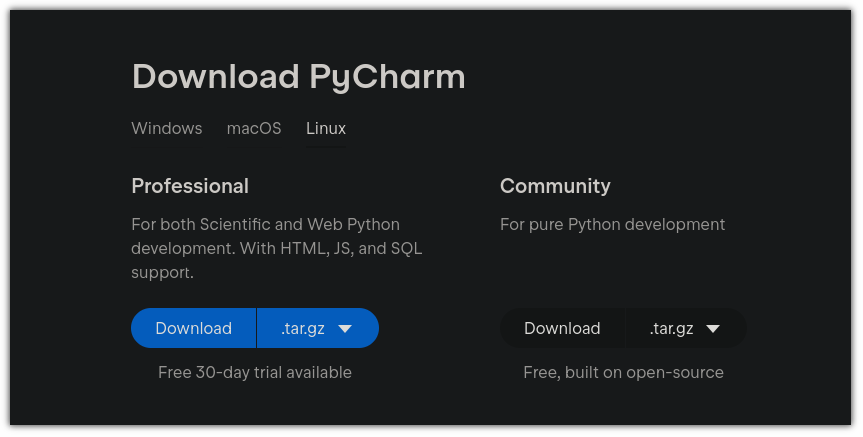
Go to the PyCharms Download page and download the tar.gz files for either the Professional or Community version. I am using the Community version in the tutorial:
Once done, open the terminal and change your current working directory to the Downloads or that specific directory where the file is downloaded:
cd ~/DownloadsNow extract the tar gz file using the tar command in this way
tar -xzf pycharm-community-*.gzNow enter the extracted PyCharm folder:
cd pycharm-community-*Go to its bin folder:
cd binYou’ll find a shell script here. Make it executable using the chmod command as shown:
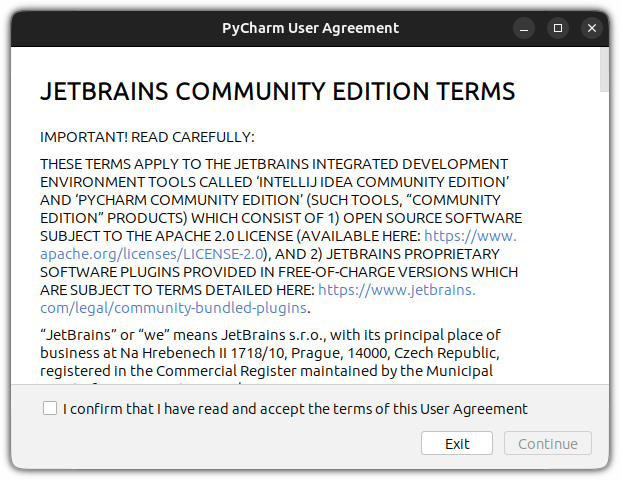
chmod u+x pycharm.shsh pycharm.shIt will start the PyCharm privacy and policy page. Click on the accept button to get further in the process:
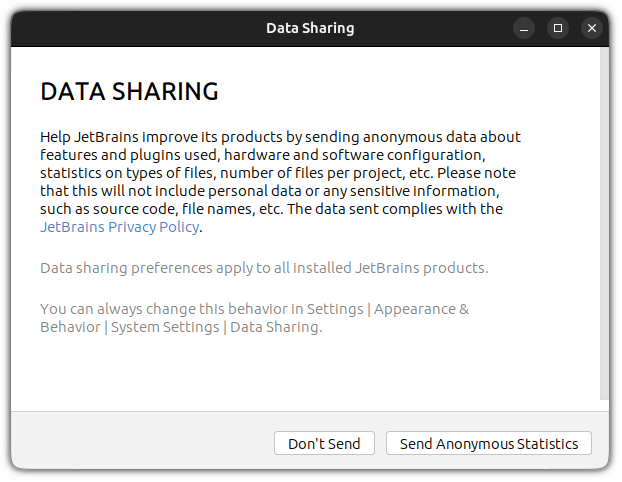
Then JetBrains will ask whether you would like to send data about features, plugins, and other data.
If you wish to send the data, you can hit the “Send Anonymous Statistics” button, or you can click on the “Don’t Send” button:
Yep, that's all it takes to install PyCharm.
But creating a desktop shortcut is a good idea here as no one would want to open the terminal and start the PyCharm manually.
To do so, click on that little gear icon and select Create desktop entry:
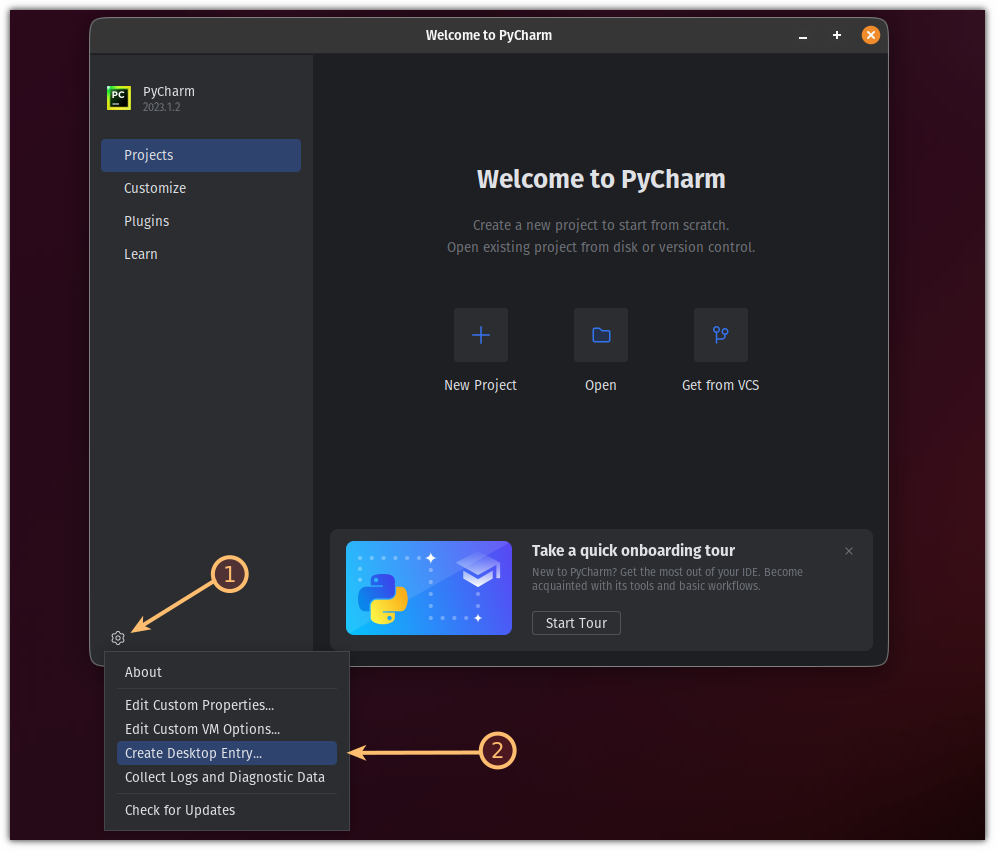
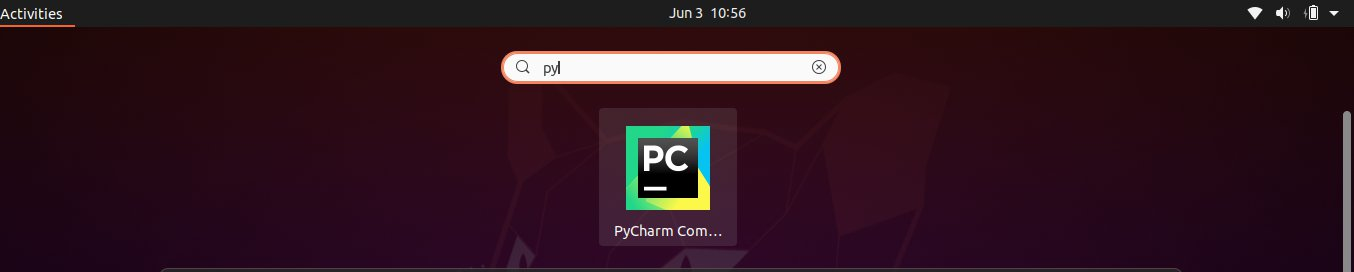
And it will add the PyCharm entry to the system menu and can be accessed easily:
Remove PyCharm
To remove the PyCharm (if installed manually), first, go to the directory where you extracted the .tar.gz file while installation.
For most users, it should be inside the Downloads directory:
cd Downloads
Now, remove this directory using the rm command as shown:
rm -r pycharm-community-2023.1.2That should remove the PyCharm from your system.
But I would recommend removing the other three directories so that you can have a fresh install (if you re-install in the future):
rm -r ~/.config/JetBrains/PyCharmCE2023.1/
rm -r ~/.cache/JetBrains/PyCharmCE2023.1/
rm -r ~/.local/share/JetBrains/consentOptions/
That's it!
Looking for other Python IDEs? Here you go
For some reason, if the PyCharm wasn't good enough for your workflow, we have a dedicated list of the best IDEs for Python:
 Anuj Sharma
I hope you will find this helpful.
If this helped you, consider supporting It's FOSS
It's FOSS has been helping people use Linux for the past 14 years. Help us stay independent from big tech. Become a Plus member, enjoy ad-free reading and get 5 eBooks.
