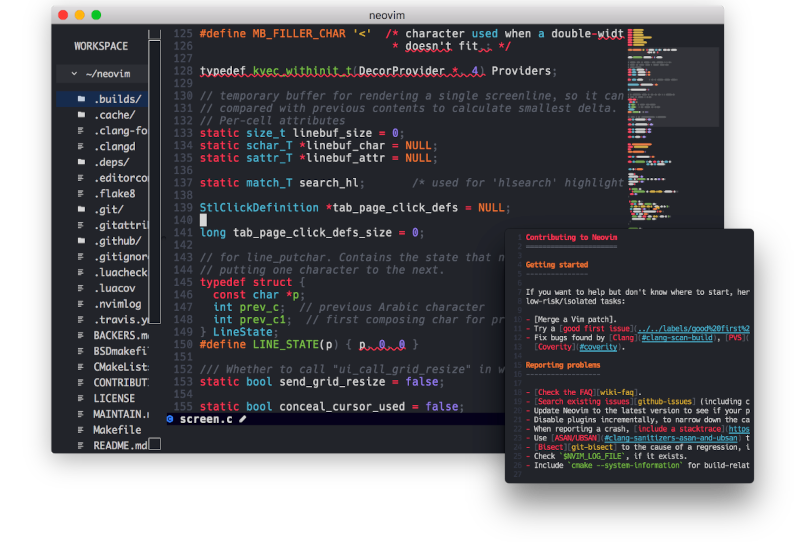
You must have heard about the famous Vim text editor already. However, this article is about its fork, Neovim.
Vim is also a fork of vi which makes Neovim fork of a fork. So, you can end up using anything for some of its unique traits.
If you decide to use Neovim, let me help you get started with it on Ubuntu and other Linux distributions.
Neovim: Overview

Neovim is a project known for its simple maintenance and community contributions. Moreover, the development effort is distributed well between multiple developers.
For end-users, Neovim is much more extensible than one would expect. The aim of Neovim is to provide better applications of it without compromising the traditional capabilities of Vim.
With a GUI for Neovim, you can get an enhanced editing experience.
Suggested Read 📖

Features of Neovim
While you can explore all about it on its official website and its GitHub page. Let me highlight some features:
- Modern Graphical Interfaces
- API access from many language including (C/C++, C#, Go, Haskell, Java/Kotlin, JavaScript/Node.js, Lua, Perl, Python, Ruby, Rust to name a few)
- Embedded, scriptable terminal emulator
- Asynchronous job control
- Shared data among multiple instances
- XDG base directories support
- Compatible with most Vim plugins, including Ruby and Python plugins
Suggested Read 📖

Installing Neovim on Ubuntu and Linux
Installing Neovim is simple due to its popularity. As Neovim is available in official repos of any distribution you pick.
We also have a guide to install Vim on Linux, in case you want that.
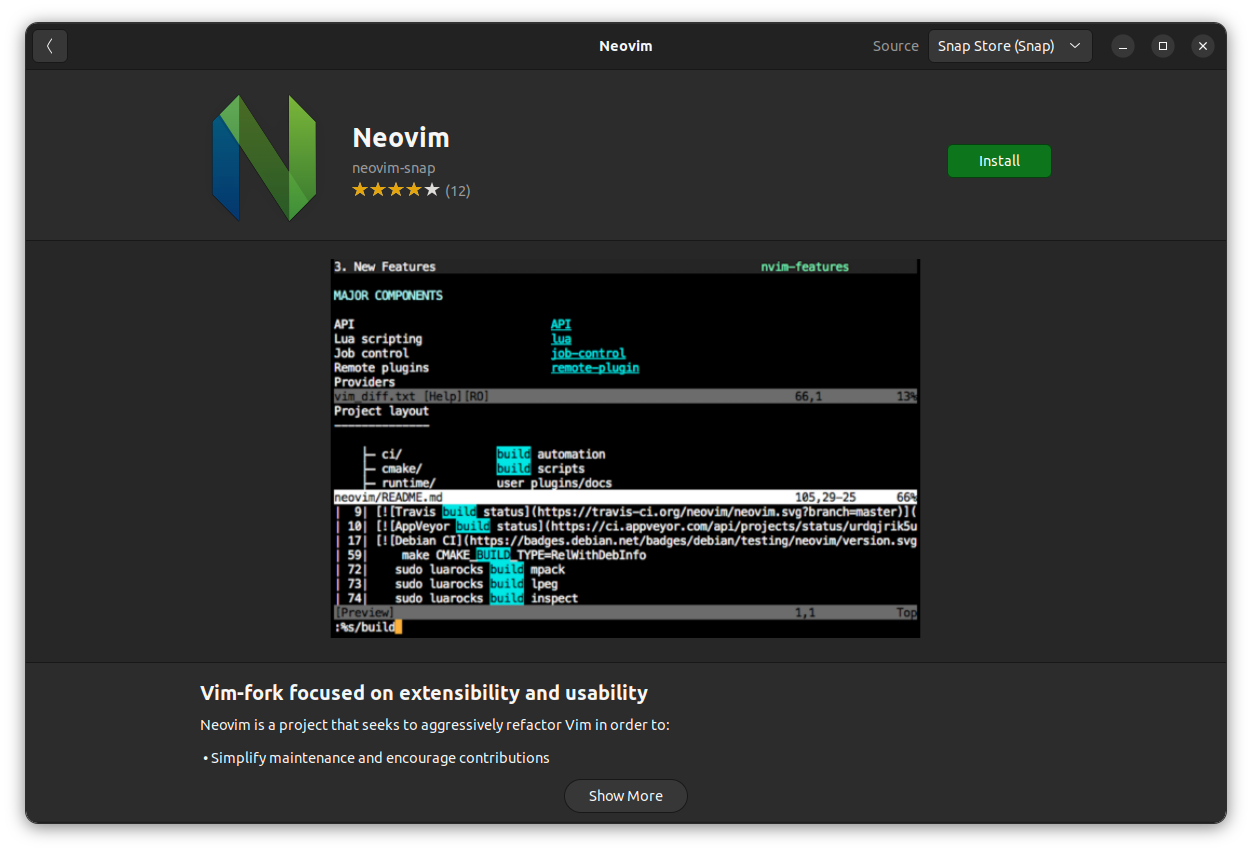
To install Neovim on Ubuntu, just click on the Ubuntu Software icon in the dock. Then, search for Neovim. You can select the snap or the deb version as per your preference. However, the deb package version will be an outdated version of Neovim.

And, if you do not want the snap version, you can grab the latest deb file from the Github releases page for Neovim. If you look closer in the releases page, there is an Appimage file as well.
If you want to utilize the terminal instead of the GUI, here's what you can do:
For Ubuntu and Debian based distributions, enter the following command to install
sudo apt install neovim
For Manjaro and Arch Linux, use the below command to update your system and install Neovim
sudo pacman -Syu neovim
For Fedora, use the following command
sudo dnf install -y neovimTo install the Flatpak, you can use this command
flatpak install flathub io.neovim.nvim
Lastly, to install the snap package use the below command
sudo snap install nvim --classicIf you prefer building software from source, follow the steps given on the project's Github page.
How to use Neovim
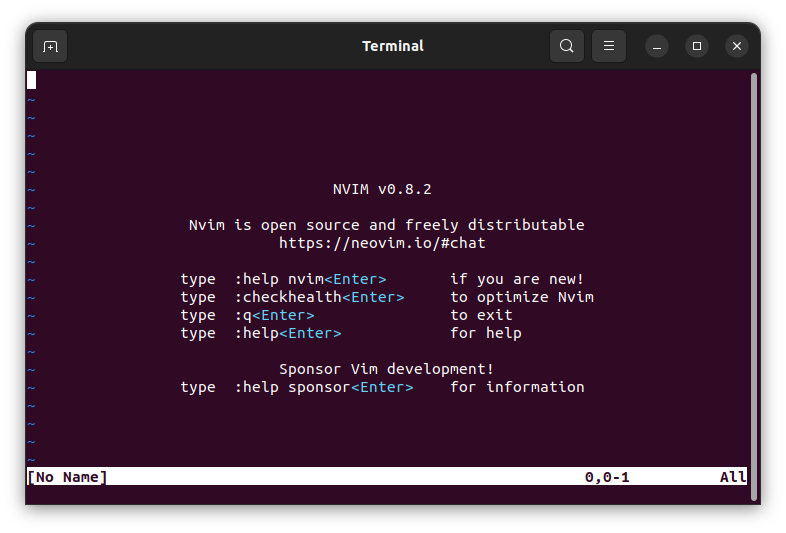
To use Neovim after installation is complete, just launch it from the application menu by pressing the super key and typing the name "neovim" without quotes. This will open a terminal window with Neovim open.

Or you can just open any Terminal Emulator of your choice and enter the following command
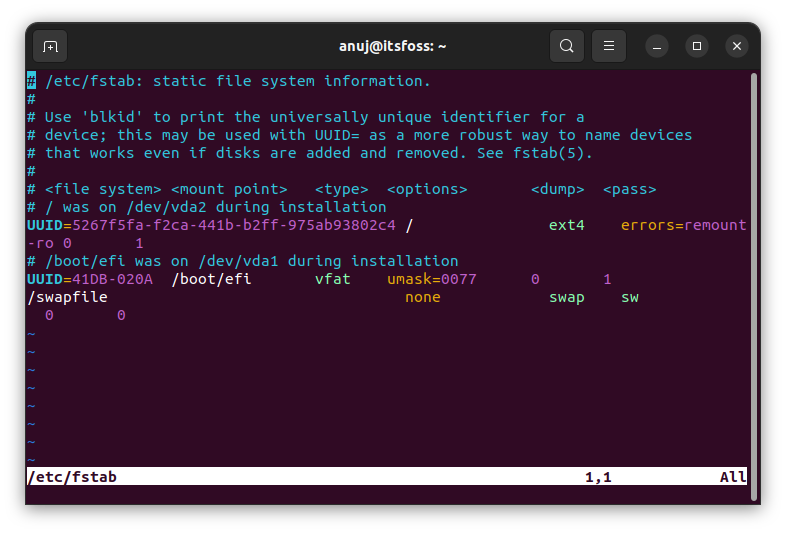
nvimYes, not "neovim" but just "nvim". For example, to edit /etc/fstab enter the following command.
sudo nvim /etc/fstabNow the fstab file will open as shown in the screenshot below.

Don't worry if you cannot exit the editor; press Shift+Z+Z. For example, if this shortcut key confuses, use the keys you need to type "ZZ" (uppercase) without quotes in any text editor.
On that note, I should re-iterate that you need to learn Vim or Neovim and go through the documentation to efficiently make use of all its features.
Conclusion
Installing and launching Neovim is pretty straightforward but learning it will require some keyboard grinding for sure.
This was just an overview of the editor. I am not an expert on this, but I hope this serves well for all the beginners out there!
💬 Do you use Neovim? Share your experience on it in the comments below.


