
Brief: This tutorial teaches you to install MySQL in Ubuntu based Linux distributions. You’ll also learn how to verify your install and how to connect to MySQL for the first time.
MySQL is the quintessential database management system. It is used in many tech stacks, including the popular LAMP (Linux, Apache, MySQL, PHP) stack. It has proven its stability. Another thing that makes MySQL so great is that it is open-source.
MySQL uses relational databases (basically tabular data). It is really easy to store, organize and access data this way. For managing data, SQL (Structured Query Language) is used.
In this article I’ll show you how to install and use MySQL in Ubuntu Linux. Let’s get to it!
Installing MySQL in Ubuntu
I’ll be covering two ways you can install MySQL in Ubuntu 18.04:
- Install MySQL from the Ubuntu repositories. Very basic, not the latest version (5.7)
- Install MySQL using the official repository. There is a bigger step that you’ll have to add to the process, but nothing to worry about. Also, you’ll have the latest version (8.0)
When needed, I’ll provide screenshots to guide you. For most of this guide, I’ll be entering commands in the terminal (default hotkey: CTRL+ALT+T). Don’t be scared of it!
Method 1. Installing MySQL from the Ubuntu repositories
First of all, make sure your repositories are updated by entering:
sudo apt updateNow, to install MySQL 5.7, simply type:
sudo apt install mysql-server -yThat’s it! Simple and efficient.
Method 2. Installing MySQL using the official repository
Although this method has a few more steps, I’ll go through them one by one and I’ll try writing down clear notes.
The first step is browsing to the download page of the official MySQL website.

Here, go down to the download link for the DEB Package.
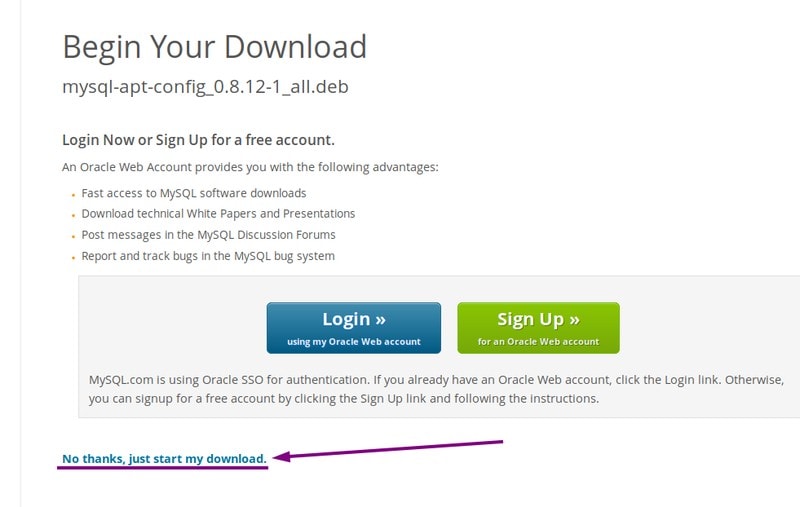
Scroll down past the info about Oracle Web and right-click on No thanks, just start my download. Select Copy link location.
Now go back to the terminal. We’ll use Curl command to the download the package:
curl -OL https://dev.mysql.com/get/mysql-apt-config_0.8.12-1_all.debhttps://dev.mysql.com/get/mysql-apt-config_0.8.12-1_all.deb is the link I copied from the website. It might be different based on the current version of MySQL. Let’s use dpkg to start installing MySQL:
sudo dpkg -i mysql-apt-config*Update your repositories:
sudo apt updateTo actually install MySQL, we’ll use the same command as in the first method:
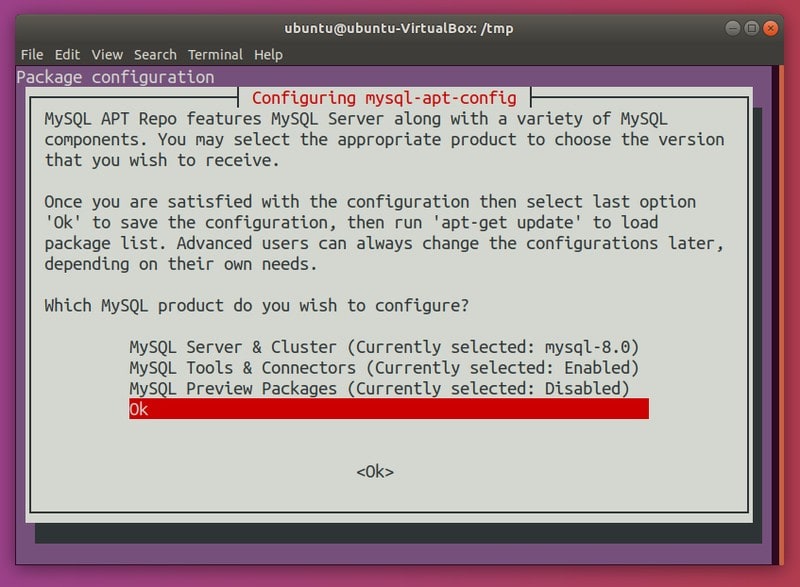
sudo apt install mysql-server -yDoing so will open a prompt in your terminal for package configuration. Use the down arrow to select the Ok option.
Press Enter. This should prompt you to enter a password:. Your are basically setting the root password for MySQL. Don’t confuse it with root password of Ubuntu system.
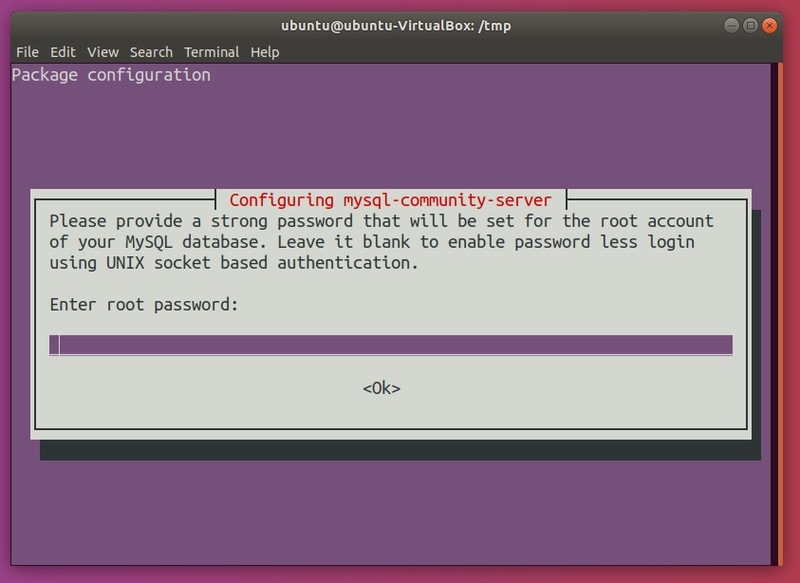
Type in a password and press Tab to select <Ok>. Press Enter. You’ll now have to re-enter the password. After doing so, press Tab again to select <Ok>. Press Enter.
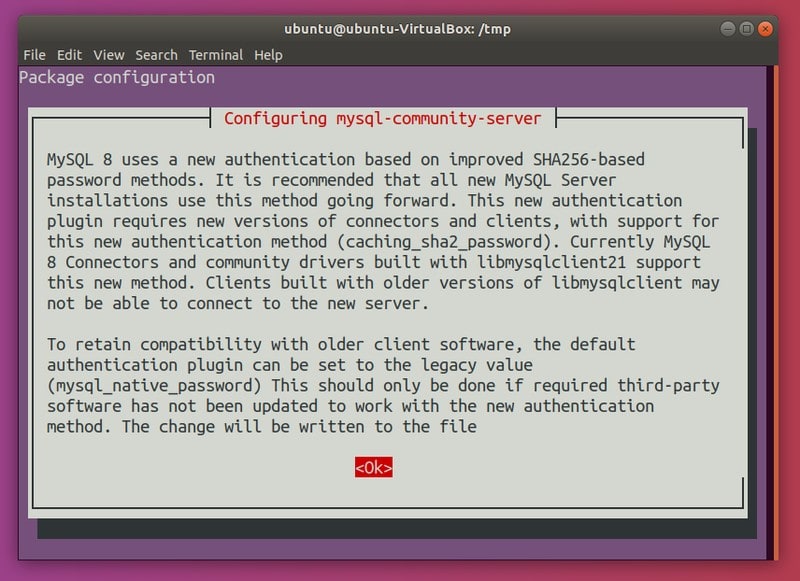
Some information on configuring MySQL Server will be presented. Press Tab to select <Ok> and Enter again:
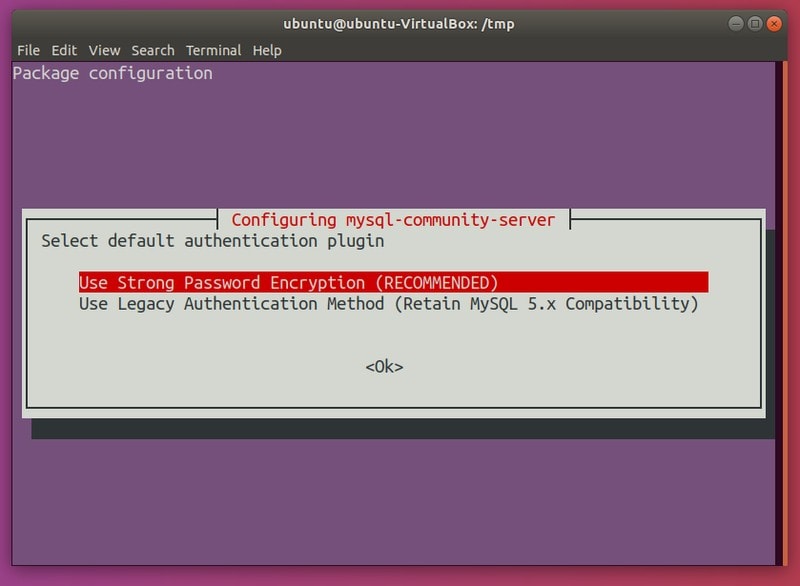
Here you need to choose a default authentication plugin. Make sure Use Strong Password Encryption is selected. Press Tab and then Enter.
That’s it! You have successfully installed MySQL.
Verify your MySQL installation
To verify that MySQL installed correctly, use:
sudo systemctl status mysql.serviceThis will show some information about the service:
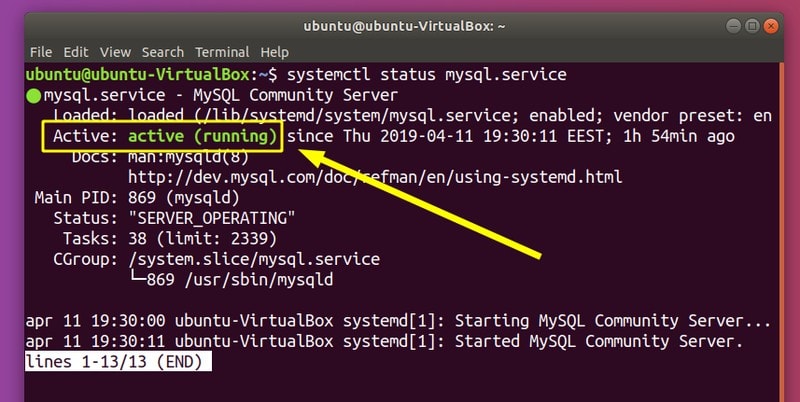
You should see Active: active (running) in there somewhere. If you don’t, use the following command to start the service:
sudo systemctl start mysql.serviceConfiguring/Securing MySQL
For a new install, you should run the provided command for security-related updates. That’s:
sudo mysql_secure_installationDoing so will first of all ask you if you want to use the VALIDATE PASSWORD COMPONENT. If you want to use it, you’ll have to select a minimum password strength (0 – Low, 1 – Medium, 2 – High). You won’t be able to input any password doesn’t respect the selected rules. If you don’t have the habit of using strong passwords (you should!), this could come in handy. If you think it might help, type in y or Y and press Enter, then choose a strength level for your password and input the one you want to use. If successful, you’ll continue the securing process; otherwise you’ll have to re-enter a password.
If, however, you do not want this feature (I won’t), just press Enter or any other key to skip using it.
For the other options, I suggest enabling them (typing in y or Y and pressing Enter for each of them). They are (in this order): remove anonymous user, disallow root login remotely, remove test database and access to it, reload privilege tables now.
Connecting to & Disconnecting from the MySQL Server
To be able to run SQL queries, you’ll first have to connect to the server using MySQL and use the MySQL prompt. The command for doing this is:
mysql -h host_name -u user -p- -h is used to specify a host name (if the server is located on another machine; if it isn’t, just omit it)
- -u mentions the user
- -p specifies that you want to input a password.
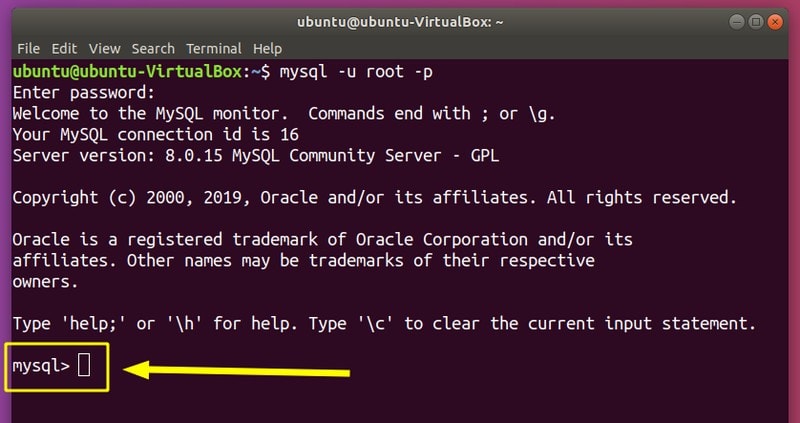
Although not recommended (for safety reasons), you can enter the password directly in the command by typing it in right after -p. For example, if the password for test_user is 1234 and you are trying to connect on the machine you are using, you could use:
mysql -u test_user -p1234If you successfully inputted the required parameters, you’ll be greeted by the MySQL shell prompt (mysql>):
To disconnect from the server and leave the mysql prompt, type:
QUITTyping quit (MySQL is case insensitive) or \q will also work. Press Enter to exit.
You can also output info about the versionwith a simple command:
sudo mysqladmin -u root version -pIf you want to see a list of options, use:
mysql --helpUninstalling MySQL
If you decide that you want to use a newer release or just want to stop using MySQL.
First, disable the service:
sudo systemctl stop mysql.service && sudo systemctl disable mysql.serviceMake sure you backed up your databases, in case you want to use them later on. You can uninstall MySQL by running:
sudo apt purge mysql*To clean up dependecies:
sudo apt autoremoveWrapping Up
In this article, I’ve covered installing MySQL in Ubuntu Linux. I’d be glad if this guide helps struggling users and beginners.
Tell us in the comments if you found this post to be a useful resource. What do you use MySQL for? We’re eager to receive any feedback, impressions or suggestions. Thanks for reading and have don’t hesitate to experiment with this incredible tool!
