

Kali Linux is the de facto standard of Linux distributions used for learning and practicing hacking and penetration testing.
And, if you’ve been tinkering around with Linux distros long enough, you might have tried it out just out of curiosity.
However, no matter what you use it for, it is not a replacement for a regular full-fledged desktop Linux operating system. Hence, it is recommended (at least for beginners) to install Kali Linux using a virtual machine program like VMware.
With a virtual machine, you can use Kali Linux as a regular application in your Windows or Linux system. It’s almost the same as running VLC or Skype in your system.
There are a few free virtualization tools available for you. You can install Kali Linux on Oracle VirtualBox or use VMWare Workstation.
This tutorial focuses on VMWare.
Installing Kali Linux on VMware on Windows and Linux
For this tutorial, I presume that you are using Windows, considering most VMware users prefer using Windows 10/11.
However, the tutorial is also valid for Linux except the VMWare installation on Windows part. You can easily install VMWare on Ubuntu and other Linux distributions.
Step 1: Install VMWare Workstation Player (on Windows)
If you already have VMware installed on your system, you can skip the steps to install Kali Linux.
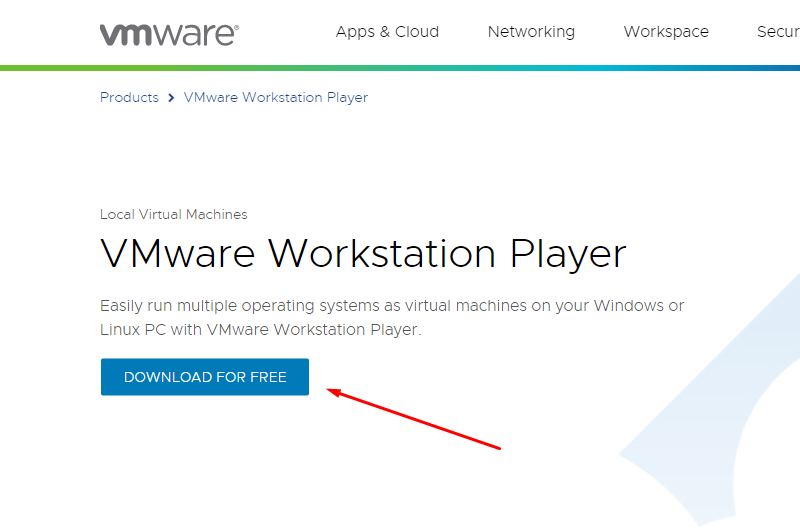
Head to VMWare’s official workstation player webpage and then click on the “Download Free” button.
Next, you get to choose the version (if you want something specific or encountering bugs in the latest version) and then click on “Go to Downloads.“
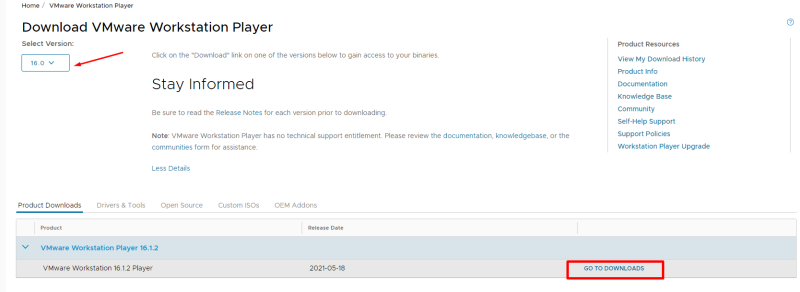
And then you get the download buttons for both Windows and Linux versions. You will have to click on the button for Windows 64-bit because that is what we need here.

There is no support for 32-bit systems, in case you were wondering.
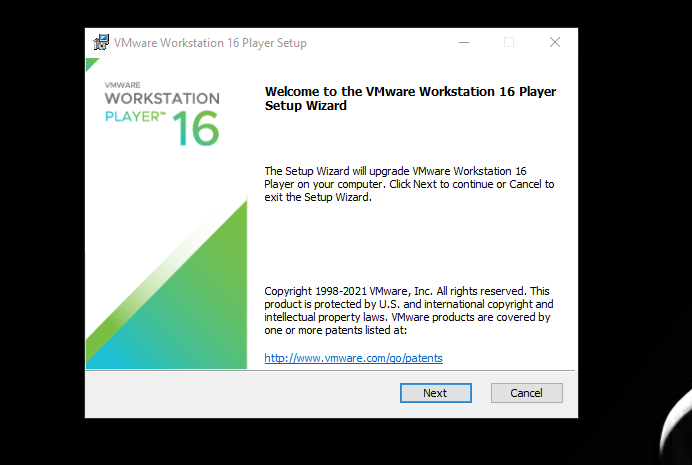
Finally, when you get the .exe file downloaded, launch it to start the installation process. You need to hit “Next” to get started installing VMware.
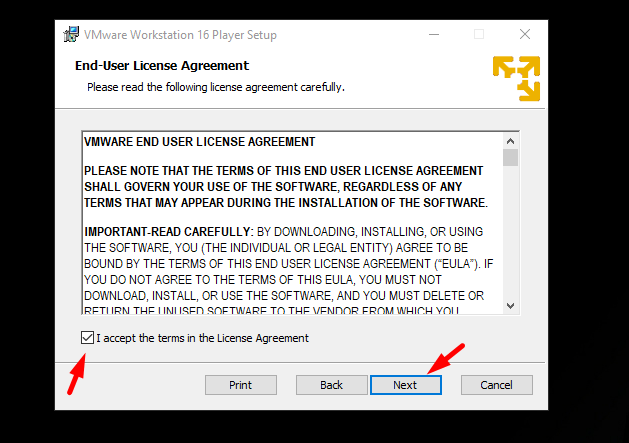
Next, you will have to agree to the policies and conditions to continue.
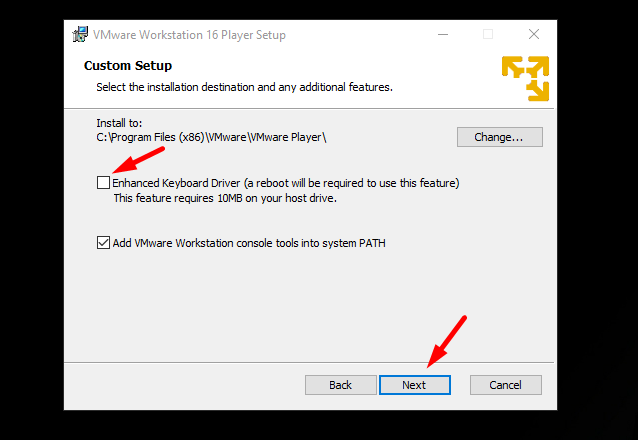
Now, you get to choose the path of your installation. Ideally, keep it at the default settings. But, if you need better keyboard response / in-screen keyboard performance in the virtual machine, you may want to enable the “Enhanced Keyboard Driver.”
Proceeding to the next step, you can choose to disable checking for updates every time you start the program (can be annoying) and disable sending data to VMware as part of its user experience improvement program.
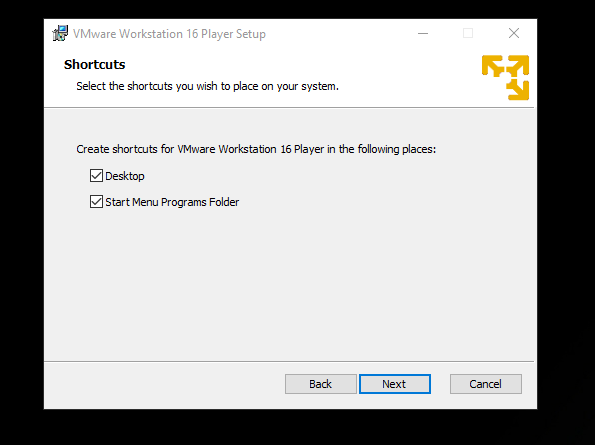
If you want quick access using desktop and start menu shortcuts, you can check those settings or toggle them off, which I prefer.
Now, you have to continue to start the installation.
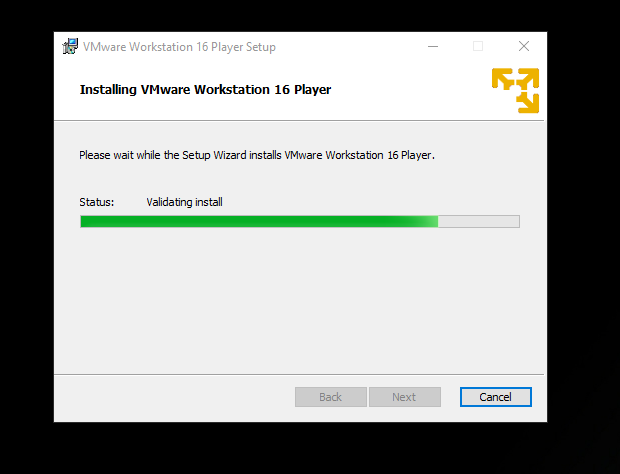
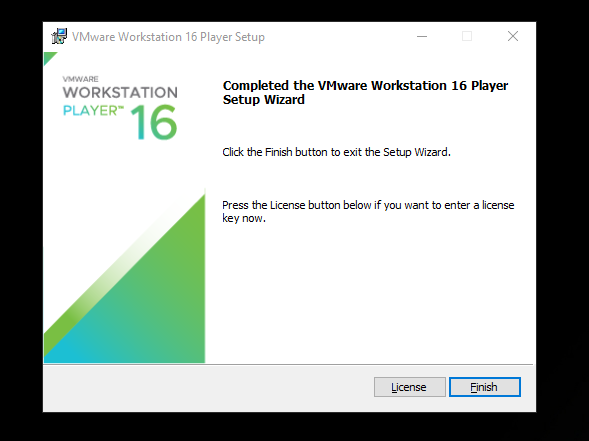
This may take a while, and when completed, you get greeted with another window that lets you finish the process and gives you the option to enter a license key. If you want to get the commercial license for your use-case, you need the VMware Workstation Pro edition, or else, the player is free for personal use.
Step 2: Install Kali Linux on VMware
To get started, you need to download the image file of Kali Linux. And, when it comes to Kali Linux, they offer a separate ISO file if you plan to use it on a virtual machine.
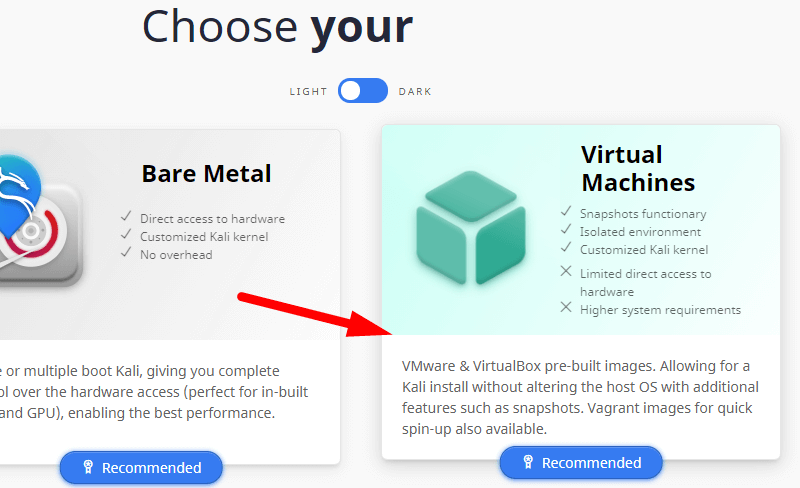
Head to its official download page and download the prebuilt VMware image available.
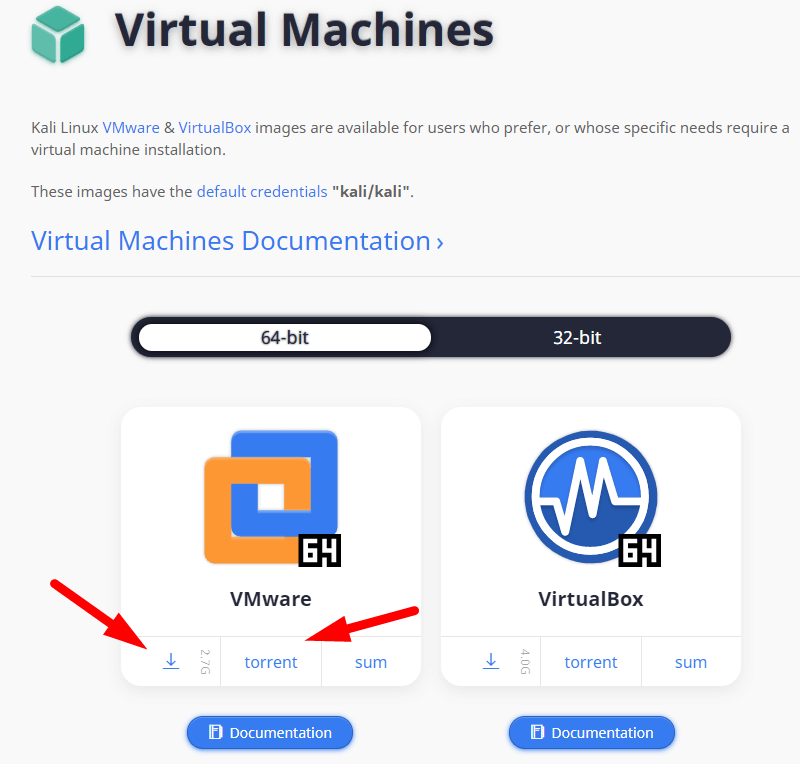
You can download the .7z file directly or utilize Torrent (which is generally faster). In either case, you can also check the file integrity with the SHA256 value provided.
Once downloaded, you need to extract the file to any path of your choice.

Open VMware Workstation Player and then click on “Open a Virtual Machine.” Now, look for the folder you extracted. And navigate through it till you find a file with the “.vmx” extension.
For instance: Kali-Linux-2021.3-vmware-amd64.vmx
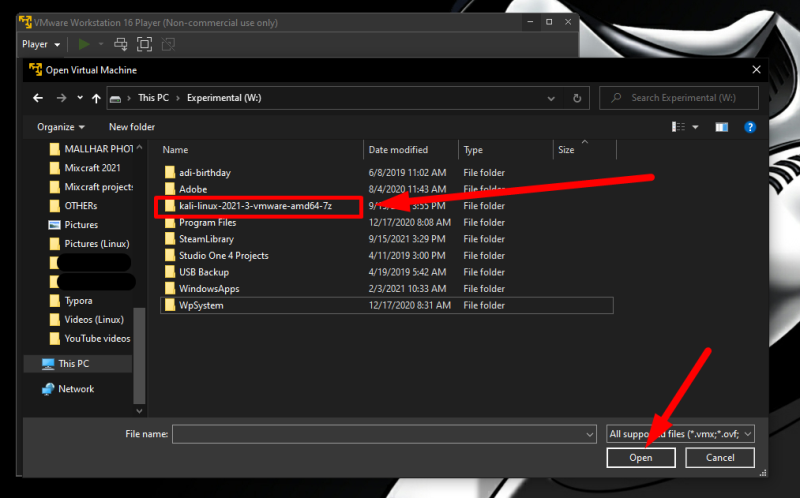
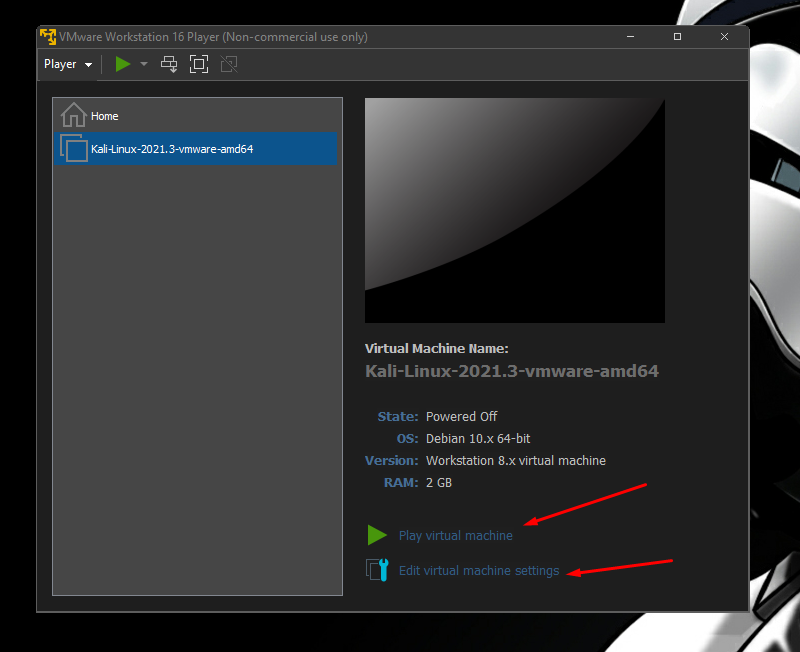
Select the .vmx file to open the virtual machine. And, it should appear right in your VMware player.
You can choose to launch the virtual machine with the default settings. Or, if you want to tweak the hardware allocated to the virtual machine, feel free to change the settings before you launch it.
Depending on your computer hardware, you should allocate more memory and at least half of your processor cores to get a smooth performance.
In this case, I have 16 Gigs of RAM and a quad-core processor. Hence, it is safe to allocate nearly 7 GB of RAM and two cores for this virtual machine.
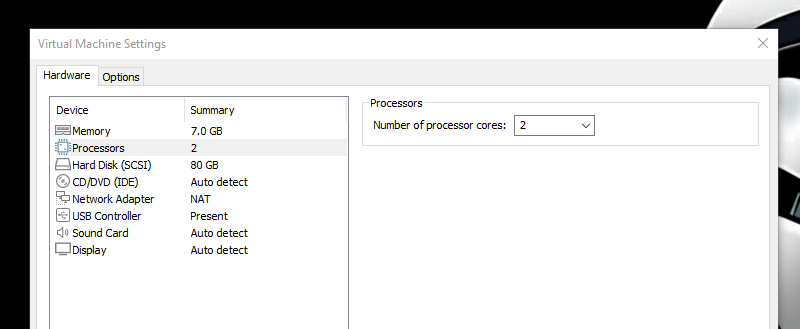
While you can assign more resources, but it might affect the performance of your host operating system when working on a task. So, it is recommended to keep a balance between the two.
Now, save the settings and hit “Play virtual machine” to start Kali Linux on VMware.
When it starts loading up, you may be prompted with some tips to improve performance by tweaking some virtual machine settings.
You do not have to do that, but if you notice performance issues, you can disable side-channel mitigations (needed for enhanced security) to uplift the performance of the VM.
Also, you may be prompted to download and install VMware tools for Linux; you need to do this to get a good VM experience.
Once you do that, you will be greeted with Kali Linux’s login screen.
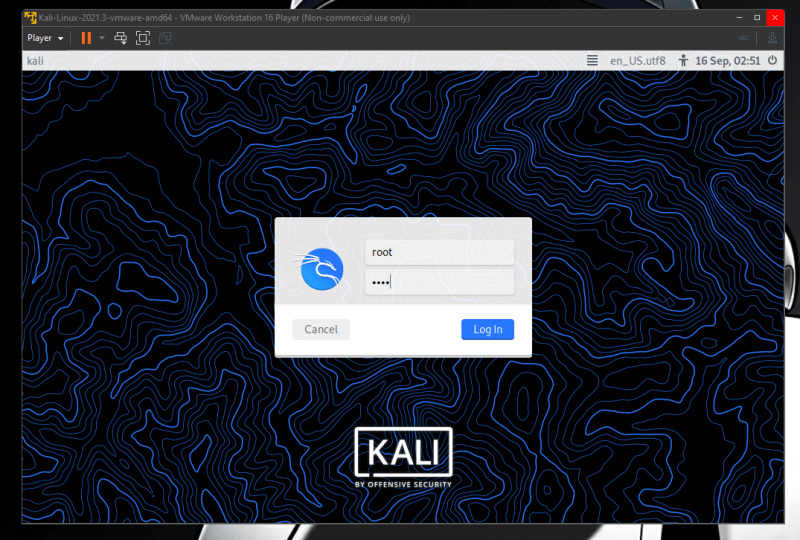
Considering that you launched a prebuilt VMware folder, you need to enter the default login and password to proceed.
Username: kali
Password: kali
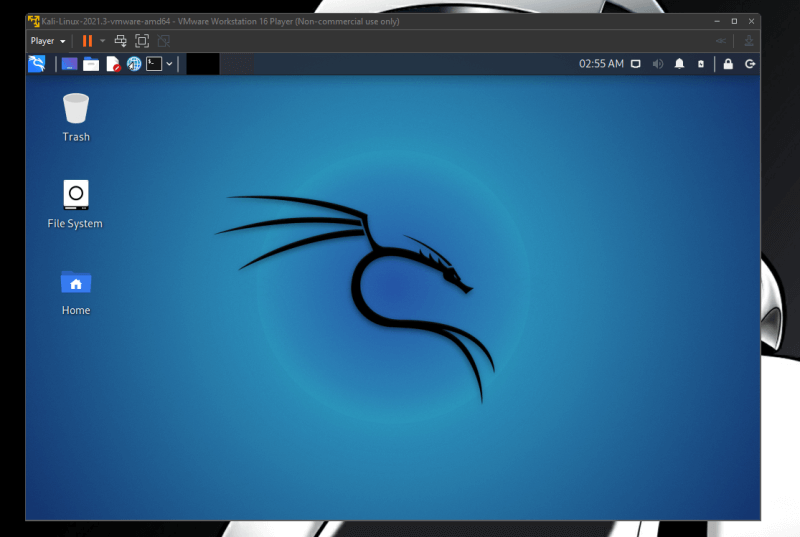
That’s it! You’re done installing Kali Linux on VMware. Now, all you have to do is start exploring!
Where to go from here?
Here are a few tips you can utilize.
If clipboard sharing and file sharing are not working, install VMWare tools on the guest system (Kali Linux).
If you are new to it, check out this list of Kali Linux tools.
 Ankush Das
In the mood for fun? Try the undercover mode.
Abhishek Prakash
Feel free to share your thoughts if you find this tutorial helpful. Do you prefer to install Kali Linux without using a VMware image ready to go? Let me know in the comments below.
If this helped you, consider supporting It's FOSS
It's FOSS has been helping people use Linux for the past 14 years. Help us stay independent from big tech. Become a Plus member, enjoy ad-free reading and get 5 eBooks.
